

Emulsified Body Butter
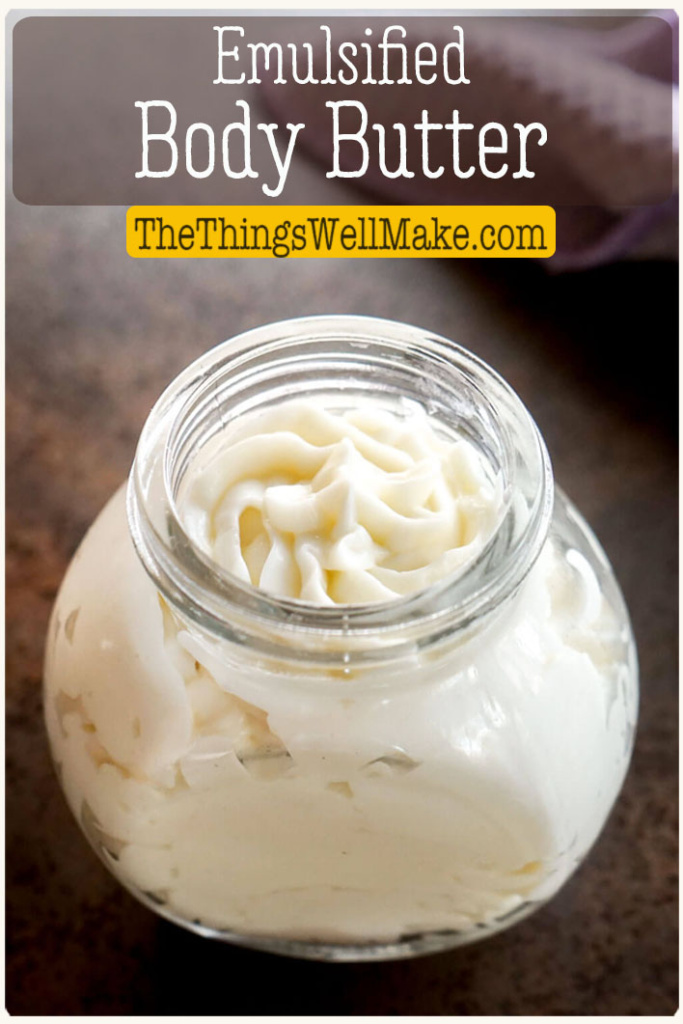
Nourish and protect your skin with this thick and creamy emulsified body butter that is rich with natural oils and butters with added water to help moisturize the skin.
Last time I showed you how to make a whipped body butter from a combination of oils and butters. Traditional whipped body butters are a great beginner project because they are oil-based (without water), not needing preservatives nor emulsifiers.
Body butters vs. emulsified body butters
The disadvantage to the traditional anhydrous body butters, though, is that in the absence of water, they lack the ability to draw moisture into the skin. Many people also find them to feel heavy or greasy. While this can be improved by the addition of a starch such as arrowroot powder, it won’t ever feel the same as a lighter product with water in it.
What if we could have a rich protective cream that also moisturizes? We can! An emulsified body butter combines the benefits of both types of cream. It’s lighter and more moisturizing than a traditional body butter, but more protective and nourishing than a light lotion.
What are emulsified body butters?
Emulsified body butters are a type of thick cream or lotion that incorporates an emulsifying wax as one of the ingredients. Most emulsified body butters include some water (or water-based ingredients) but it’s generally less than the amount in a lotion. In fact, they usually include more oils and butters than water-based ingredients. (Lotions generally have more water than anything else.)
Some emulsified body butters do not include water and only add emulsifying wax as a thickener or in an attempt to improve the feel of the butter. (I’m not convinced that it has any benefit over a hard butter or a traditional wax.)
Ingredients
Most emulsified body butter recipes shared online use ingredients that I prefer to avoid. These include PEGs or polyethylene glycols, which are added to thicken, stabilize or add moisture. While PEG’s themselves are considered relatively safe, they are often contaminated with ethylene oxide and 1,4-dioxane.
Also popular is the addition of silicones. Silicones are added to creams to provide smoothness and slip and to help provide an occlusive barrier that helps prevent skin from drying. While they are also safe, they aren’t considered ecologically friendly as they build up in the environment and in water. I just don’t think they provide enough benefit to warrant their use here.
Today, I’m sharing a more natural, environmentally-friendly body butter.
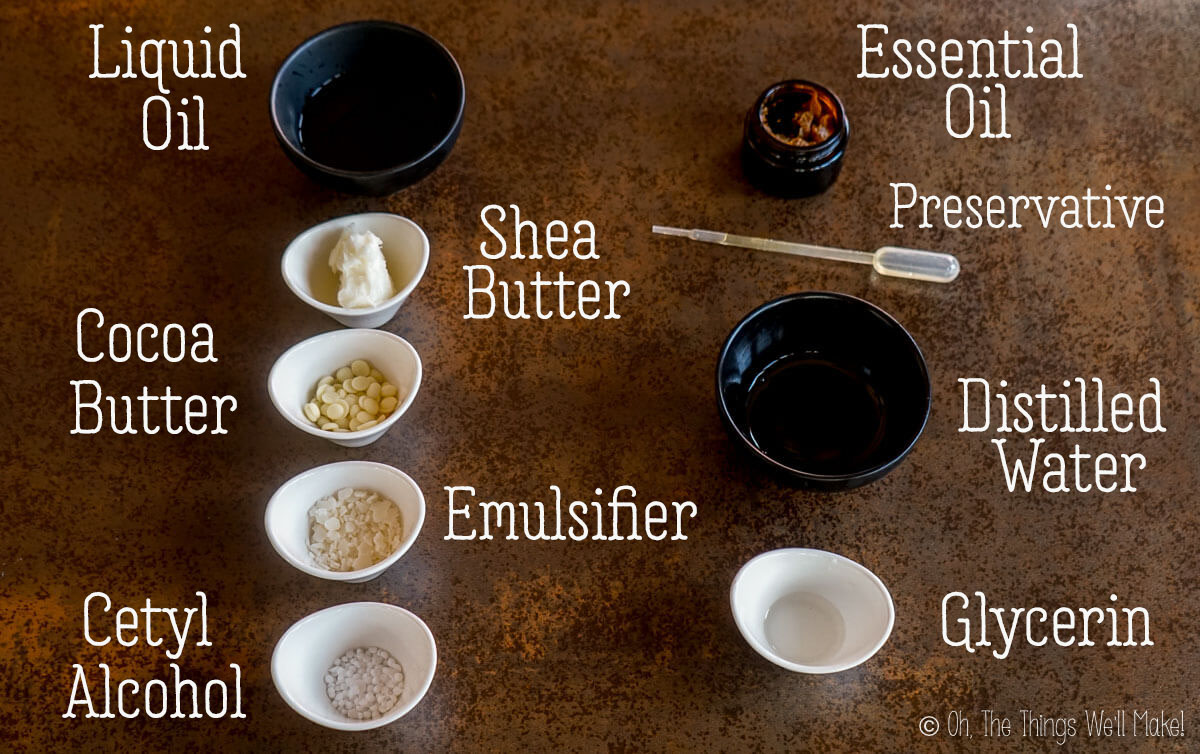
Oil-based ingredients
Like the traditional body butter, this product will have a combination of butters and oils. I chose to use cocoa butter, shea butter, and macadamia nut oil for the fats of this recipe. To be honest, I chose shea butter and macadamia nut oil because I had some that are nearing their “best used by” date and wanted to use them before they go rancid. Mango butter can be used instead of shea butter, though, and you can choose pretty much any liquid oil.
The emulsifiers
I decided to give you two options for making your own emulsified body butter. In the first recipe, the product is made up mostly of oils. For that body butter, I chose to use Olivem 900. It’s an olive-based natural emulsifier that is meant for water in oil (W/O) formulations. You can use any water-in-oil emulsifier that you can find easily locally. I have seen people make oil-heavy emulsified body butters with “regular” oil-in-water (O/W) emulsifiers (like BTMS or Olivem 1000), but I was worried about the stability of the final emulsion. (Plus, I’ve been wanting to test out Olivem 900 for quite some time now.)
The second recipe is more like a lotion in that it includes a larger concentration of water-based ingredients. To thicken it and give it a body-butter feel, I’ve added more oils and butters and a higher dosage of emulsifiers than I usually do in my basic lotions. Because it is mostly water-based, I chose to use Olivem 1000, a more traditional oil-in-water emulsifier. You can use a similar olive-based emulsifier (or any other emulsifier you have on hand).
For both recipes, I added cetyl alcohol as a co-emulsifier. It helps add stability to the emulsion and also gives a different feel to the product. If you don’t want to use it, you can try to make it without the cetyl alcohol. (You may want to increase the amount of the main emulsifier, though, to thicken the cream and add stability.) You could also try using Cetearyl alcohol instead.
Water Phase ingredients
While I chose to use distilled water for my cream, you can also choose to use hydrosols or floral waters instead. I also added glycerin, a humectant, to help draw moisture into your skin.
Other ingredients
Because this product incorporates water-based ingredients, you’ll need to use a broad-spectrum preservative to protect it from microbial growth. I used Sharomix 705. If using a different preservative, make sure to adjust the dose according to the recommended dosage for your particular preservative. (More information about preservatives can be found in my beginner’s guide to natural preservatives.)
For fragrance, you can use an essential oil or a combination of oils. I chose rose oil for one of mine and jasmine oil for the other. They both smelled wonderful!
I also experimented with adding hibiscus powder to the rose oil body butter to color it light pink. It didn’t turn out quite as I envisioned it, but that could be in part because I used a hibiscus powder that wasn’t very fresh. (You can see that I was using up a lot of ingredients this time!)
You can also optionally add some vitamin E (around 0.5% by weight), an antioxidant, to help extend the shelf life somewhat (and for its beneficial properties for the skin).
Procedure
I have decided to give you several possible recipes for making an emulsified body butter. Both options have similar procedures.
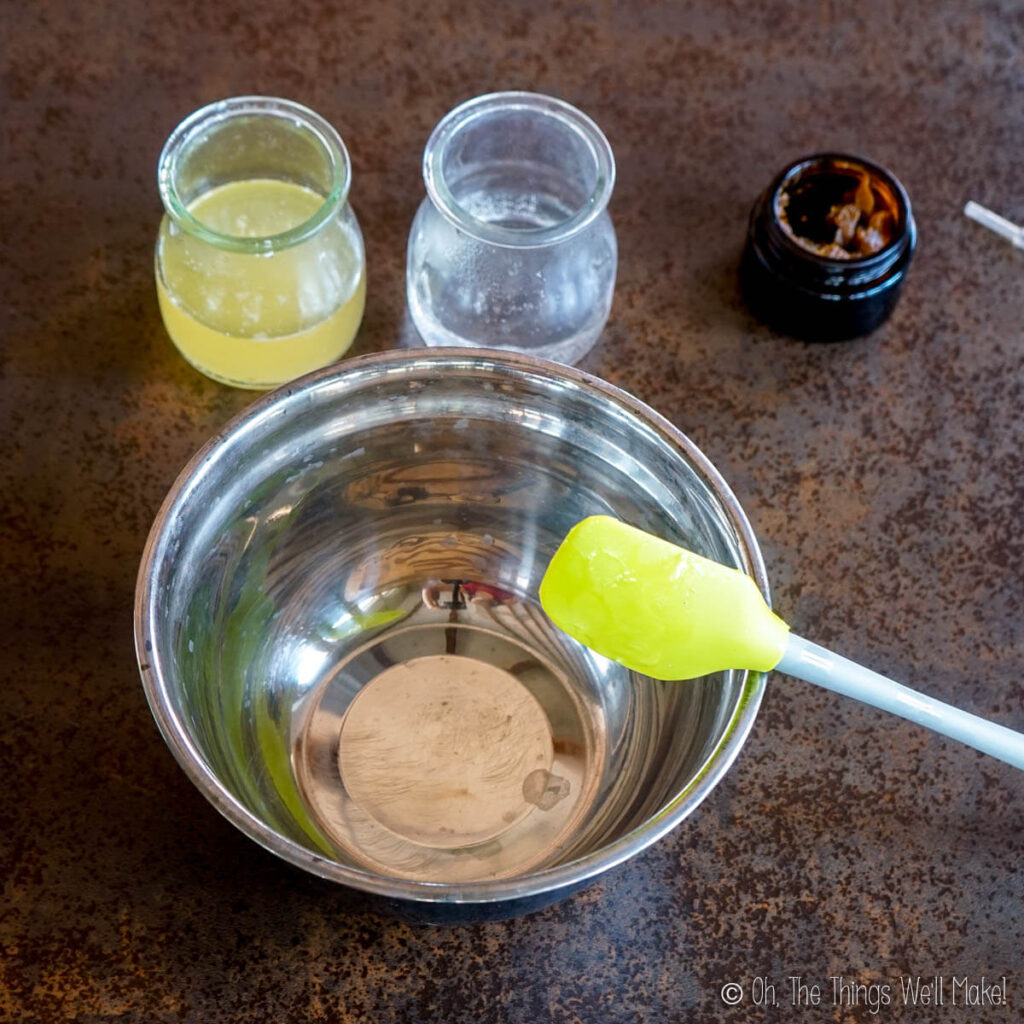
To make the body butters, combine the oils and butters with the emulsifying waxes in a heat-safe container. Then, combine the water and glycerin in a separate heat-safe container. Heat both containers over a water bath (or double boiler) until the waxes and butters have all fully melted.
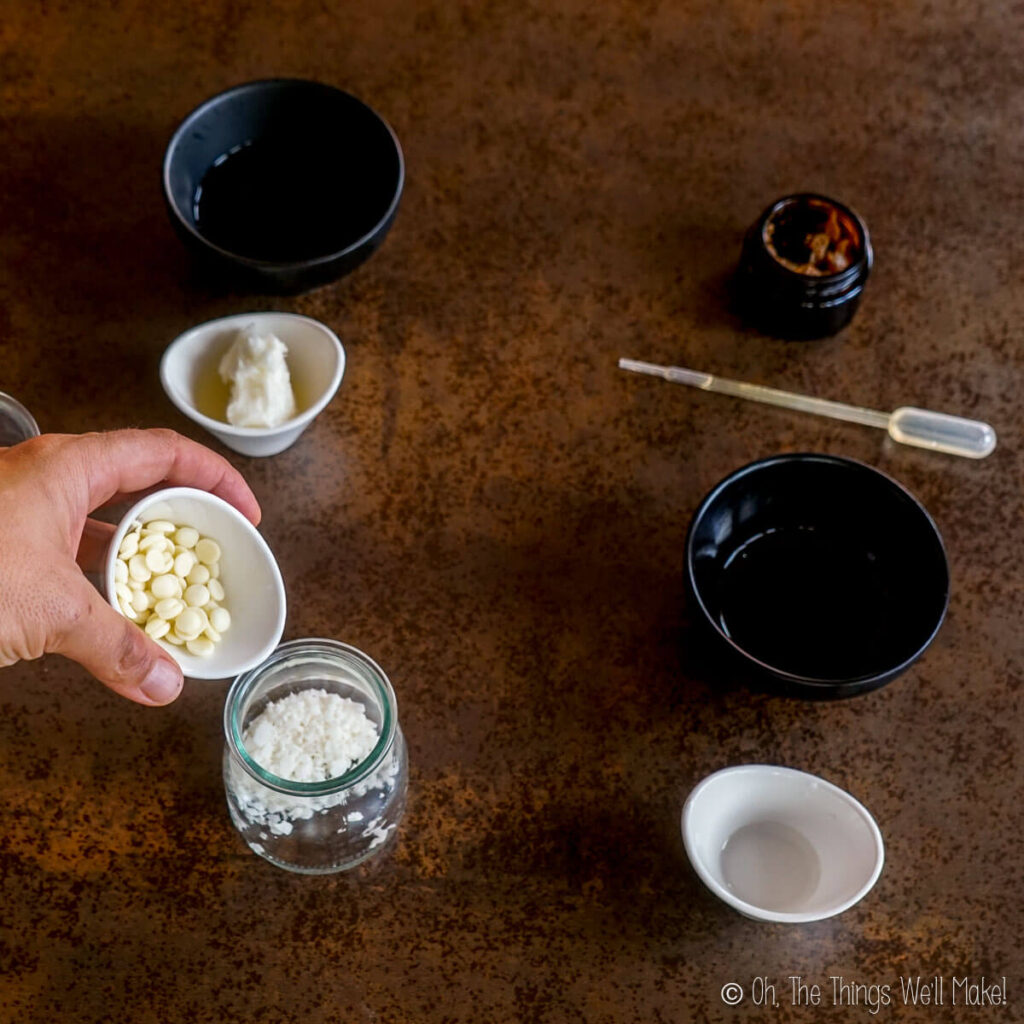
Combine oil-based ingredients. 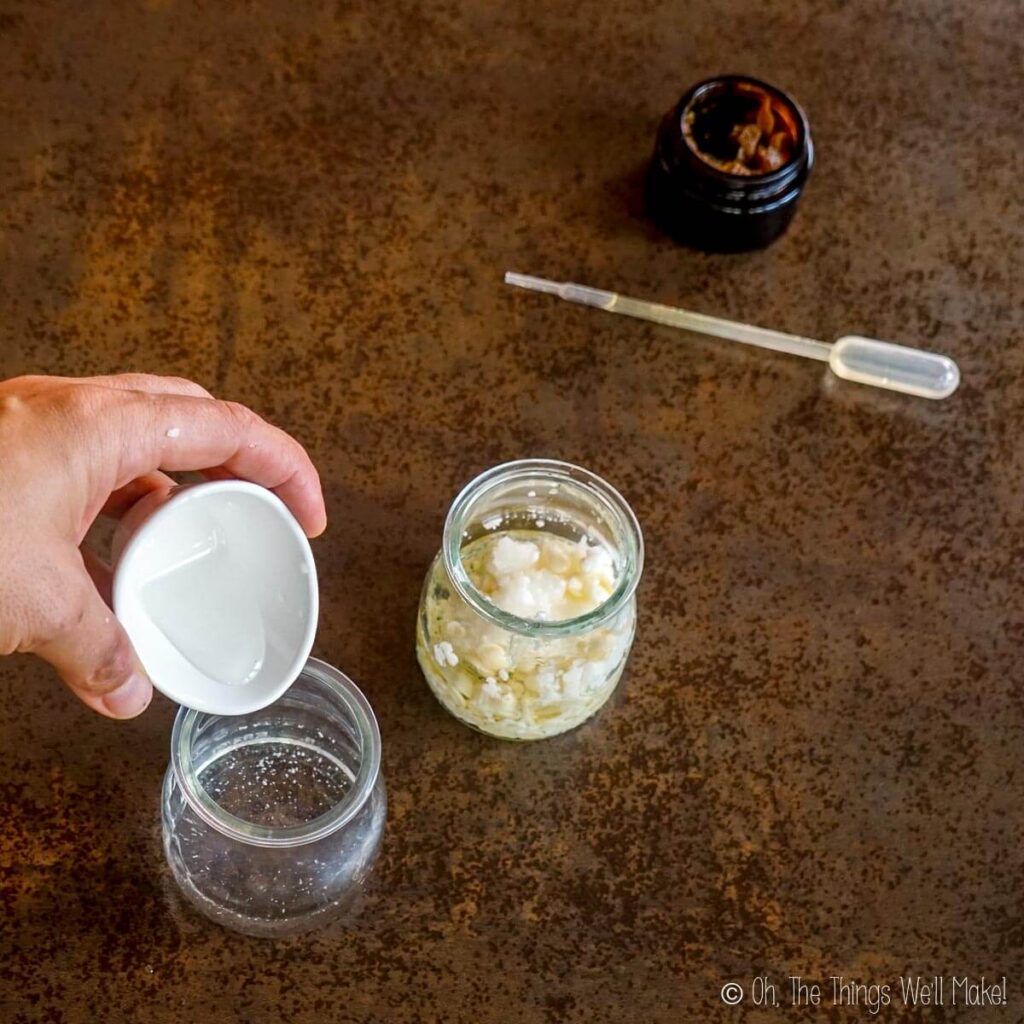
Combine water-based ingredients. 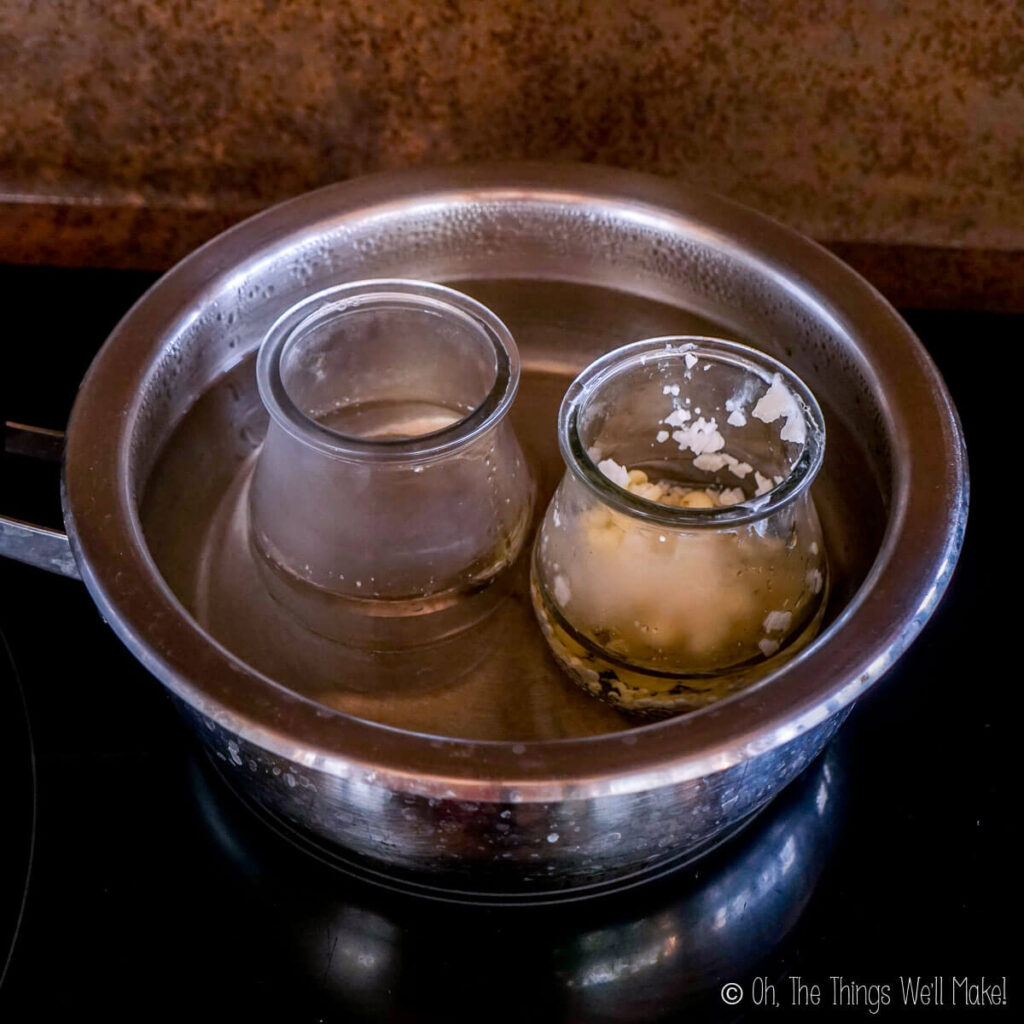
Heat in water bath. 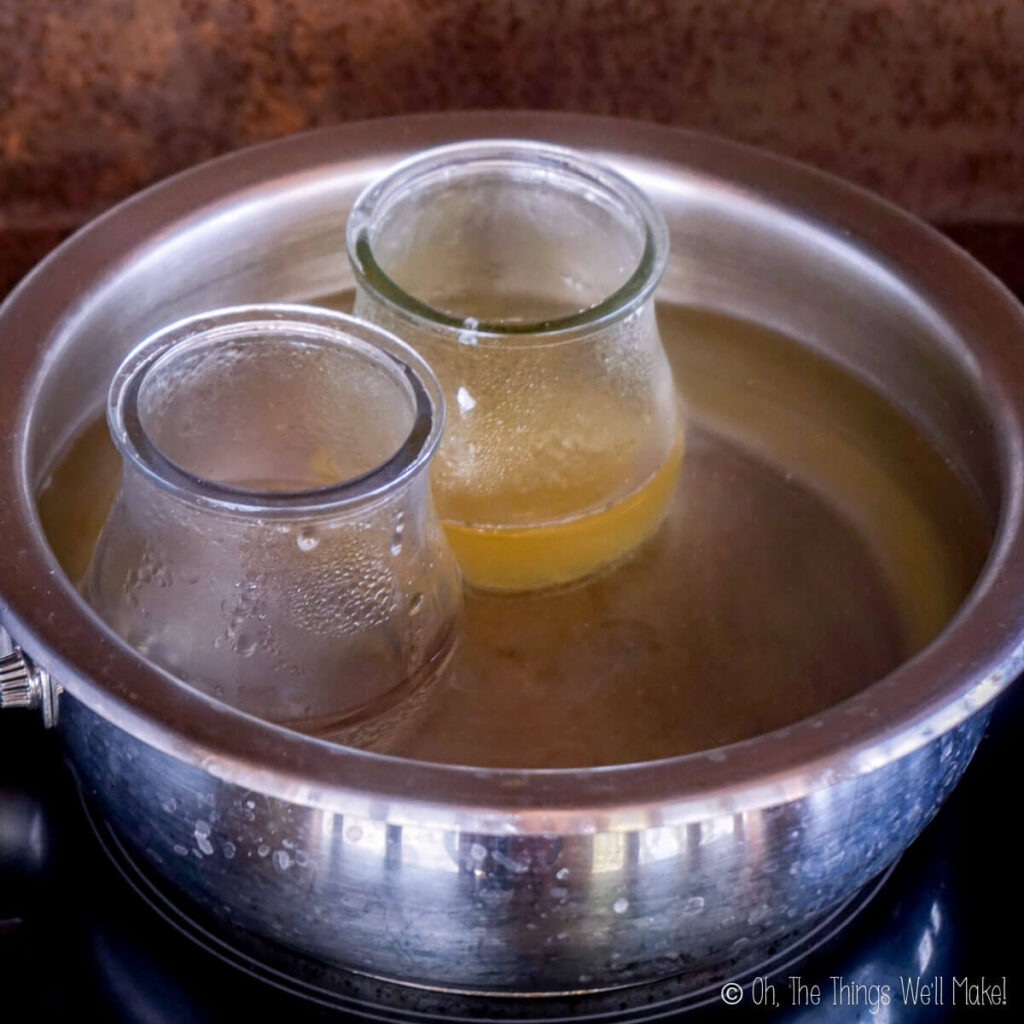
Fully melted.
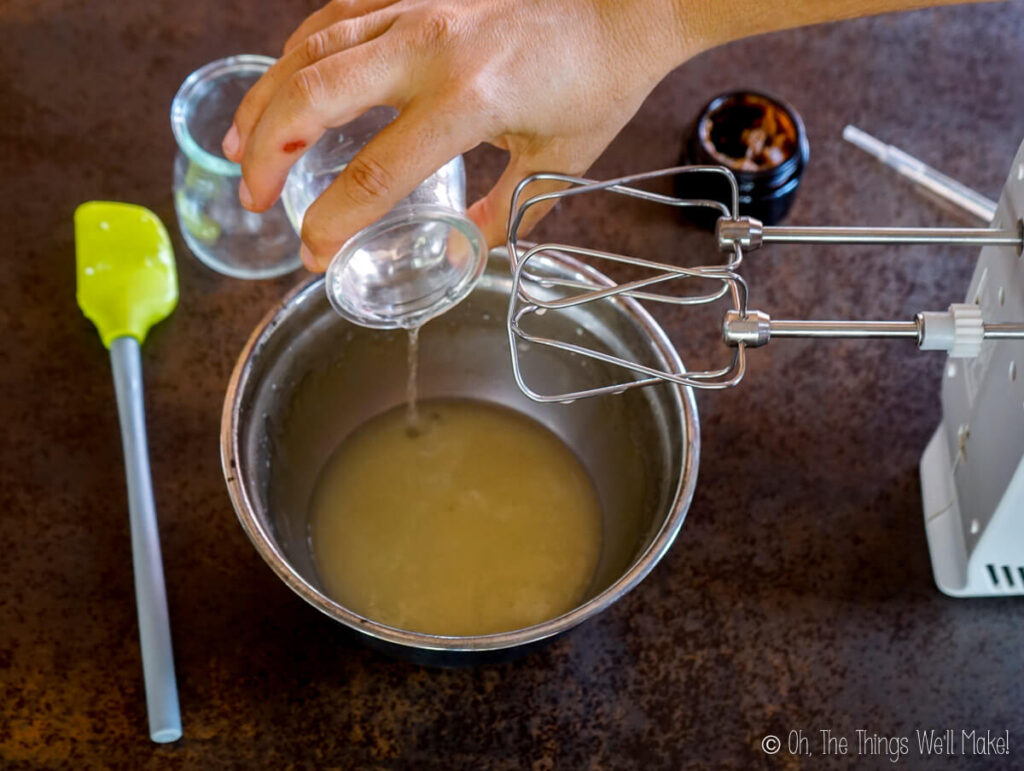
Remove the containers from the water bath and, while still hot, combine the ingredients in a container that is large enough to comfortably hold the ingredients with room to blend them with an electric beater or immersion blender.
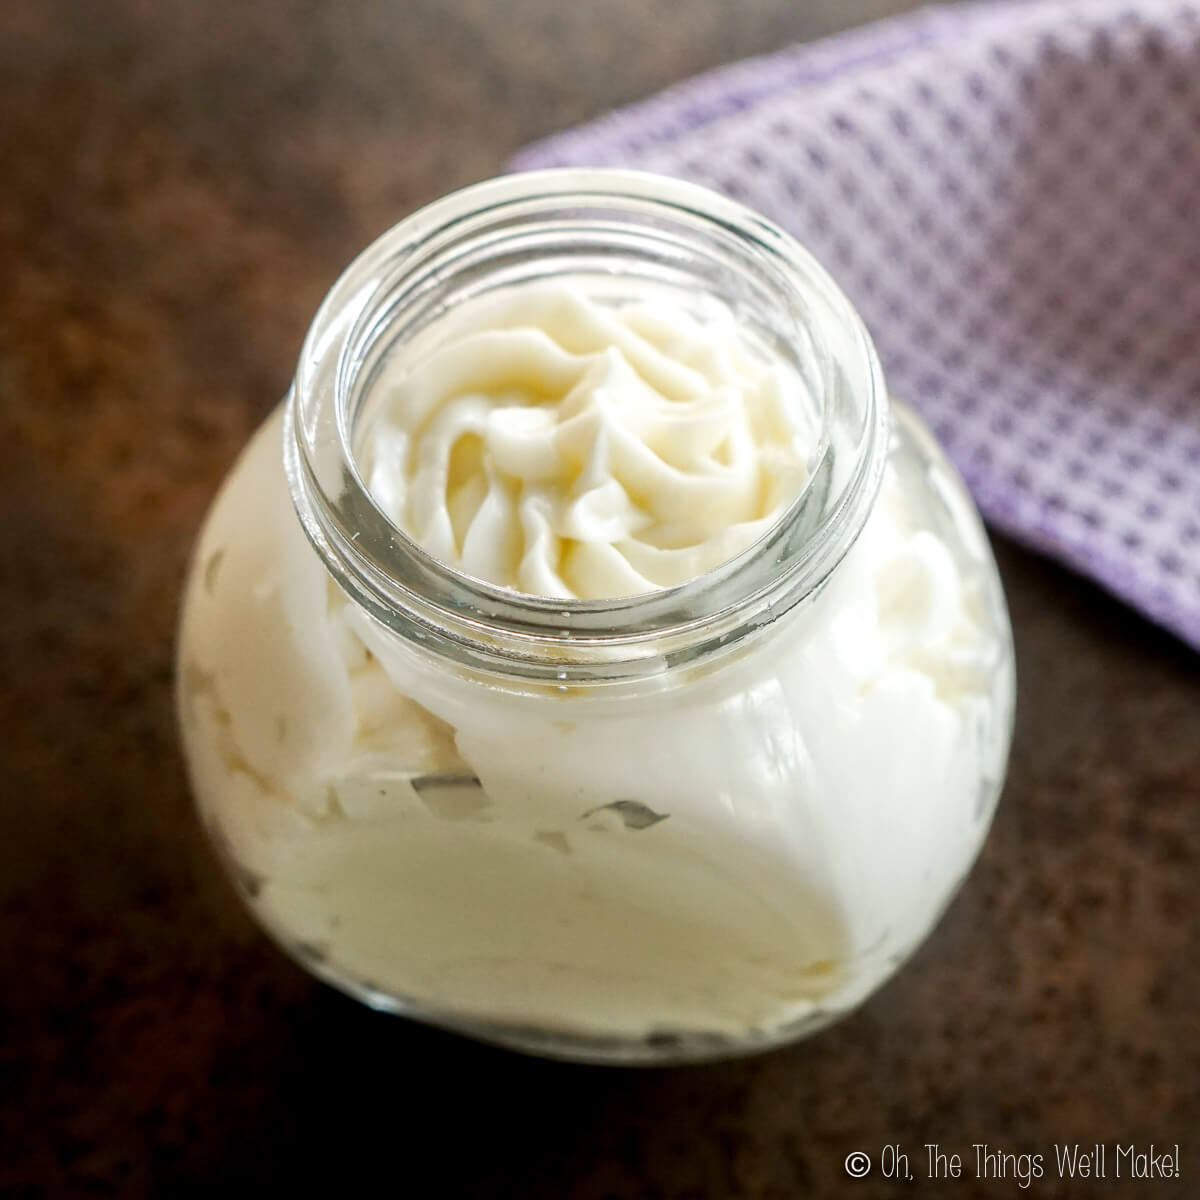
An electric beater will incorporate air into the mixture making more of a whipped butter texture. This is especially true of the water-in-oil recipe. The oil-in-water recipe has more water and is already lighter in texture.
Blend the ingredients until the ingredients have combined and the mixture becomes more opaque (around 10 seconds).
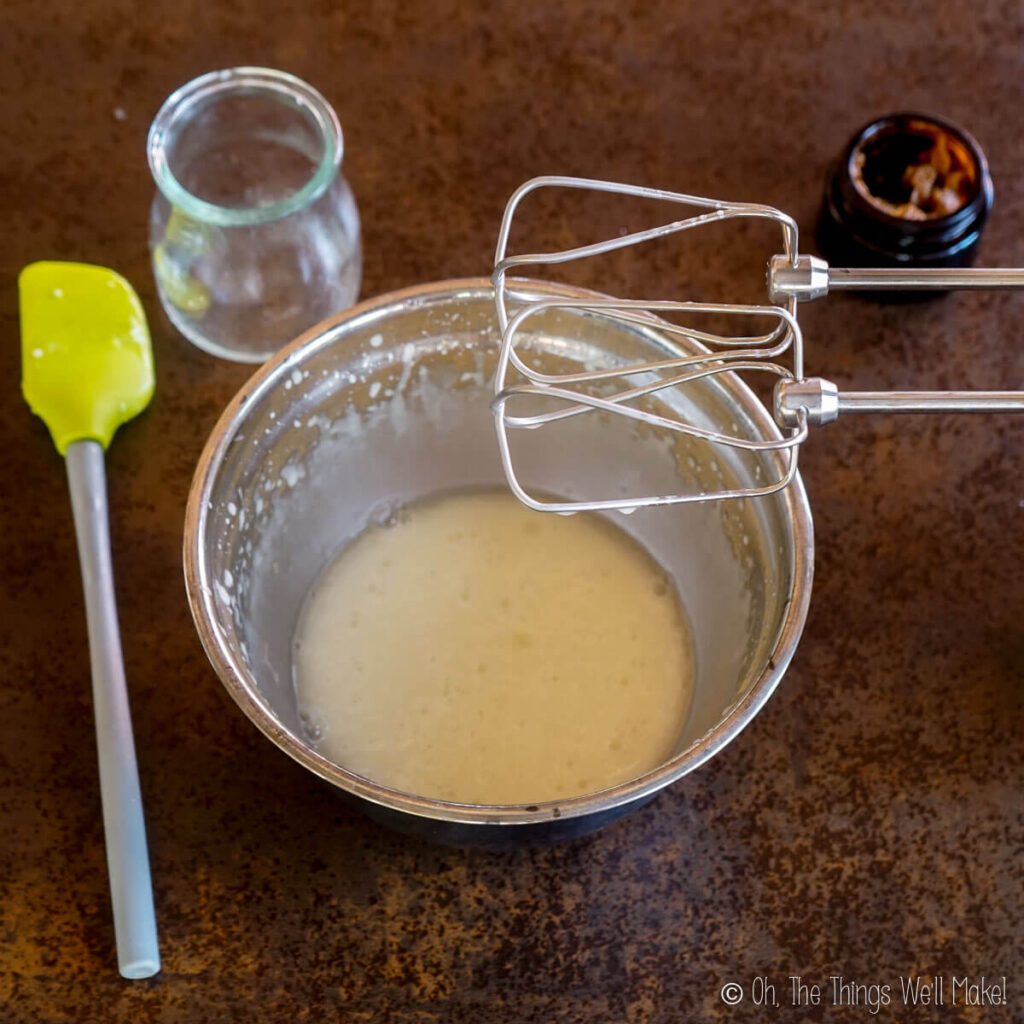


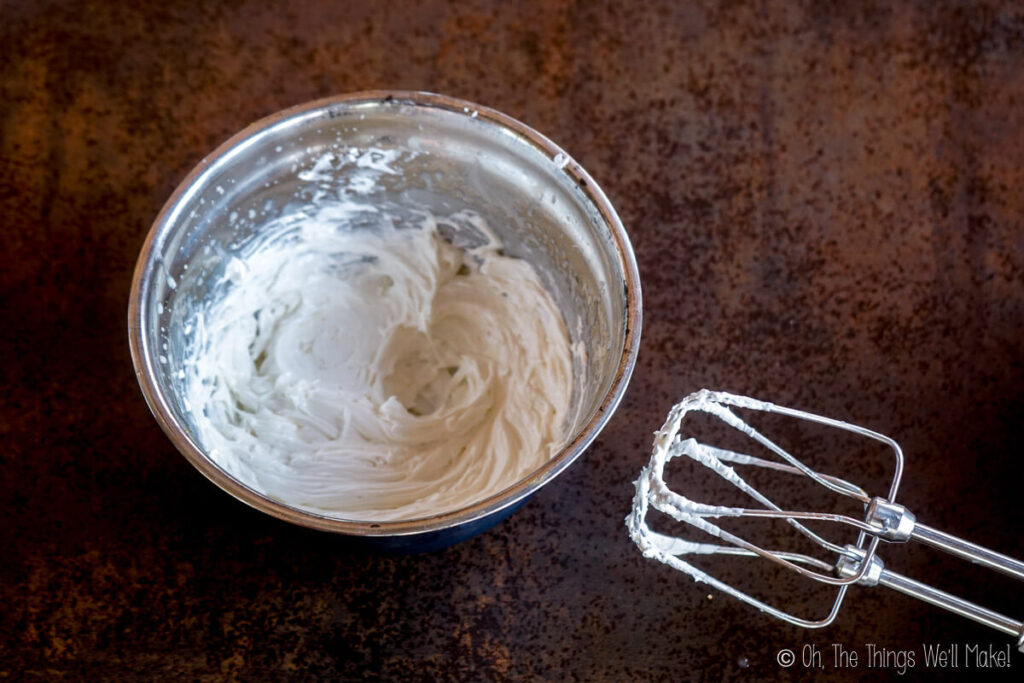
During the cooling process, blend the mixture several times. You can do it over an ice bath to speed up the cooling process. If you don’t use an ice bath, allow the mixture to rest for a minute or so between short bursts of blending it. Continue to occasionally blend the mixture as it cools. You’ll notice that it will get thicker and thicker and more stable.
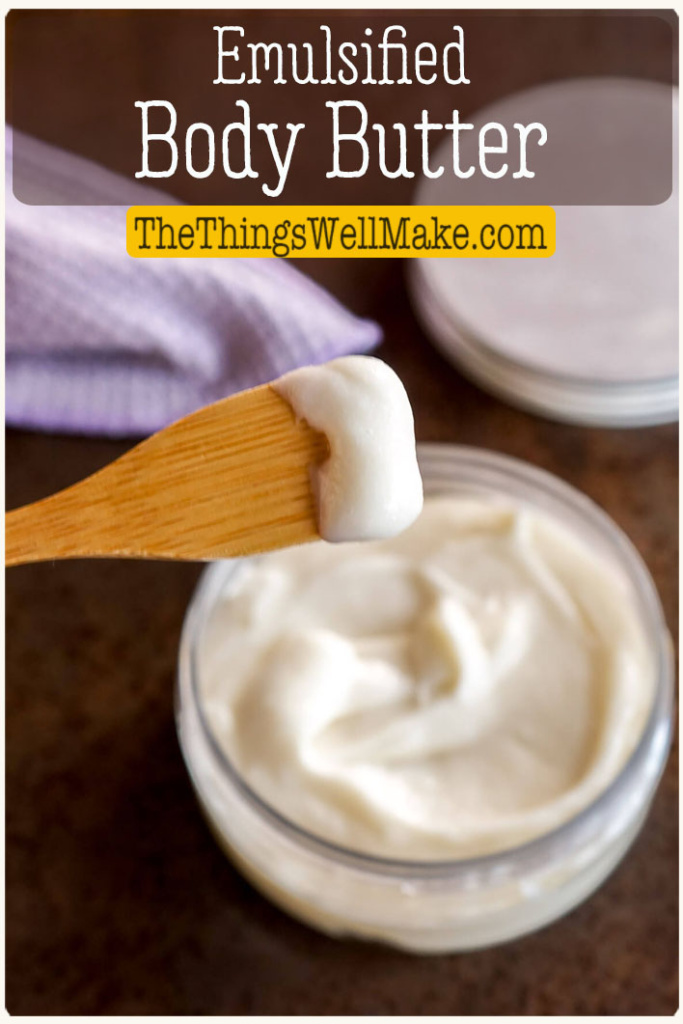
Once cool, you can package your body butter by spooning or piping it into a storage container. For body butters, I like to use jars with lids. (Piping is more appropriate for anhydrous or water-in-oil body butters than it is for lotions and oil-in-water body butters.)
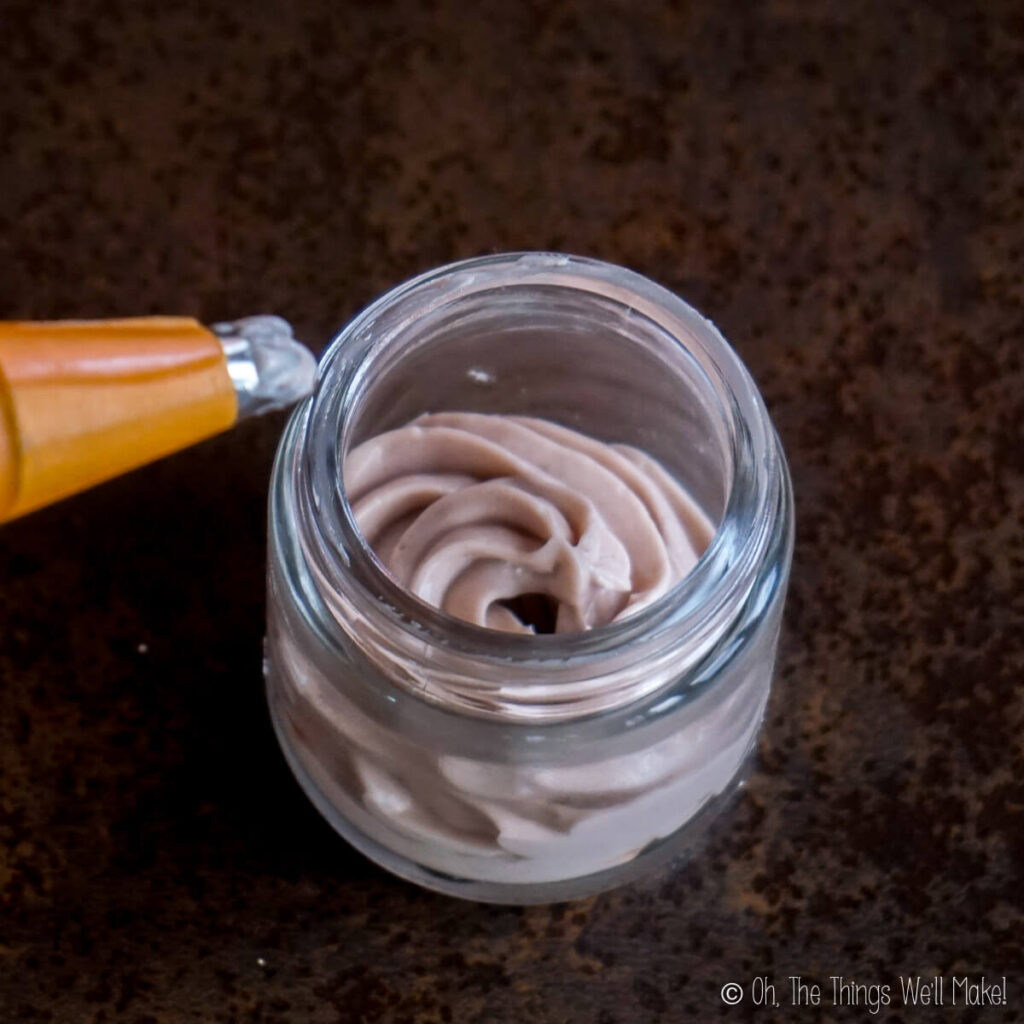
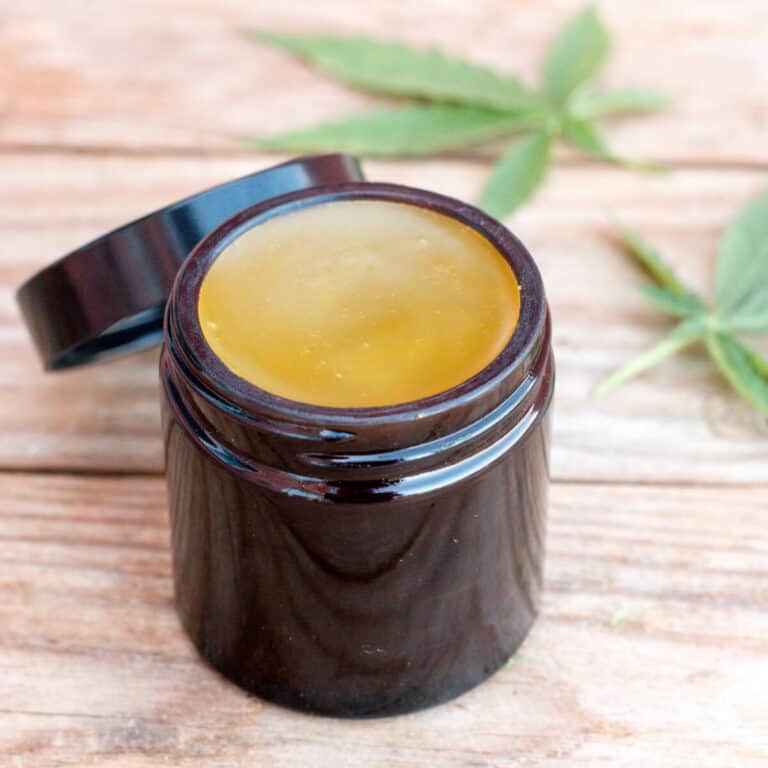
Water in oil body butter 
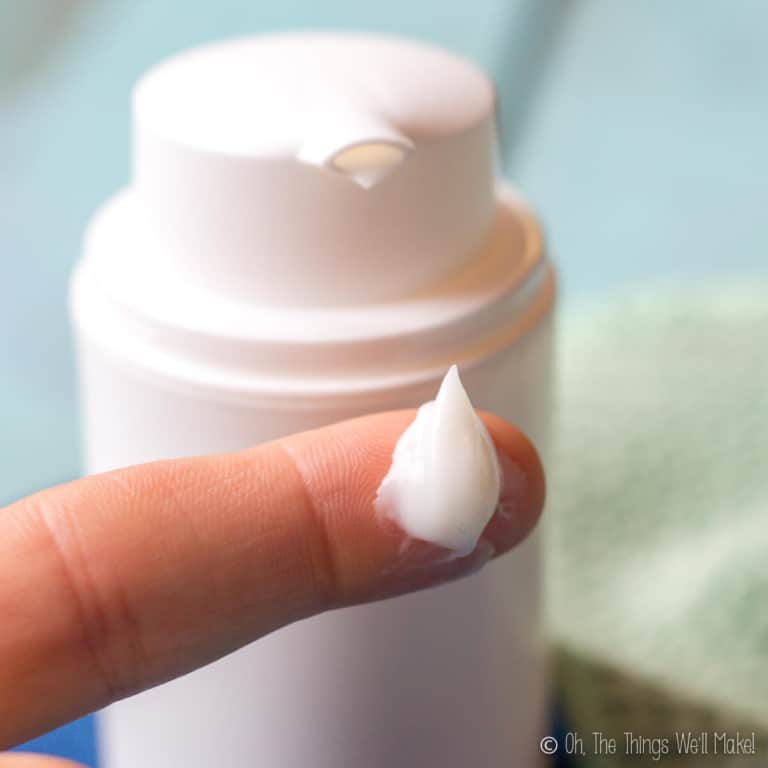
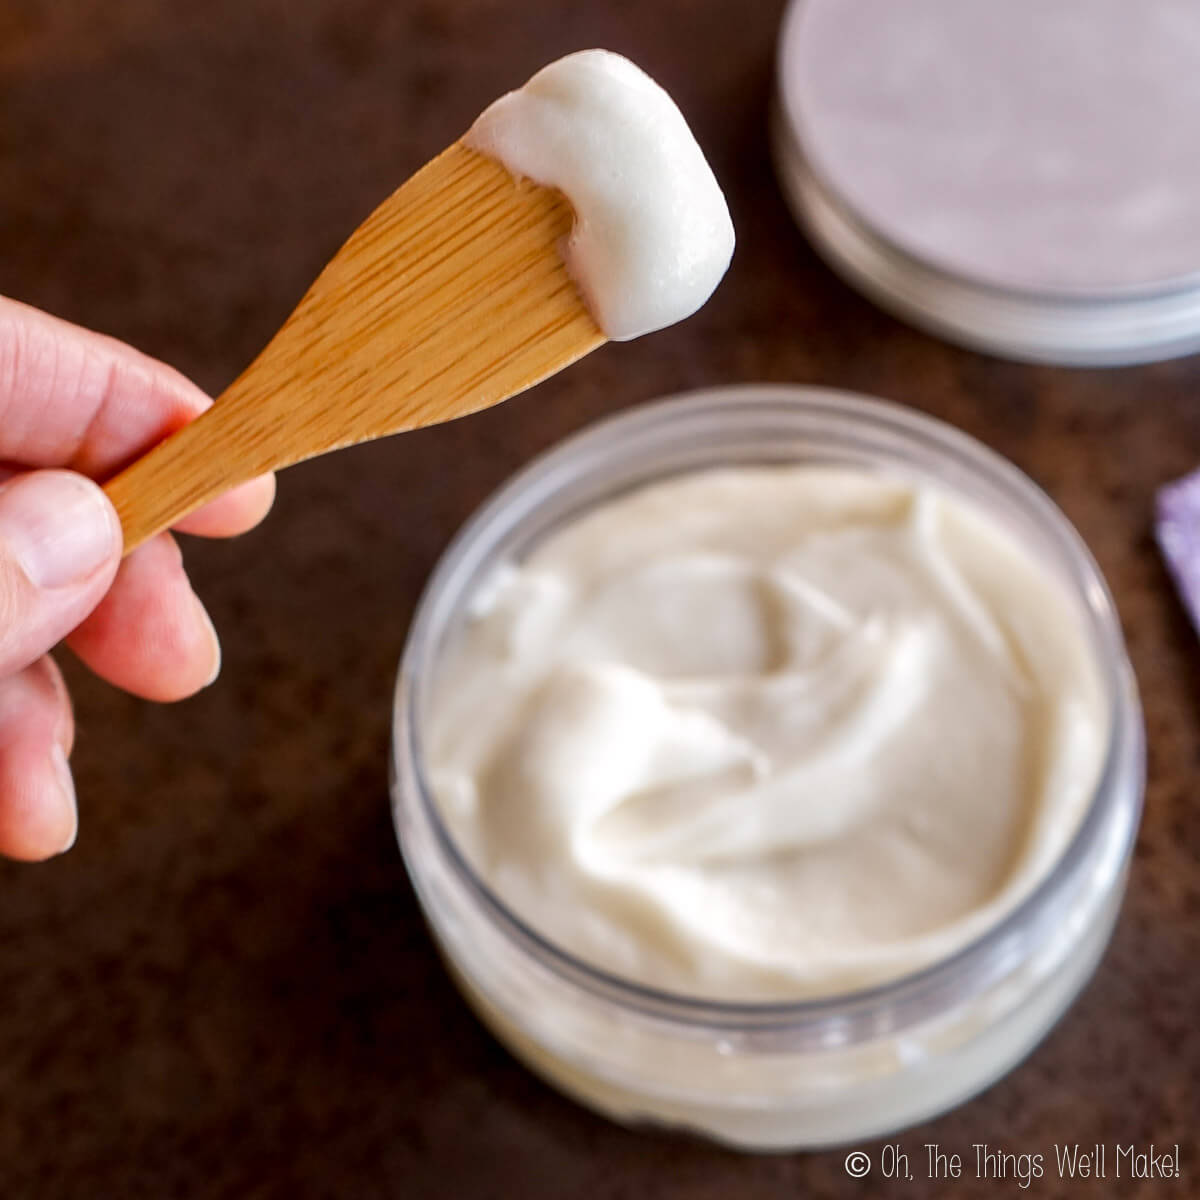
Oil in water body butter
Shelf life & storage
Because this product incorporates water, it has the potential for microbial (bacteria and mold) growth. While adding a broad-spectrum preservative allows us to store our finished body butter at room temperature and helps increase the shelf-life, I still recommend making small batches, what you think you will use up within 2-3 months. (In reality, it should keep longer than that, but, since most home formulators won’t be doing any microbial testing on their products, it’s best to err on the side of caution.)
To ensure a longer shelf life, try not to contaminate the product during use. (It’s always best to remove the product from its storage container with clean, dry hands and to not allow water into the container.)
Video

Emulsified Body Butter W/O
Materials
Oil phase
- 6 grams Olivem 900
- 8 grams cocoa butter
- 15 grams shea butter
- 20 grams liquid oil
- 2 grams acetyl alcohol
Water phase
- 4 grams glycerin
- 43 grams distilled water
Cool Down Phase
- 1 gram preservative
- 1 gram essential oil
Instructions
- Combine the oils and butters with the emulsifying waxes in a heat-safe container.
- Combine the water and glycerin in a separate heat-safe container.
- Heat both containers over a water bath (or double boiler) until the waxes and butters have fully melted.
- Remove the containers from the water bath and, while still hot, combine the ingredients in a large-enough container to comfortably blend the ingredients with an electric beater or immersion blender.
- Blend the ingredients until the ingredients have combined and the mixture becomes more opaque (around 10 seconds).
- During the cooling process, blend the mixture occasionally. To speed up the process, place the bowl in the freezer between blendings or blend over an ice bath. (This also prevents the shea butter from becoming grainy.) Allow the mixture to rest for a minute or so between short bursts of blending it to prevent overbeating.
- Once cool, add the preservative and fragrances. You can also add other heat-sensitive ingredients at this point. Blend a final time to fully incorporate the ingredients
- Package your body butter by spooning or piping it into a storage container.
Notes

Emulsified Body Butter O/W
Materials
Oil phase
- 6 grams Olivem 1000
- 6 grams cocoa butter
- 15 grams shea butter
- 10 grams liquid oil
- 2 grams acetyl alcohol
Water phase
- 4 grams glycerin
- 55 grams distilled water
Cool down phase
- 1 gram preservative
- 1 gram essential oil
Instructions
- Combine the oil-phase ingredients in a heat-safe container.
- Combine the water phase ingredients in another heat-safe container.
- Heat both containers over a water bath (or double boiler) until the waxes and butters have fully melted.
- Remove the containers from the water bath and, while still hot (ideally around 70º-75ºC/160º-170ºF), combine the ingredients in a container that is large enough to comfortably hold the ingredients with room for beating with an immersion blender. Whisk or blend the ingredients together. Using an immersion blender will help ensure a more stable emulsion.
- Allow the mixture to cool slightly. As the mixture cools, the liquid will get thicker and more opaque. Whisk or blend the ingredients together again several times throughout the cooling process.
- Once the mixture has cooled (to around 30ºC/85ºF) and thickened slightly, you can add the cool down phase ingredients. This includes the preservative and any delicate, heat-sensitive ingredients you want to use.
- Blend again until all ingredients are fully combined and pour the mixture into the final storage containers.


Hi Tracy,
I just found your page & firstly I love & second can I add a bit ROE to the recipe to extend the shelf life? I live in a area where the temperatures can be extreme (Australia)
Many Thanks
Joan
Hi Joan,
Thank you so much—I’m so glad you found my page and are enjoying it! 😊
Yes, adding a bit of ROE (rosemary oleoresin extract) is a great idea to help keep the oils fresh, especially in a warm climate like Australia. Just keep in mind that ROE is an antioxidant, not a preservative—it slows oxidation (rancidity) but won’t prevent microbial growth.
Since this recipe is a water-in-oil emulsion, you’ll still want to include the broad-spectrum preservative listed in the cool-down phase. The combination of both will help extend shelf life and keep the product stable.
You can use ROE at about 0.05–0.5% of the total formula (Shoot for around 0.2%). Add it during the cool-down phase once the mixture has cooled below 40 °C (104 °F). 💕
Hello, I really love this recipe, however I was wondering what measurement the liquid oil is? On both recipes it just has a number next to the words “liquid oil”. Thanks in advance 🙂
Sorry about that. It was grams, just like the other ingredients. Thanks for catching it. I have updated the recipe.
what percentages did you use for both recipes?
Hi Kamilah,
The recipe is formulated to be 100g, so just exchange the g of gram for % and you have your percentages.