

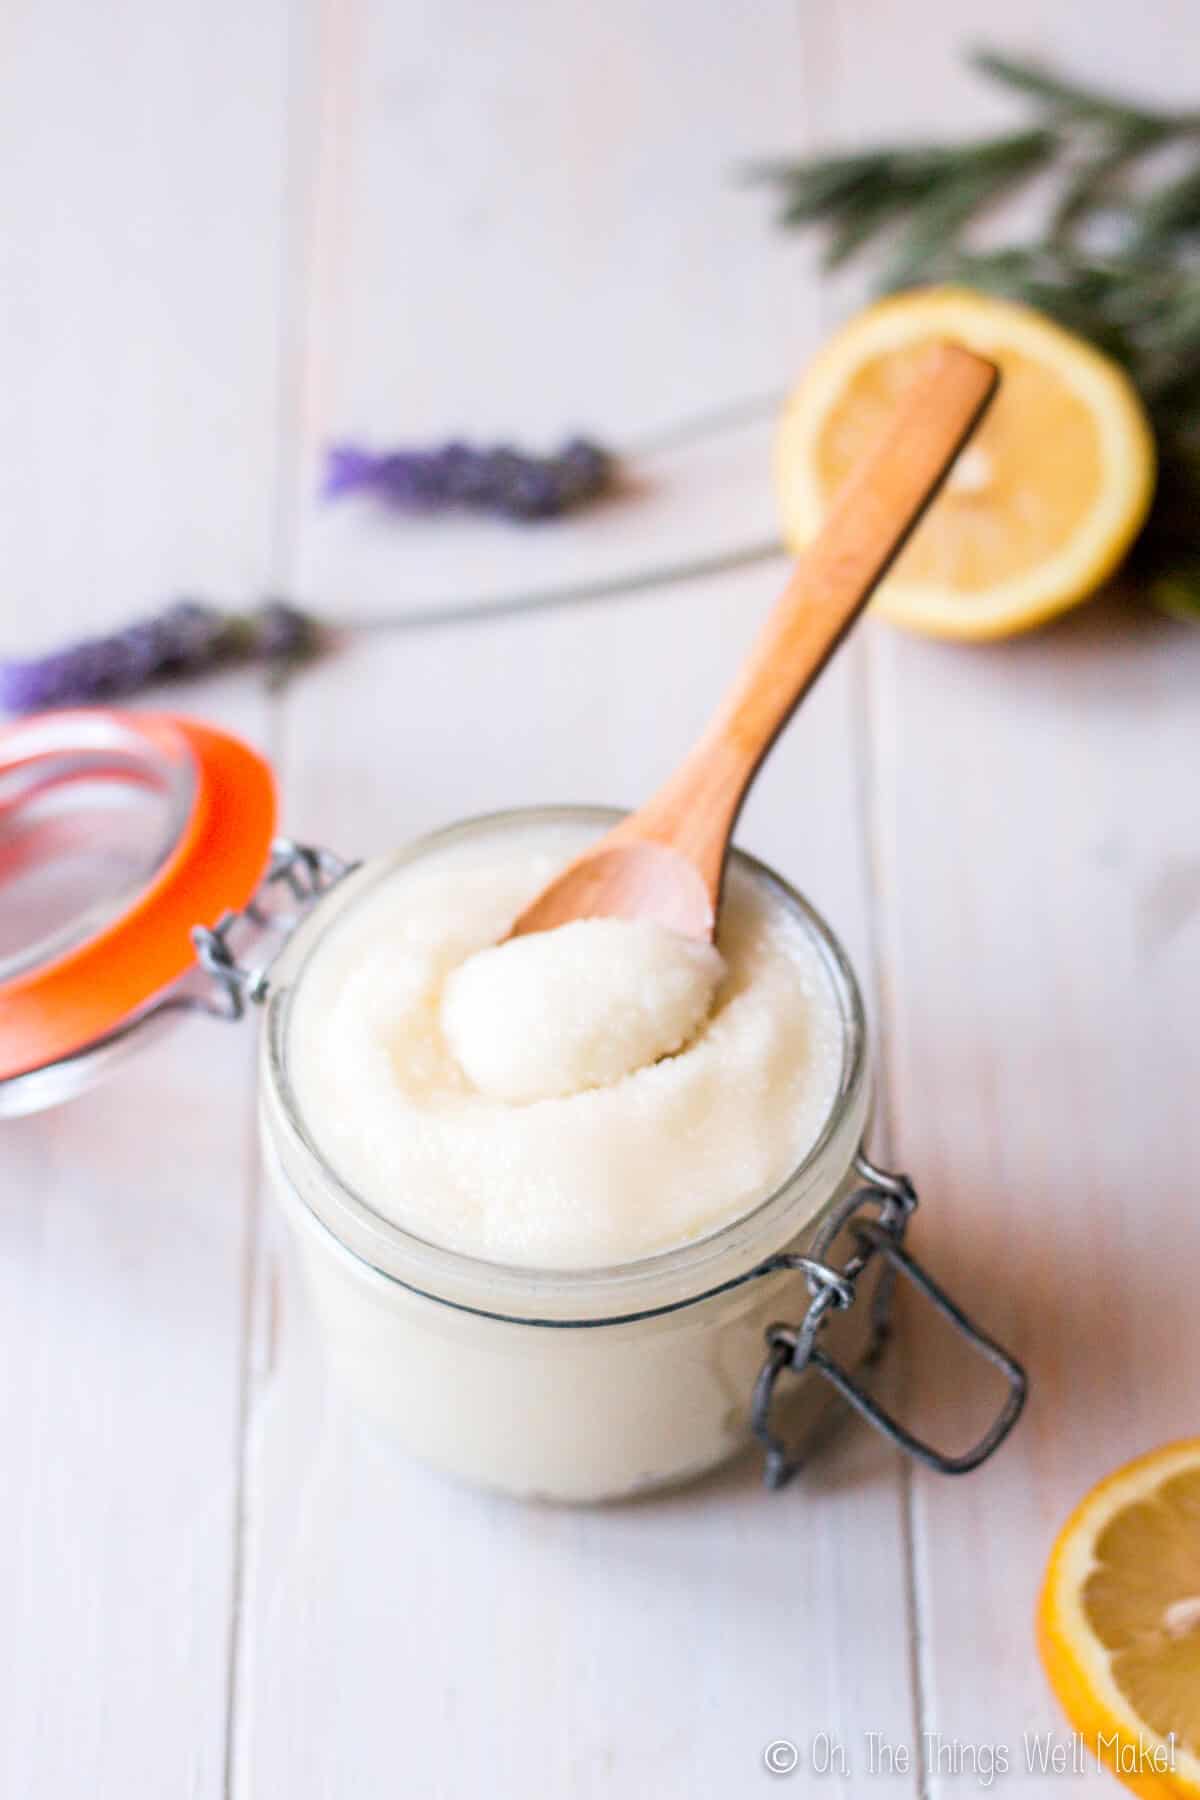
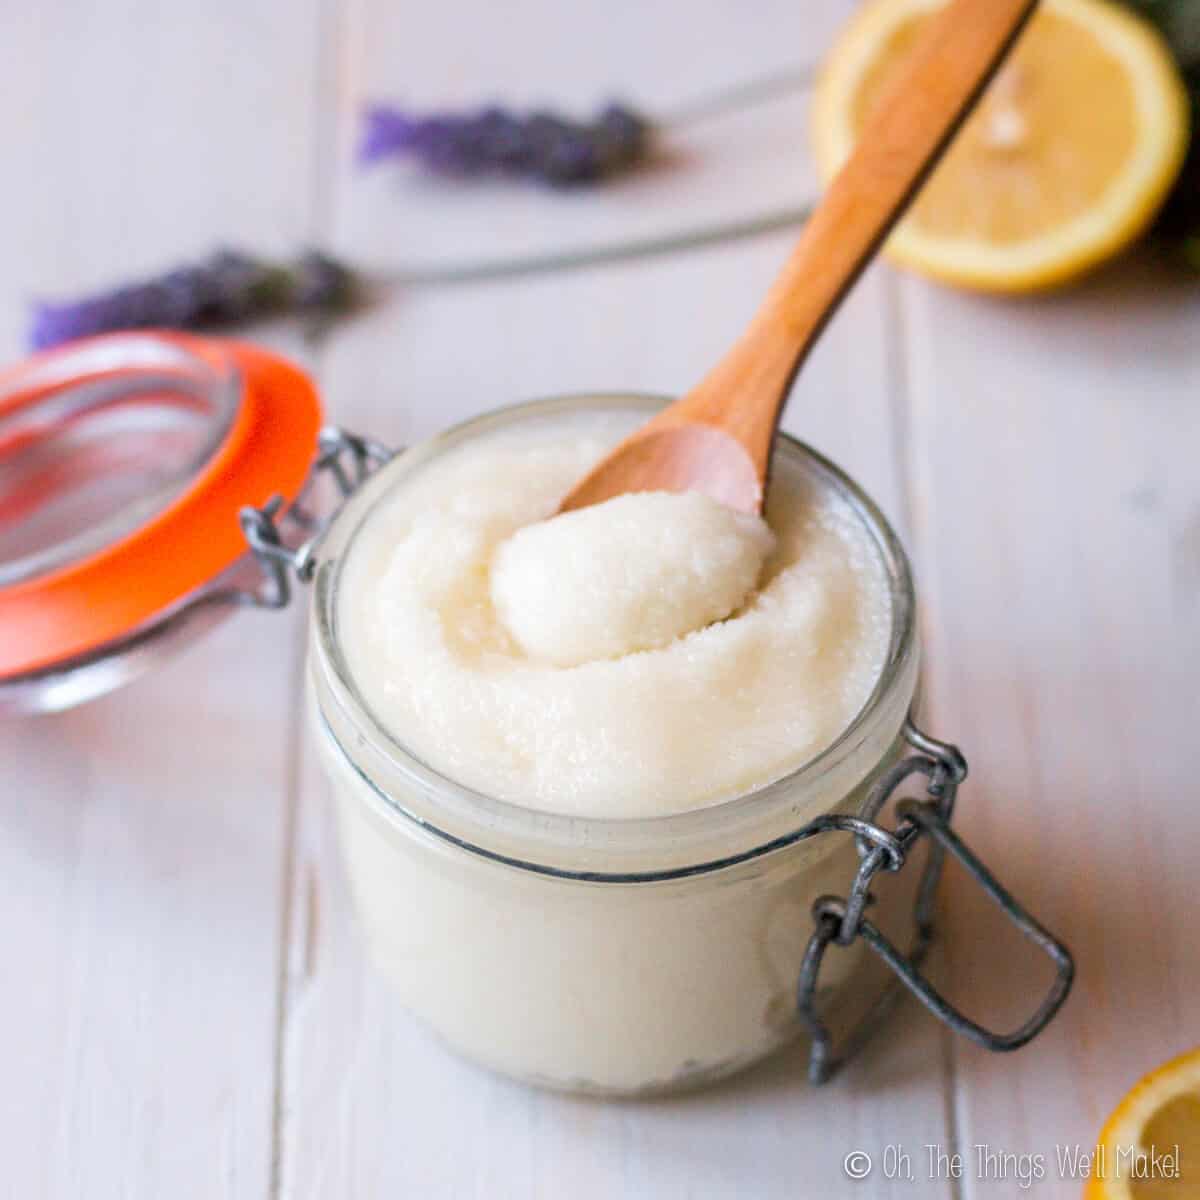
Easy Emulsified Sugar Scrub
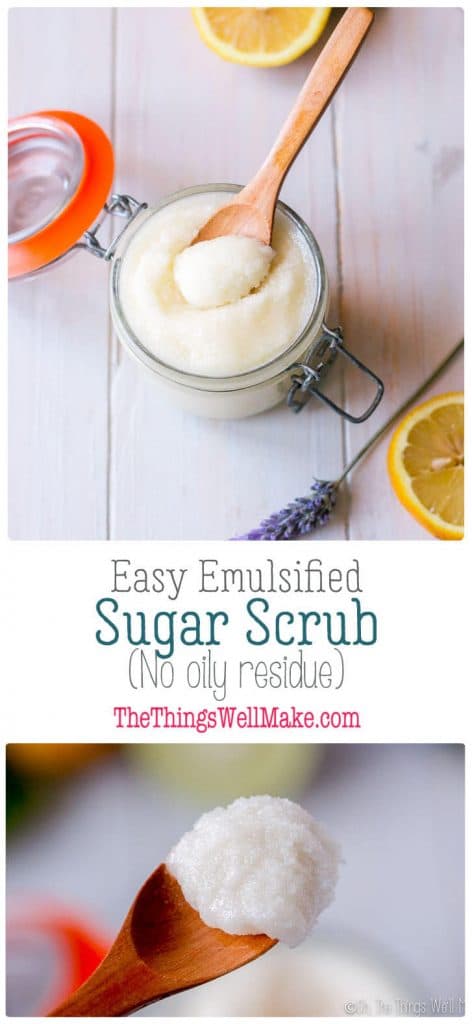
Unlike sugar scrubs made with only oils and sugar, emulsified sugar scrubs become a creamy exfoliating lotion upon contact with water, leaving no oily residue, but only soft, supple skin behind.
One of the most common DIY beauty products that can be found online is sugar and salt scrubs. Perhaps the main reason that these products are so popular is that they are very easy to make. Basically, you take some oil and mix it together with either sugar and salt, and you’re essentially done. Sure, you can customize your recipe with different oils, sugar types, essential oils, and/or add in other exfoliants or colorants, but most of these recipes are essentially the same.
I’m not going to criticize these recipes. In fact, one of the first DIY recipes on my blog was a brown sugar lip scrub. As you may have guessed, I mostly used it to exfoliate my lips, but also tried using it in the shower to exfoliate my skin.
The benefit of emulsified sugar scrubs
The problem with regular sugar scrubs is that they tend to be messy to use. The oil doesn’t provide a lot of structure for your product, so it’s usually hard to scoop into your hands to use in the shower. Sure, you can use coconut oil to give it more body, but as soon as the weather warms up, you’re back to a more liquid product.
You could, of course, add some butters and/or waxes to the scrub to thicken it, but we’re still left with the main problem with sugar scrubs, the oily residue. Because it’s an oil-based product, you usually end up with oil all over your hands, and body, and shower, as well as the container you’re using for your sugar scrub. I liked the smooth feeling of my legs and arms after exfoliating with my homemade sugar scrub but didn’t like the feel of the oily residue all over my body.
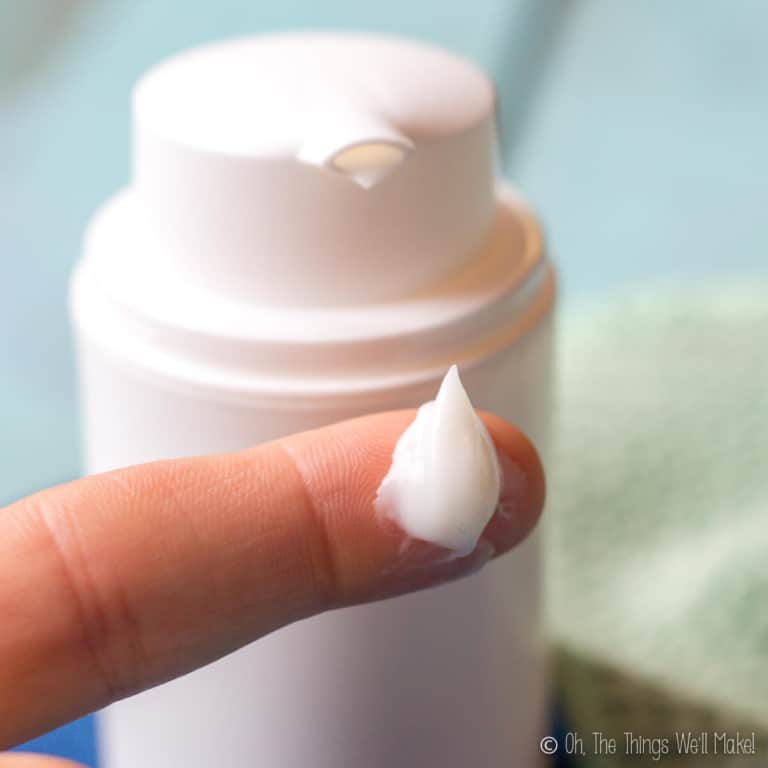
Emulsified sugar scrubs don’t leave that sort of oily residue behind. Because they include an emulsifier as one of their ingredients, when the oils and waxes of the product come in contact with water, they basically form an emulsion, or a lotion, on your skin while you are exfoliating away. In the end, emulsified sugar scrubs are like exfoliants and lotions in one product. You’re essentially making an exfoliating creamy cleanser right on your skin as you scrub away.
If you’re lazy like I am, and don’t like having to exfoliate, rinse, and then use lotion once out of the shower, this emulsified sugar scrub is the perfect solution. It leaves your skin clean, smooth, and lotioned up. (Is that a word?)
Watch me make this easy, emulsified sugar scrub:
Should you add a preservative to your sugar scrub?
Because this is still an oil-based product, without any water in it, you technically don’t have to add a preservative to it. The problem with not using a preservative, though, is that you use this product in a very wet environment and likely scoop it out of the jar with wet hands. The likelihood of moisture contaminating your product is very, very high.
That’s why preservatives are usually added to these types of products, and why you have to be very, very careful using it if you choose not to add a preservative. You could even consider adding less sugar and less wax to the scrub so that you end up with a thinner product that you could more easily dispense from a silicone travel tube dispenser or another type of flip cap dispenser. That would allow you to dispense the product without touching it and would help keep water from contaminating your product.
Customizing the emulsified sugar scrub
There are several ways that you can customize this recipe to better suit your taste.
Changing the exfoliant: Salt, sugar, or brown sugar?
While I made this a sugar scrub, you could just as easily add salt to the recipe instead. Salt tends to be a bit more abrasive because the granules aren’t as round and it takes longer for the salt to dissolve, but it really depends on the coarseness of whatever you choose to use. Brown sugar usually has smaller granules and tends to be a lot less abrasive, making it a great option for exfoliating your face.
How much sugar should I use?
When I first made the recipe, I used 120g of sugar and found it to be a nice texture. The next time I made it, I decided I would add more sugar, around 30g more, thinking I’d end up with a thicker scrub (and more of it). In the end, I think it may be a bit on the thick side (as you can see at the end of my video when I’m applying the scrub). It still works well, especially if you are applying it to wet skin, but is a bit harder to apply if it isn’t thinned out with a bit of water. I think somewhere between 120g-150g is a good guideline, and you can adjust the amount to achieve the consistency you prefer.
Customizing the fragrance
I used a combination of lavender, rosemary, and lemon essential oils because I tend to favor citrus herbal scents. You can change the essential oils, though, to suit your tastes. I like lavender because it is calming and soothing for relaxing after a busy day. Lemon can be both soothing or invigorating depending on what you mix it with and when you use it. I don’t normally measure out my essential oils, but use my nose to help decide how much to add.
Which emulsifying wax should you use?
You can use any emulsifying wax that you may happen to have on hand. If you make your own homemade lotions, you should already have one or two of them at home.
If you are very concerned about making a very natural emulsified sugar scrub, consider using an emulsifying wax like olivem. Olivem is a vegetable based emulsifier that is derived from olives. It is allowed in natural, organic products that use the ECO-CERT certification. Olivem is a great option for an emulsifying scrub, too, because some people say that it has a bit of a soap feel to it. In the case of a cleanser, that is more of an advantage than a disadvantage.
Basic, Easy Emulsified Sugar Scrub

Emulsified Sugar Scrub
Ingredients
- 50 g oil I used sweet almond oil
- 10 g cocoa butter
- 10 g shea butter
- 10 g beeswax or candelilla wax
- 15 g emulsifying wax Olivem is a great choice for this!
- 1 g essential oil (I used lavender, rosemary, and lemon)
- 1 g cosgard or other natural preservative used at the recommended dose
- 150 g sugar (Use less for a slightly thinner product)
Instructions
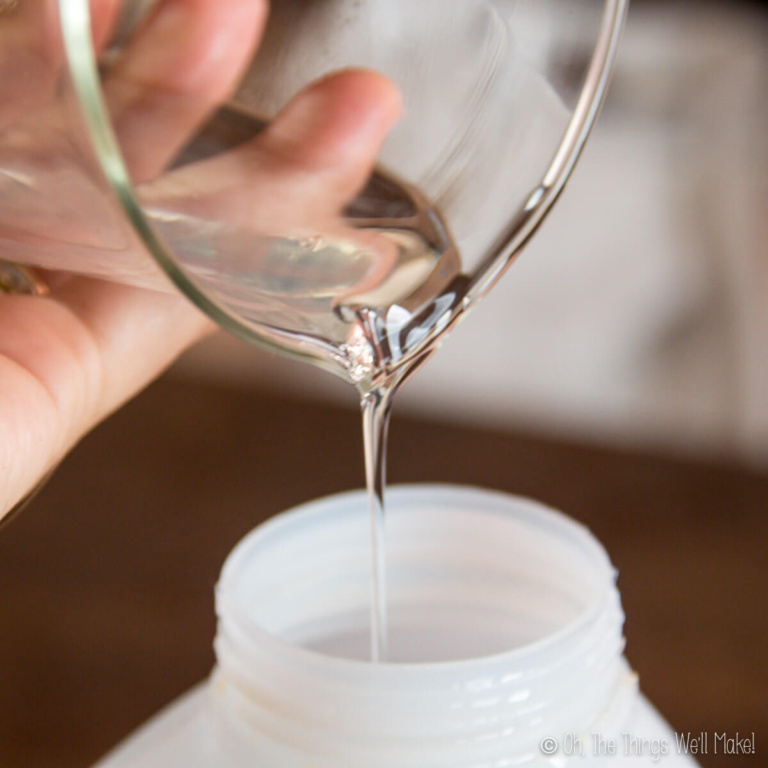
- Weigh out ad mix together the first 5 ingredients: the oil (but not essential oils), butters, and waxes.
- Melt the oils, butters, and waxes over a double boiler (or in the microwave, if you prefer).
- Once melted, remove from the heat, and stir occasionally as the mixture cools. You can use a mixer to help blend everything together and make a creamy mixture, but it’s not essential.
- Once your mixture has cooled down quite a bit (ideally below 45ºC/115ºF), you can begin to add the essential oils and preservative.
- Make sure the essential oils and preservative are well incorporated into your oils and then begin to add the sugar. Add slowly, and stir constantly, so you can gauge the consistency of the product. Add as much sugar as you like to achieve the desired consistency. (I like it somewhere between 120-150g.)
- To use your sugar scrub, scoop out a small amount in your hands and begin to rub over your wet arms and legs (or any areas you want to exfoliate and hydrate) in a circular motion. As the mixture comes into contact with the water, a lotion will be formed, and the sugar will begin to dissolve, making the product smoother and less abrasive. Rinse any remaining sugar crystals off, and pat your skin dry. Your skin should now feel smooth and hydrated.


Hi I really would like to make this scrub to sell but what preservative should I use? And how much? Please 🙂
Hi Kim,
When making products to sell, it’s probably best to do some sort of microbial testing to ensure that your product is safe. In many countries that is legally required, but not all countries (like the US- which doesn’t) do.
I think a preservative like Euxyl k900 would be a great alternative for this, but, again, I think you should have it tested (ideally after intentionally contaminating it with water, etc.) to make sure that it really works well for the shelf life you are trying to achieve. When choosing a preservative, you’ll have to take a look at the recommended dosage for that preservative. (For Euxyl, it’s 0.5-1% by weight.) With this having an emulsifier, I don’t think you’d have a problem with water-soluble preservatives either, but, again, it’s always best to test them out. I have more information about preservatives in my post about natural preservatives.
Hey may I know What is the difference between emulsified sugar scrub made with stearic acid and without stearic acid ?
Hello!
You can sub out the beeswax for stearic acid if you like. It may make for a lighter sugar scrub.
I chose to use beeswax because my readers are more likely to have it on hand, and many don’t want to use products derived from palm. (Palm-free stearic acid can be difficult to find.)
It’s basically a waxy substance that can be used in sugar scrubs, though.
Hi how are you? Im so exited to make this scrub, I love scrubs but don’t like the oily residue in my skin; I have 2 question? Since I’m most likely to leave it near my shower what preservative you recommend using? And how long you think the shelf life of this scrub? Im worry about the bacteria and mold part you describe.
Than you so much for your help and I love your web page!
Hi Carolina,
Sorry for the late response. I was actually making scrubs and wanted to test a few versions out before answering any new question on this post. In the end, you comment really wasn’t affected by my experiments anyway, but…
Because you are using an emulsifier, most of the preservatives should incorporate into the scrub without any issues. (If you’re concerned about the solubility, you could try one of the more oil-soluble ones like Euxyl k903.)
Perhaps, more importantly, is the pH range in which the preservative is effective. You could use the scrub with your water at home and then test the emulsion made on your skin for its pH. That would give you an idea of the pH of your product.
Generally, though, this scrub should keep for as long as the ingredient used with the shortest shelf life. Being an oil-based product with no water in it, you’d have to try pretty hard to abuse it to make it unsafe. I’d still recommend trying to keep water out as much as possible, but this scrub, especially if preserved, is pretty safe and will keep for a very long time. It will more likely start to smell rancid before it goes bad from microbial growth.
Hi Tracy
Please can you tell me if this body scrub recipe could be used for lip scrubs.
Many thanks
Theoretically, yes. If I were to make it for lips, though, I’d be more careful about the emulsifier and preservative used. When using it, I’d be careful to not be eating it. While I generally use emulsifiers and preservatives that are on the natural side, I’ve only studied their safety for topical uses. I’m not sure how toxic they would be (or not) if accidentally ingested.
For a lip scrub, I generally use brown sugar (less abrasive) with a simple oil and/or butter. Then there isn’t any worry- and you know it’s perfectly safe to ingest.
Thank you for your reply. To retail though you would have to use a preservative wouldn’t you?
Many thanks
Hello,
Probably- It will depend on the country you live in, but generally yes, you at least should. (The US is pretty lax with regulations, for example, but at the same time, you could be liable for any issues someone has resulting from it not preserving it adequately.)
When making it yourself, you can be careful about contamination with water, etc. Most people who buy a product don’t worry about it, though. They may be scooping it out with dirty, wet hands, etc.
I took a course in cosmetic preservation, and they suggested purposely abusing your product before testing it (which is needed in many countries) because you never know what people will do with it.
Hi do you recommend using on a daily and leaving on for how long?
You could use it daily. I don’t really leave it on long. I just rub with water in circular motions until the sugar dissolves. I then rise off any excess amount.
I’m thinking about trying this, instead of beeswax can I use glycerin to thicken it up?
Hi Latosha,
You can probably just make it without the beeswax. You don’t need to add the glycerin as it won’t really thicken it anyway- at least not in the same way. In any case, this recipe is pretty forgiving. The sugar will thicken it too. I’m planning on making a simpler version with less ingredients soon.
Out of curiosity, will this formula cause drainage problem b/c of the butter, oil, wax?
Hi Eve,
I haven’t had any issues with that. The emulsifier helps turn it into more of a lotion when used. In any case, you can run hot water afterward to rinse everything well, just in case.
Hi
Can I use liquid germ all plus as a preservative?
Hi Shaila,
I haven’t used liquid germ all plus before, but I just looked it up. It appears to be water-soluble, but you shouldn’t have a problem using it here because of the emulsifier. It appears that the European Union doesn’t recommend it for lotions and creams, which may be why it’s not something I readily see over here. That said, with this being a rinse-off product mostly anyway, it should be fine.
I should add that it appears to be stronger- so the doing is lower- 0.1-0.5% of the recipe by weight. (So, use around .3-.5g instead of a gram of the preservative I mentioned!)
Thank you so much. I really appreciate your prompt reply.
Hi,
I tried this recipe and absolutely love it! Only thing is I did not use beeswax as I didn’t have any. I noticed the sugar tends to settle at the bottom of the tubs and may need stirring. Has this happened because I didn’t use beeswax? Thanks ?
To a certain extent, yes. The wax thickens up the mixture which, in turn, holds the sugar in place.
I’ve been meaning to try to make a simpler version with less ingredients.
Hi,
I’m a little confused about the ingredients needed, because I want to make it simpler in order for me to sell. Do I need the beeswax, emulsifier, and cosgard? I wanted to do a scrub that wasn’t so oily in the tub but with just the emulsifier, oils, essential oils, and sugar…is that possible?
Hi Jamika,
Yes, it should be possible, and I want to experiment with it in my next batches. The waxes are mostly there to thicken the ingredients so that the sugar doesn’t fall to the bottom. You could just increase the amount of emulsifier though.
As for not using a preservative, I definitely would NOT recommend that for a product that you plan on selling. If making for yourself, you can be diligent not to contaminate your product by keeping it in a dry environment and using a dry utensil to remove the product from the container. If you’re selling, though, know that most people will just scoop the scrub out with their (likely wet) hands and will use it in the shower. It will very likely get water in the container, which could lead to mold and bacterial growth. If someone gets a rash or reaction from the bacteria that grows in your scrub, you could be liable for any consequences.
Thank you for sharing.