

Easy, No-Bake Paleo Pumpkin Pie Recipe
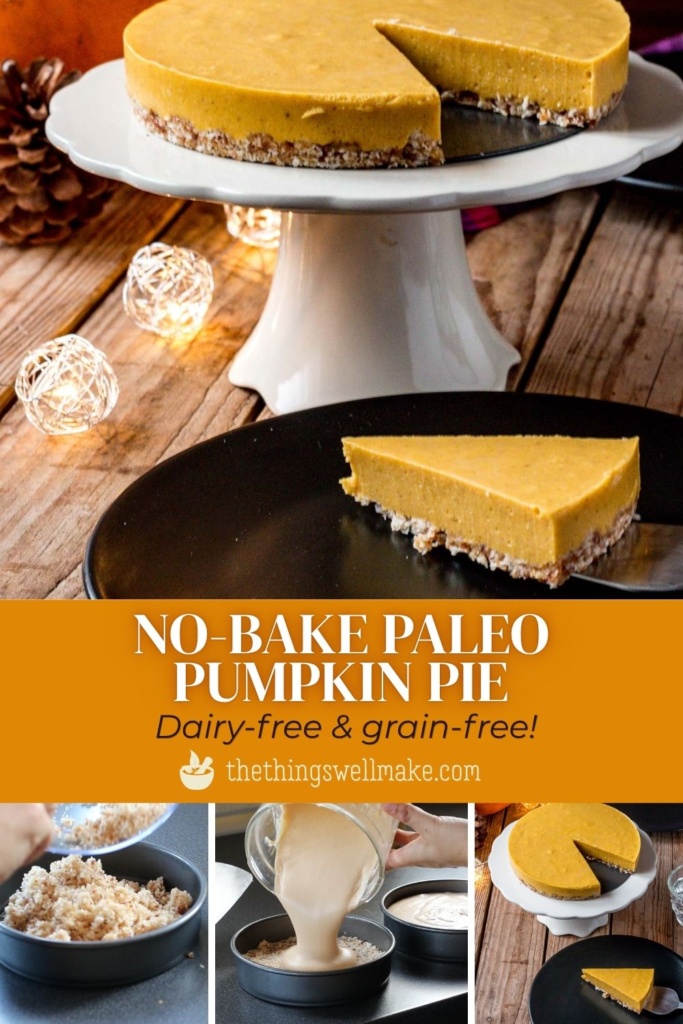
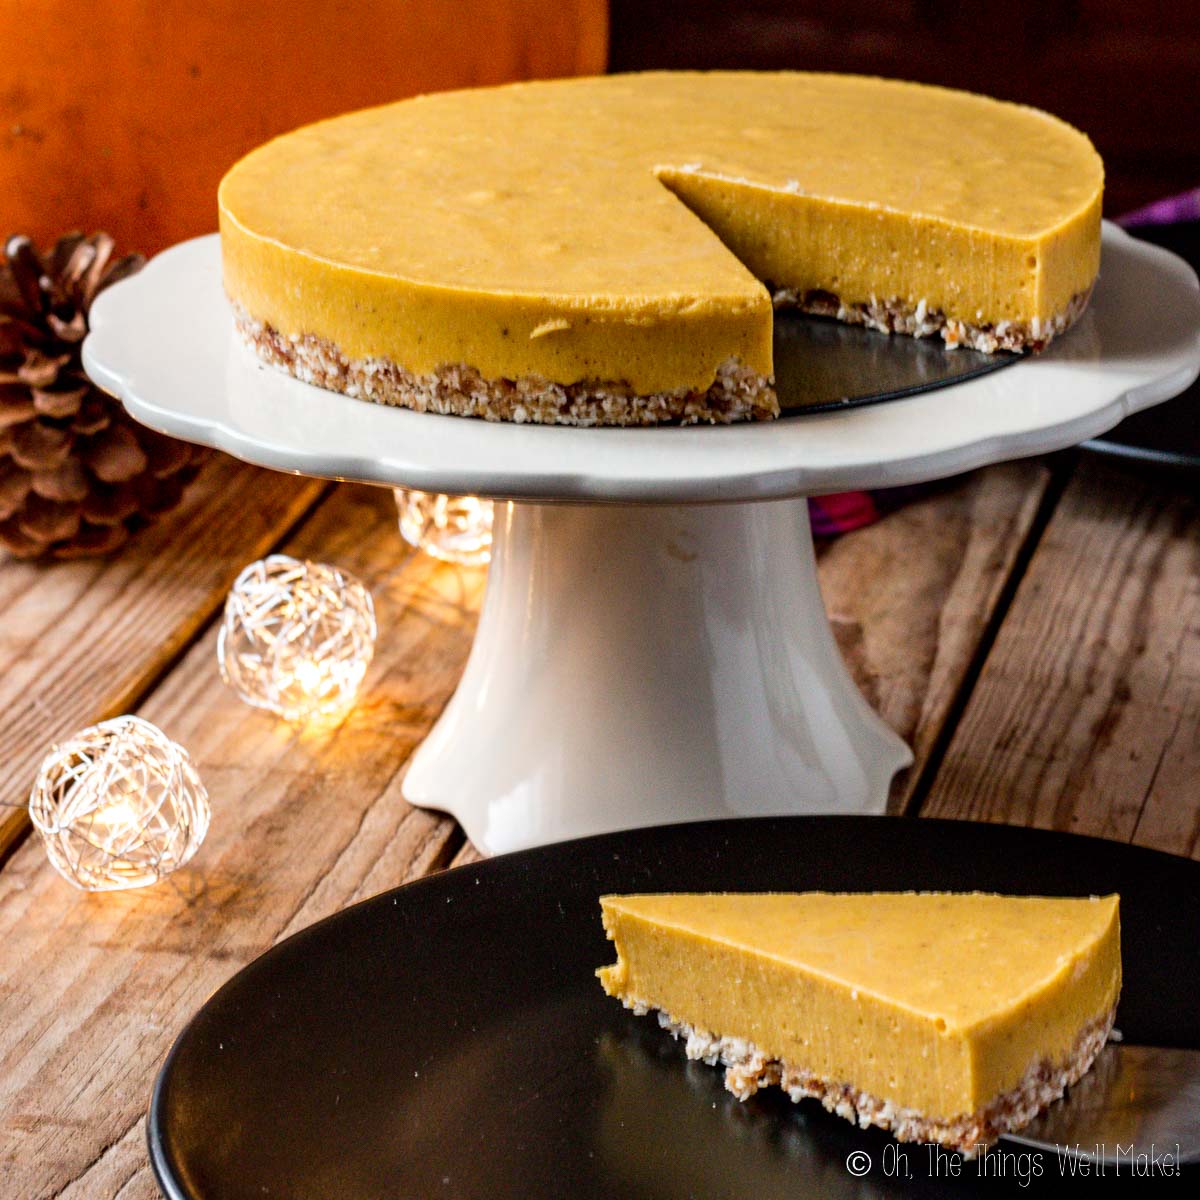
This easy no-bake paleo pumpkin pie is a simple alternative to traditional pumpkin pie. It has a creamy pumpkin filling, a naturally sweetened crust, and all the familiar flavors of fall, without dairy, grains, or baking.
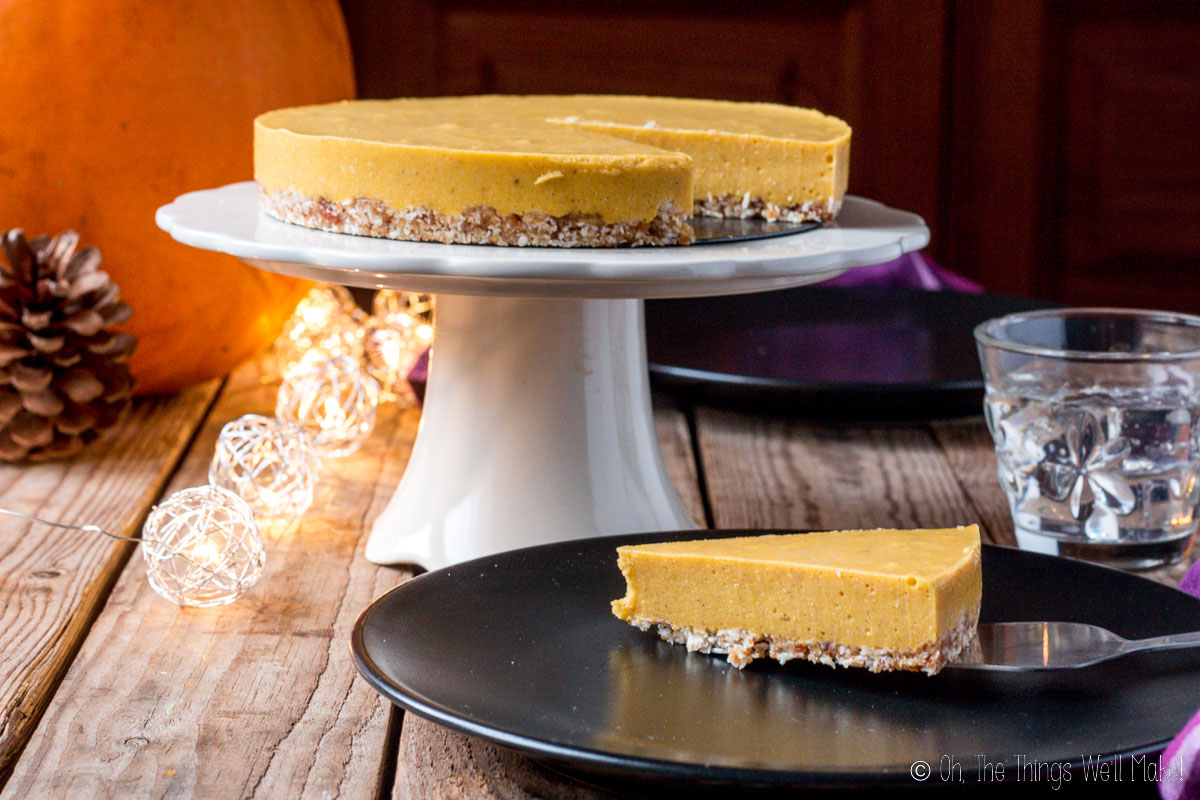
The pie comes together in about 15 minutes, although it needs some time in the refrigerator to set. It’s a convenient make-ahead dessert for Thanksgiving or any fall gathering.
I originally made this recipe with leftover homemade pumpkin puree, adapting the same basic method I’d used for my paleo key lime pie. The combination of pumpkin, coconut milk, and gelatin makes a creamy filling that firms up in the refrigerator without needing eggs or an oven.
Ingredients
This pie is made with pumpkin puree, coconut milk, gelatin, and a few spices. I sweeten it with honey or maple syrup and use a simple crust made from dates, almond flour, and shredded coconut.
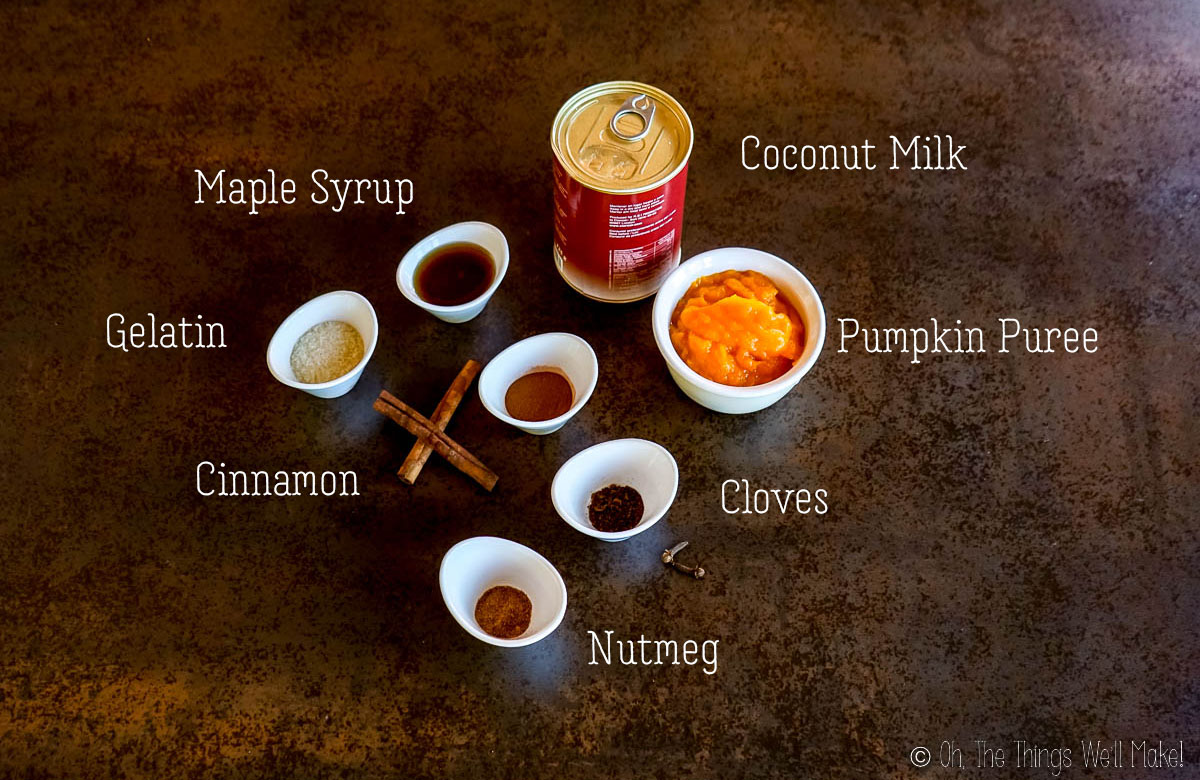
For the filling
I normally use homemade pumpkin puree because canned pumpkin isn’t easy to find here in Spain. Either will work, though, as long as you’re using plain pumpkin puree and not pumpkin pie filling.
For the coconut milk, choose a full-fat canned variety and refrigerate it for several hours before making the pie. The cream should separate from the thinner liquid underneath. We’ll use that liquid to dissolve the gelatin before mixing everything together.
The gelatin is what allows the filling to set without baking. I use powdered gelatin, which is best sprinkled over cold liquid and left to bloom before gently heating it.
Finally, cinnamon, nutmeg, and cloves give the pie its familiar flavor, while honey or maple syrup adds sweetness.
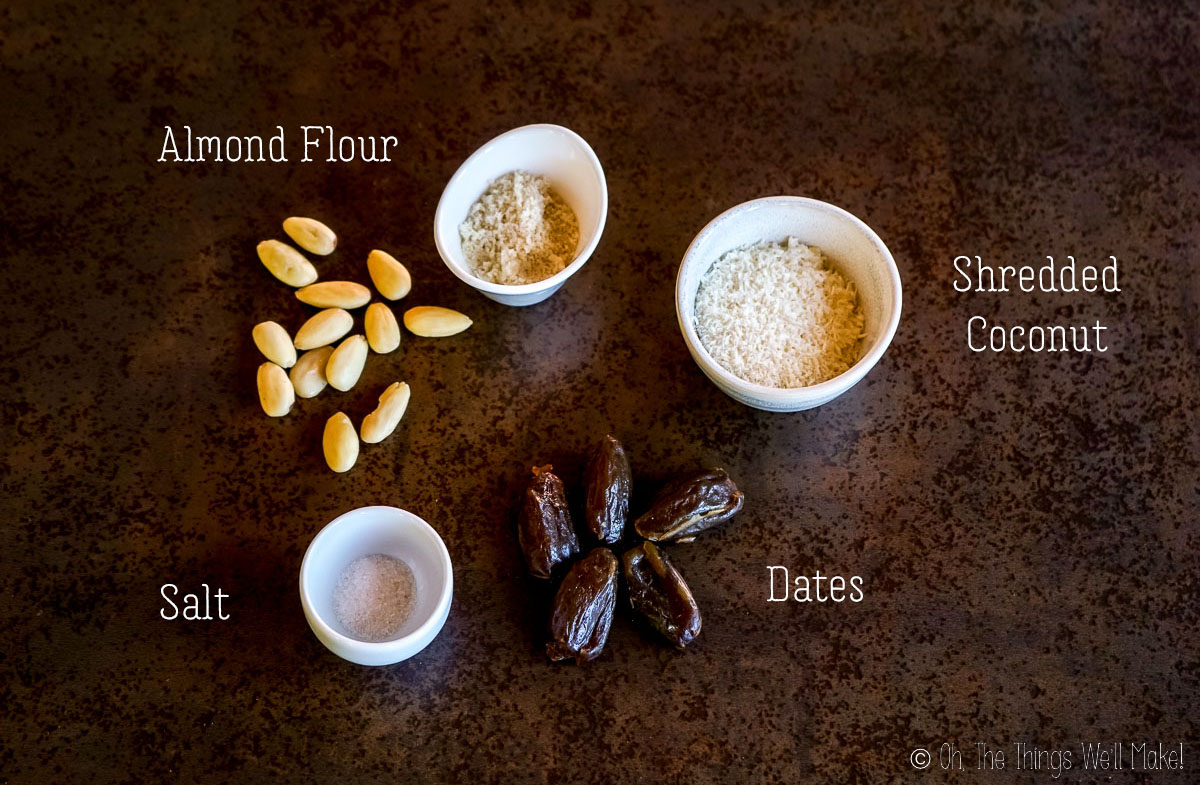
For the crust
The crust is even simpler. Just process dates, almond flour, shredded coconut, and a pinch of salt together until the mixture holds together when pressed. The dates add plenty of sweetness, while the salt helps balance it out. There’s no need to bake the crust.
How to make no-bake paleo pumpkin pie
This pie is pretty simple to make. You’ll need a food processor for the crust, a blender for the filling, and a small saucepan to dissolve the gelatin. I like to make two small 6-inch pies, but you can also use a larger pie pan.
Prepare the crust
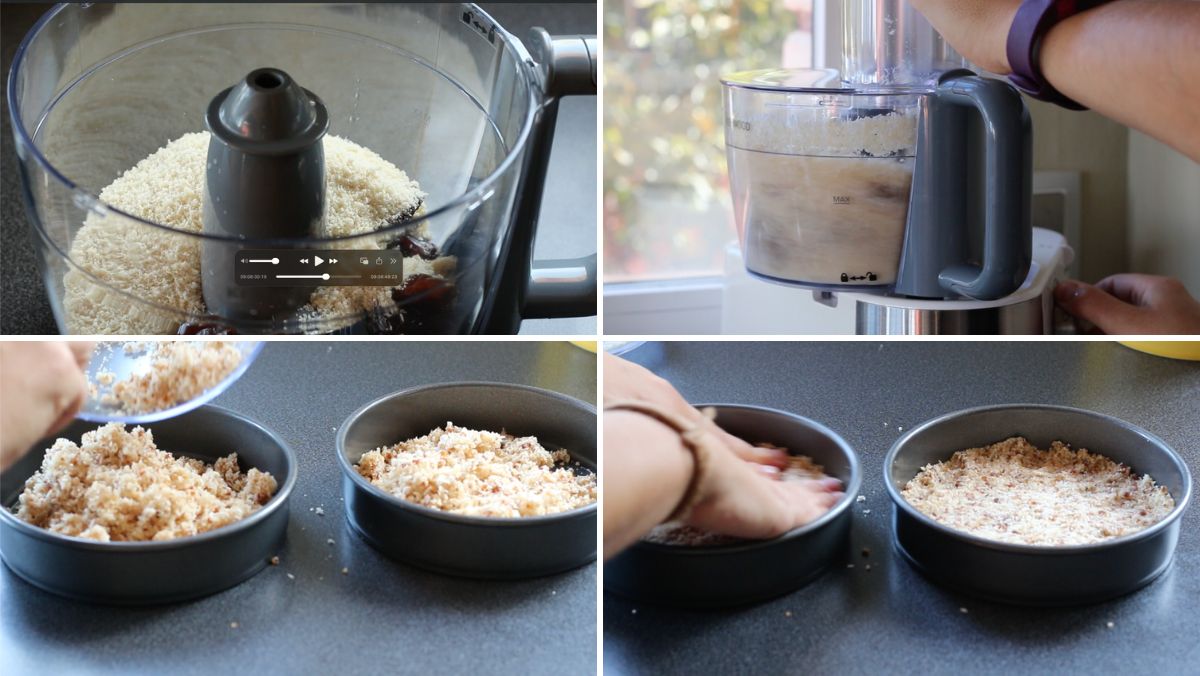
Prepare the crust by processing the soaked, pitted dates, almond flour, shredded coconut, and salt in a food processor until well combined. The mixture should hold together when pressed between your fingers.
Divide the mixture between two 6-inch pie pans and press it firmly over the bottom of each pan. You can use the bottom of a spatula or a glass to help smooth it out.
Separate the coconut milk
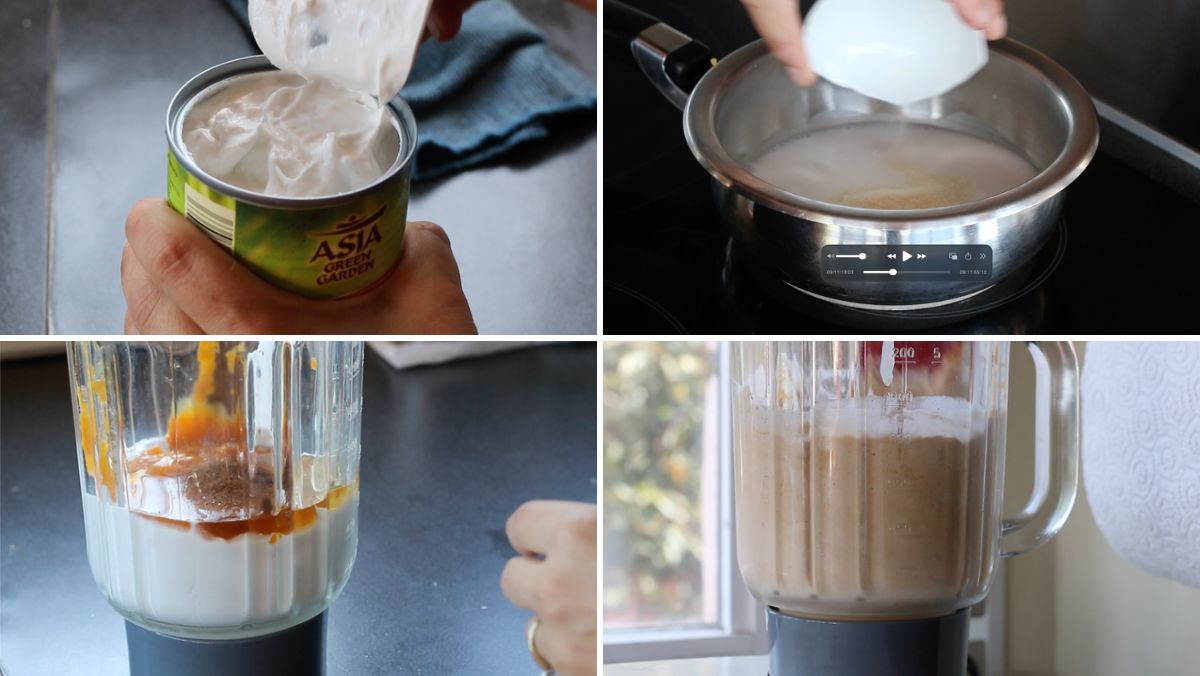
Open the can of coconut milk that you’ve chilled in the refrigerator for several hours. You should find a thick layer of coconut cream on top, with a thinner liquid underneath.
Spoon the thick coconut cream into your blender, leaving the liquid in the can for now.
The amount of cream and liquid can vary quite a bit between brands, and even between cans of the same brand. That’s something I discovered when I made this recipe again for the video, but I’ll explain more about that below.
Dissolve the gelatin
Pour the reserved coconut liquid into a small saucepan. Sprinkle the powdered gelatin evenly over the cold liquid and let it sit for around five minutes to bloom.
Once the gelatin has absorbed the liquid, gently warm the mixture over low heat, stirring until the gelatin has completely dissolved. There’s no need to boil it.
If your can of coconut milk contains very little liquid, add enough cold water to properly hydrate the gelatin before heating it.
Blend the filling
Add the pumpkin puree, cinnamon, nutmeg, cloves, and honey or maple syrup to the blender with the coconut cream.
Pour in the dissolved gelatin mixture and blend until everything is smooth and well combined.
Fill and chill the pies
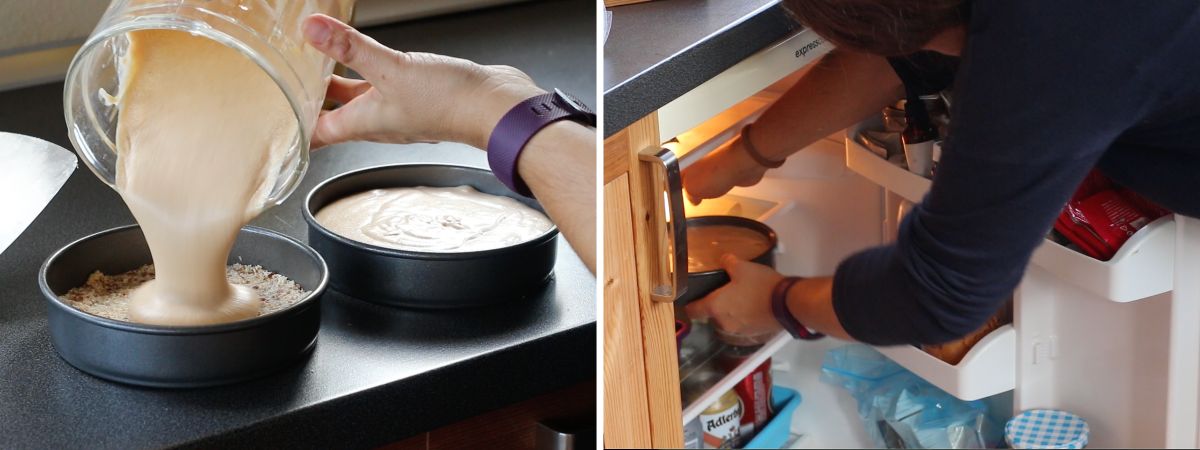
Pour the pumpkin filling over the prepared crusts, dividing it evenly between the two pans.
Place the pies in the refrigerator until the filling has set and is firm enough to slice. Allow several hours for chilling, or make them ahead and refrigerate overnight.
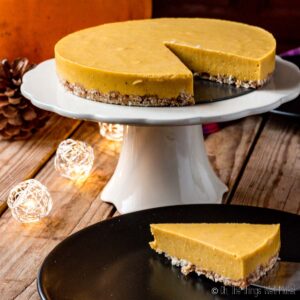
Once set, slice and serve.
Tips for the best results
Choosing the right coconut milk
One thing I’ve learned from making these no-bake pies is that not all cans of coconut milk are the same, even when they’re from the same brand.
Normally, after refrigerating a can of full-fat coconut milk, you’ll find a thick layer of coconut cream on top and a thinner liquid underneath. I use the cream for the filling and the liquid to dissolve the gelatin.
When I made this pumpkin pie again to record the video, though, I opened a can that was almost entirely thick coconut cream. There was hardly any liquid left at the bottom!
I added a little water to dissolve the gelatin and went ahead with the recipe. The pies still turned out well, but they were noticeably lighter in color than the ones I’d made before, and the coconut flavor was stronger.
If you find yourself with a can like that, you can add a little cold water to help bloom and dissolve the gelatin. You can also leave out some of the extra coconut cream if you want the pumpkin flavor and color to stand out more.
On the other hand, if your coconut milk has very little cream, the filling may turn out softer. That’s why I recommend using full-fat canned coconut milk rather than the thinner coconut milk sold in cartons.
Getting a smooth filling
Make sure the gelatin has completely dissolved before adding it to the blender. Any undissolved granules can leave an unpleasant texture in the finished pie.
Blend the ingredients until smooth, then pour the filling into the prepared crusts while it’s still fluid enough to spread evenly.
Let the pie set completely
Although the preparation is quick, the pie needs time in the refrigerator for the gelatin to firm up. I recommend making it several hours before serving, or preparing it the day before if you’re making it for Thanksgiving.
Wait until the filling is firm before slicing so the pieces hold their shape.
Storage and make-ahead
This no-bake pumpkin pie is a convenient dessert to prepare ahead of time, especially if you’re making it for Thanksgiving.
You can make the pies the day before serving and leave them covered in the refrigerator overnight. That gives the gelatin plenty of time to set and leaves you with one less thing to prepare on the day of your meal.
Keep any leftovers covered in the refrigerator and try to finish them within 3–4 days.
I haven’t tested freezing this particular pie, and gelatin-based fillings can sometimes change texture after thawing, so I’d recommend keeping it refrigerated instead.
Watch how to make no-bake paleo pumpkin pie
See how easy it is to prepare the crust and creamy pumpkin filling in this step-by-step video.

Paleo Pumpkin Pie Recipe
Ingredients
For the filling
- 400 ml full-fat canned coconut milk refrigerated for several hours
- 225 g pumpkin puree
- 19 g unflavored powdered gelatin
- 1.3 g ground cinnamon
- 0.7 g ground nutmeg
- 0.7 g ground cloves
- 63 g honey or maple syrup
For the crust
- 10 dates pitted and soaked in water
- 75 g almond flour
- 45 g unsweetened shredded coconut
- ⅛ teaspoon fine sea salt
Instructions
Prepare the crust
- Process the soaked, pitted dates, almond flour, shredded coconut, and salt in a food processor until well combined. The mixture should hold together when pressed between your fingers.
- Divide the mixture between two 6-inch pie pans and press it firmly over the bottom of each pan. Use the bottom of a spatula or glass to smooth the crust, if needed. Set the pans aside while preparing the filling.
Prepare the filling
- Open the chilled can of coconut milk and spoon the thick layer of coconut cream into a blender. Reserve the thinner liquid underneath.
- Pour the reserved coconut liquid into a small saucepan. Sprinkle the powdered gelatin evenly over the cold liquid and let it bloom for about 5 minutes. If there isn’t enough liquid to hydrate the gelatin, add a little cold water.
- Gently heat the gelatin mixture over low heat, stirring until completely dissolved. Do not boil.
- Add the pumpkin puree, cinnamon, nutmeg, cloves, and honey or maple syrup to the blender with the coconut cream.
- Pour in the dissolved gelatin mixture and blend until smooth and well combined.
Assemble the pies
- Pour the pumpkin filling over the prepared crusts, dividing it evenly between the two pans.
- Refrigerate for several hours, until the filling is completely set and firm enough to slice. The pies can also be prepared the day before serving and refrigerated overnight.
- Once set, slice and serve.
Notes
Originally published November 4, 2016. Republished November 6, 2026 with updated instructions, new process photos, and additional tips for making this no-bake paleo pumpkin pie.

Thank you very much for this recipe! I was trying to find a no bake pumpkin pie that was healthy and did not included condensed milk. This is great!
Thanks, Michelle!
Happy to help!
I just made this. I really was wanting pumpkin for the first day of Autumn and did not have eggs in the house.
This was so simple and it tastes lovely. A wonderful recipe, thank you!
Hi Kimberly, I’m so happy to hear it worked out for you! Thanks for letting me know! 🙂
Have a lovely week!