• Skip to main content
  • Skip to header left navigation
  • Skip to header right navigation
  • Skip to site footer
es_ES Español
  • About
    • Meet Tracy!
    • Contact Me
    • Disclaimers & Disclosures
    • Terms and Conditions
    • Cookie Policy
    • Privacy Policy
  • Holidays
    • New Years Eve
    • Valentine’s Day
    • St. Patrick’s Day
    • Easter
    • Fourth of July
    • Halloween
    • Thanksgiving
    • Christmas
  • es_ES
Oh, The Things We'll Make!

Oh, The Things We'll Make!

Make it yourself so that you control the ingredients!

  • Recipes
    • Appetizers & Snacks
    • Soups & Salads
    • Breakfast
    • Lunch & Dinner
    • Desserts & Sweets
      • frozen treats
    • Breads & Wraps
    • MIY Pantry Basics
    • Condiments & Sauces
    • Beverages & Smoothies
    • Story Archives
  • Make it Yourself
    • Arts & Crafts
    • Face & Body
      • Cleansers, Soaps, & Gels
      • Deodorants
      • Hair
      • Skin Care
      • Oral Care
      • Baby & Toddler Care
    • Home & Garden
      • Cleaning & Laundry
      • Garden & Hens
    • Soap Making
    • Upcycling
  • About
    • Meet Tracy!
      • More About Me
    • Contact Me
    • Disclaimers & Disclosures
    • Cookie Policy
    • Privacy Policy
  • Recipes
    • Appetizers & Snacks
    • Soups & Salads
    • Beverages & Smoothies
    • Breakfast
    • Lunch & Dinner
    • Desserts & Sweets
      • frozen treats
    • Breads & Wraps
    • Condiments & Sauces
    • MIY Pantry Basics
    • Story Archives
  • Make it Yourself
    • Arts & Crafts
    • Natural Face & Body
      • Cleansers, Soaps, & Gels
      • Natural Skin Care
      • Natural Hair care
      • Oral Care
      • Deodorants
      • Baby & Toddler Care
    • Soap Making
    • Home & Garden
      • Cleaning & Laundry
      • Garden & Hens
    • Photography
    • Upcycling
  • Holidays
    • New Years Eve
    • Valentine’s Day
    • St. Patrick’s Day
    • Easter
    • Fourth of July
    • Halloween
    • Thanksgiving
    • Christmas
es_ES Español
4 glass jars filled with 4 different types of colorful sprinkles made from shredded coconut. From left to right: green, purple, yellow, and bright pink.

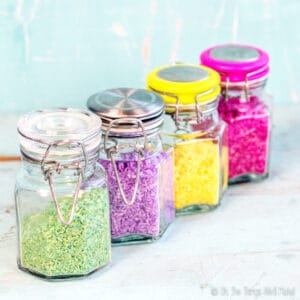
Homemade Healthy Sprinkles (Paleo)

Last Modified: May 21, 2020 // by Tracy Ariza, DDS // May 21, 2020 I may receive a commission if you purchase through links in this post. Learn more here.

es_ES Español

Jump to Recipe Print Recipe
Living a healthy lifestyle doesn't have to be boring. Make these fun sprinkles with vibrant colors that are made with natural ingredients that you likely already have in your kitchen. #paleodiet #healthyrecipes #naturalcolorings #thethingswellmake #sprinkles

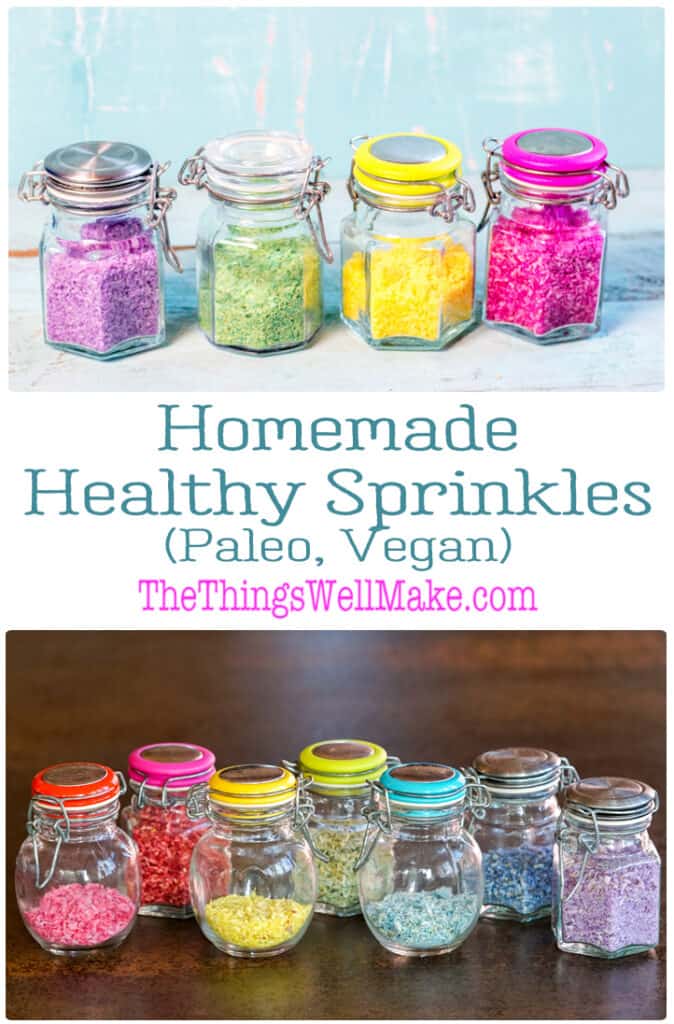
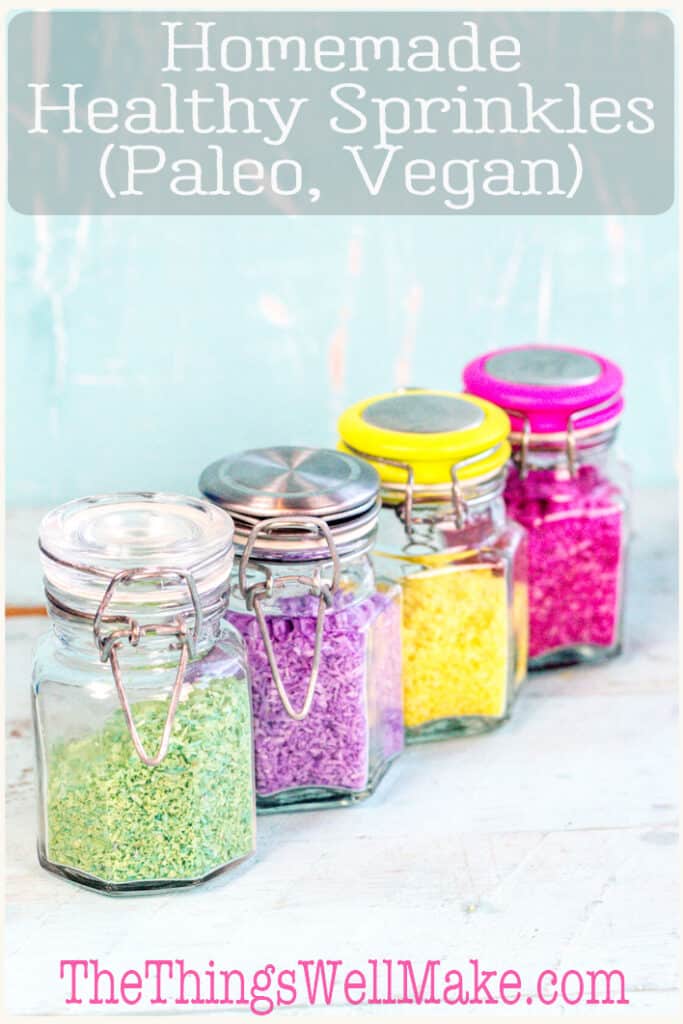
Living a healthy lifestyle doesn’t have to be boring. Make these fun and healthy sprinkles with vibrant colors that are made with natural ingredients that you likely already have in your kitchen.

4 glass jars filled with 4 different types of colorful sprinkles made from shredded coconut. From left to right: green, purple, yellow, and bright pink.
Pin this post for later!

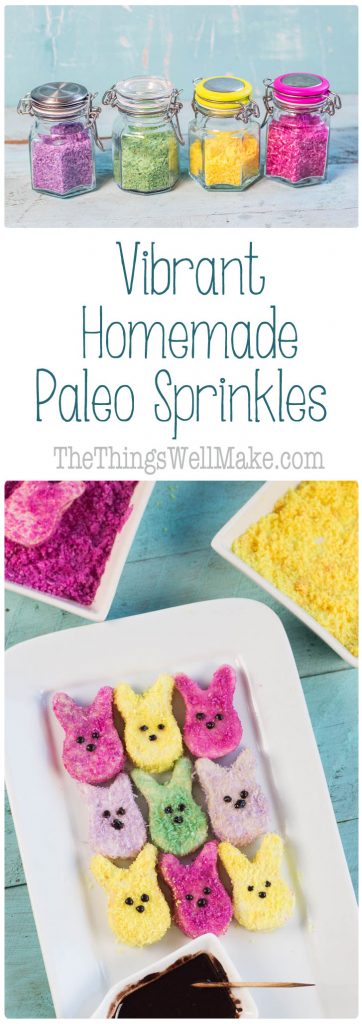
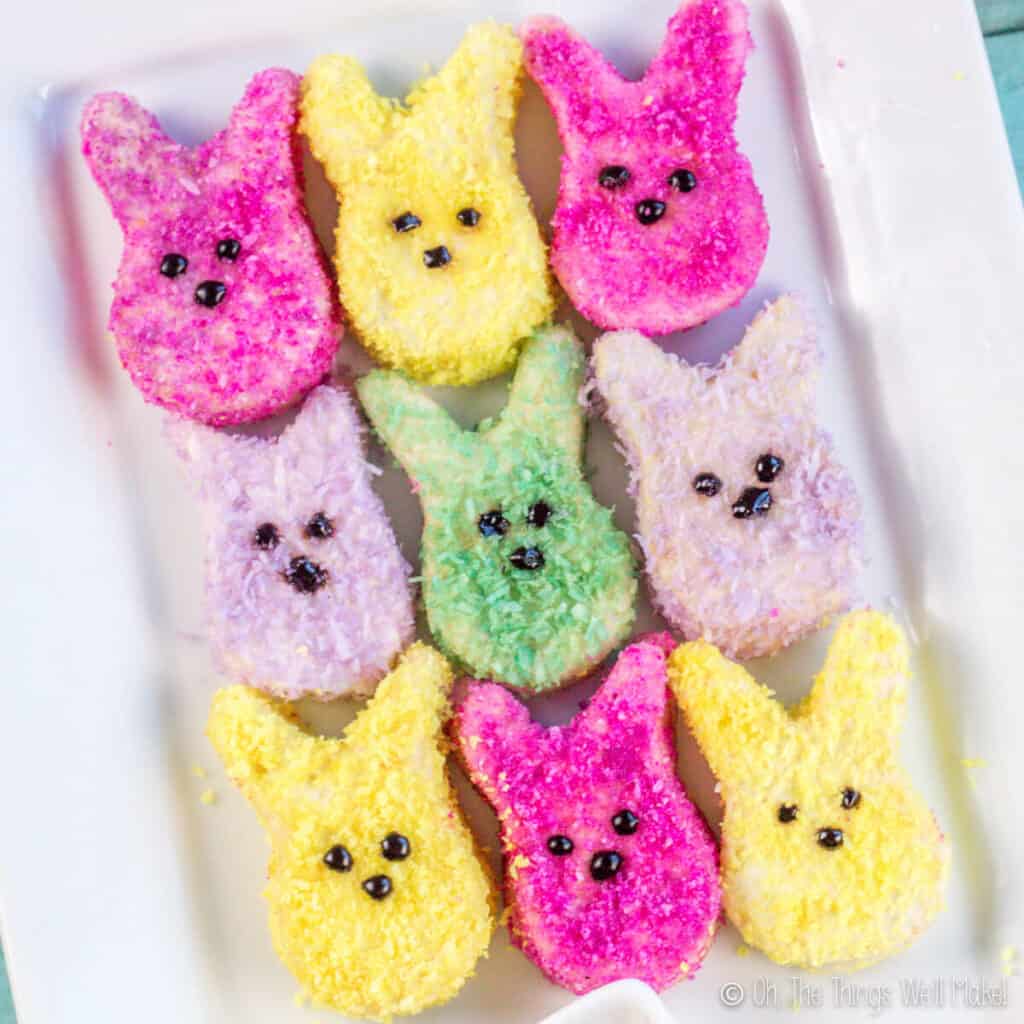
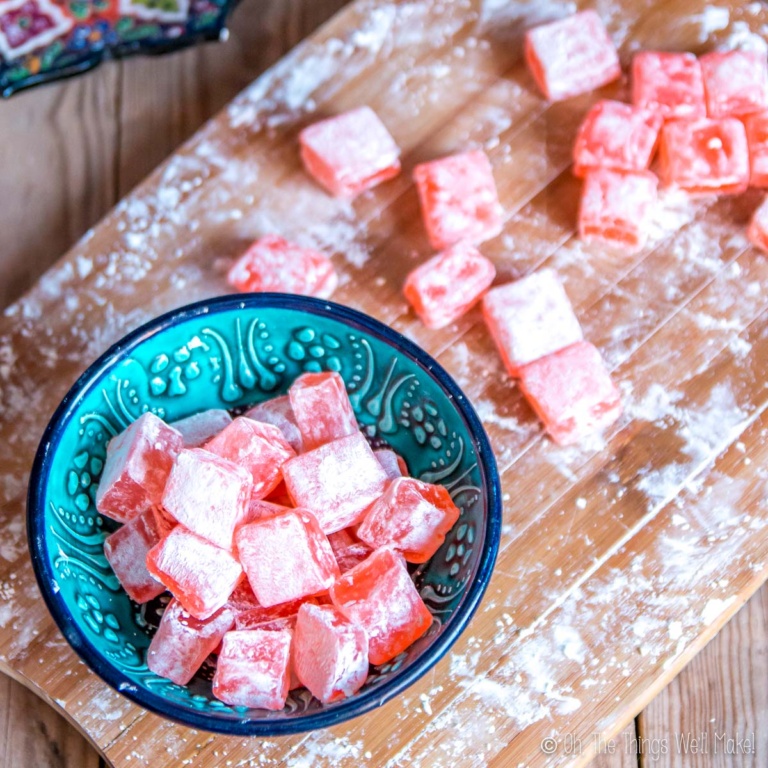
I first made these healthy sprinkles when I was looking for a way to decorate some homemade Easter marshmallows in bright colors. At first, I made some naturally colored sugar crystals to decorate them, but I later looked for a different option because the sugar crystals dissolved away with time.

Why make these healthy sprinkles?

Luckily, I came up with a new idea: to use shredded coconut instead of sugar crystals to decorate my marshmallows. They ended up being more vibrant, holding up better, and, in my opinion, even tasted better.

These homemade sprinkles are great to have on hand for decorating kids’ healthy foods to make them more appealing. Even I love using them when I make myself smoothie bowls. There’s just something about the added splash of color that makes a meal special.
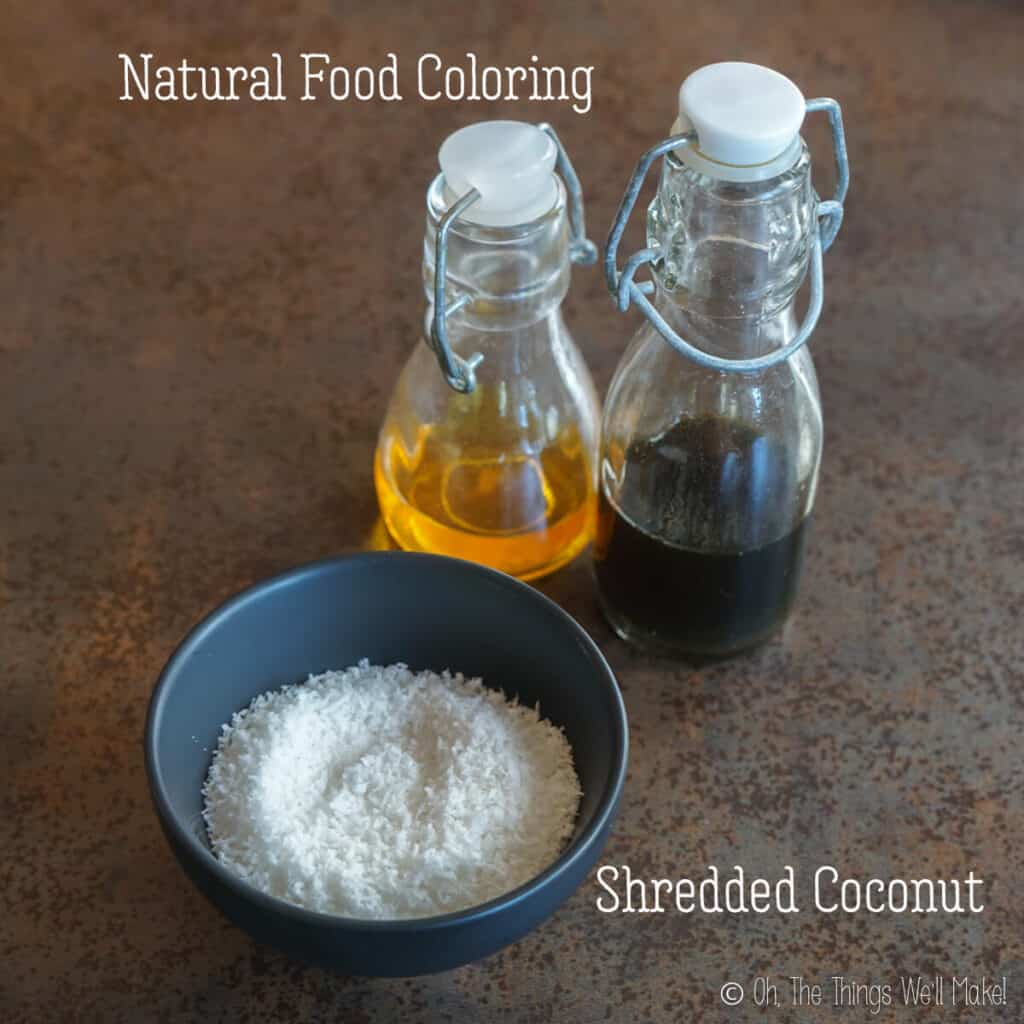
Closeup of 9 homemade marshmallow peeps shaped like bunnies and covered in brightly colored coconut sprinkles using natural colors.

Ingredients

Making these sprinkles couldn’t be any easier! All you need is some shredded coconut and some food coloring.

Because I’m always looking to make things myself, I went completely from scratch for both!

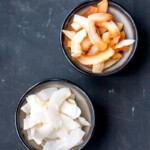
Dried shredded coconut

I love coconut water, so we’re constantly buying fresh coconuts here at my house. Once we have finished drinking the coconut water, we open the coconut and eat some of it. But, we don’t always eat enough to use up the entire coconut while it’s fresh.

To help preserve the coconut, I make my own dried shredded coconut and coconut chips. Homemade shredded coconut is perfect for making healthy sprinkles.

Don’t feel you have to be as hardcore as I am, though. You can just as easily buy store-bought. While you could use any type of shredded coconut, I prefer to use unsweetened dried coconut to make for healthier, homemade sprinkles. (Sore-bought sweetened coconut wouldn’t be considered “Paleo” if that is a concern for you.)

How to make coconut chips or flakes and toasted coconut chips

Learn how to make coconut chips, or shredded coconut flakes, from fresh coconuts. It’s easy!
Makes about 2 cups
Check out this recipe
Overhead view of 2 bowls of coconut chips, one with toasted chips

Food coloring

In the case of the food coloring, you can use whatever you like. I prefer to avoid synthetic food coloring whenever I can, but there is no reason you can’t use any regular store bought food coloring for making these.

There are some more naturally-derived food colorings on the market, and those are another easy option for those looking for a healthier alternative.

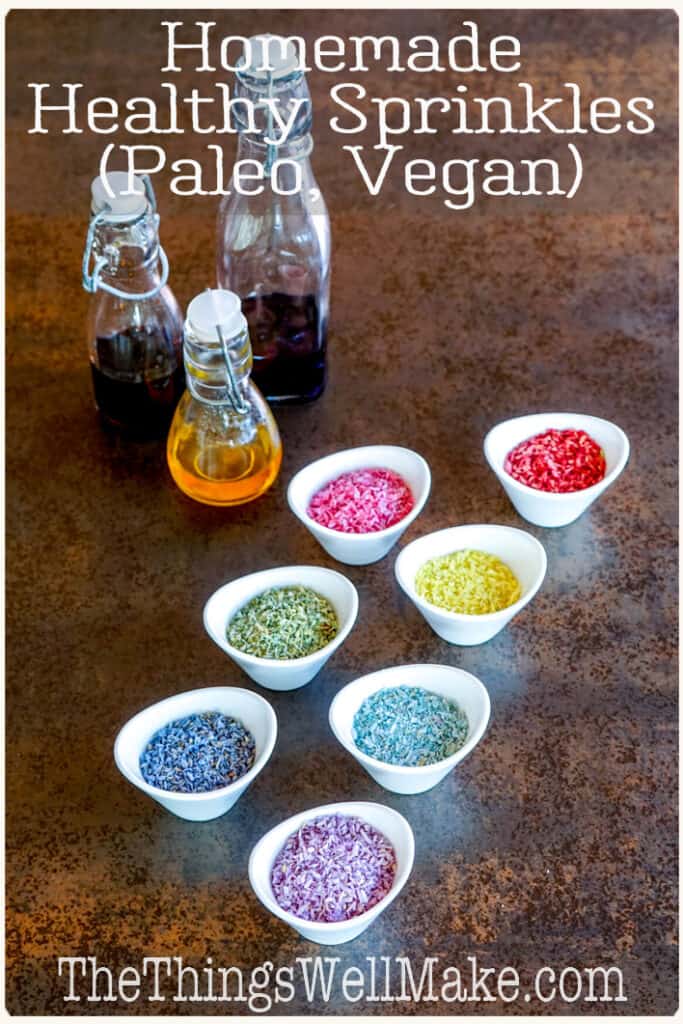
In my case, I again went a bit hardcore and made my own natural food colorings from vibrant foods in my kitchen.

Natural Food Coloring

Avoid synthetic food coloring by making your own natural food colorings extracted from fresh foods like colorful fruits and vegetables. They're fun and simple to make and can be used in a wide variety of recipes.
Check out this recipe
3 bottles of homemade food coloring behind 7 bowls of coconut that has been colored in a variety of colors using the homemade food colorings.

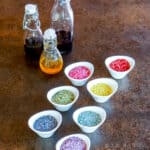
Making the different colors

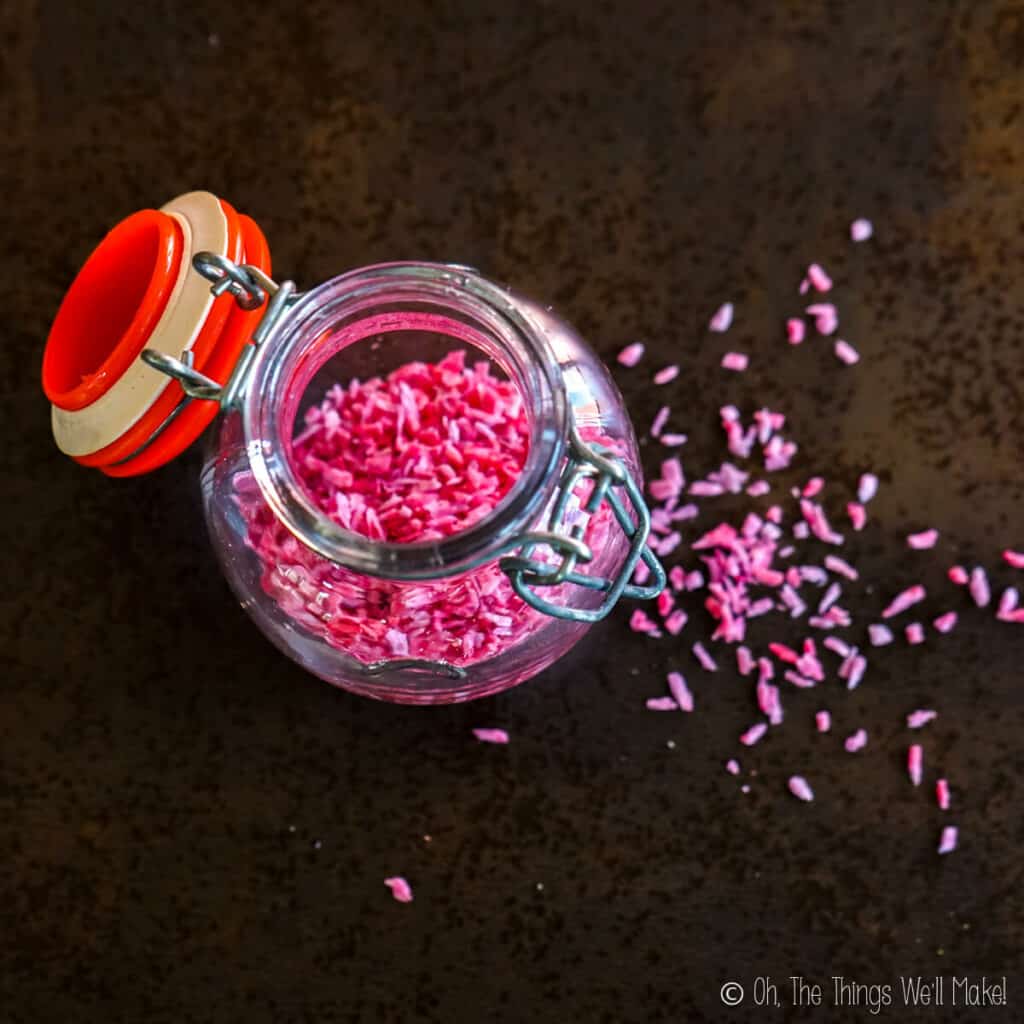
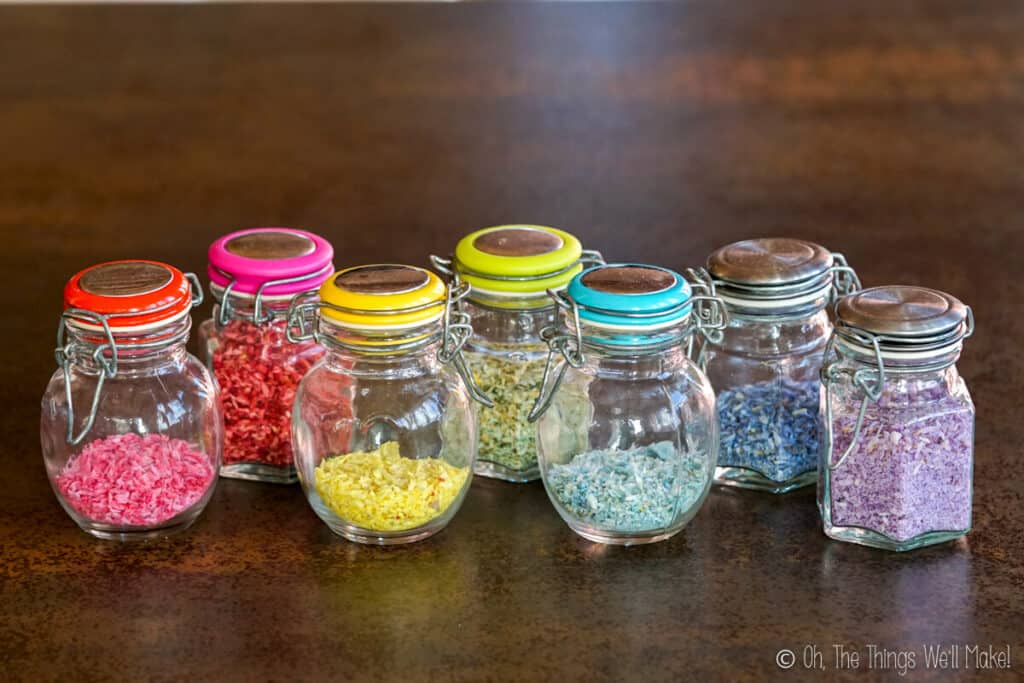
  • Make reddish-pink sprinkles from homemade beetroot powder.
  • The bright pink sprinkles are sour and were made with butterfly pea flowers and an acid (like citric acid or ascorbic acid).
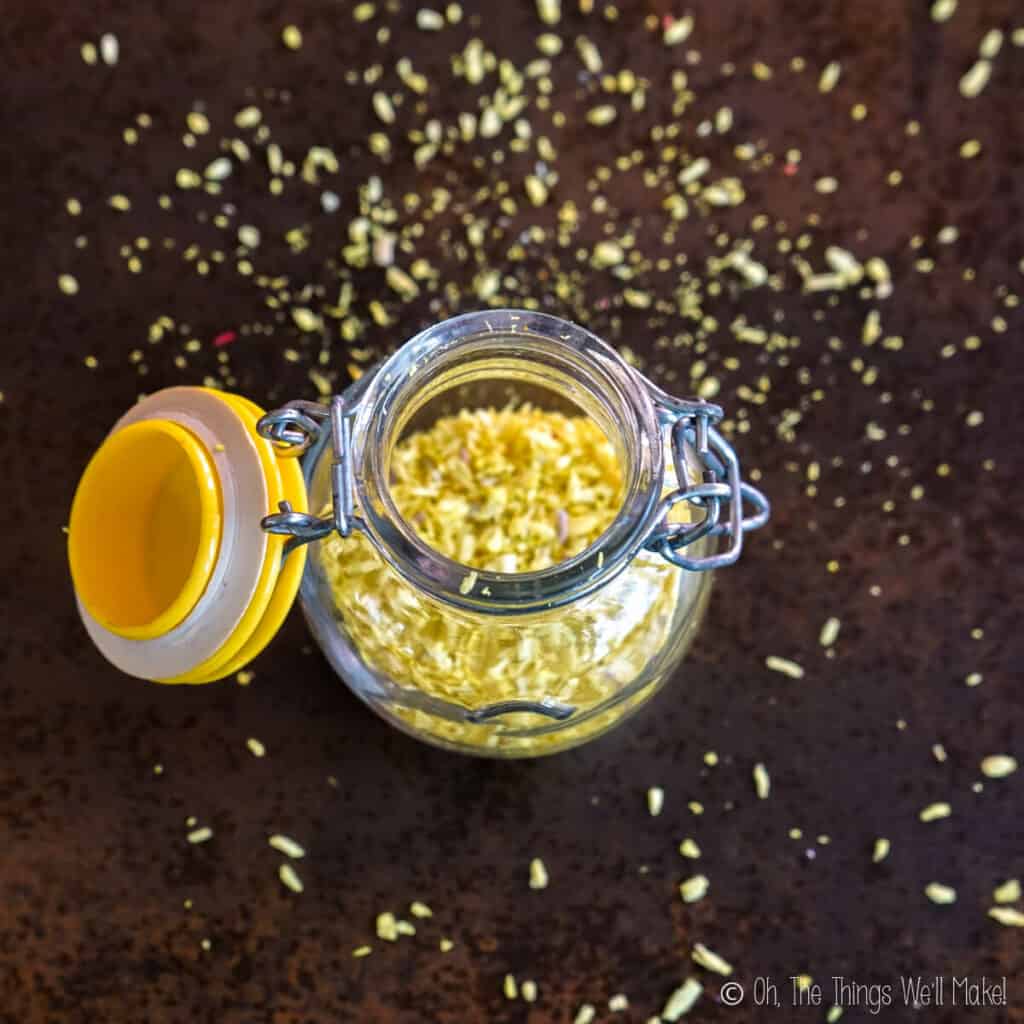
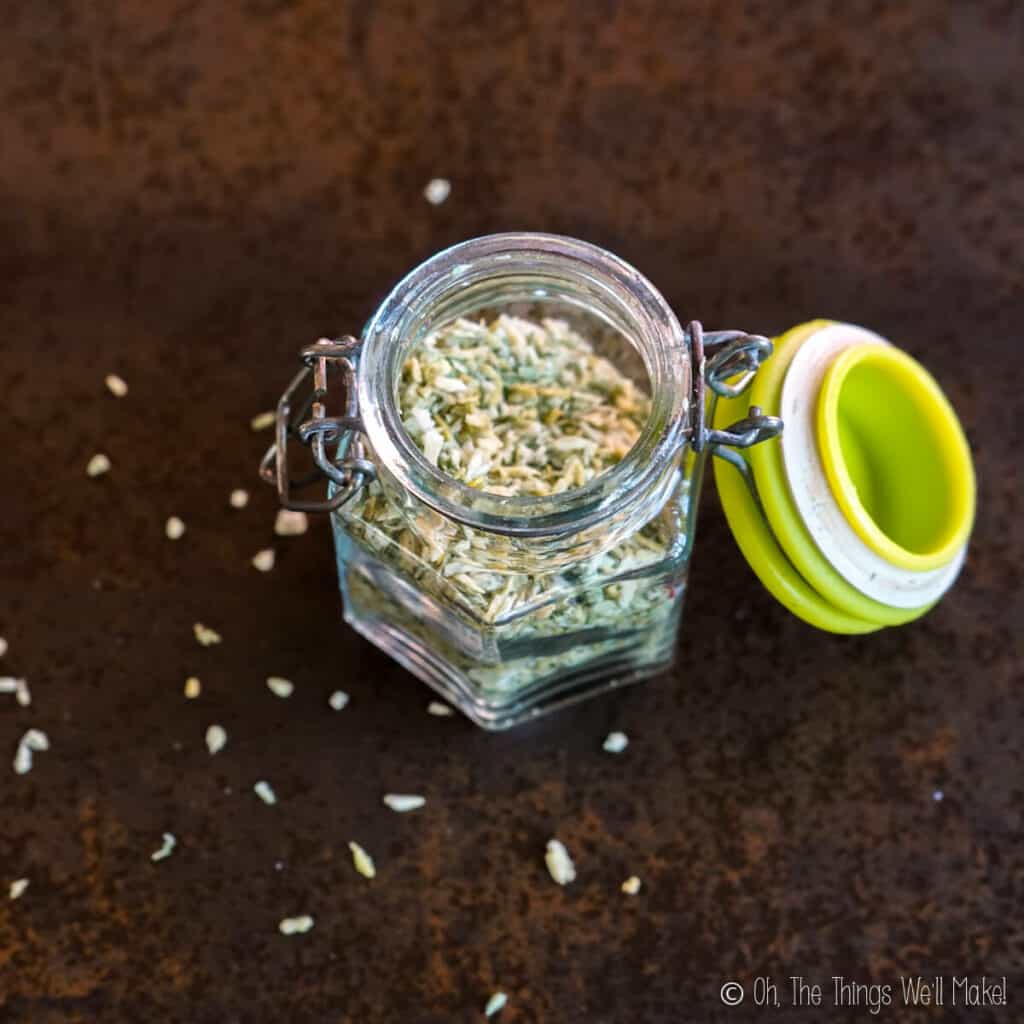
  • The yellow sprinkles use turmeric powder.
  • Make green sprinkles with spinach.
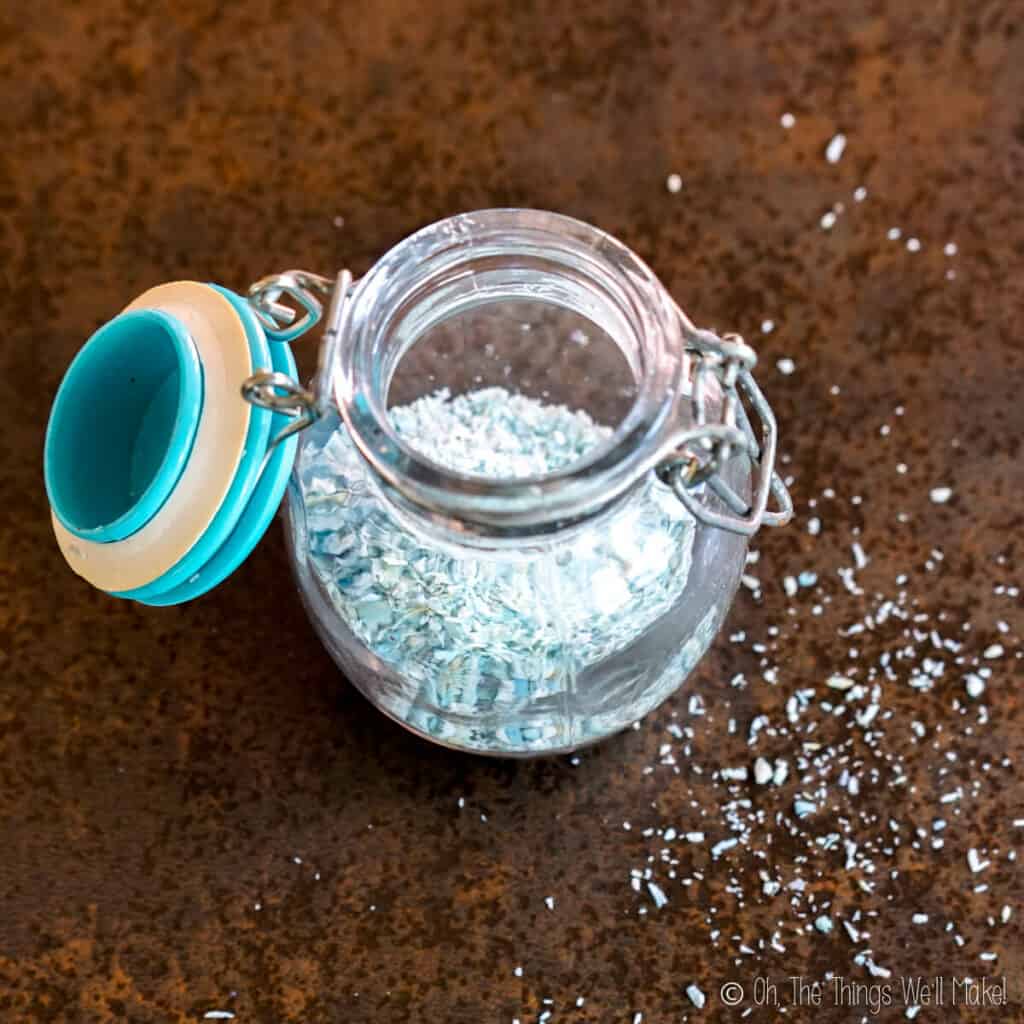
  • Make light aqua blue sprinkles from red cabbage leaves and baking soda.
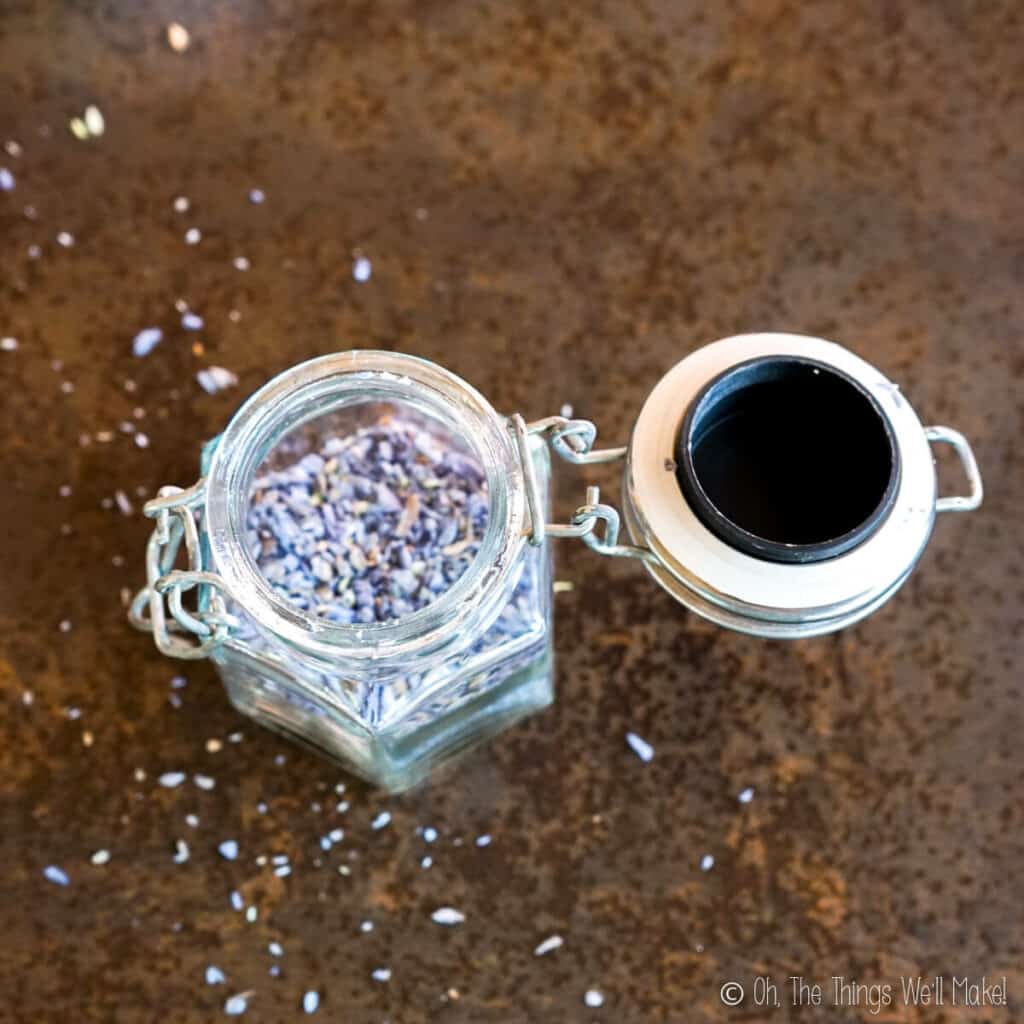
  • The indigo blue sprinkles were made using butterfly pea flowers.
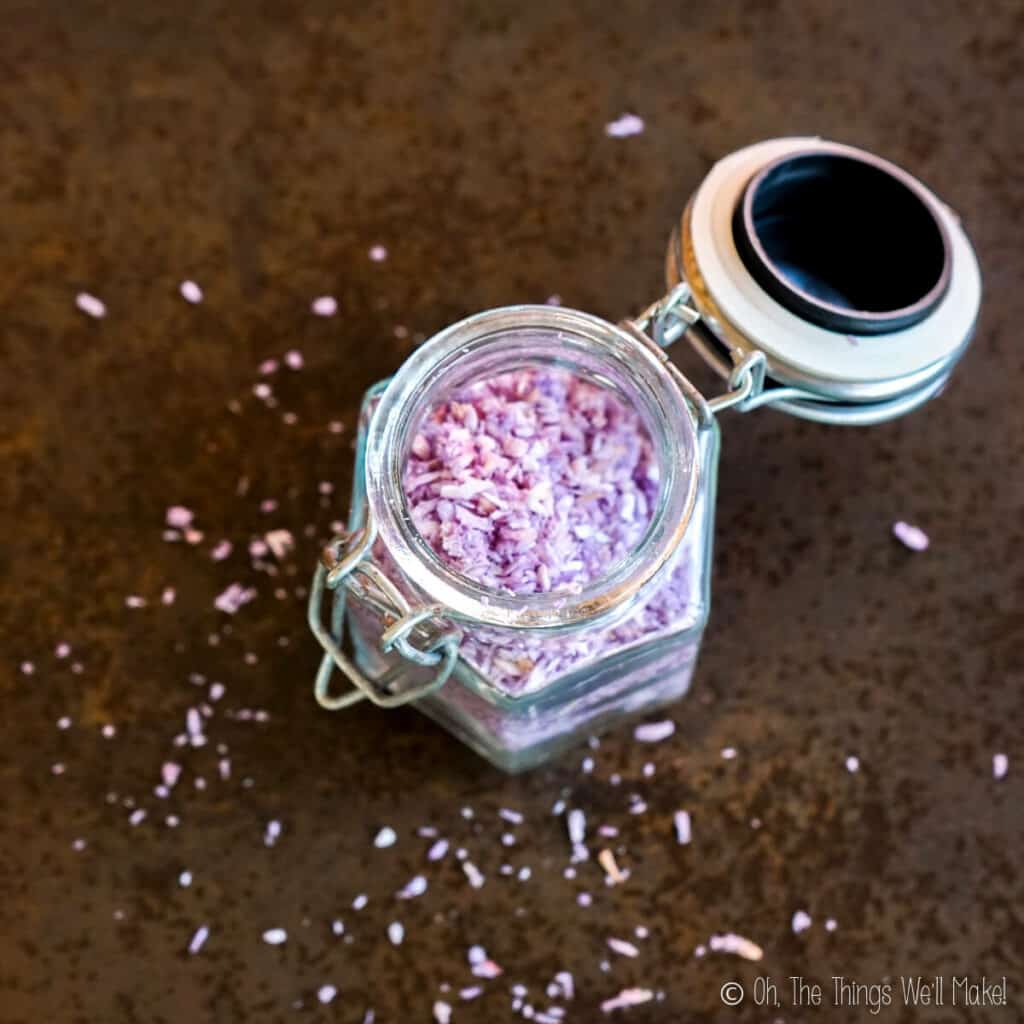
  • Make purple sprinkles with red cabbage leaves.

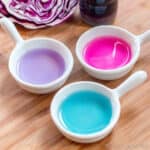
You can make a variety of colors by making a magical color-changing food coloring using red cabbage or butterfly pea flowers. These colors are pH-dependent. So, if you add an acid like lemon juice, citric acid, or ascorbic acid to them, the acidic environment makes those purple/blue colorings turn pink. If you add a base like baking soda to them, they will turn turquoise or even greenish in hue.

Natural, Color-Changing Food Colorings

These fun, natural food colorings change color when exposed to a different pH. Kids love seeing them change from pink to purple to blue.
Check out this recipe
3 bowls of liquid, one turquoise, one pink, and one purple, in front of a bottle of liquid made from red cabbage, and next to a fresh red cabbage head sliced in half.
  • Overhead view of pink coconut sprinkles in an open jar, with sprinkles over the surface below it.
  • Overhead view of yellow coconut sprinkles in an open jar, with sprinkles over the surface below it.
  • Overhead view of green coconut sprinkles in an open jar, with more sprinkles over the surface below it.
  • Overhead view of turquoise blue coconut sprinkles in an open jar, with more sprinkles over the surface below it.
  • Overhead view of indigo blue coconut sprinkles in an open jar, with more sprinkles over the surface below it.
  • Overhead view of purple coconut sprinkles in an open jar, with more sprinkles over the surface below it.
  • Overhead view of 7 small bowls filled with coconut sprinkles in a rainbow of colors.

Preparation

So, you have your shredded coconut and your food coloring. What’s next?

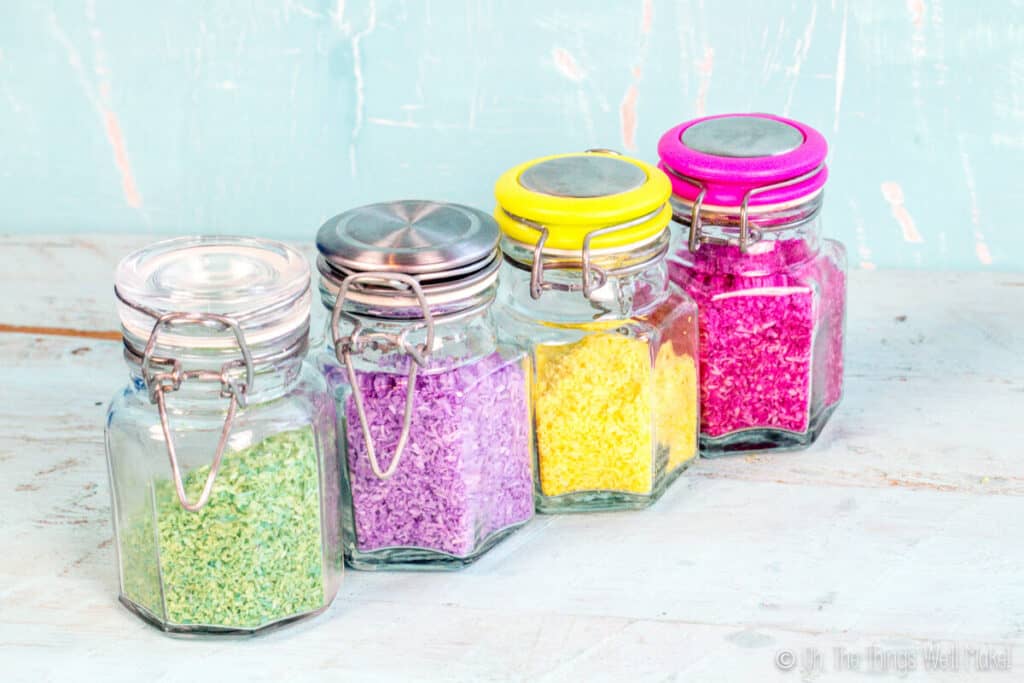
Making healthy sprinkles is really as simple as mixing enough food coloring into some shredded coconut until you get to the shade you want. Because the colors may slightly fade when dried, add slightly more than you think you’ll need.

Once you’ve mixed the coconut with the food coloring, you’ll want to dry out your sprinkles. Humidity allows for the growth of microbes, so we want to fully dry them out so that we can safely store them and keep them for a long time.

  • Colorful pink sprinkles spread over a baking tray lined with paper
  • Pouring pink sprinkles from a rolled up paper into a glass jar

To dry the sprinkles, you can use your oven, the sun, or a food dehydrator.

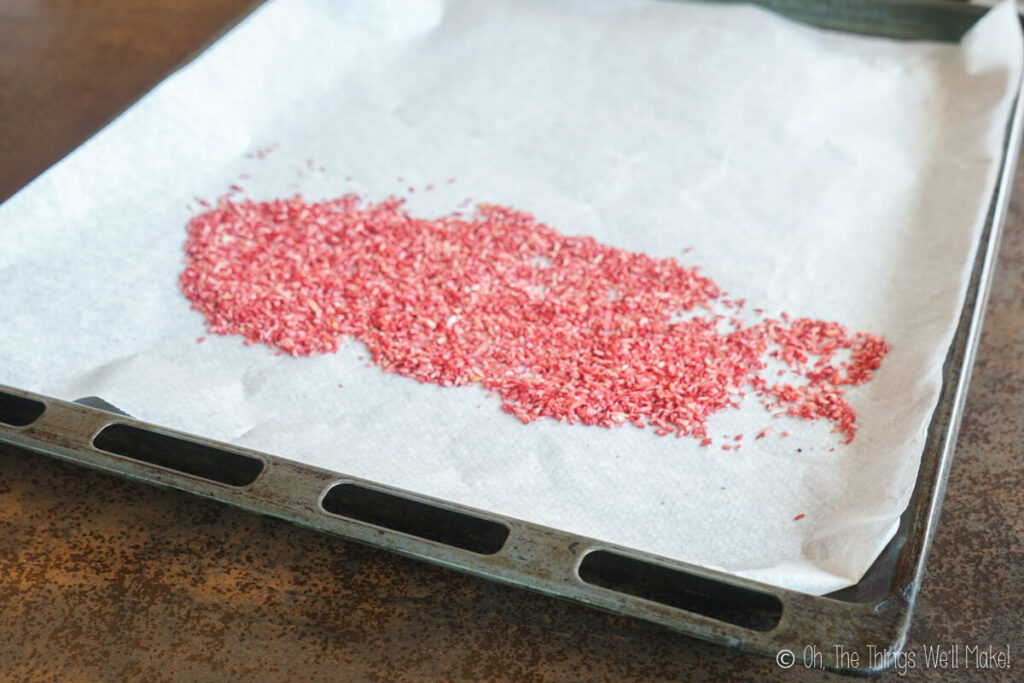
If using your oven, spread the colored coconut out over a lined baking sheet. Bake them on the lowest temperature setting until they are fully dried and crunchy. (Using a convection/fan setting also helps speed up the process.)

If using the sun, spread the sprinkles over a lined tray and cover it with a netting to keep insects away. Place in the sun until fully dried.

You can also use a food dehydrator instead, following the directions for your particular dehydrator.

7 small glass jars filled with 7 different types of colorful sprinkles made from shredded coconut in a rainbow of colors

How long do they keep?

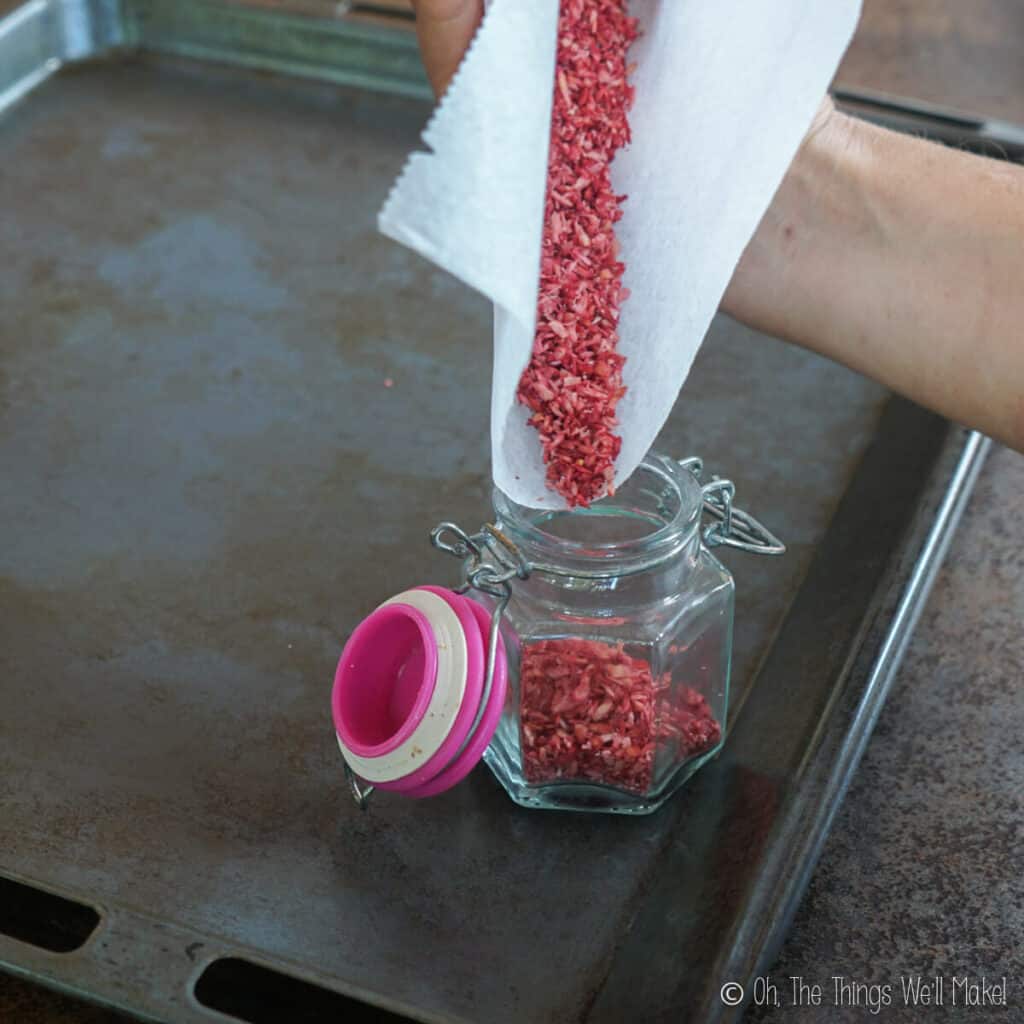
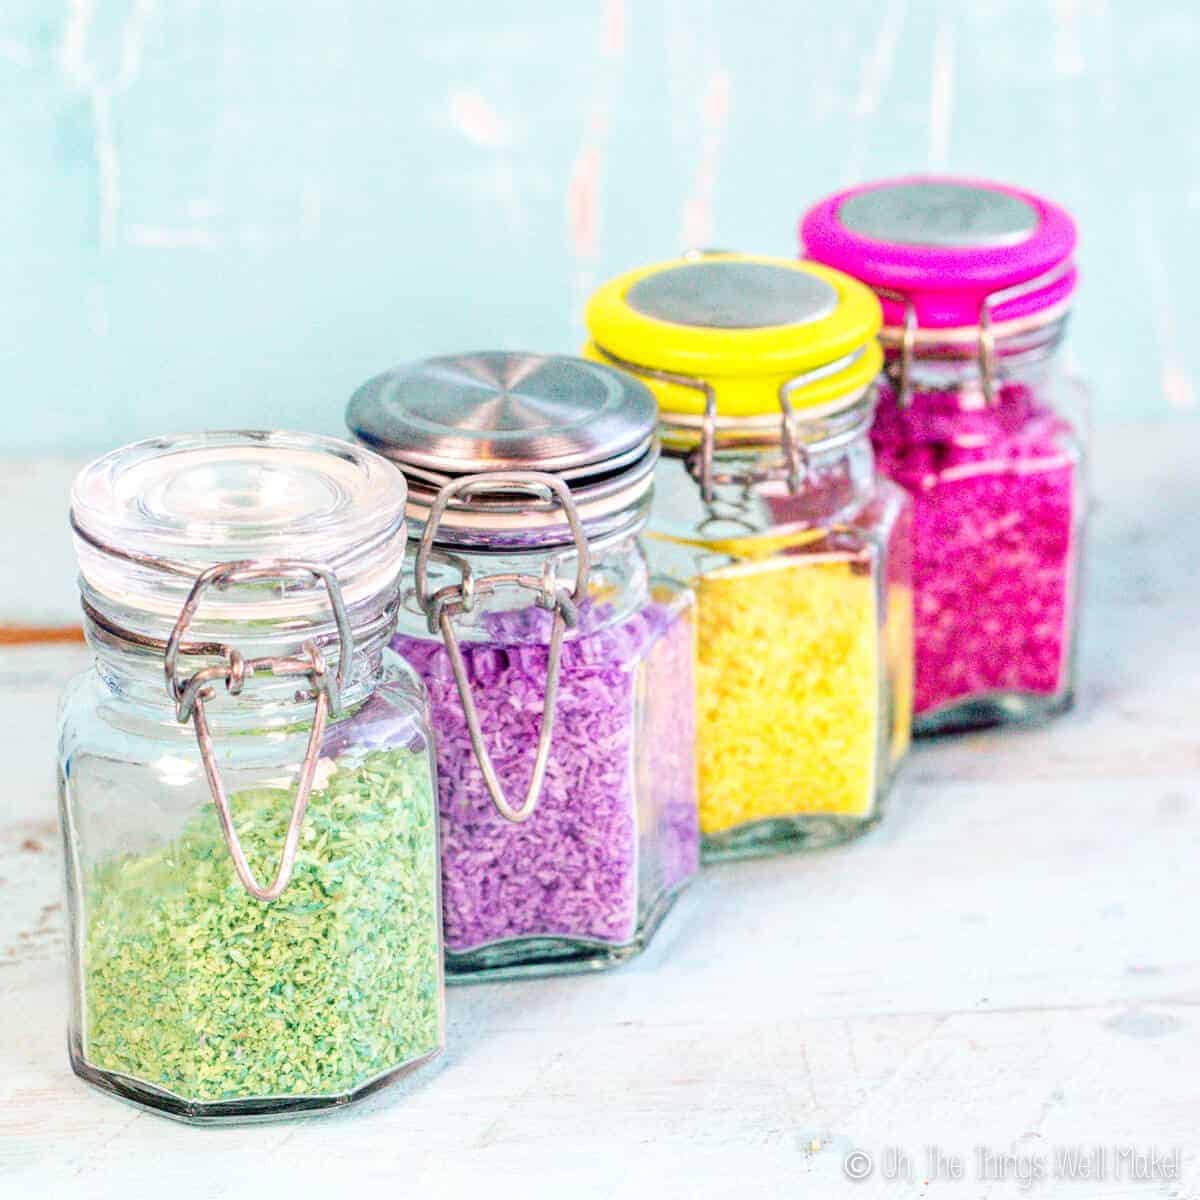
Once dried completely, store your healthy sprinkles immediately in a well-sealed container in a cool, dry place. It’s important to dry them completely before storing them away or you could end up with mold or bacterial growth.

When I made them for the first time, I hid them away in a drawer where I forgot about them until 10 months later.

4 glass jars filled with 4 different types of colorful sprinkles made from shredded coconut after stored for 10 months. The colors have faded, but are still visible. From left to right: bright pink, yellow, purple, and what was once green, but is now more beige.
Over 10 months after having made the sprinkles.

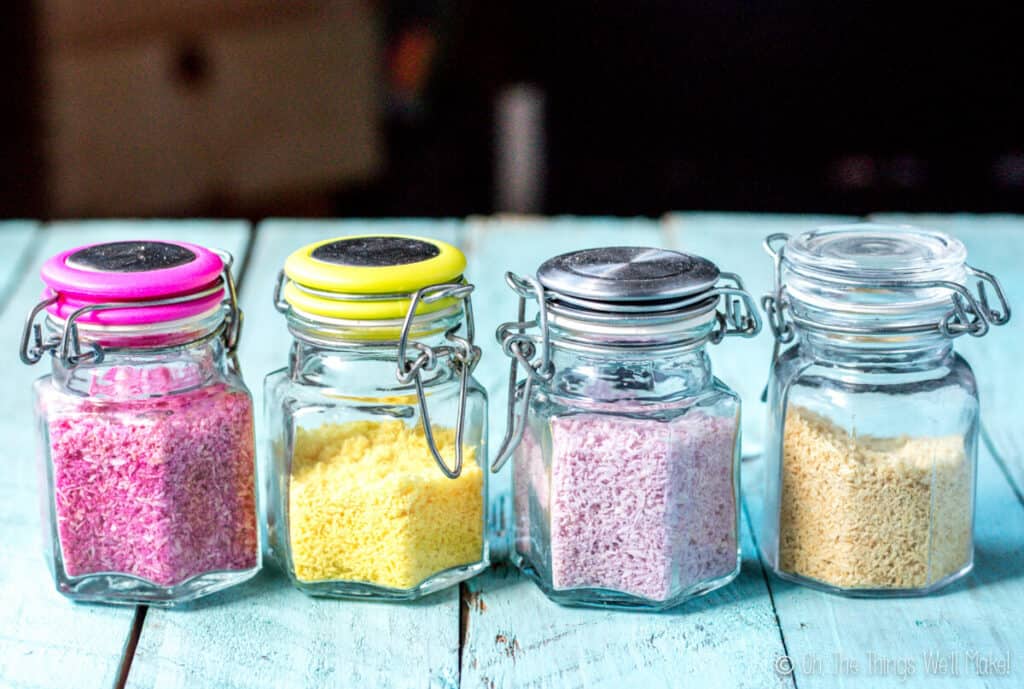
I was excited to see that, despite losing some intensity, the colors of the yellow turmeric sprinkles and pink beetroot sprinkles were still pretty vibrant after more than 10 months. The purple sprinkles were slightly more faded. The green sprinkles, made using spinach leaves, were the most affected and no longer were very green at all.

Not only did the colors of the yellow and pink sprinkles hold up pretty well, but they all seemed to smell and taste fine too.

The normal shelf life of desiccated shredded coconut is around 6 months. So, I’d suggest that these should have a similar shelf life. Some colors may fade before that, but they should be safe to use as long as you fully dry the sprinkles before storing them.

For extending the shelf life further, consider storing the sprinkles in the fridge or freezer.

Video

Craving more?Subscribe to my newsletter for the latest recipes and tutorials!
4 glass jars filled with 4 different types of colorful sprinkles made from shredded coconut. From left to right: green, purple, yellow, and bright pink.

Vibrant, Easy Paleo Sprinkles

These homemade healthy sprinkles have very vibrant colors and are made with natural ingredients that you likely already have sitting around your kitchen.
5 from 1 vote
Print Pin Rate
Prep Time: 10 minutes
Cook Time: 40 minutes
Total Time: 50 minutes
Servings: 8 servings
Calories: 38kcal
Author: Tracy Ariza, DDS

Ingredients

  • natural food coloring make your own.
  • 1/2 cup shredded coconut
Switch units back – Convert units

Instructions

Add coloring

  • Add a few drops of either a store-bought food coloring or a homemade food coloring to the unsweetened coconut flakes and stir them long enough to get an even coloring throughout.
  • Add more coloring, as needed, until you reach the desired color intensity. (It's a good idea to make the sprinkles slightly darker in color than necessary as they may lighten slightly upon drying.)

Dry the sprinkles

  • Spread out the tinted coconut in a thin, even layer over a lined baking sheet or a dehydrator tray.
  • If using a dehydrator, follow the directions for your particular dehydrator to dry out the coconut so that you can safely store it again.
  • If using an oven, set it to its lowest temperature and turn the fan on, if possible. Bake, checking on it occasionally, to see if the shredded coconut has fully dried. You can speed up the process by stirring it up and spreading it out again, continuing to bake until the coconut has fully dried.
  • Once fully dried, the sprinkles are ready to be used immediately or stored for later.

Storage

  • Store in well, sealed containers in a cool, dark place.

Notes

It is important to fully dry the sprinkles before storing them to prevent microbial growth. (That includes bacterial growth and mold formation.)
When stored in a cool, dry place, these should keep for up to around 6 months. Some colors may fade before that, depending on the coloring used. 
You can make your own shredded coconut or use store-bought. I prefer unsweetened desiccated coconut for a healthier option, but you can use sweetened coconut too if you prefer. (The oils and additives added to some sweetened coconuts may affect the way they absorb the coloring.)
You can also choose to use a homemade food coloring made from foods like beetroot powder and turmeric or use a store-bought food coloring. 
Course DIY Pantry Foods
Cuisine global
Special Diets Diabetic, Gluten Free, Low Lactose, Low Salt, Vegan, Vegetarian
Keyword party foods
Other Diets Candida Diet, Dairy free, Low Carb, Paleo
Tried this recipe? Tag me today!Mention @thethingswellmake or tag #thethingswellmake!
Serving: 1Tbsp. | Calories: 38kcal | Carbohydrates: 1g | Fat: 3g | Saturated Fat: 3g | Sodium: 2mg | Potassium: 31mg | Calcium: 2mg | Iron: 0.2mg

Update Information

This post was originally published on Feb. 10, 2016. It was rewritten adding clearer instructions and new photos in May 2020.

Category: Desserts & Sweets, MIY Pantry Basics, Recipes

About Tracy Ariza, DDS

Tracy Ariza, B.A., D.D.S., left dentistry and the United States to found Oh, The Things We’ll Make!, writing to you from the Spanish Riviera. She loves making things herself in order to keep control of what goes in them. While far from perfect, she strives each day to live a healthier, more sustainable lifestyle.

Previous Post: « 3 bowls of liquid, one turquoise, one pink, and one purple, in front of a bottle of liquid made from red cabbage, and next to a fresh red cabbage head sliced in half. DIY Magical, Color Changing Food Coloring
Next Post: Ginger Switchel: A Natural Electrolyte Drink A mason jar mug filled with ice and a ginger switchel drink, garnished with a sprig of spearmint. There is a carafe of switchel in the background. »

Reader Interactions

Comments

  1. Sarah

    February 20, 2016 at 12:35 PM

    This is genius! And the peeps are so cute! I’ve been wanting to make my own sprinkles for a long time, but usually the natural homemade ones that I’ve found take a lot more work/ingredients so I just really love this idea

    Reply
    • Tracy Ariza

      February 20, 2016 at 6:51 PM

      Thanks, Sarah! 🙂
      We had a lot of fun with it. My son was helping me on and off- for as much as the attention span of a 4 year old at the time allows- but, yes, the process is very simple, even when you start by making the natural colorings.

      Reply
  2. Andrea Wyckoff

    February 20, 2016 at 5:26 AM

    This is such an adorable idea! I love sprinkles and it’s been way too long since I have sprinkled anything! Thanks so much for the recipe and inspiration!

    Reply
  3. Kyra @ Vie De La Vegan

    February 20, 2016 at 1:27 AM

    This is such an amazing idea Tracy! I just found this post on Savoring Saturdays and was hoping this would be vegan (thank you!), so now I’m off to read about making natural food coloring! Oh, the fun I’m going to have with this sprinkles 😀

    Reply
    • Tracy Ariza

      February 20, 2016 at 7:57 AM

      Thanks, Kyra!
      We definitely had a lot of fun making them and the colorings at my house. My son’s favorite was the one with purple cabbage- he made me put it in water and change the color by adding all sorts of different things to change the pH for days (and every time somebody came over). Fun times. hahaha

      Reply
  4. Raia

    February 17, 2016 at 10:27 PM

    What a great idea! My kids are going to love these. 🙂 Thanks so much for sharing them. 🙂

    Reply
    • Tracy Ariza

      February 20, 2016 at 7:54 AM

      Thanks, Raia!
      They definitely are a lot of fun to make. My son loves changing the color of the one made with purple cabbage by altering the pH. 🙂

      Reply
  5. Monique

    February 13, 2016 at 6:16 PM

    This is such a clever idea, I love it. Pinning this for future cake-making days! 🙂

    Reply
    • Tracy Ariza

      February 14, 2016 at 6:24 PM

      Thanks, Monique!

      Reply

Leave a Reply Cancel reply

Your email address will not be published. Required fields are marked *

Recipe Rating


Sidebar

Search

  • Email
  • Facebook
  • Instagram
  • Pinterest
  • Twitter
  • YouTube

Hello, I’m Tracy!

I love making my own natural products like soaps and lotions and my own pantry items like yogurt and salad dressings.
Why do I do it? Sometimes to save money, sometimes because it's healthier, but I always love having control of the ingredients!​
Oh, the things we'll make!...

More about Tracy

I am a participant in the Amazon Services LLC Associates Program, an affiliate advertising program designed to provide a means for us to earn fees by linking to Amazon.com and affiliated sites.

Featured on Buzzfeed, Lifehacker, Fitness, Shape, Country Living, Healthline, Redbook, Redfin

Closeup of 4 bars of homemade soap. Two of them have been wrapped in brown paper and wrapped with ribbons. One soap is wrapped with red ribbon and the other with white ribbon.

Making an Easy, Basic Beginner Soap, and Then Making it Fun!!

Homemade prawn crackers on a plate in front of uncooked homemade prawn crackers and a roll of prawn crackers dough.

Prawn Crackers from Scratch

Impress your friends and save money by making your own soy sauce from scratch. Today we'll learn how to make a homemade shoyu, a fermented Japanese soy sauce made from soybeans and wheat berries. #shoyu #soysauce

How to Make Soy Sauce (Homemade Shoyu)

Two bottles of a homemade conditioner next to a wooden comb and a washcloth.

Easy DIY Hair Conditioner for Natural Hair

A small glass jar filled with an emulsified sugar scrub with a wooden spoon in it.

Easy Emulsified Sugar Scrub

Over head view of a spoon full of tomato paste over a jar full of it. A couple of fresh tomatoes lay next to the jar.

Easy Homemade Tomato Paste Recipe

Featured on Buzzfeed, Lifehacker, Fitness, Shape, Country Living, Healthline, Redbook, Redfin

White logo for Oh, The Things Well Make! website

Copyright © 2023 Tracy Ariza · Disclaimers and Disclosures · Privacy Policy · Cookie Policy