

Easy Pumpkin Spice Soap
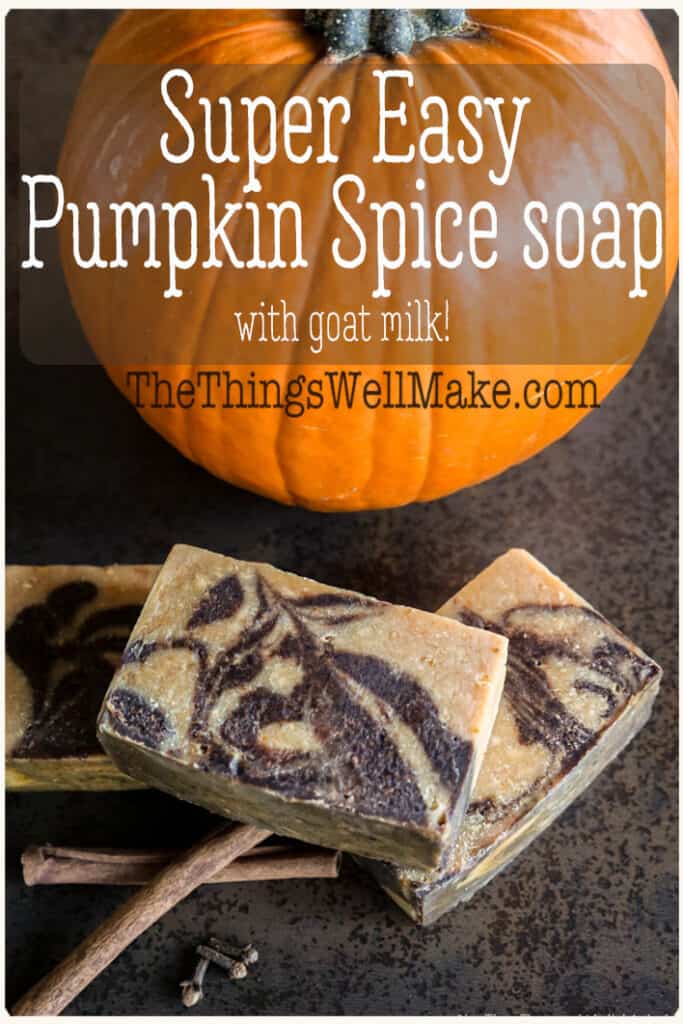
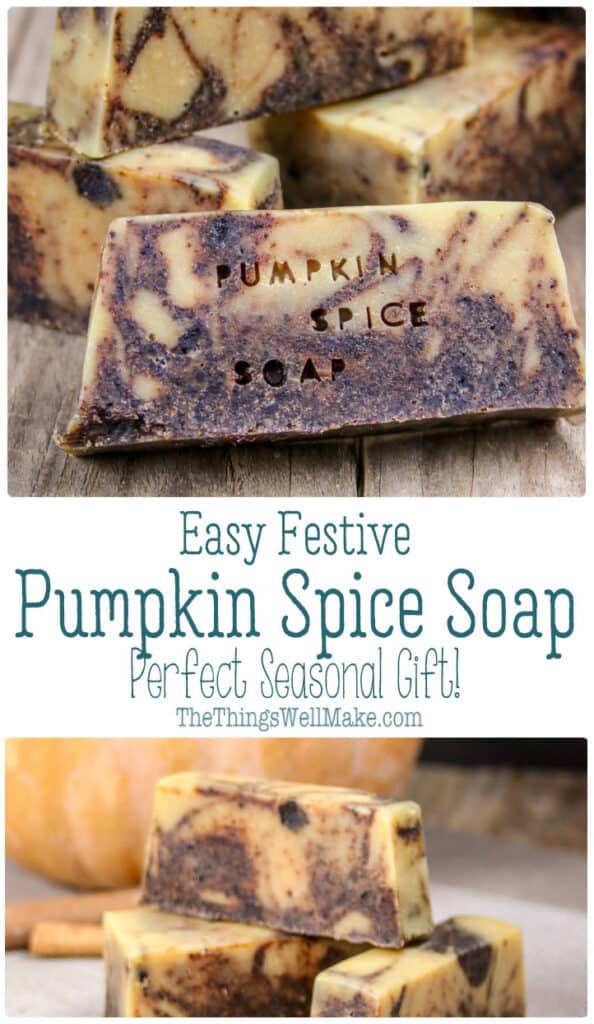
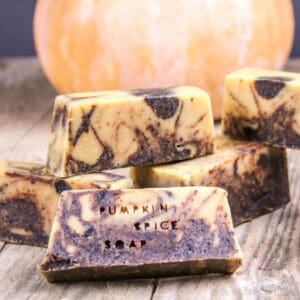
Impressive looking, but simple enough for beginners, this super-easy pumpkin spice soap combines pumpkin puree and goat milk with fall spices, making a soap that’s nourishing and wonderfully fragrant.
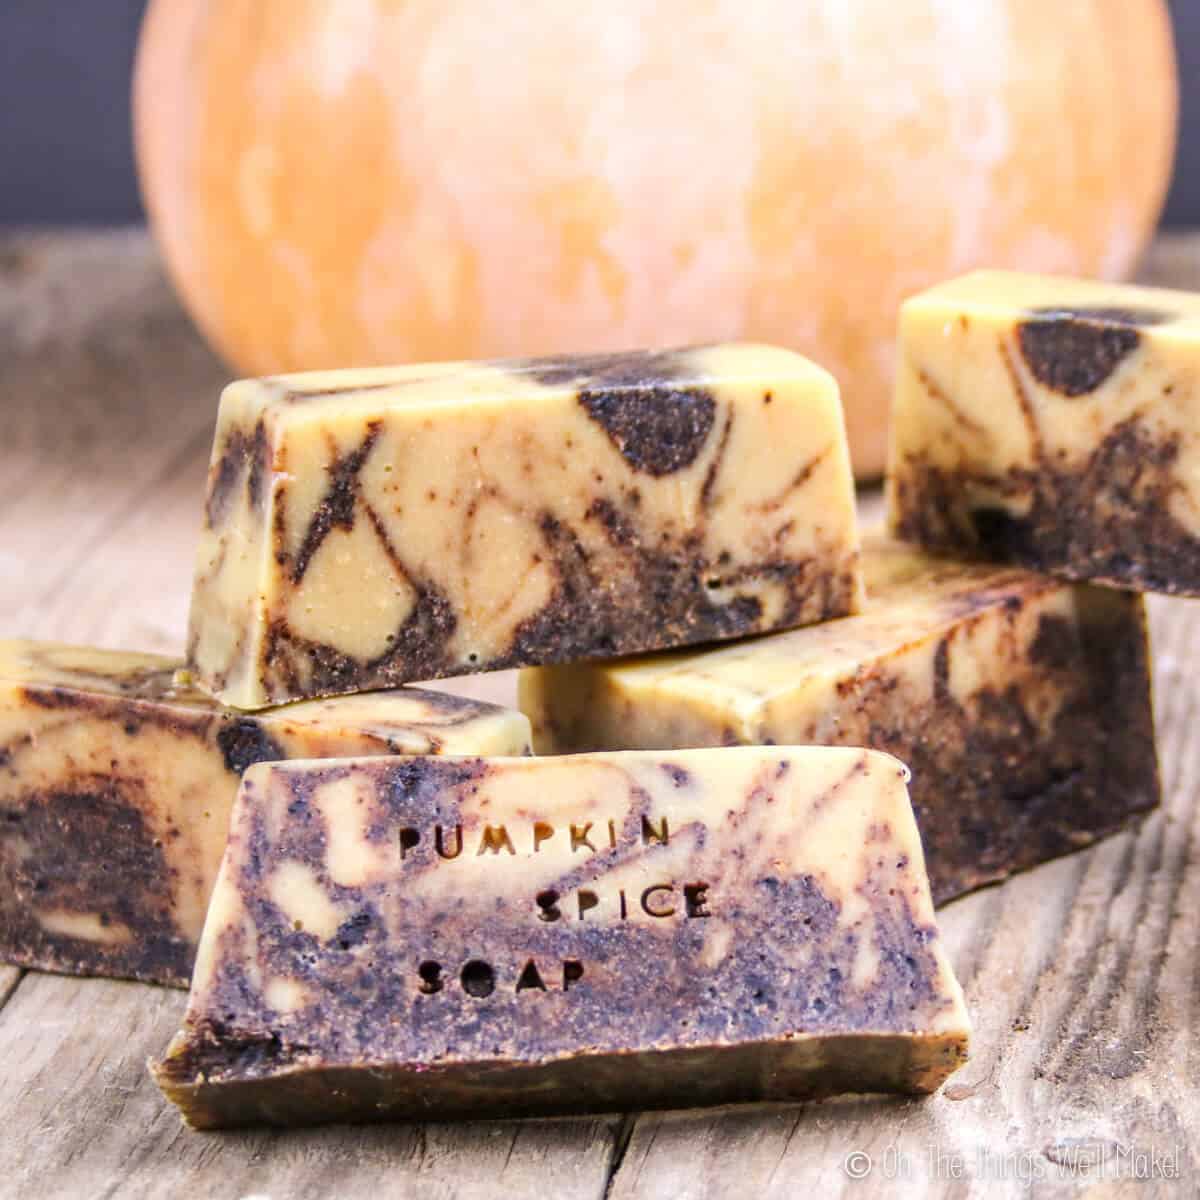
With autumn, comes cooler nights and shorter days. Halloween and Thanksgiving bring all sorts of fun pumpkin and apple spice recipes.
In celebration of this pumpkin spice time of year, I’ve decided to make a pumpkin spice soap.
What I love about this soap is that the scent lasts quite a bit longer than most naturally scented soaps. Perhaps it’s because it uses a combination of both essential oils and the actual spices. Or, maybe it’s just because the fragrance of these spices is more persistent.
Either way, I’m really happy with the final outcome.
A beginner recipe
If you have never made soap before, don’t worry. This soap is very simple to make. I purposely based this soap recipe on my easy, beginner soap recipe.
Because this recipe uses milk and adds a swirling technique, it is a bit more complicated than the other recipe. If that worries you, begin with the other recipe. If you’re adventurous, though, give this one a try! By following the directions carefully, even as a beginner, you shouldn’t have any problems.
My beginner soap is a tried and true recipe that only uses simple, easy-to-find oils. It also has a relatively long working time. The longer working time is perfect for beginners because it gives plenty of time to add in fragrance oils and spices. You should also have time to spare to swirl them together as I did.
To show how simple it is to adapt a soap recipe, I kept the main recipe exactly as it was. So, this recipe uses the same basic oils in the same amounts as the original recipe. For that reason, it also uses the same amount of lye and a similar amount of water. (This time, though, I switched out half of the water for goat milk. I also reduced it slightly because of the water in the pumpkin puree.)
Introducing new soap techniques
The beginner soap is great, but it’s also rather basic. I often get questions from readers who love that recipe, but who want to incorporate other ingredients. Today we will cover some of the ways to customize a recipe without changing the main recipe.
Adding goat’s milk
Rather than only use water, I decided to add some goat milk to this recipe. Goat’s milk is a very popular ingredient for soap because it is gentle and nourishing to the skin.
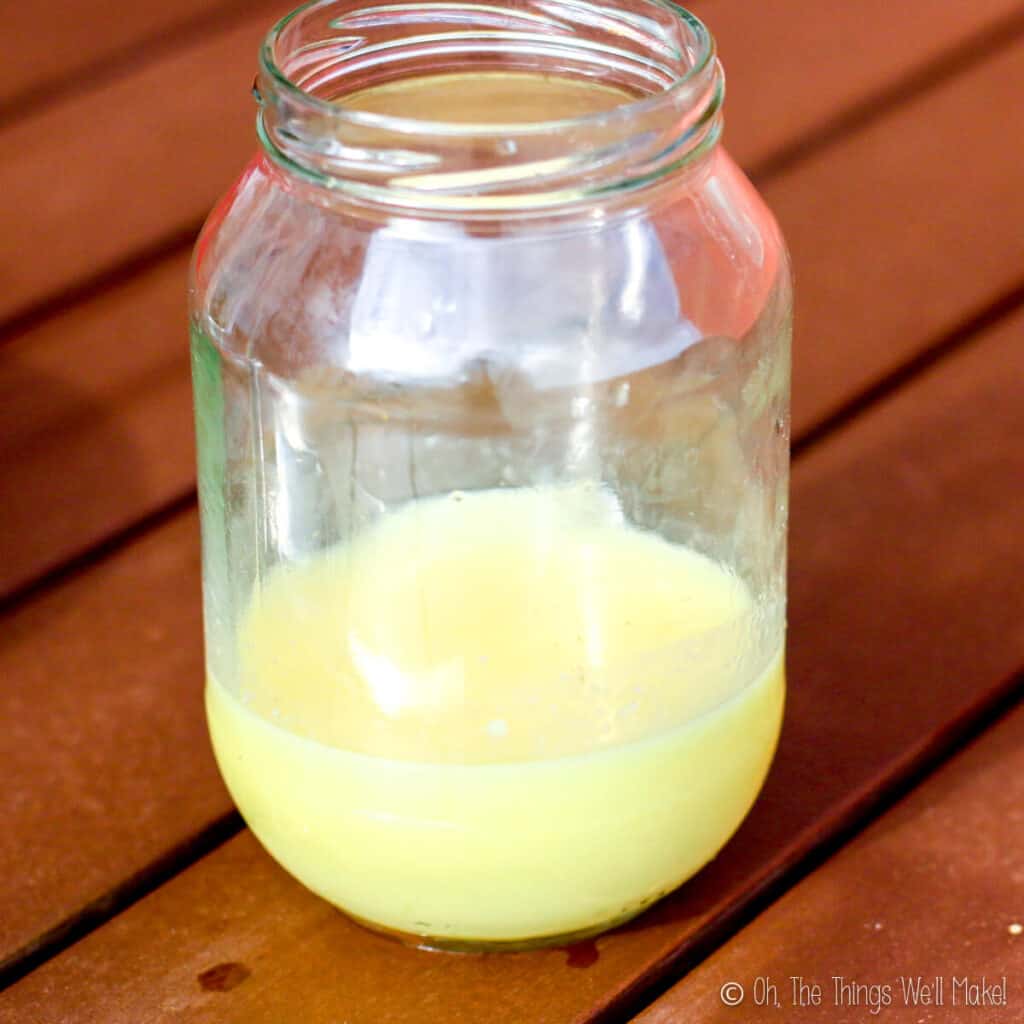
Making soap with goat’s milk isn’t just as simple as switching out the water for milk, though. Milk is a great ingredient because it has nourishing fats. Milk also has sugar in it, though, and the chemical reaction of those sugars with the lye can cause it to burn. That can leave your soap with an unpleasant scent and/or brown color.
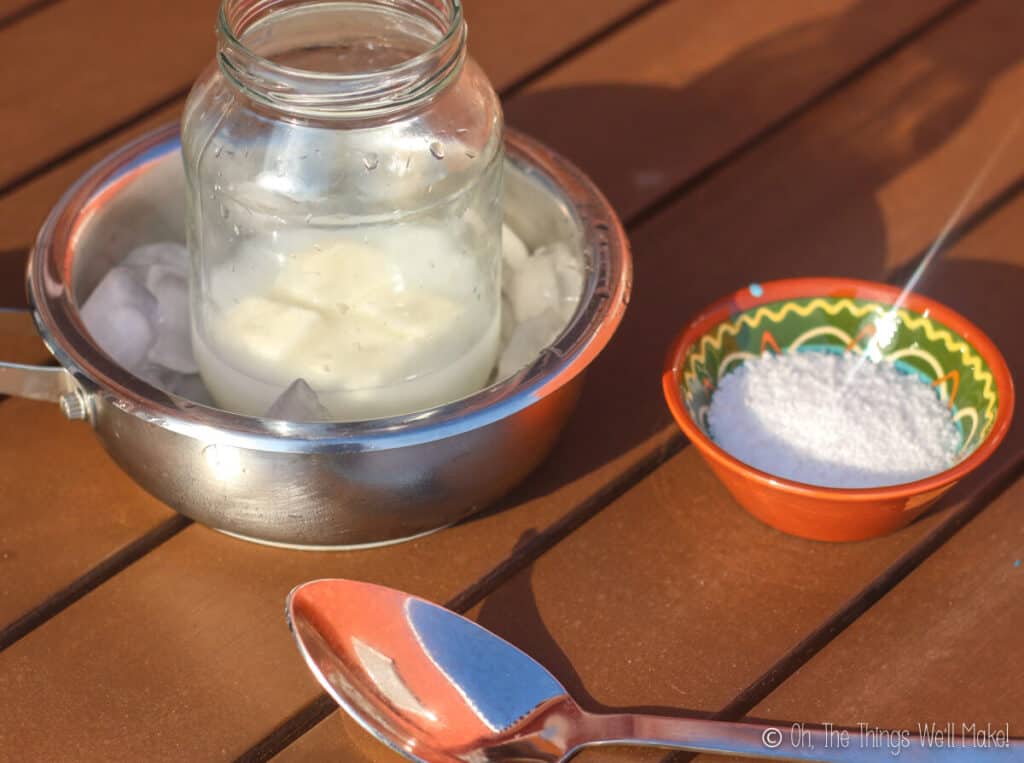
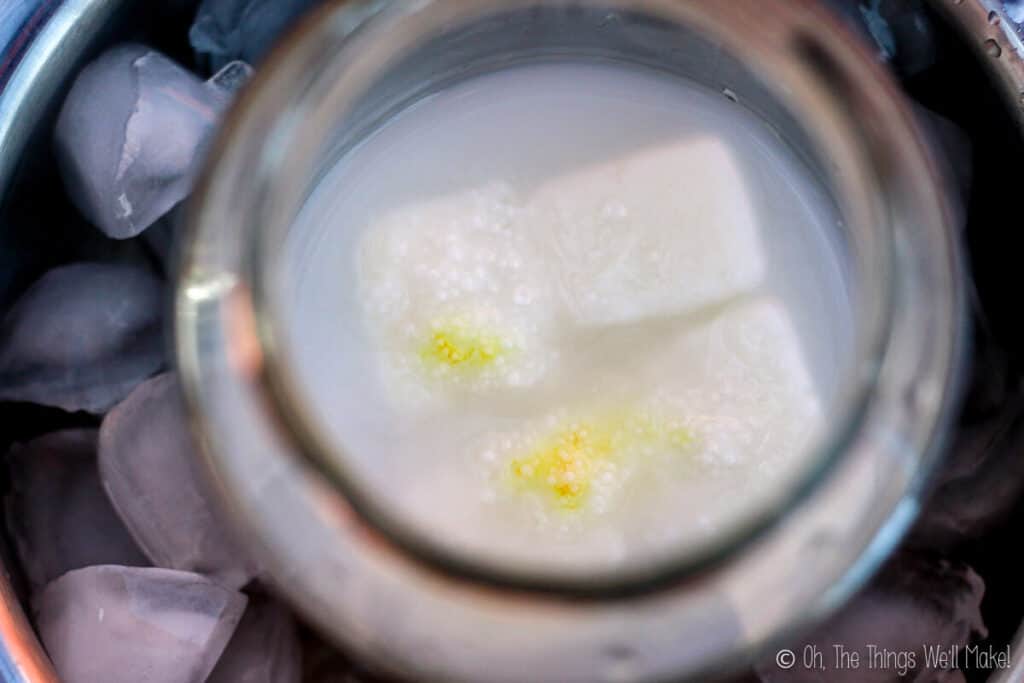
To prevent that from happening, the milk should be added at a very cold temperature. This can be done by mixing it over an ice bath or even freezing the milk first.
Swirling technique
I also made this soap different from the basic recipe by using a swirl technique to give a fun, marbled appearance to the soap.
This soap is completely natural, but still has a fun look to it. The main soap mixture has the goat milk and a homemade pumpkin puree. (While it’s simple to make, you can also just use canned pumpkin instead.) To make the swirl, we’ll separate out some of the soap mixture and add our ground, dried spices into only one of the parts. The spices add a dark color to the soap, along with a beautiful aroma, and also add a very mild exfoliation.
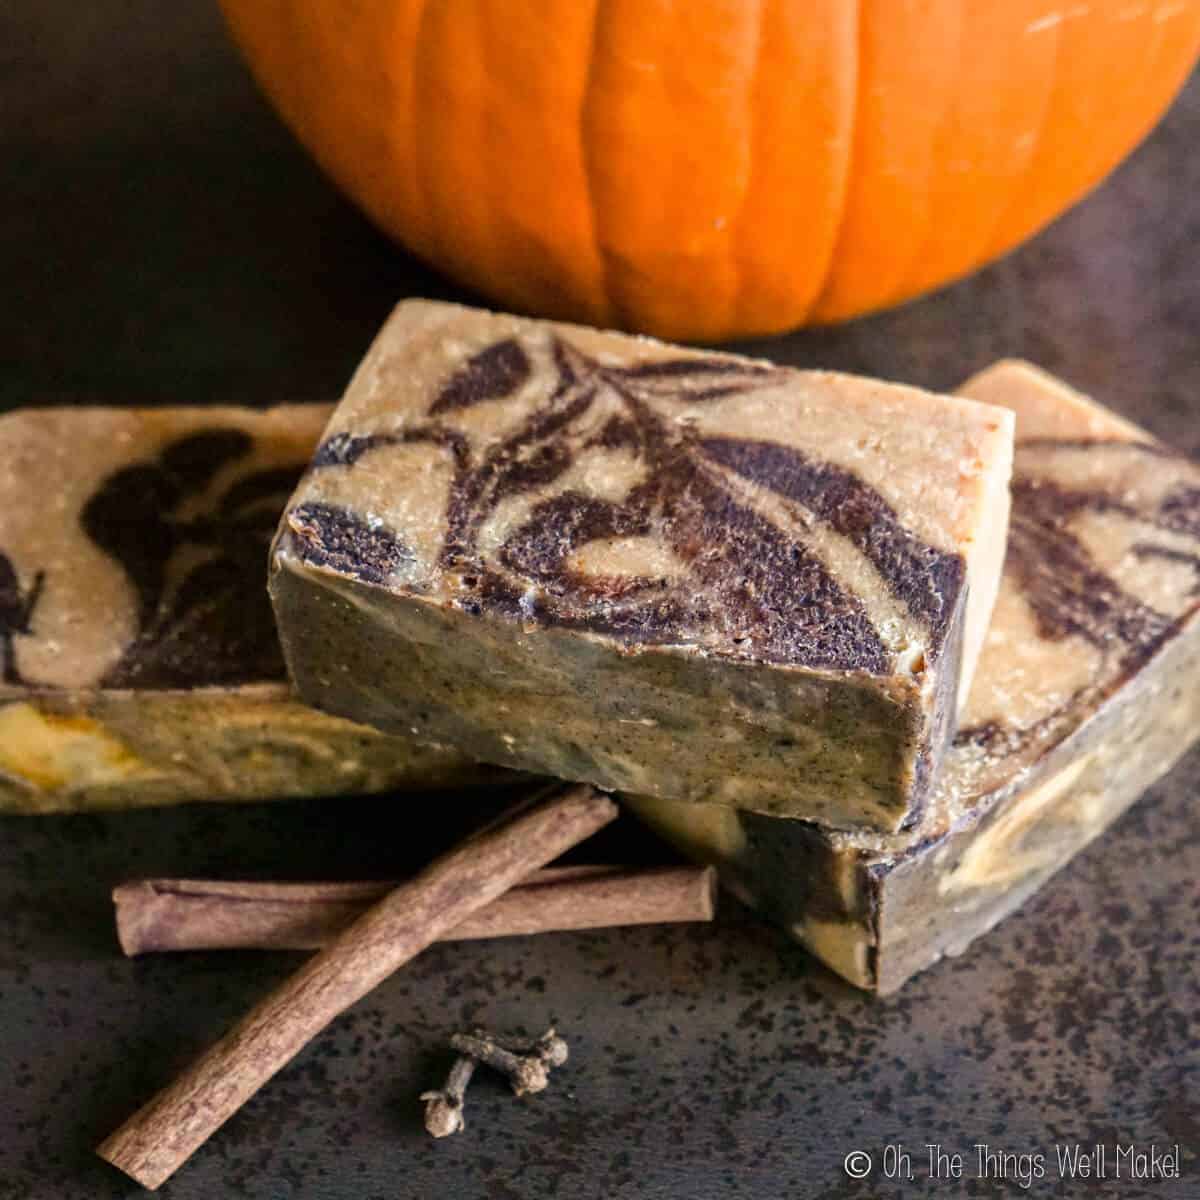
By swirling the spiced soap into the unspiced pumpkin soap, you end up with a pretty marbled looking soap. Some people make elaborate swirl designs with their soaps, incorporating a lot of bright colors. For today, though, we’ll start simple.
No matter what happens with your swirling, this soap should come out looking great. (I’m always a bit nervous about how it will turn out, but I’m also always pleasantly surprised by the outcome.)
Ingredients
Like the easy, beginner soap, the main base of this soap is made with olive oil, coconut oil, lye, and water.
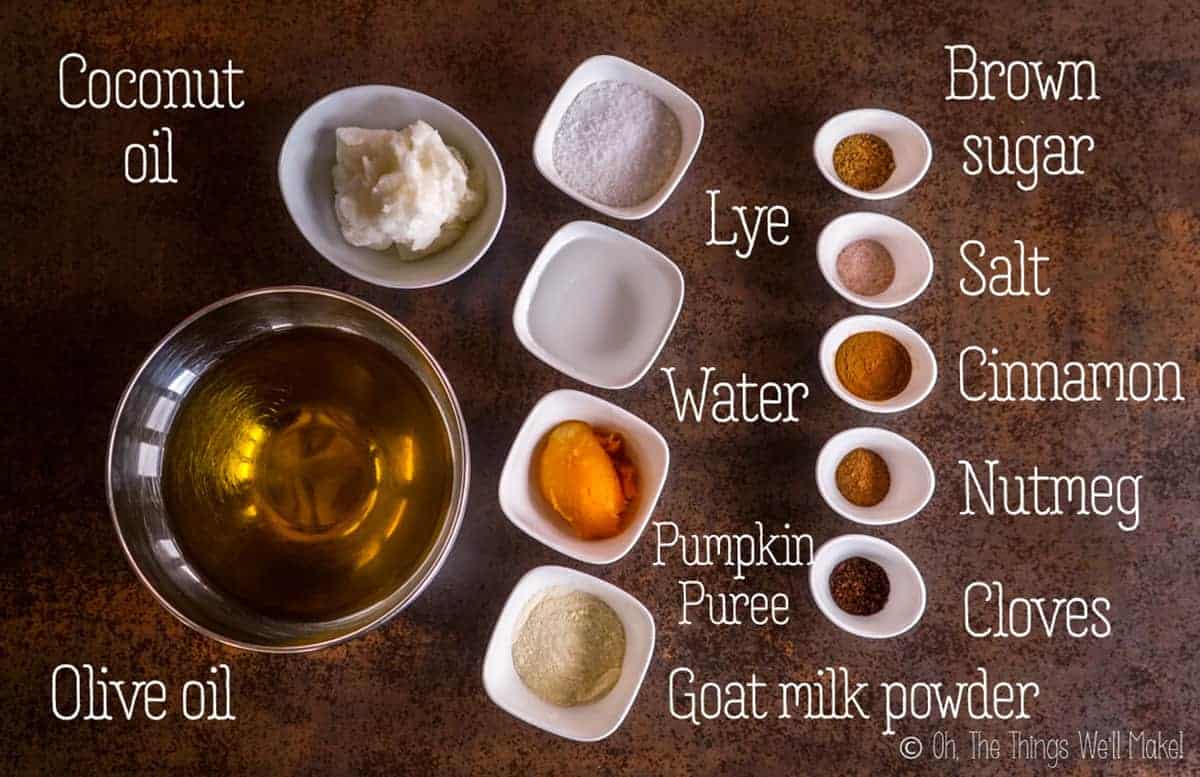
To give this soap more of an autumn touch, I added some pumpkin puree. While you could use canned pumpkin, it’s very simple to make a homemade pumpkin puree that is perfect for all sorts of recipes this time of year!
For creaminess, and to help nourish the skin, I also added goat’s milk. Pumpkin and goat’s milk both add a little color to the soap, and they also add some hydration and richness.
To add some more color and a beautiful scent, I added some pumpkin spices. While I could have stuck with just using essential oils, I chose to also add the ground, dried spices themselves to part of the recipe. That allowed me to show you how to make a simple swirling pattern for a homemade soap.
Sensitive skin warning
Some of these spices, and their essential oils, might be irritating to sensitive skin. While I haven’t found it to be a problem in this soap, that doesn’t mean that it won’t cause issues for some people with sensitivities to those oils or with especially sensitive skin!
Procedure
This soap may look complicated, but it’s really quite simple. First, mix the lye solution with frozen goat’s milk.
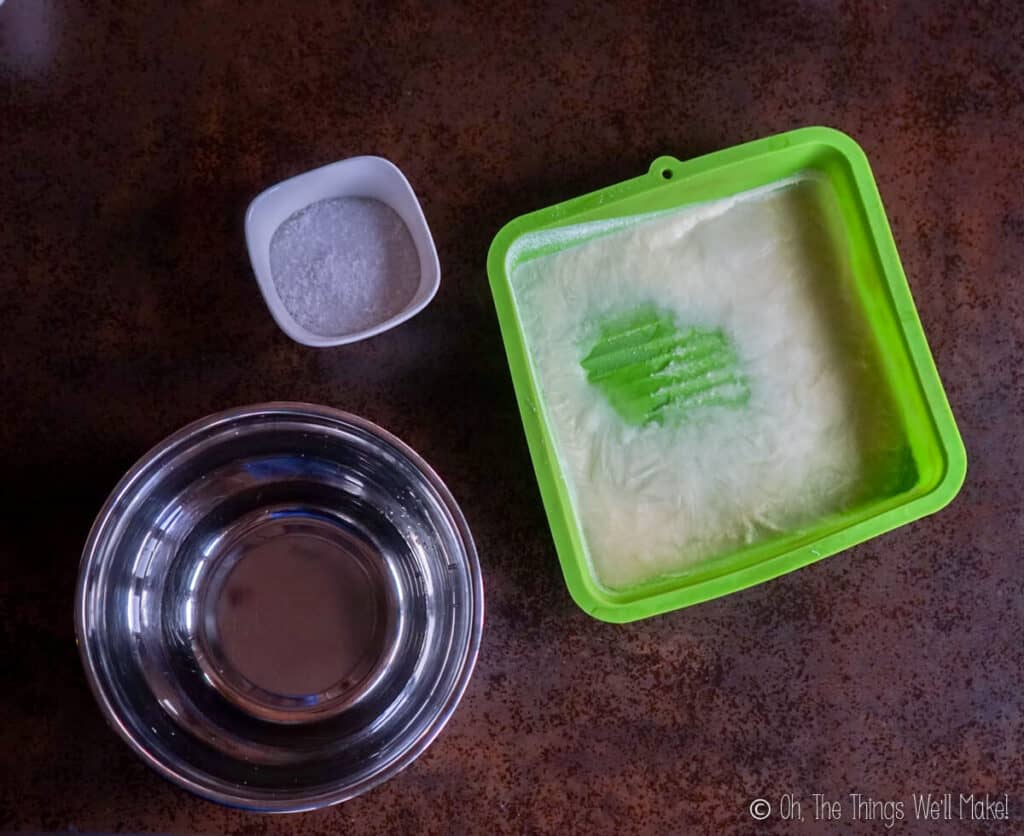
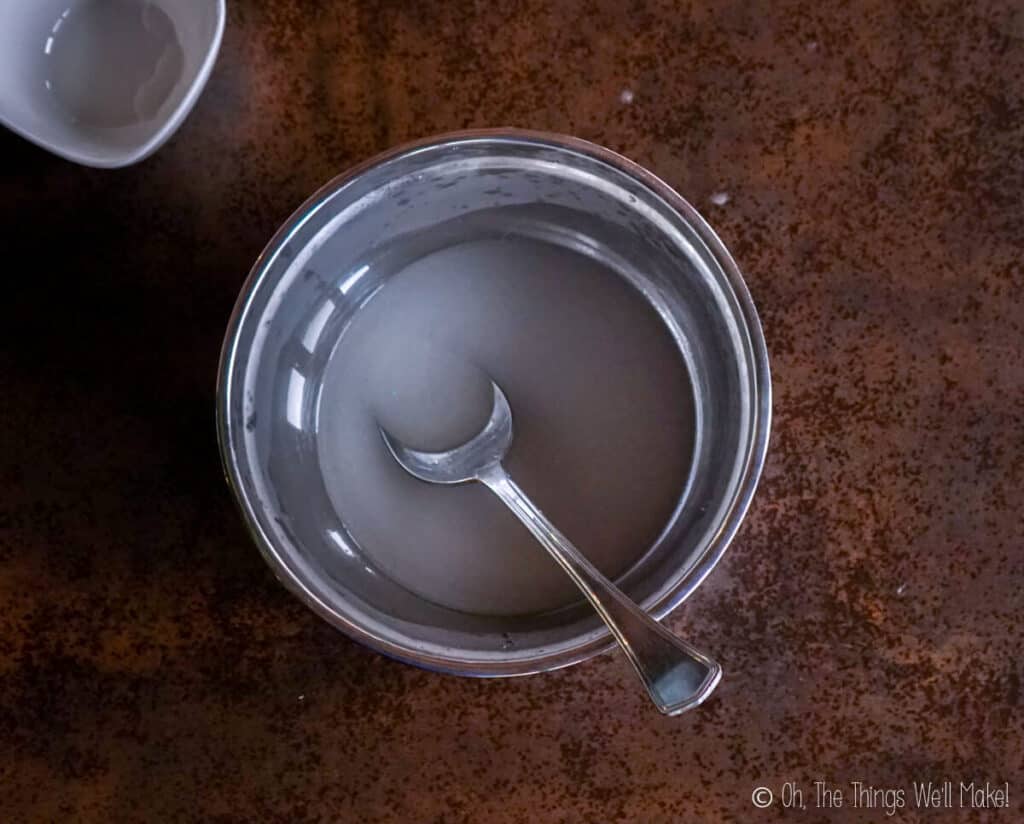
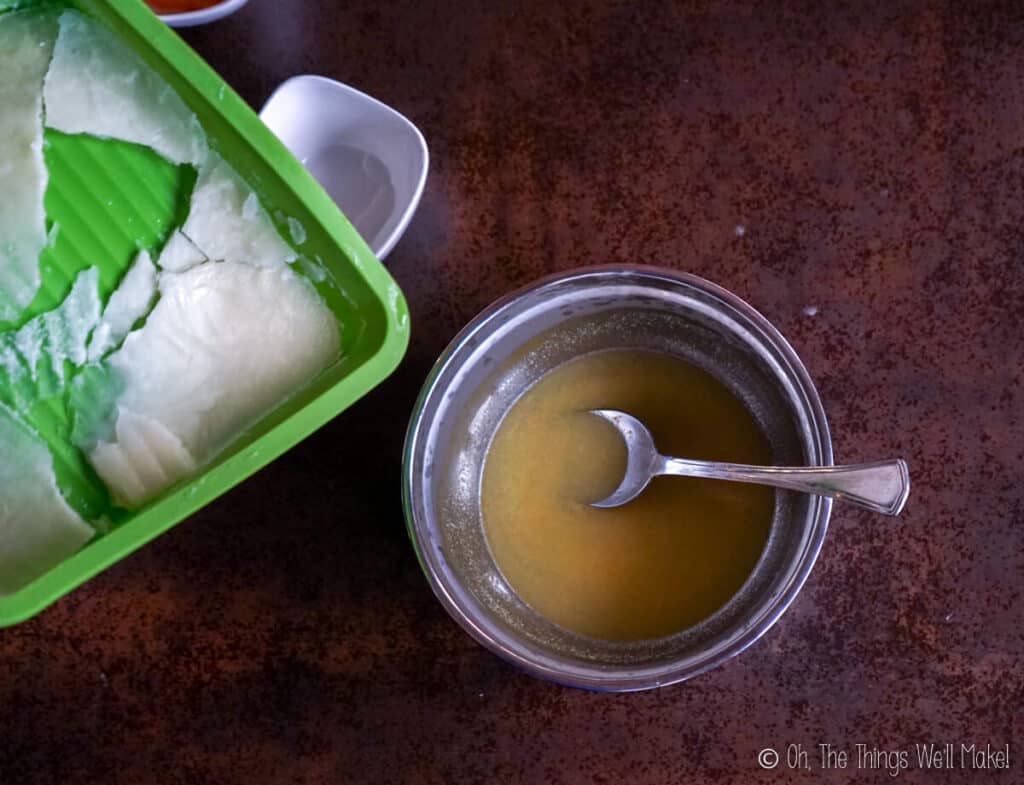
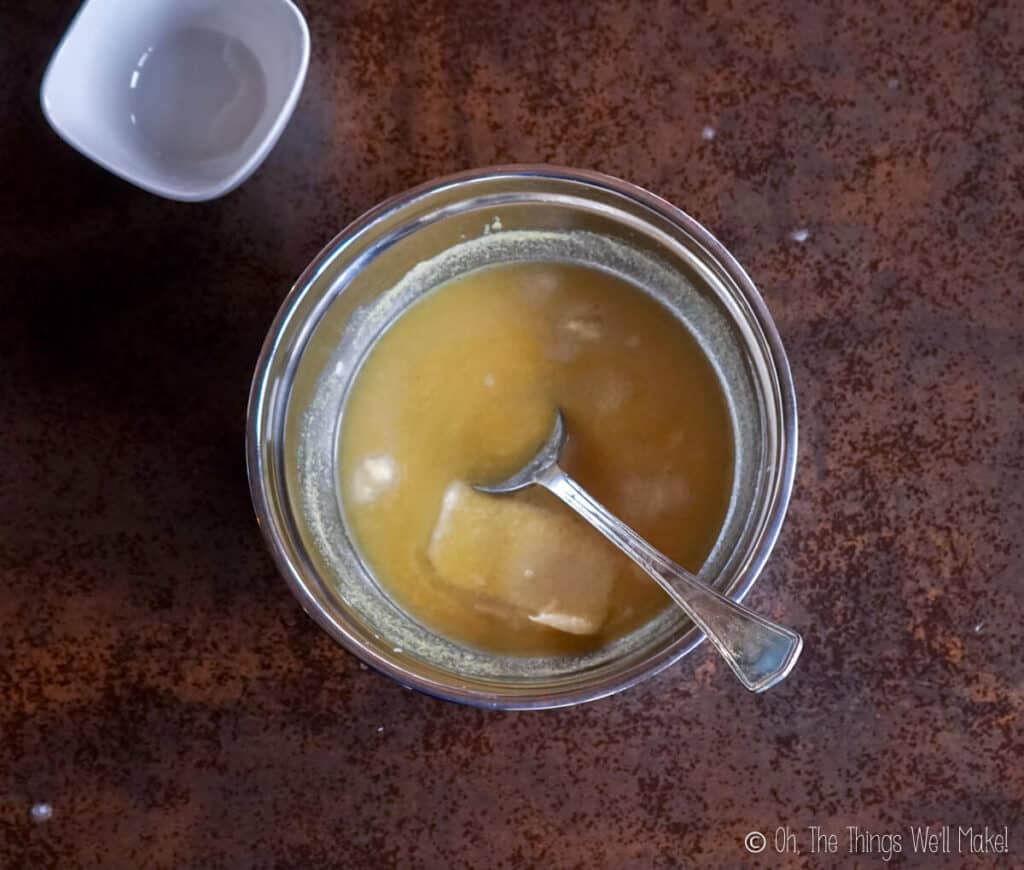
Then blend that mixed solution into the oils.
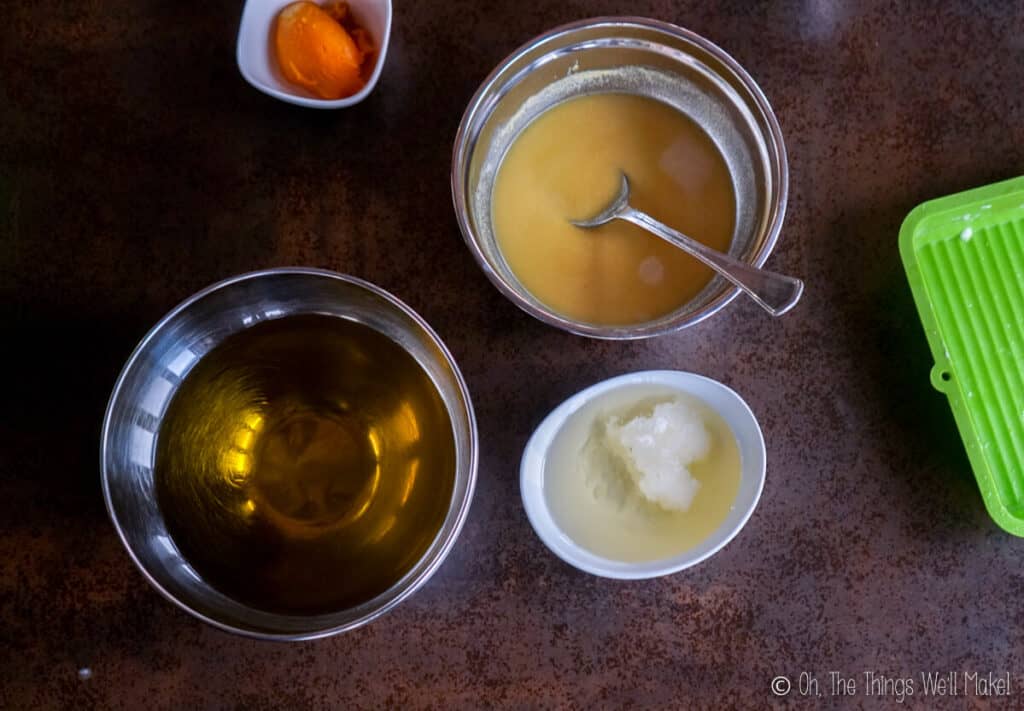
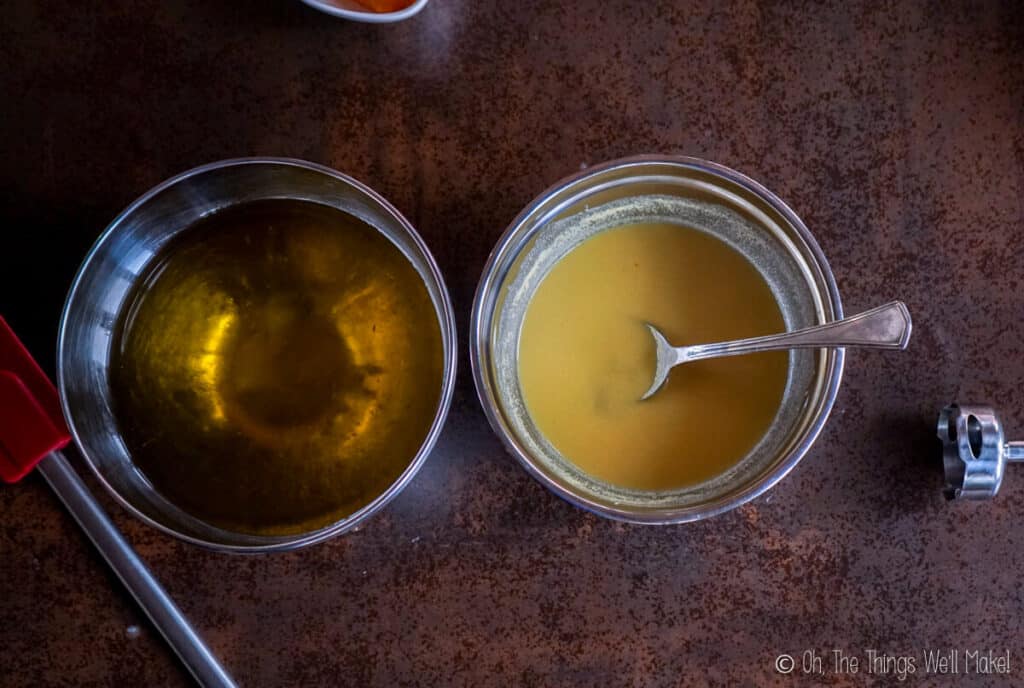
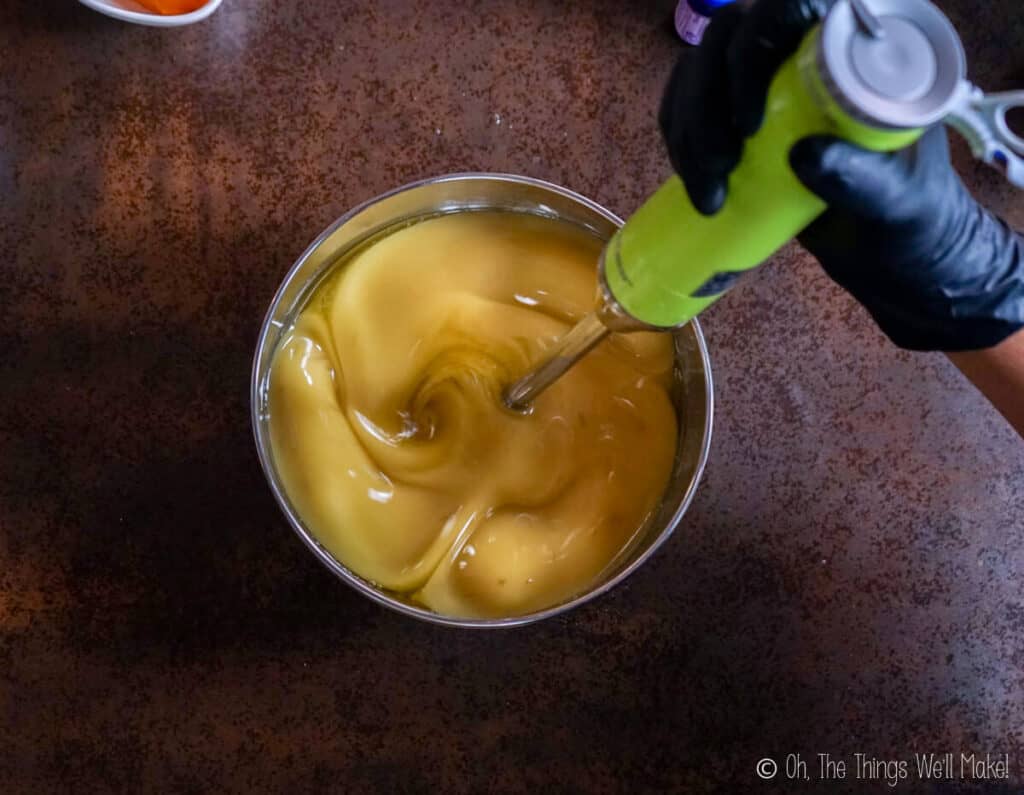
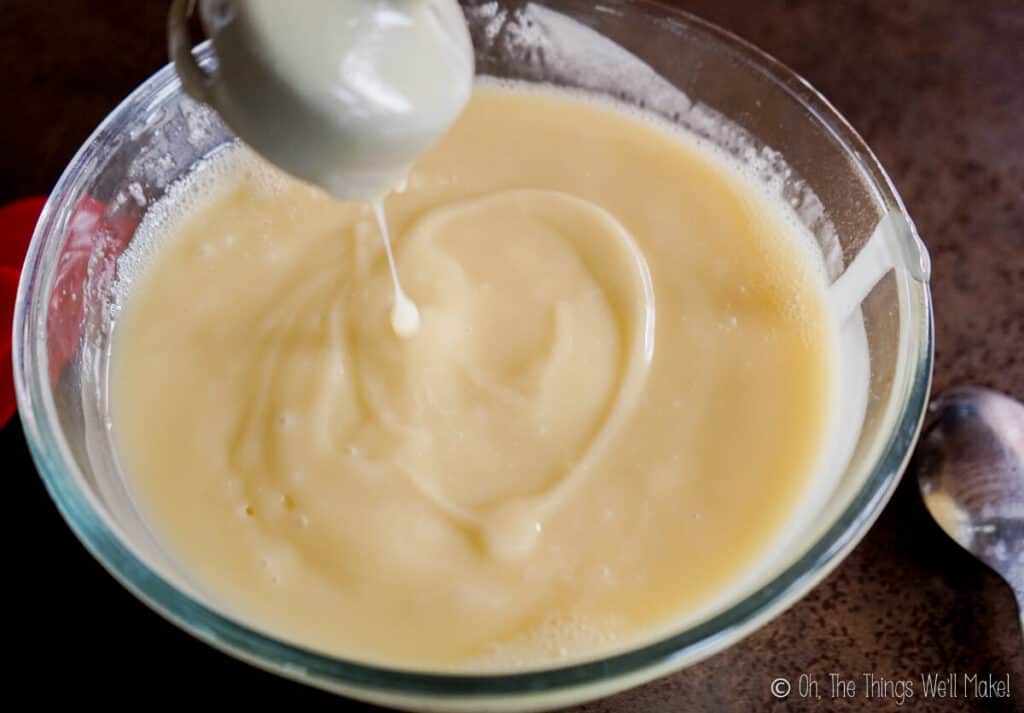
Once we reach “trace” (when the soap is fully emulsified and looks like a thin mayonnaise), we will add our pumpkin and fragrance oils.
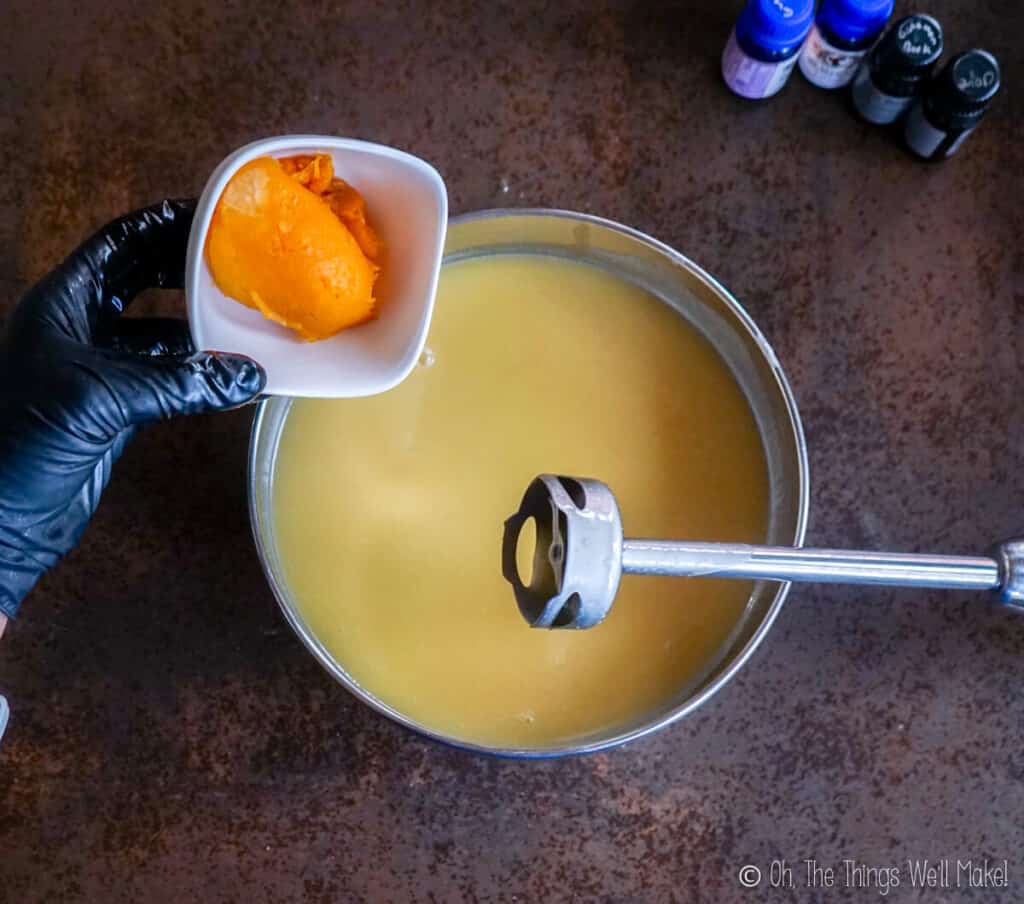
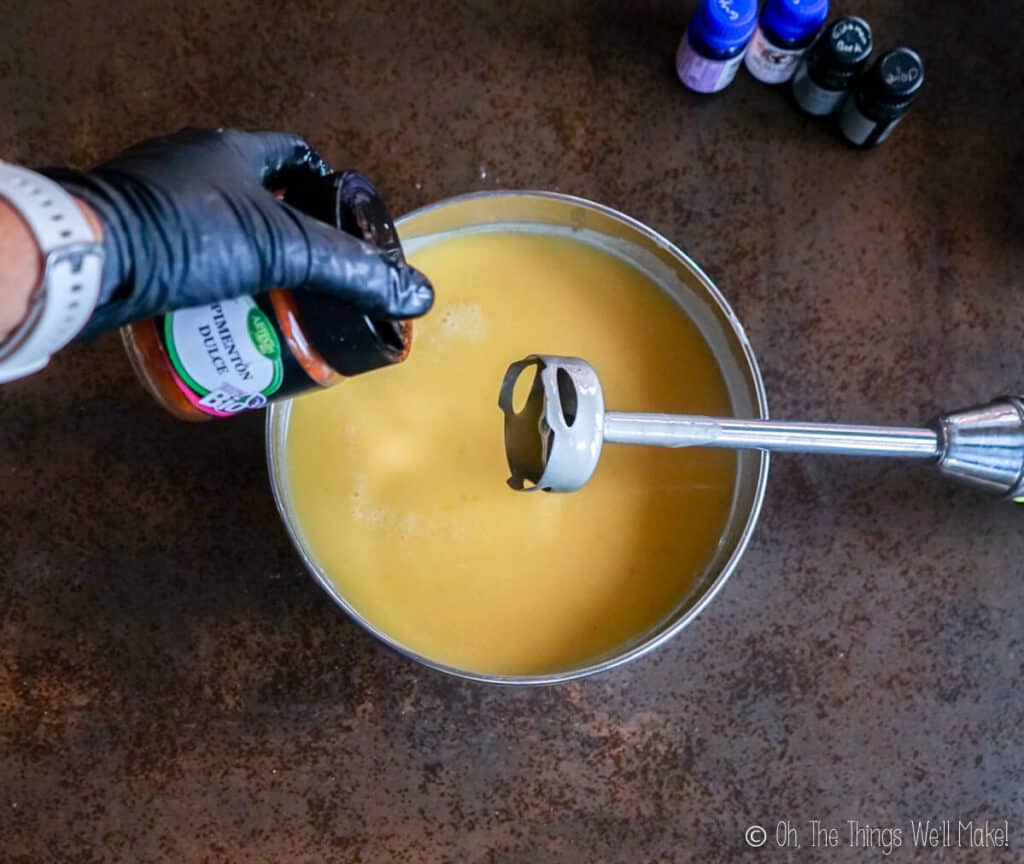
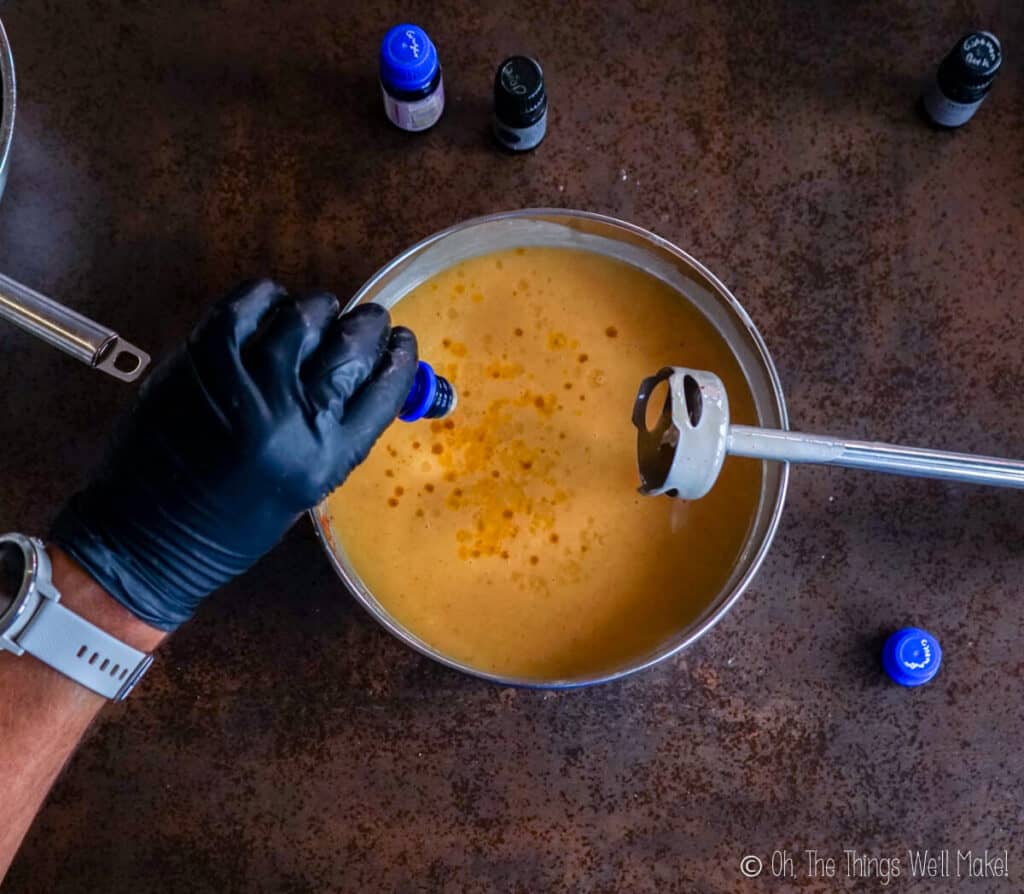
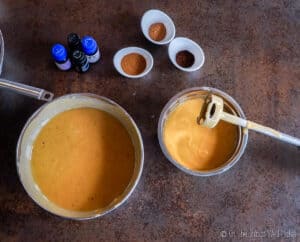
Then, we’ll separate around ⅓ of the mixture into a separate bowl.
At this point, we’ll add the ground spices into the soap mixture that we just separated out.
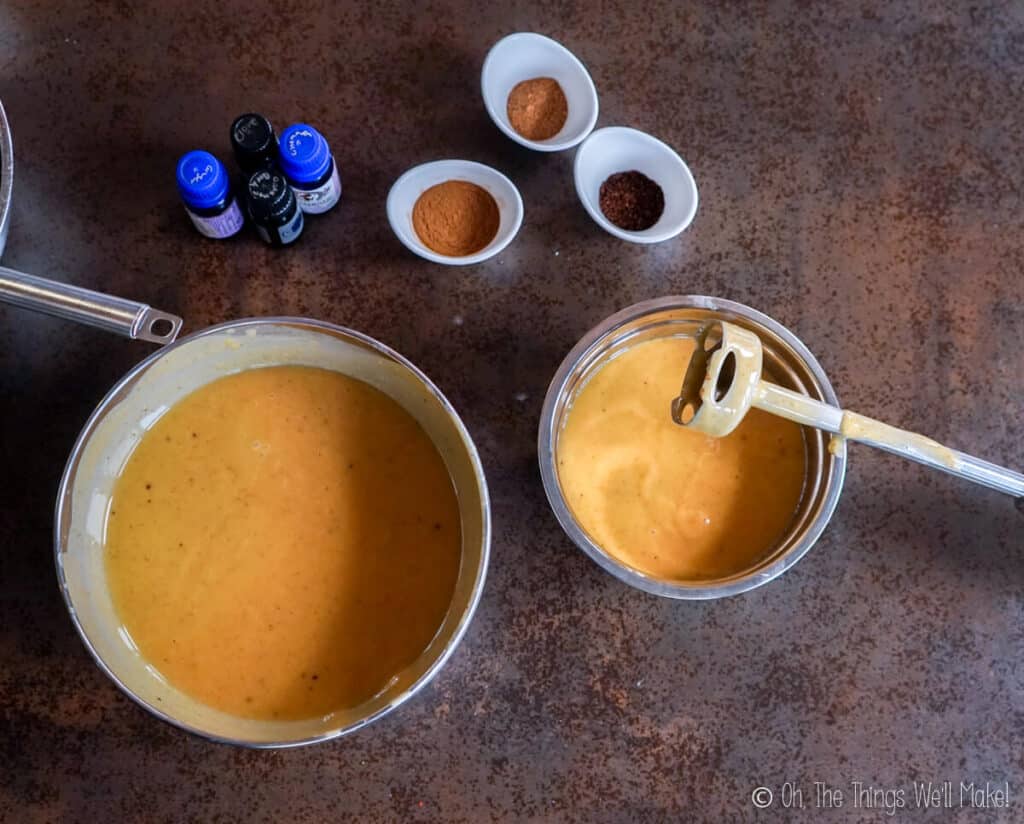
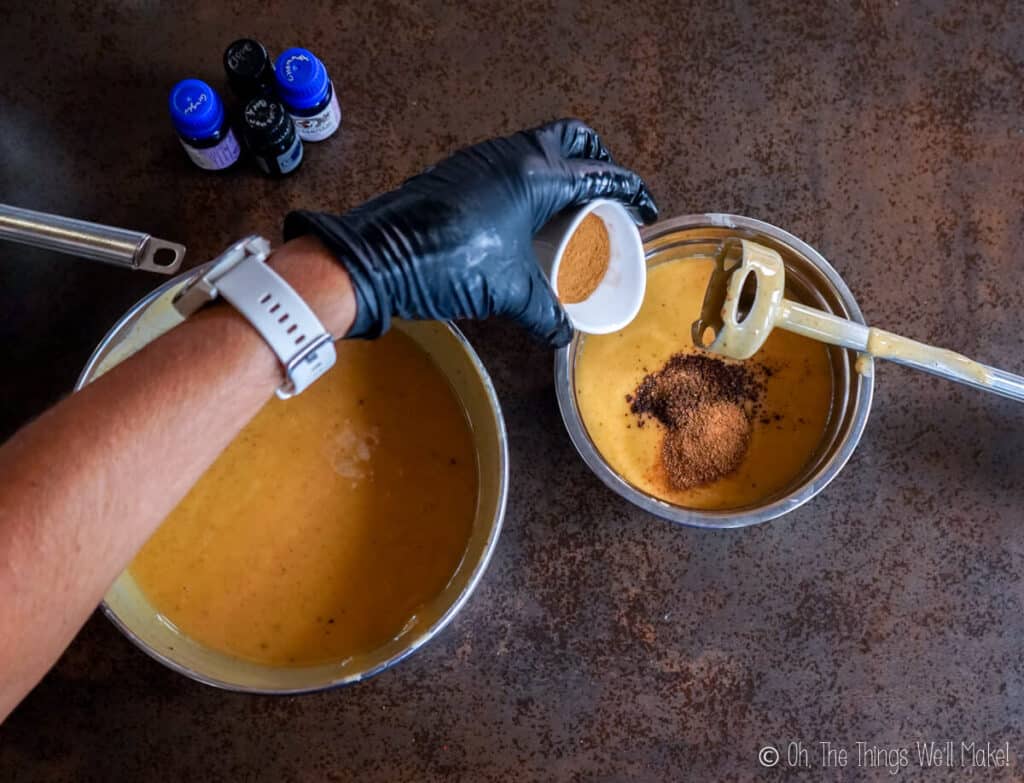
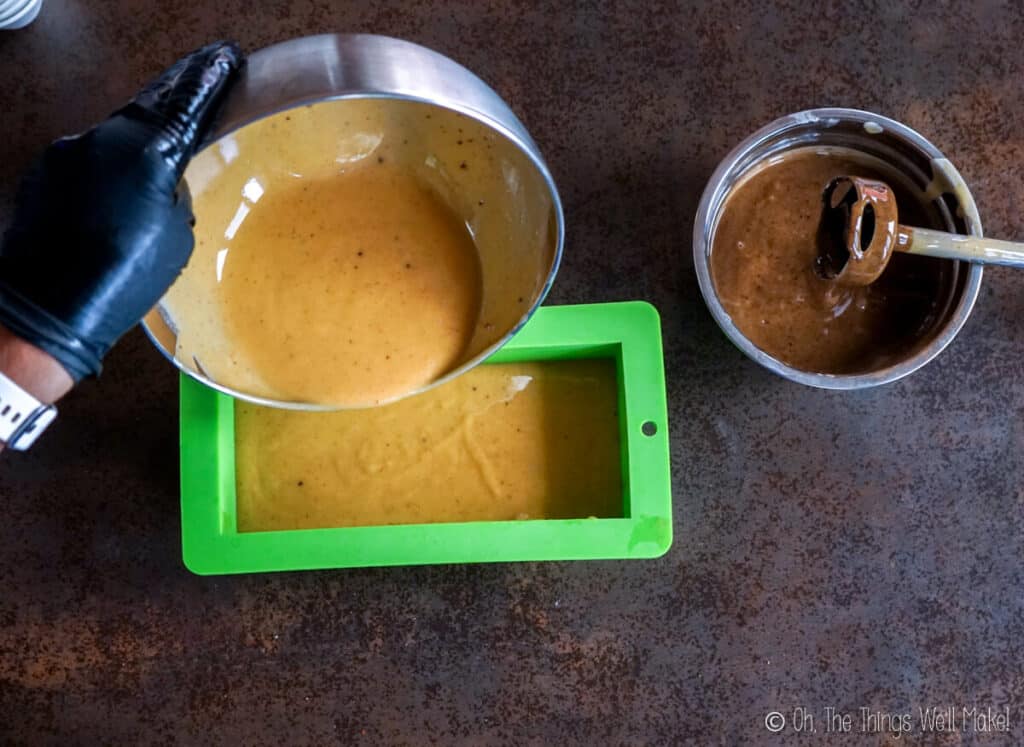
Once we have our two soap mixtures ready, we can begin to fill our soap mold. (I’m using a silicone loaf pan.) Pour half of the unspiced mixture into the mold, followed by half of the spiced, the rest of the unspiced, and finishing with a layer of spiced soap mixture.
To swirl the soaps, place a stainless steel spoon (or another utensil) into the soap.
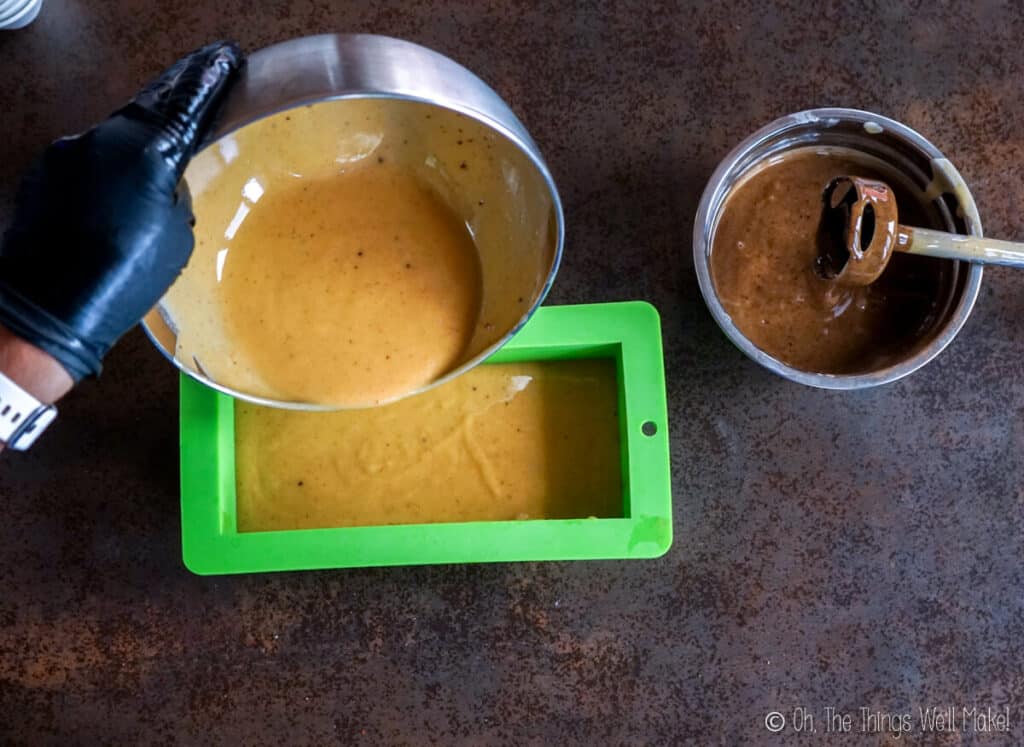
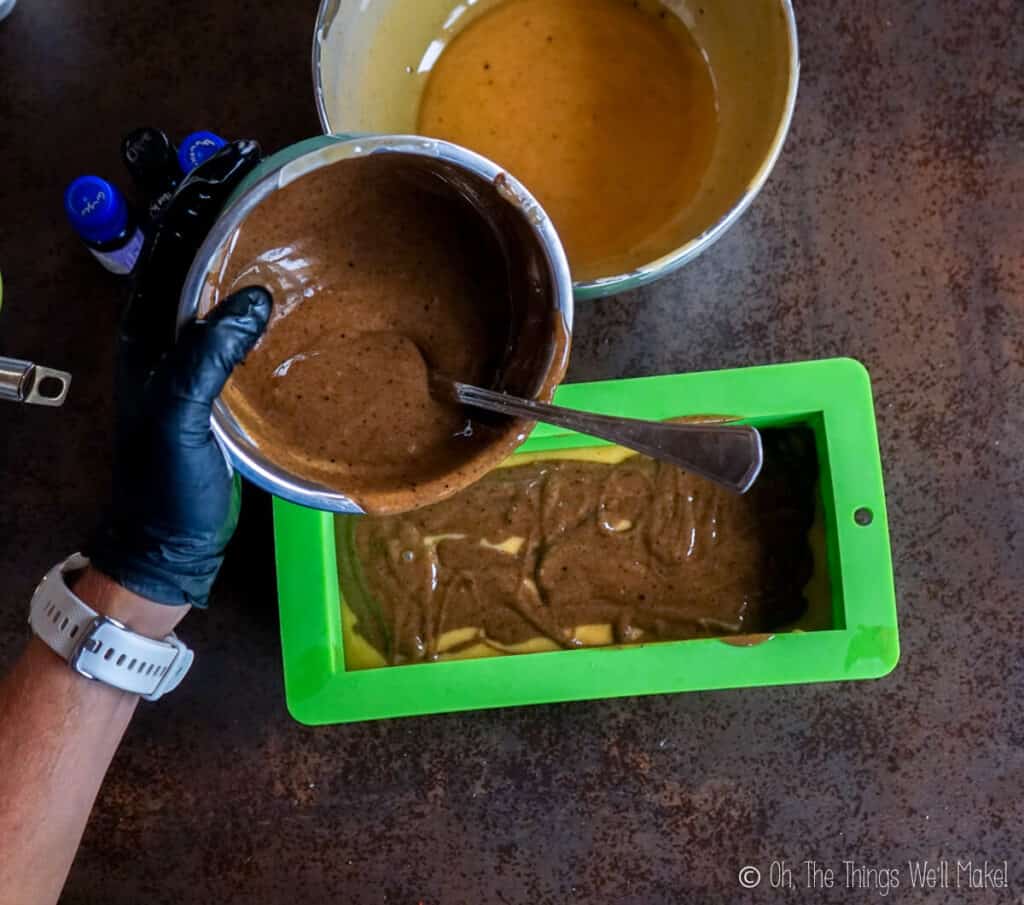
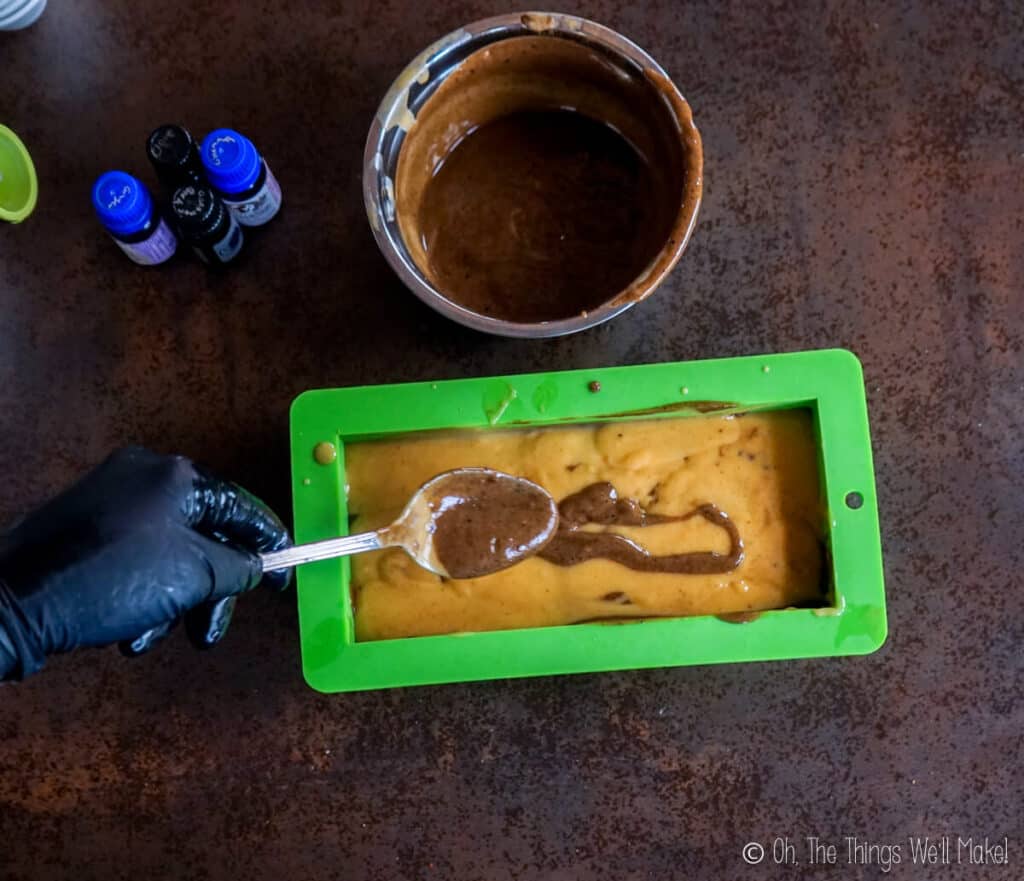
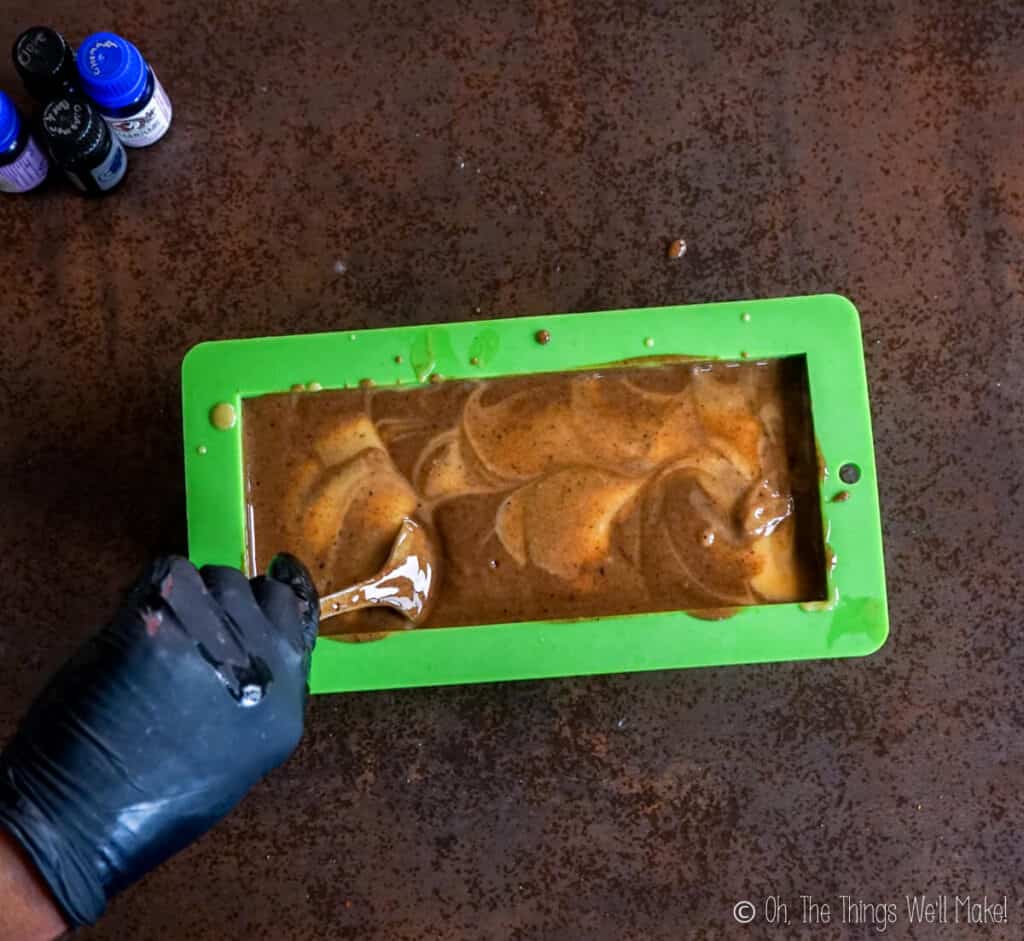
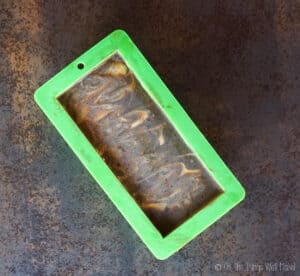
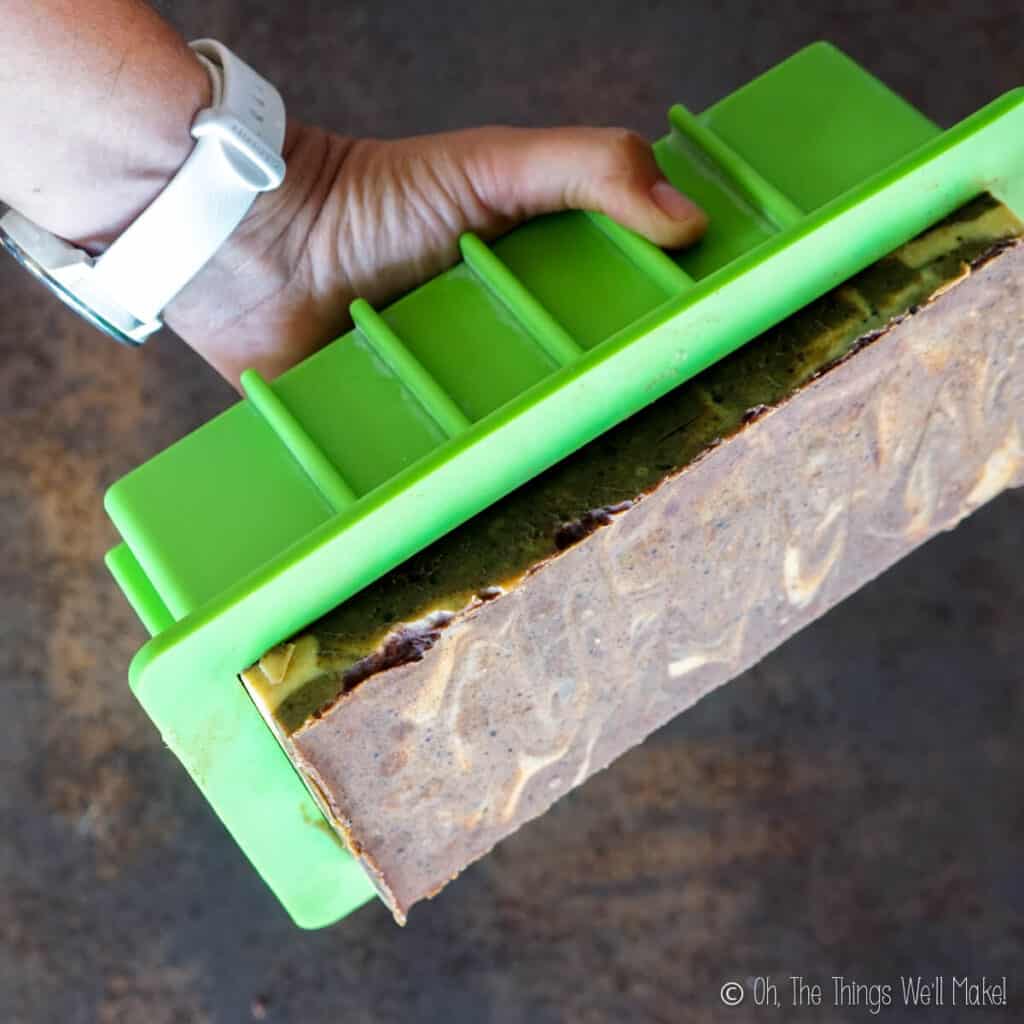
Allow the soap to set untouched for around 24 hours. Once it’s hard enough to unmold it, gently remove it from the mold and cut it into bars.
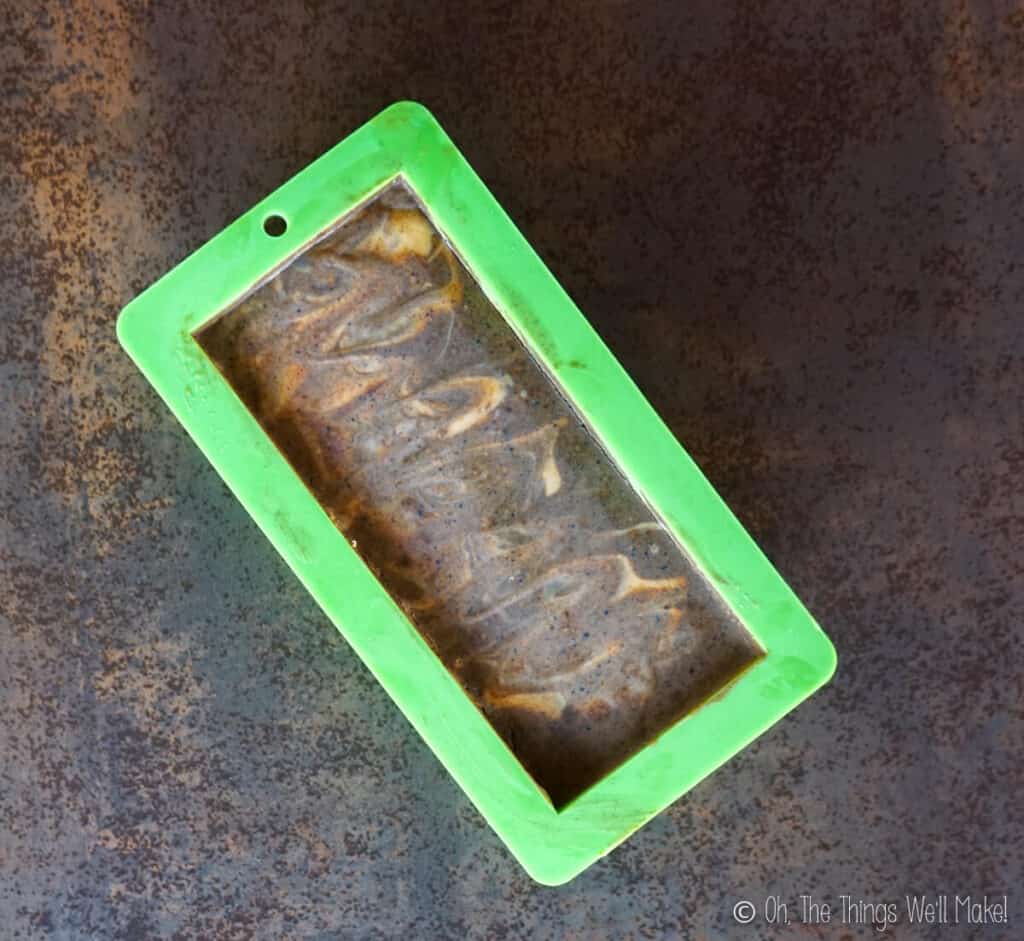
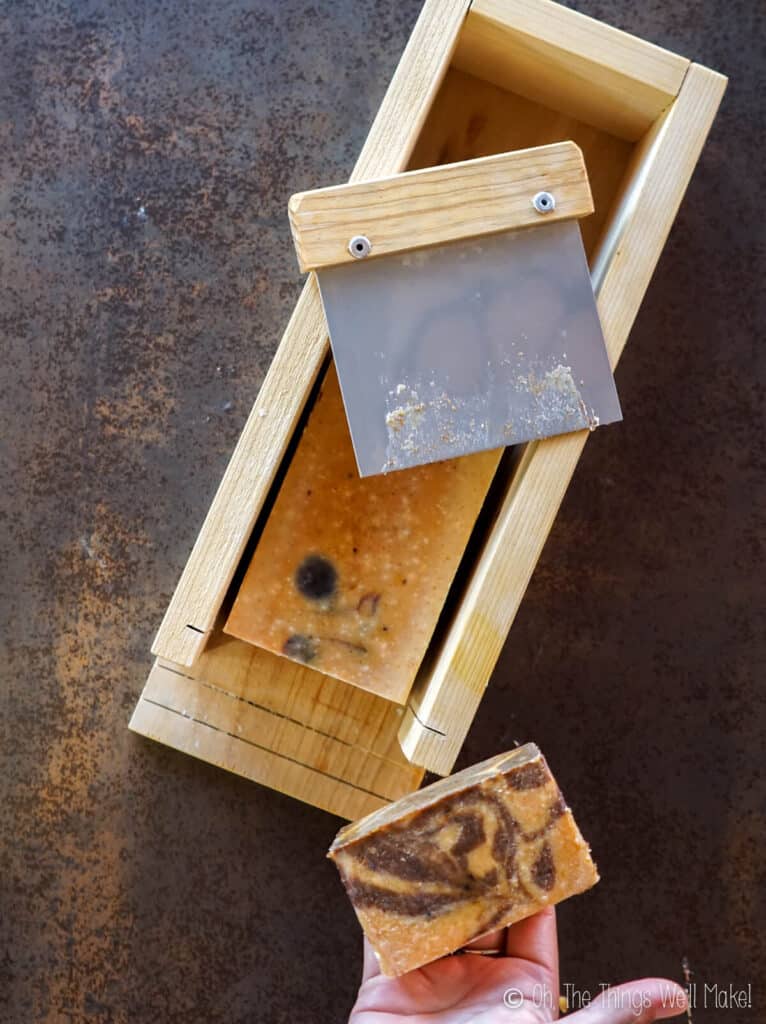
That’s all there is to it. You should let the bars of soap cure for around 3-4 weeks before using them. (During that time, they will harden and improve.)
Customizing the recipe
Even this recipe can be slightly customized to suit your taste.
Adding color
I originally left this soap its natural golden color. This year, though, I wanted to try something new and incorporate a natural orange color by adding some ground achiote to the soap. Unfortunately, when I was ready to make it, I realized I didn’t have any on hand. So, I used paprika instead. Paprika is another way to naturally color the soap, but it doesn’t turn as orange as it would with achiote powder.
Other changes
Don’t want to use goat milk? Just switch it for another 100ml of water.
If you don’t want to do the swirl technique, you can either add the spices to all of the soap (which will result in a brown soap) or don’t use ground spices at all (for a golden colored soap).
Safety Tips
As with all soap recipes, be very careful when working with the lye solution.
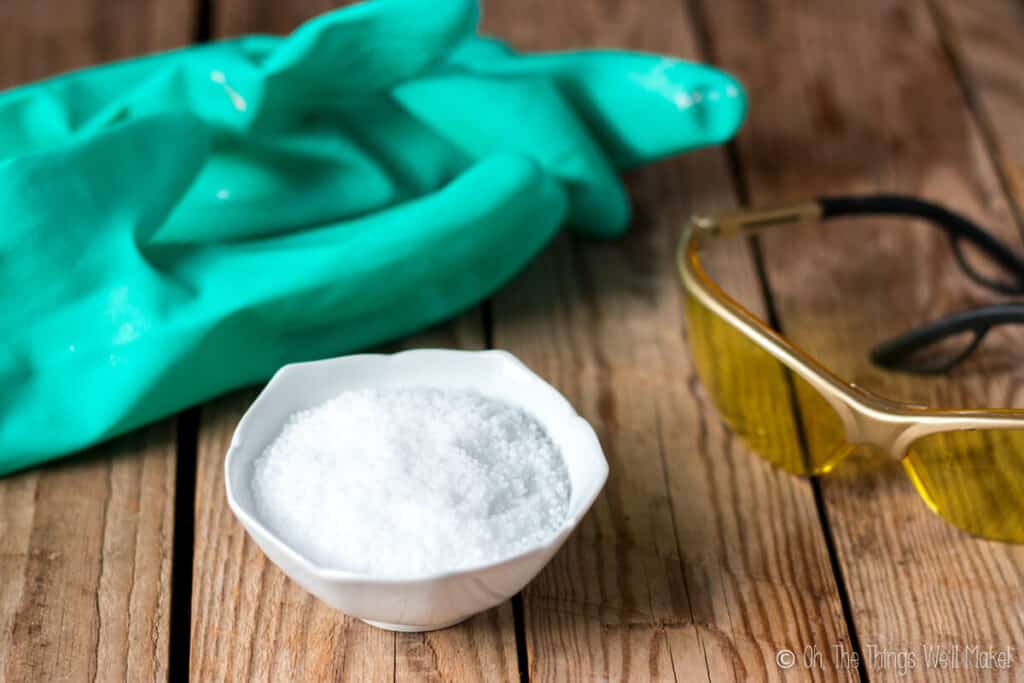
- When making soap, use protective eyewear and gloves. To make the lye solution, pour the lye into the water rather than the other way around!
- Mix the ingredients together outside or in a well-ventilated area. For more safety tips, read my beginner soap recipe post.
Video
Easy Pumpkin Spice Soap
Materials
- 100 g coconut oil
- 500 g olive oil
- 80 g lye 2.8 oz.
- 100 ml goat milk either fresh or reconstituted from powdered
- 100 ml water
- 45 g pumpkin 1.6 oz., I made my own puree
- 1 teaspoon coconut sugar or any brown sugar
- 1 teaspoon salt
- 1 Tablespoon cinnamon
- 1 teaspoon nutmeg
- 1 teaspoon ground cloves
- clove essential oil & cinnamon and ginger essential oils
Instructions
Prepare the goat milk
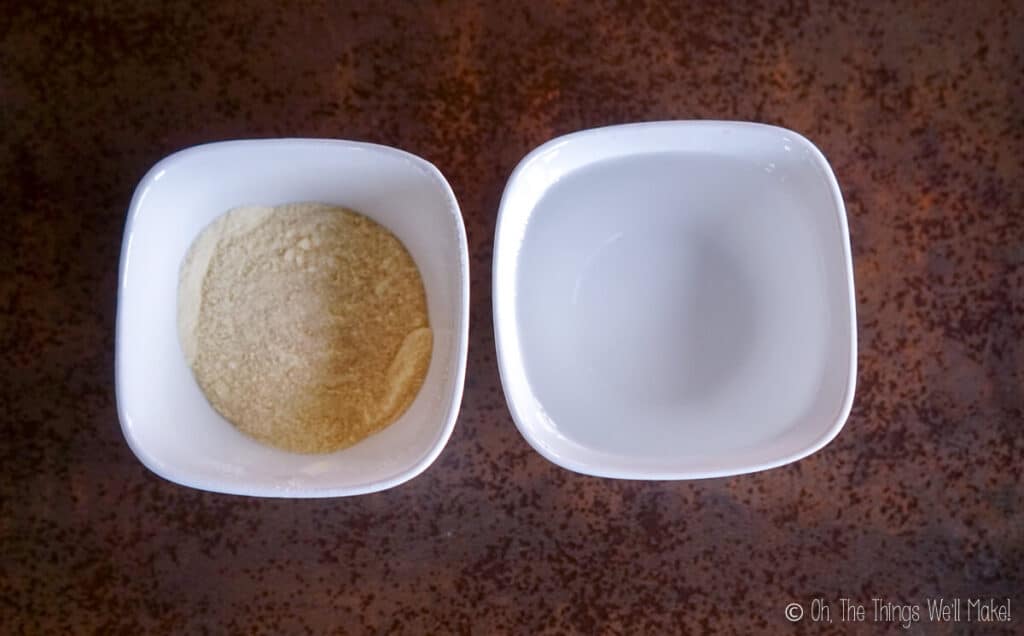
- Place the goat milk in the freezer while weighing/measuring out the other ingredients. (You'll want to have the spices ready to go so that you aren't rushed later on.)
Prepare the lye solution
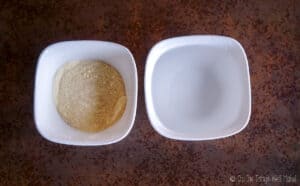
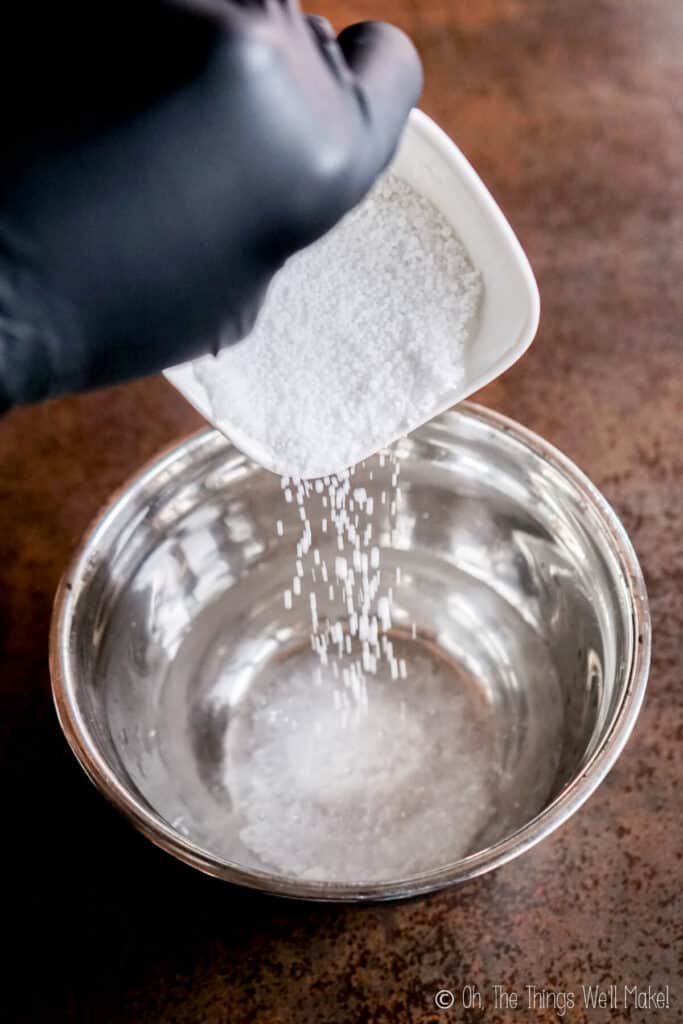
- Carefully pour the lye into the water in a stainless steel or plastic bowl. (For more safety tips, read my easy beginner soap recipe post.) Mix in a well-ventilated area. The mixture will heat up and become cloudy. Try to dissolve all (or most) of the lye before adding in the goat milk.
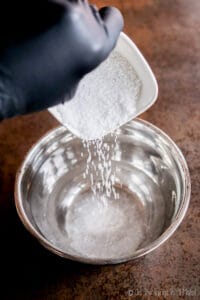
- After a few minutes, begin adding the cold goat milk. I like to add it when it's frozen to avoid scorching the milk. If your milk isn't frozen, you can also mix them together over a pan of ice and water. Your solution will probably yellow. That is a normal reaction of goat milk and lye.
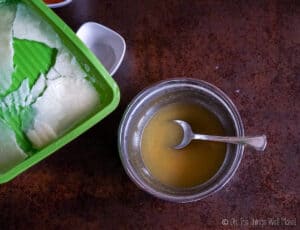
- Add the sugar and salt to the lye solution. Once the solution is thoroughly mixed, allow it to rest while you get together the other ingredients.
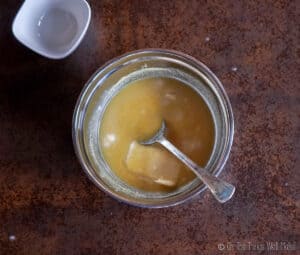
Combine the lye solution and the oils
- Melt the coconut oil if it is in a solid state. Then, combine the oils in a large bowl.
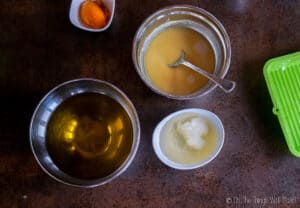
- Add the lye solution to the oil mixture, and gently mix them together.
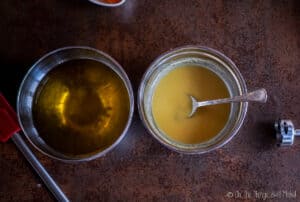
- Once the lye solution is incorporated into the oils, carefully mix them together with an immersion blender. The mixture will become creamy looking and, after a few minutes, will thicken into a thin, mayonnaise-like texture. (If your ingredients are cold, it will take a bit longer.) At this point, it's called "trace." We can now add in other ingredients.
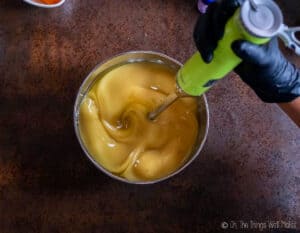
Add in other ingredients
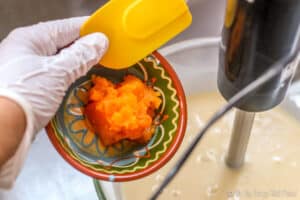
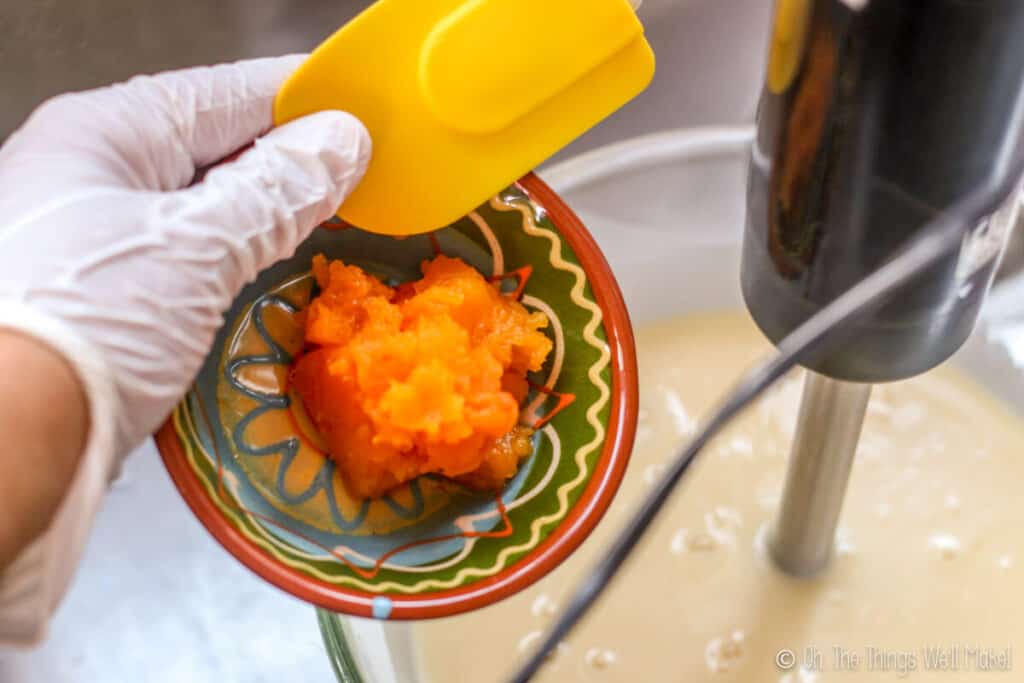
- Add the pumpkin puree to the soap mixture. If you want to add an orange pumpkin color, now is the time to add in some achiote powder (start by mixing in a small amount and add more as desired) or a soap colorant.
- Add the essential oils or cosmetic grade fragrance oils, if you prefer. Certain essential oils, like clove oil, may cause your soap to thicken more quickly, so be prepared, just in case. I didn't find it to be an issue, but it may depend on the oil. You can experiment here, and use your nose to help guide you. I used mostly clove oil, followed by some cinnamon and ginger oil. 😉
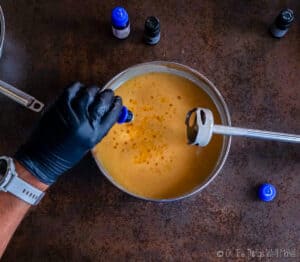
- Separate out about ⅓ of the soap mixture into a separate bowl. Add the ground dried spices to the ⅓ that you separated out. Mix well to fully disperse them in the mixture.
Pour into molds
- Pour about half of the un-spiced soap mixture into your mold. (I'm using a silicone loaf pan.)
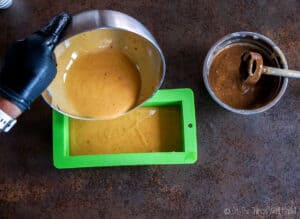
- Add a layer of the spiced soap using about ½ of the spiced soap mixture. If it appears to fall to the bottom in one area, carefully spoon it over the top to completely cover the unspiced layer.
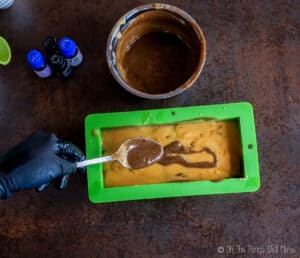
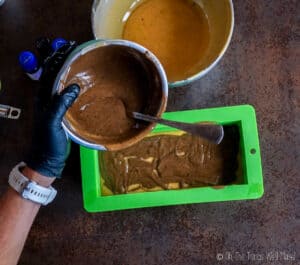
- Cover that layer with another layer using the rest of the un-spiced soap mixture. Then, cover that, as before, with the rest of the spiced soap.
Swirl the soaps
- Using a spoon or some other utensil, poke into the soaps, reaching for the bottom layer and pulling the soap out over top, trying to gently swirl the soaps in certain places. You can also zigzag your way through the soap in places, to have the soaps gently swirl together, without fully mixing them into each other.
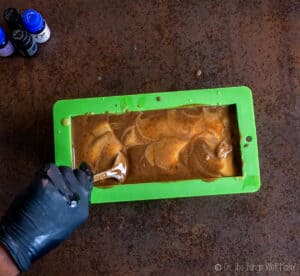
- Once you've gently swirled all over the soap, allow the soap to rest for at least 24 hours.
Unmold and cut the soap
- After 24 hours, you can begin to check the soap to see if it's hard enough to be gently unmolded. If it is too soft, wait another day and check on it again. Once hard enough, gently unmold it. (Don't wait too many days or it may be difficult to cut into bars.)
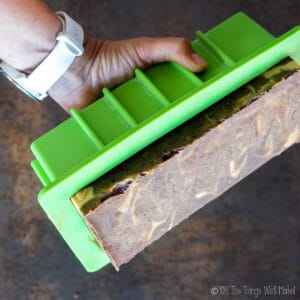
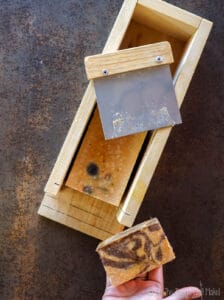
- Once you've removed the block of soap from the mold, cut it into bars. You can make your soaps as thin or as thick as you like.
Curing the soap
- Place the soap on parchment paper or cardboard with air space between the bars. Allow them to cure for several weeks, ideally at least 3-4 weeks. During this time, the soap will harden and the crystalline structure will continue to form. To help the soaps dry thoroughly on each side, flip the bars of soap every couple of days at first. Once cured, it's ready to use like any other soap. Enjoy!
Notes
Customizing the recipe
For more cleansing and lather, you can use 450g olive oil and 150g coconut oil for the oils, and increase the lye to 81g. If you don’t want to use goat milk, you can use only water for the recipe.Using goat milk powder
If using goat milk powder, follow the instructions that came with your goat milk powder. If yours didn’t come with instructions, add, by volume, 1 part goat milk powder to 4 parts water. By weight, add around 15g of powdered milk to 100ml water. The final amount of goat milk in the recipe doesn’t have to be precise. Just make sure that the total amount of liquid, water plus goat milk, is around 200ml.This post was originally published on September 23, 2014. It was rewritten and republished in November of 2020 with new photos, information, and video.
Is it possible to make this soap without lye?
Hi Ritu,
It is impossible to make any soap from scratch without lye.
If you are afraid to work with lye yourself, you can buy melt-and-pour soaps and add spices and other ingredients to those. When you buy melt and pour soaps, the reaction between the lye and the oils has already been done for you. Because it is so much cheaper to make your own, I’ve never worked with them, so I can’t give you exact measurements. You’d have to experiment a bit.
As long as you take precautions to protect yourself, though, working with lye isn’t as scary as people make it out to be.
I hope that helps.
Looks very interesting. I’ve never made soap before. Where do you get your ingredients?
Hi Tina,
I just buy the ingredients at my local stores. They aren’t that difficult to find. Here in Spain it used to be difficult to find coconut oil, but now it can be found at health food stores. That is also where I usually find most of my essential oils.
As for the lye, you can usually find it in the section of either hardware stores or supermarkets where drain cleaners are found because it is often used as such.
If you do have problems finding any of the ingredients, I have linked to most of the ingredients on Amazon for easy finding. They are affiliate links which means that if you do order anything from those links, I earn a small percentage back, but they don’t charge you any more.
Happy soap making! 🙂
I love this post. I going to try this out today it will be the second time I am making homemade soap. any important suggestions? I do wish there was a video so I can see the steps you took. Thanks for this cool webpage!
Hi Ashby,
Thank you so much!
I can’t think of anything to add. I hope is goes well for you and that you enjoy it. This is my favorite soap, I think.
Making a video is a good idea and something I should consider. I tend to stay away from videos because my kitchen is usually a disaster area when I’m making projects for the blog, but I guess people enjoy seeing the realities of the “behind the scenes” anyway. 😉
Do you think this would work in the crock pot? If so, any suggestions?
Hi Shannon,
I really only use a crock pot if I’m going to make a liquid soap or glycerine. I see no real need to go through the hassle of using the crock pot for soap making otherwise. I know some people do use the crock pot to try to have usable soap more quickly because the theory is that hot process soaps will harden faster. The problem is there is a lot of conflicting information on the topic, so I prefer to let the soaps sit for 1 month before using them anyway.
I don’t have a lot of advice to give you about hot processing the soap because I just don’t do it. I don’t like having to watch soap cook if I don’t need to, and hot process soap doesn’t tend to be as smooth as this cold process soap is.
If you really want to use your crock pot for making this soap, though, you should be able to follow the guidelines that are used for hot processing any other soap.
I asked a question earlier, but how long do the soaps last?
Hi Courtney,
The soap can be used earlier than the month, but they will be very soft and won’t last as long when you are trying to use them because they will be soft. As long as you have the measurements right, the soap really is safe to use after a couple of days. By that time the saponification process should be complete, so it is possible to use it much sooner. When you wait a month, the water evaporates and gives you a much harder bar of soap which will alter more and last longer.
As for how long it lasts?
Do you mean how long you can keep it before it goes bad?
The ideal time for gifting a soap is probably around 6-8 weeks after making it. By that point you have a hard bar of soap that still has a strong fragrance. With time, the scent can diminish depending upon the soap. I think that is really the main factor to determine if the soap is “good” for using because after that point the soap is still usable, but isn’t as pleasant. I still have some bars of pumpkin spice soap from last year’s batch, and they still smell wonderful and work very well.
I hope that helps!
hey! is there anyway the soap can be ready in less than a month?
What amount of essential oils did you put in?
Hi Sarah,
Well, to be honest, despite my best intentions to try to count drops to try to put them in a recipe, I’ve never been able to do it. Each of the bottles seems to drop at a different rate and is probably dispensing a different amount. I try to add the oils quickly so as not to have a problem with the soap setting up too quickly, too, so I let them drop in pretty quickly.
Each time I make soaps, I just let my nose be the guide. In my experience, the strength of the scent when you make the soap is a pretty good indication of what the final soap will smell like too.
Can I use all goat milk and omit the water? Thanks
Hi Anthony,
Yes, you can use all goat milk as long as you keep the total non-oil liquid amount the same.
The reason I chose to use a mix of milk and water is because I wanted this to be more of a beginner recipe that uses milk. Milk is trickier to work with than water because it reacts with the lye and can burn, causing discoloration and an undesirable smell. It can also have a bit of a violent reaction if it heats up too much.
As long as you work with frozen milk, and make sure to keep the temperature down, you should be OK.
If you try it, I’d love to hear how it goes!
Hi Tracy! I stumbled upon this post and discovered soap making for the first time. I made your recipe and am waiting for the soap to cure (its been 4 weeks so should be ready soon) !I think it turned out GREAT and I am excited !!! Already going to make my second batch (different recipe) this weekend. I am addicted ! Only little complication i came upon when i made your recipe: making the lye water directly with the goats milk, I had to make it twice! The first time it got awfully dark and orange even though i used an ice bath. My goats milk was reconstituted from powder and i had the impression the powder separated from the mixture.. The second batch, did not get so hot and it only got slighlty darker but the powder still separated a bit. i decided to use it anyways since the color was okay. After doing some more research, I think next time i make soap with goat milk, I will add the milk powder directly to the oil mixture adding the lye water to it. I heard this is the most uncomplicated way to do it as you dont have to worry about scorching your milk! It still turned out great though !!!!!
thanks:)
Hi Andreane!
I’m glad you liked the soap.
Thanks for the tip! I wasn’t really sure how powdered goats milk would work in the recipe. My son’s eczema flares up whenever he drinks cows milk, and he loves milk, so I always have fresh goats milk on hand.
Other people were asking about it, though, so I’m glad you found a way to make it work. That does make sense, especially if the goats milk has fat in it that allows it to incorporate into the oils. I would think that adding it in at trace would also be a less complicated way of doing it.
Making soap is addicting, and I love it because people love getting it as gifts and they are so impressed when you say you made it yourself! 😉
I’ve been working a couple of Christmas soaps. There is one that I want to post soon, but I want to make a second batch to make sure I really like the recipe before I post it!
Thank you Tracy! I got it out of the molds and cut it this evening, and it turned out perfectly! I actually used a bar today, and I LOVE it! Thanks again for this recipe!