

Easy Pumpkin Spice Soap
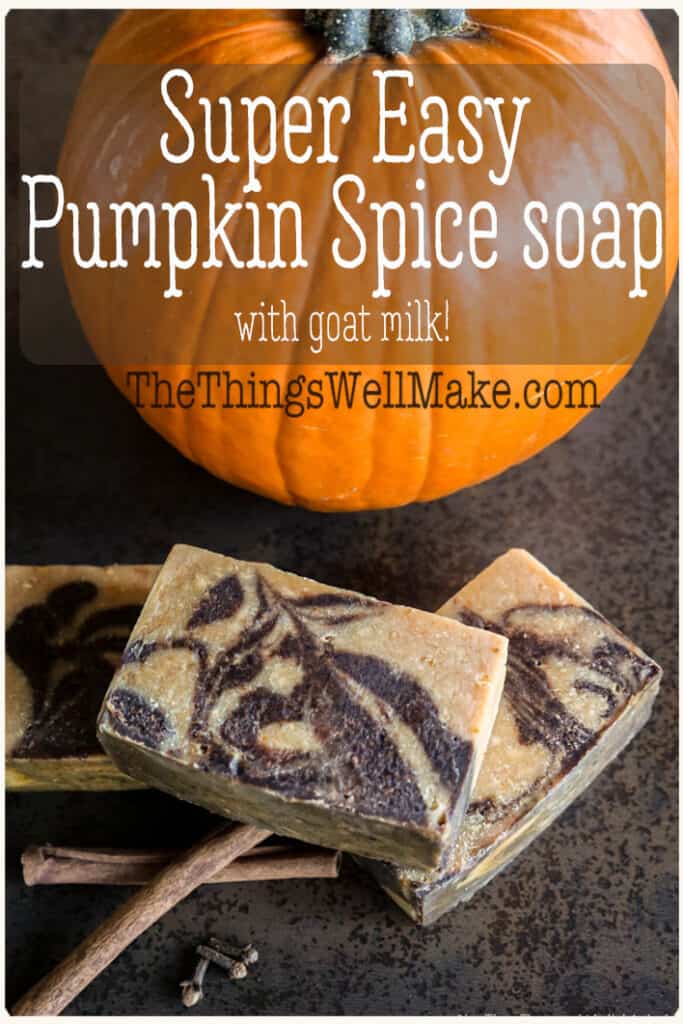
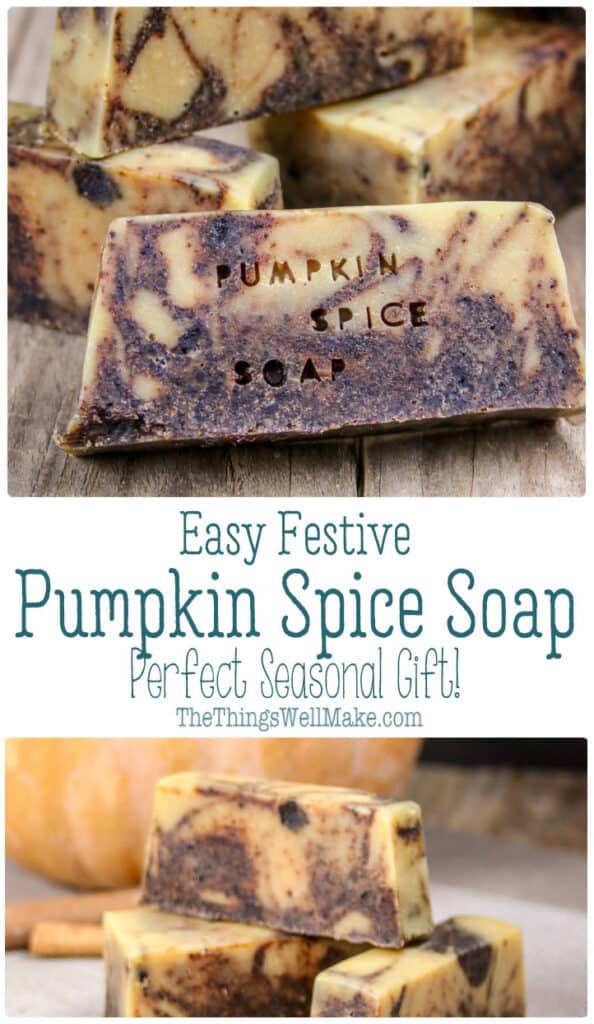
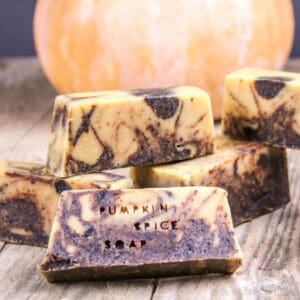
Impressive looking, but simple enough for beginners, this super-easy pumpkin spice soap combines pumpkin puree and goat milk with fall spices, making a soap that’s nourishing and wonderfully fragrant.
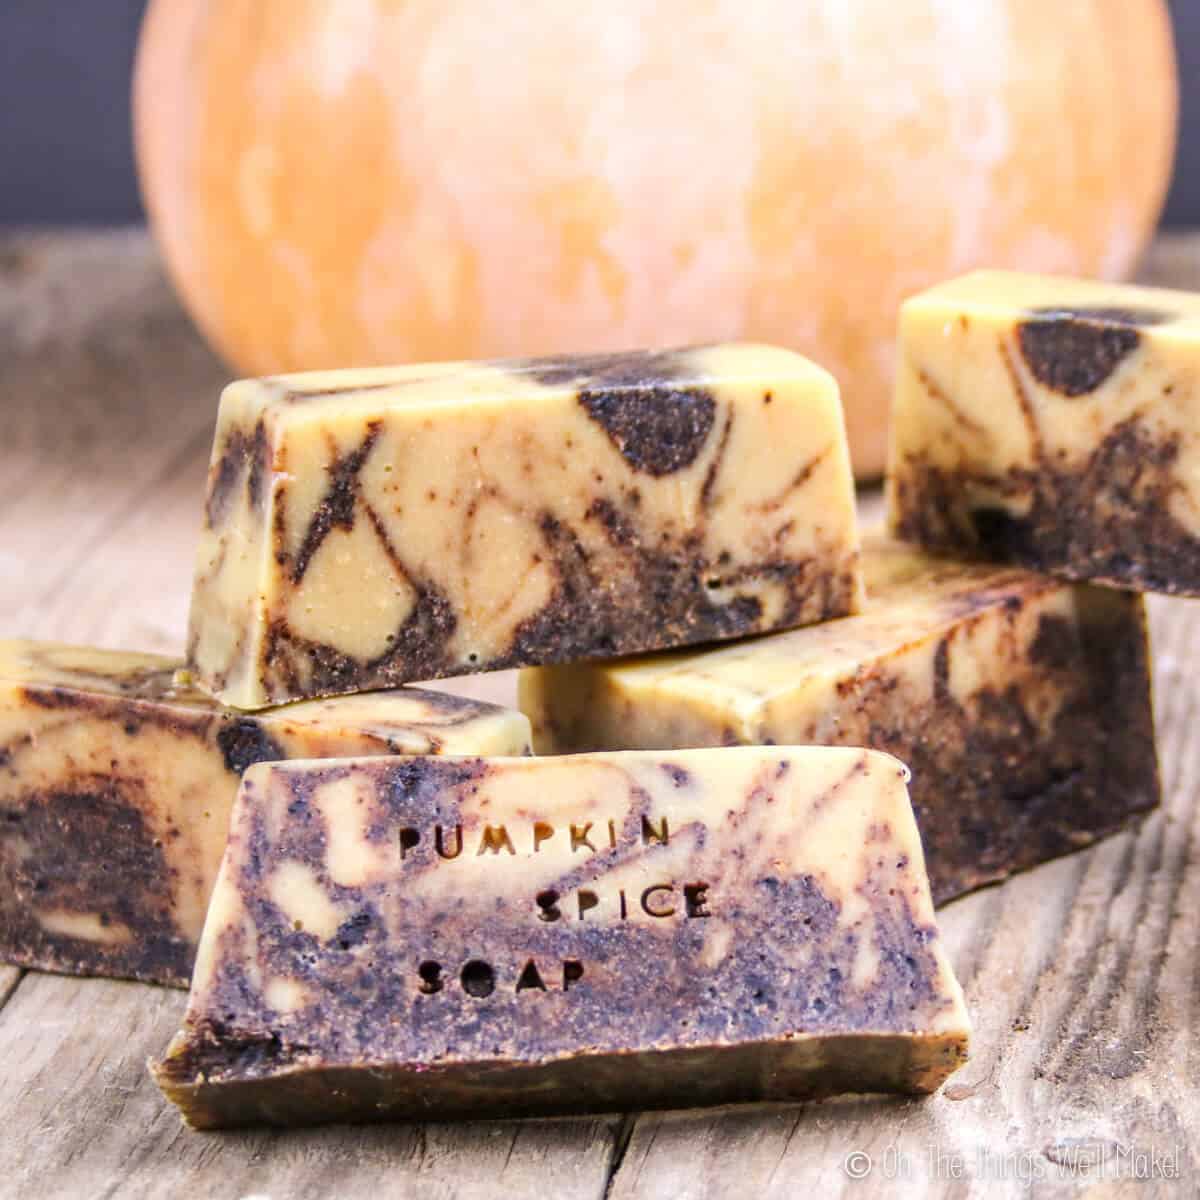
With autumn, comes cooler nights and shorter days. Halloween and Thanksgiving bring all sorts of fun pumpkin and apple spice recipes.
In celebration of this pumpkin spice time of year, I’ve decided to make a pumpkin spice soap.
What I love about this soap is that the scent lasts quite a bit longer than most naturally scented soaps. Perhaps it’s because it uses a combination of both essential oils and the actual spices. Or, maybe it’s just because the fragrance of these spices is more persistent.
Either way, I’m really happy with the final outcome.
A beginner recipe
If you have never made soap before, don’t worry. This soap is very simple to make. I purposely based this soap recipe on my easy, beginner soap recipe.
Because this recipe uses milk and adds a swirling technique, it is a bit more complicated than the other recipe. If that worries you, begin with the other recipe. If you’re adventurous, though, give this one a try! By following the directions carefully, even as a beginner, you shouldn’t have any problems.
My beginner soap is a tried and true recipe that only uses simple, easy-to-find oils. It also has a relatively long working time. The longer working time is perfect for beginners because it gives plenty of time to add in fragrance oils and spices. You should also have time to spare to swirl them together as I did.
To show how simple it is to adapt a soap recipe, I kept the main recipe exactly as it was. So, this recipe uses the same basic oils in the same amounts as the original recipe. For that reason, it also uses the same amount of lye and a similar amount of water. (This time, though, I switched out half of the water for goat milk. I also reduced it slightly because of the water in the pumpkin puree.)
Introducing new soap techniques
The beginner soap is great, but it’s also rather basic. I often get questions from readers who love that recipe, but who want to incorporate other ingredients. Today we will cover some of the ways to customize a recipe without changing the main recipe.
Adding goat’s milk
Rather than only use water, I decided to add some goat milk to this recipe. Goat’s milk is a very popular ingredient for soap because it is gentle and nourishing to the skin.
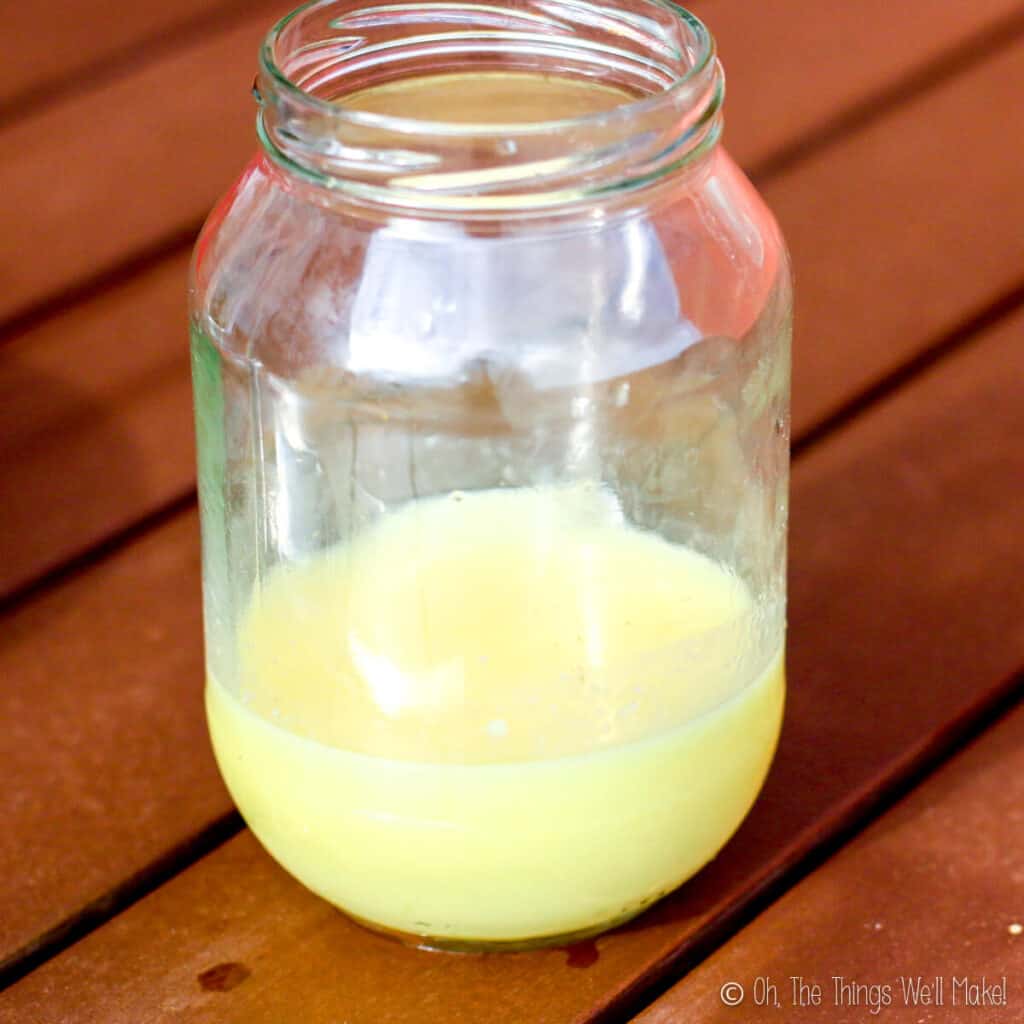
Making soap with goat’s milk isn’t just as simple as switching out the water for milk, though. Milk is a great ingredient because it has nourishing fats. Milk also has sugar in it, though, and the chemical reaction of those sugars with the lye can cause it to burn. That can leave your soap with an unpleasant scent and/or brown color.
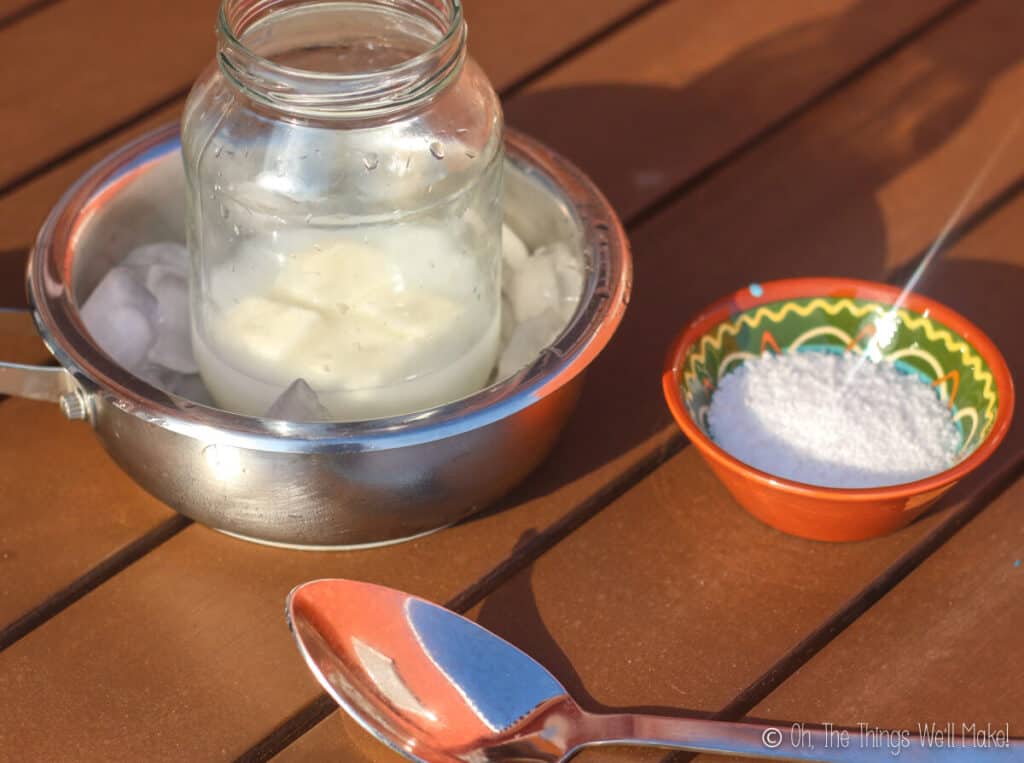
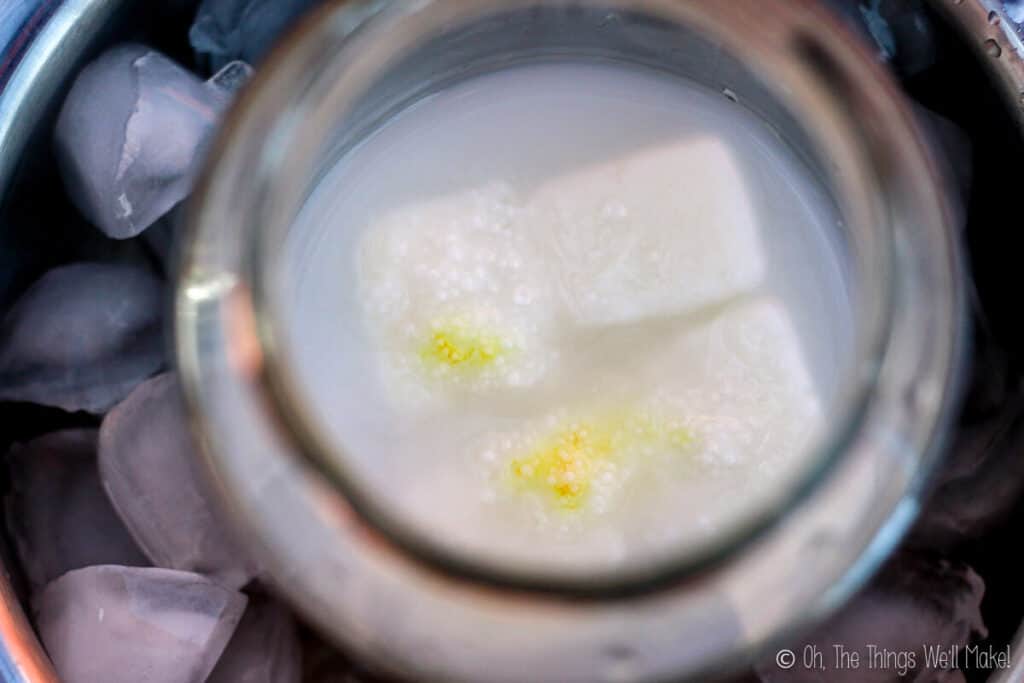
To prevent that from happening, the milk should be added at a very cold temperature. This can be done by mixing it over an ice bath or even freezing the milk first.
Swirling technique
I also made this soap different from the basic recipe by using a swirl technique to give a fun, marbled appearance to the soap.
This soap is completely natural, but still has a fun look to it. The main soap mixture has the goat milk and a homemade pumpkin puree. (While it’s simple to make, you can also just use canned pumpkin instead.) To make the swirl, we’ll separate out some of the soap mixture and add our ground, dried spices into only one of the parts. The spices add a dark color to the soap, along with a beautiful aroma, and also add a very mild exfoliation.
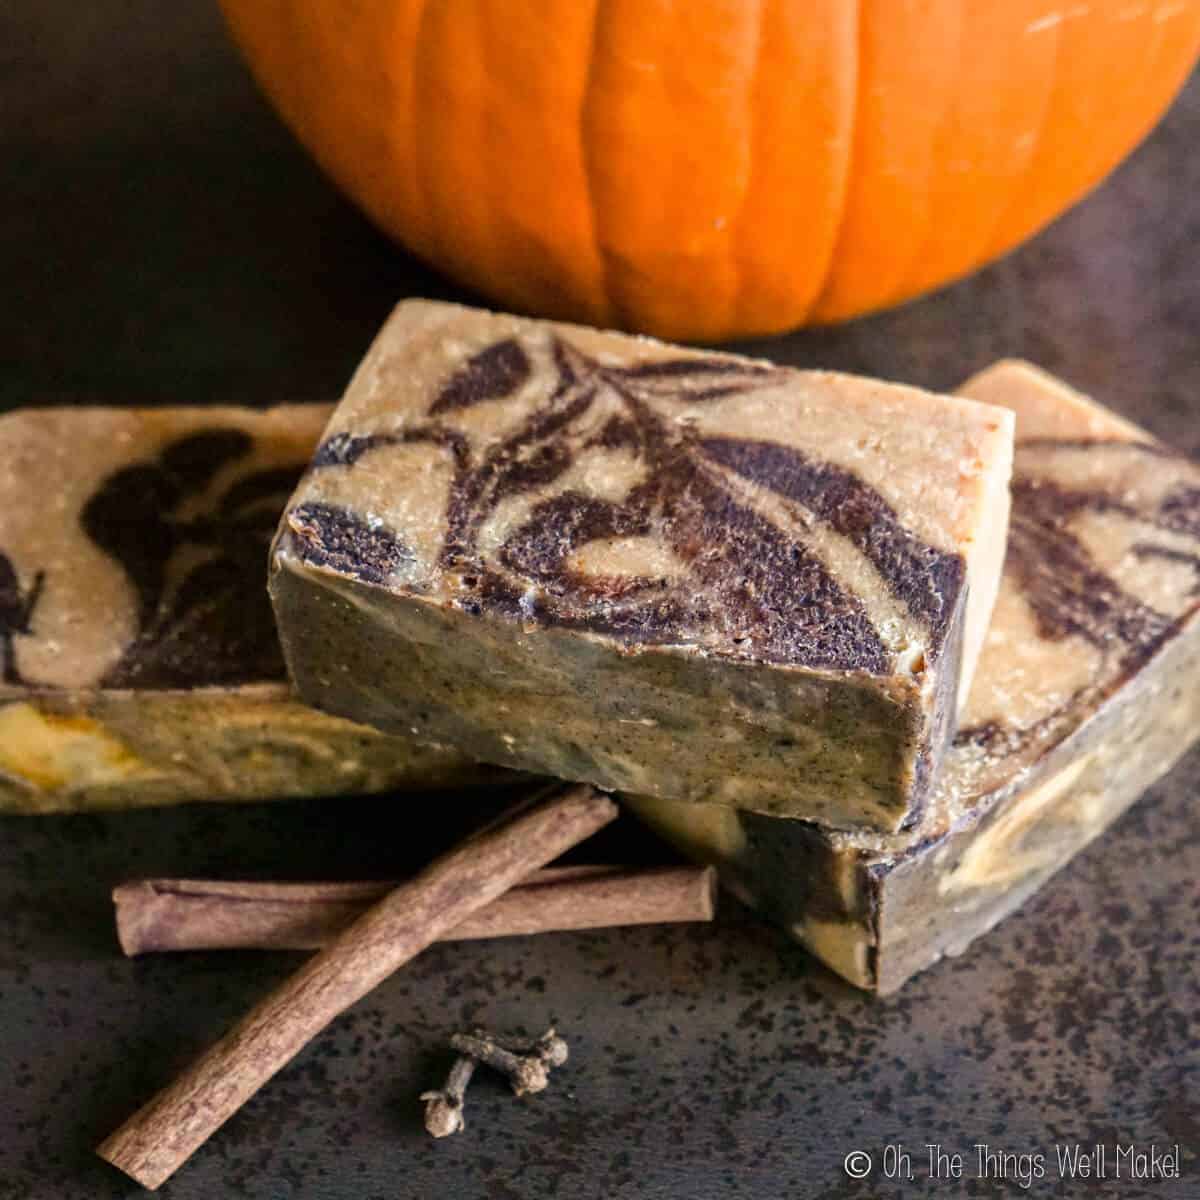
By swirling the spiced soap into the unspiced pumpkin soap, you end up with a pretty marbled looking soap. Some people make elaborate swirl designs with their soaps, incorporating a lot of bright colors. For today, though, we’ll start simple.
No matter what happens with your swirling, this soap should come out looking great. (I’m always a bit nervous about how it will turn out, but I’m also always pleasantly surprised by the outcome.)
Ingredients
Like the easy, beginner soap, the main base of this soap is made with olive oil, coconut oil, lye, and water.
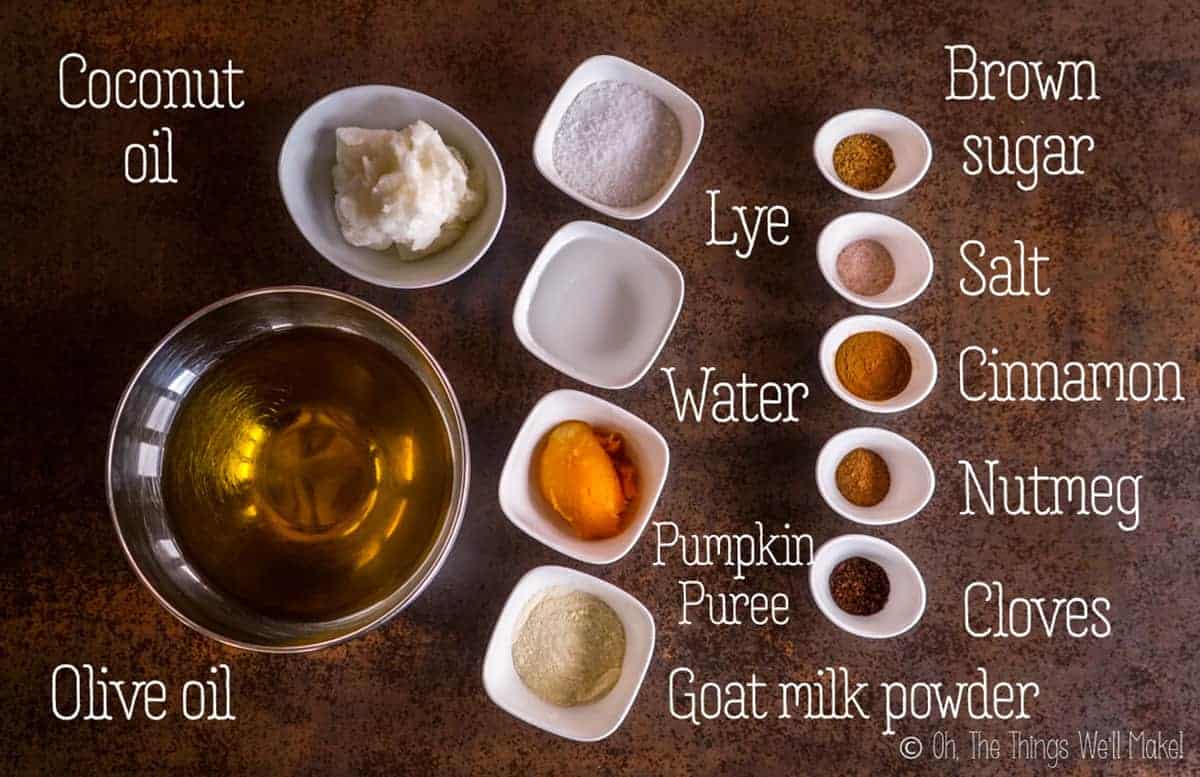
To give this soap more of an autumn touch, I added some pumpkin puree. While you could use canned pumpkin, it’s very simple to make a homemade pumpkin puree that is perfect for all sorts of recipes this time of year!
For creaminess, and to help nourish the skin, I also added goat’s milk. Pumpkin and goat’s milk both add a little color to the soap, and they also add some hydration and richness.
To add some more color and a beautiful scent, I added some pumpkin spices. While I could have stuck with just using essential oils, I chose to also add the ground, dried spices themselves to part of the recipe. That allowed me to show you how to make a simple swirling pattern for a homemade soap.
Sensitive skin warning
Some of these spices, and their essential oils, might be irritating to sensitive skin. While I haven’t found it to be a problem in this soap, that doesn’t mean that it won’t cause issues for some people with sensitivities to those oils or with especially sensitive skin!
Procedure
This soap may look complicated, but it’s really quite simple. First, mix the lye solution with frozen goat’s milk.
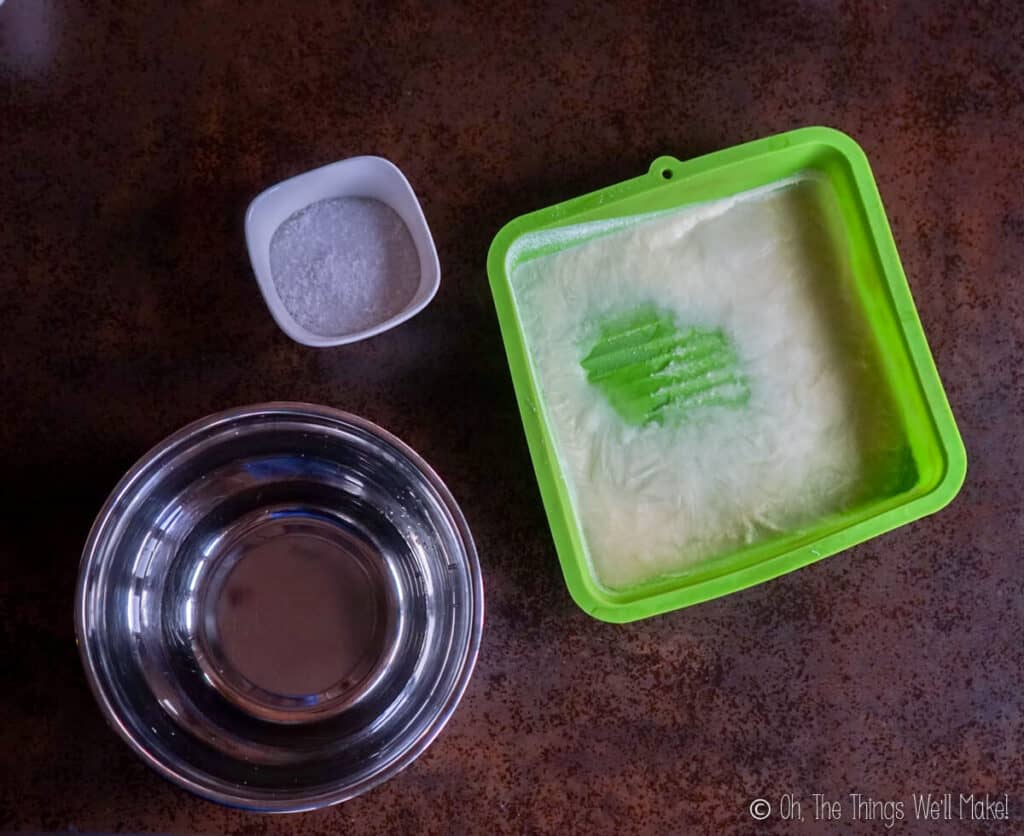
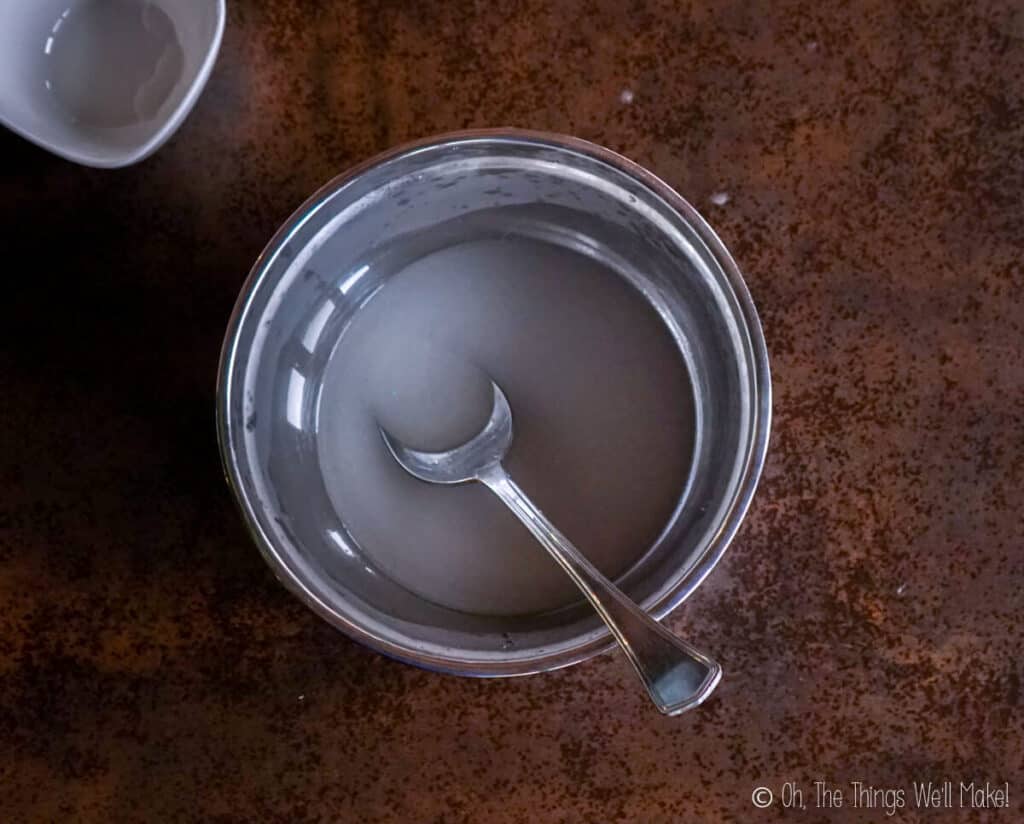
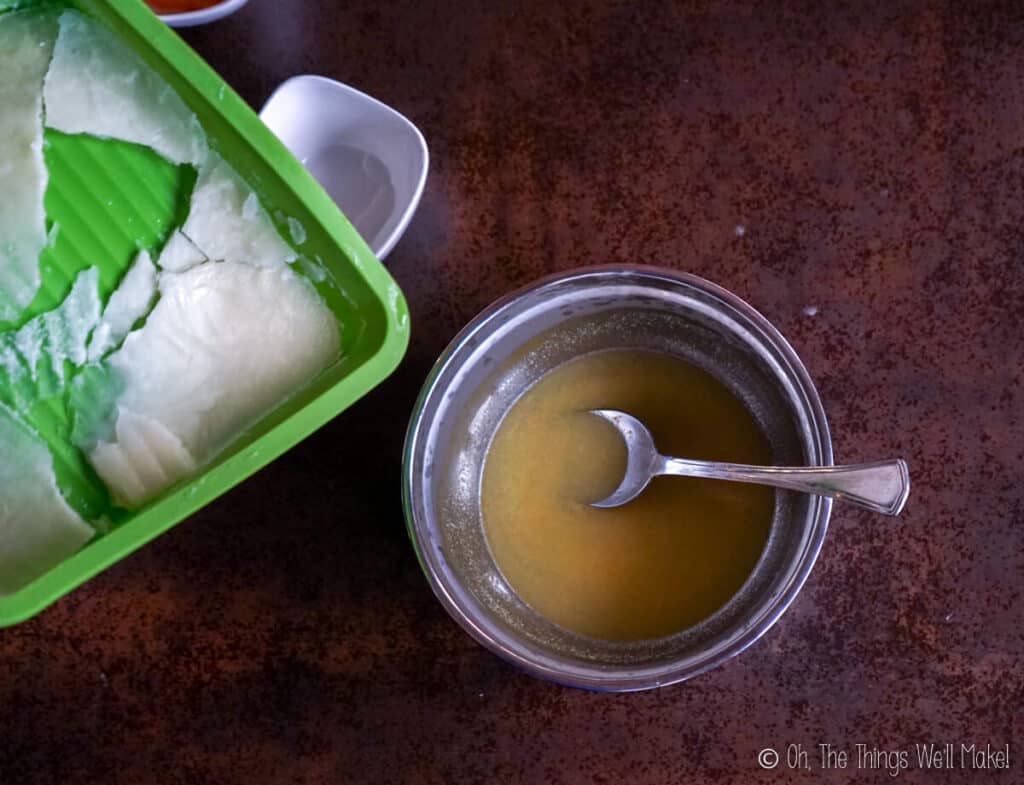
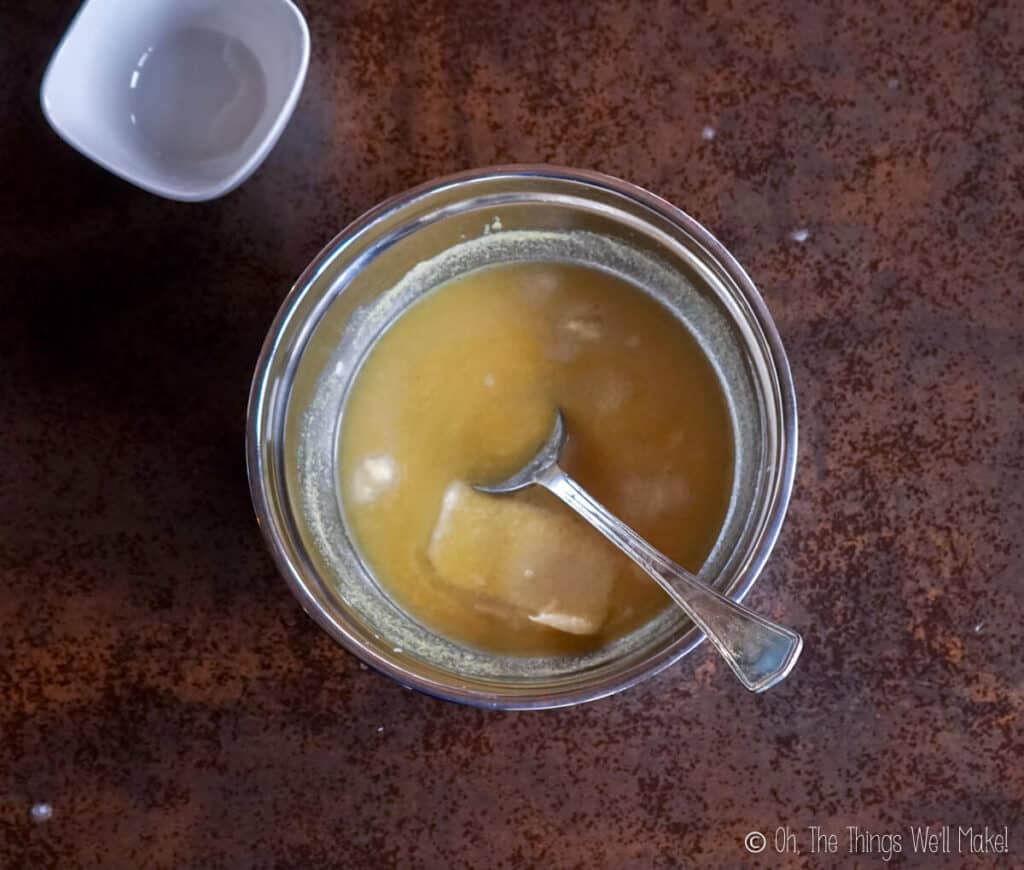
Then blend that mixed solution into the oils.
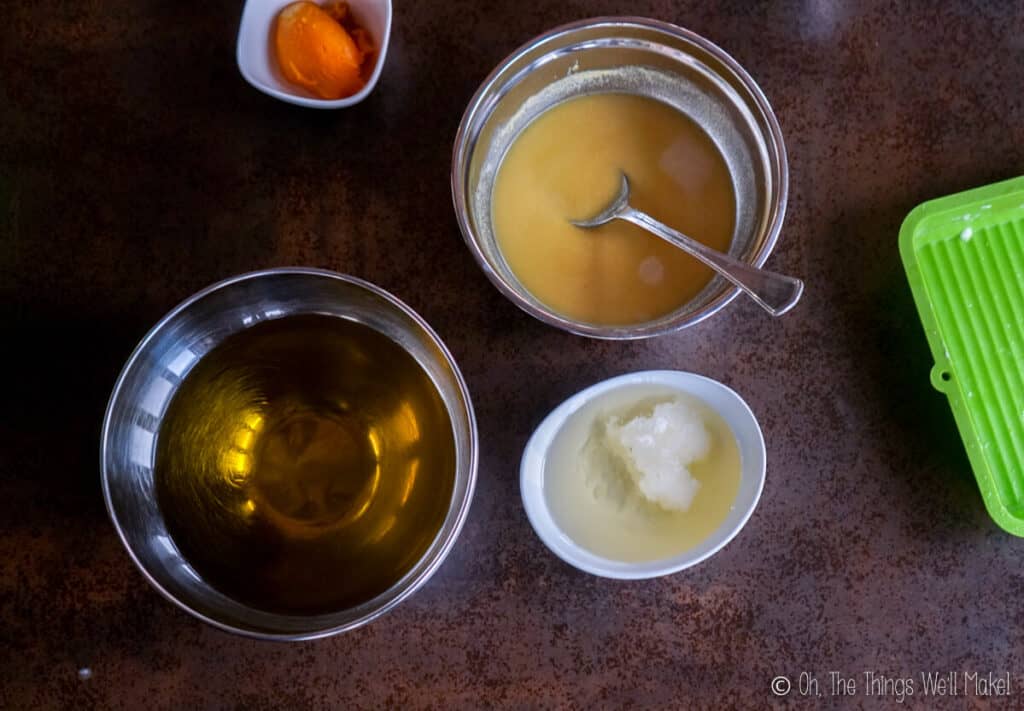
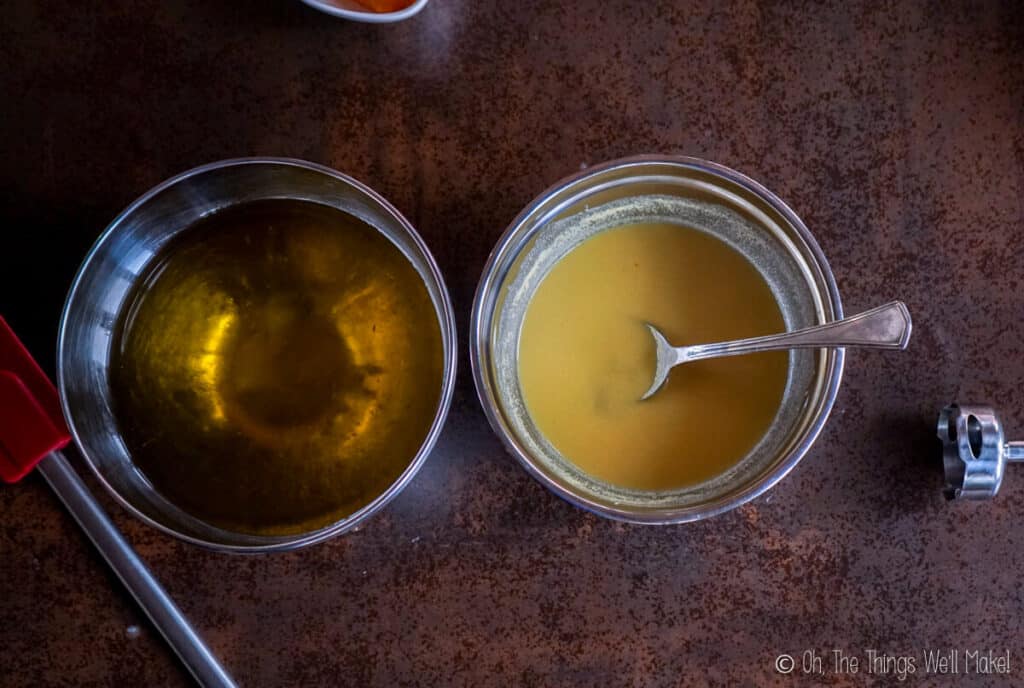
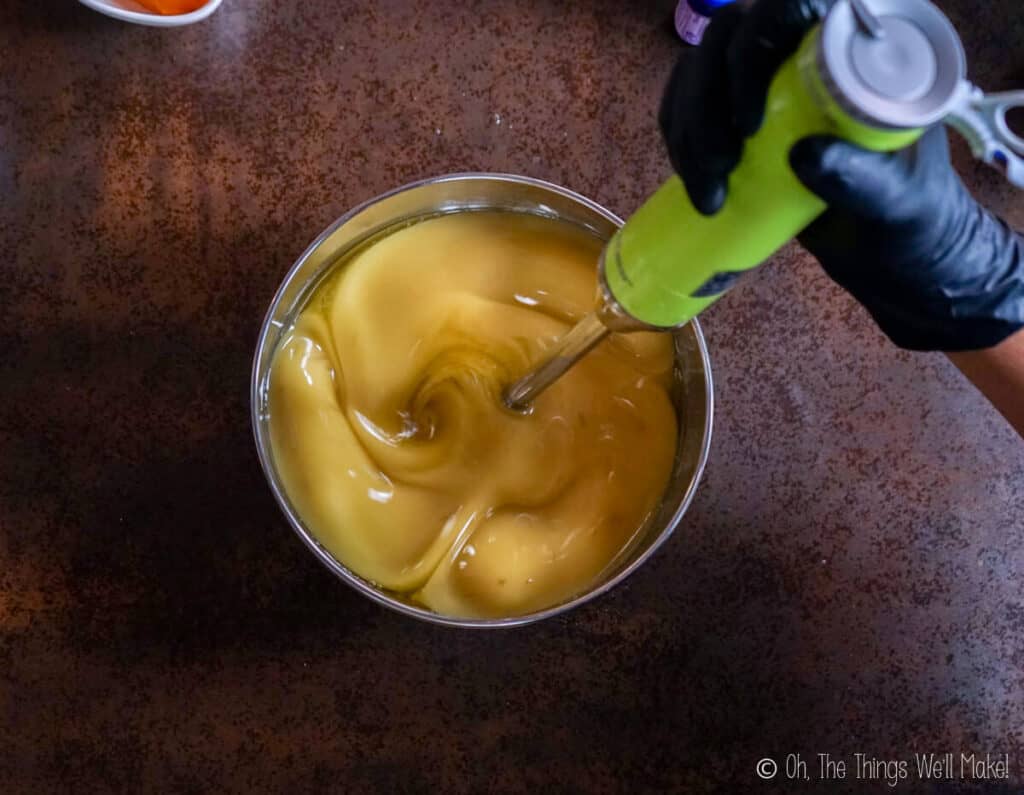
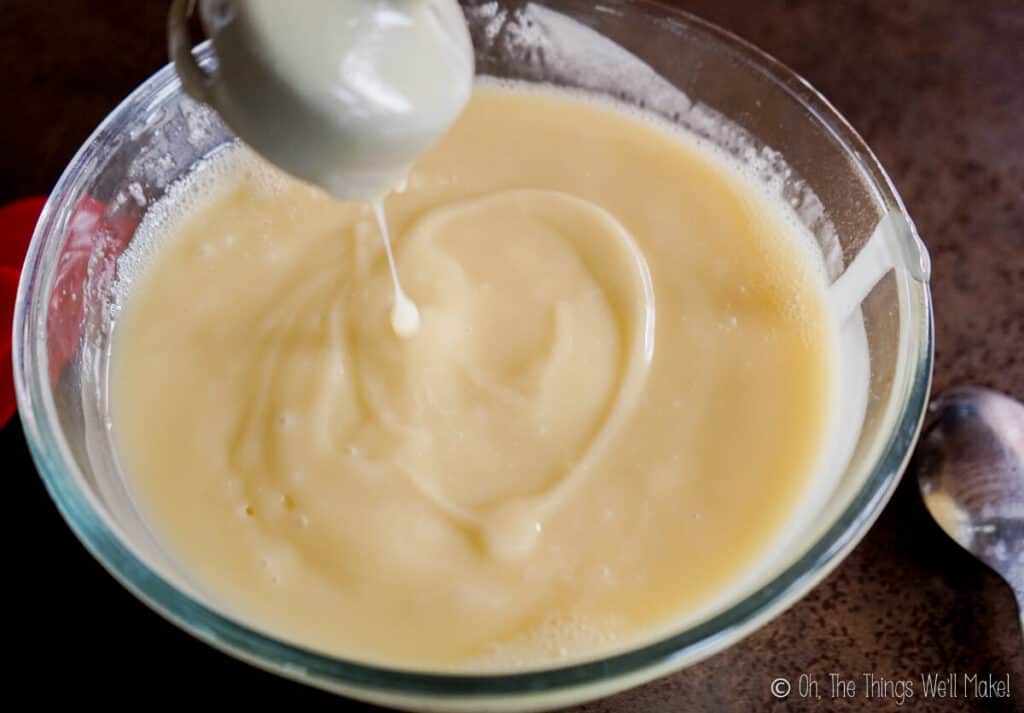
Once we reach “trace” (when the soap is fully emulsified and looks like a thin mayonnaise), we will add our pumpkin and fragrance oils.
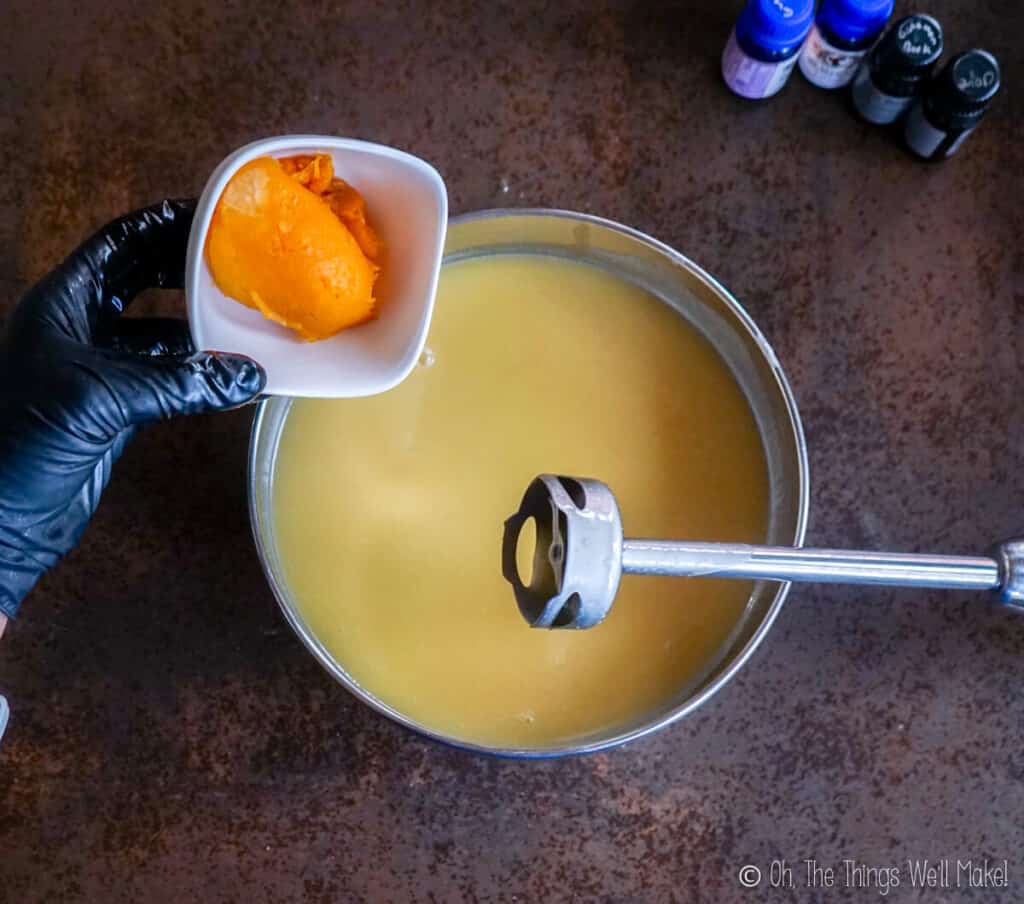
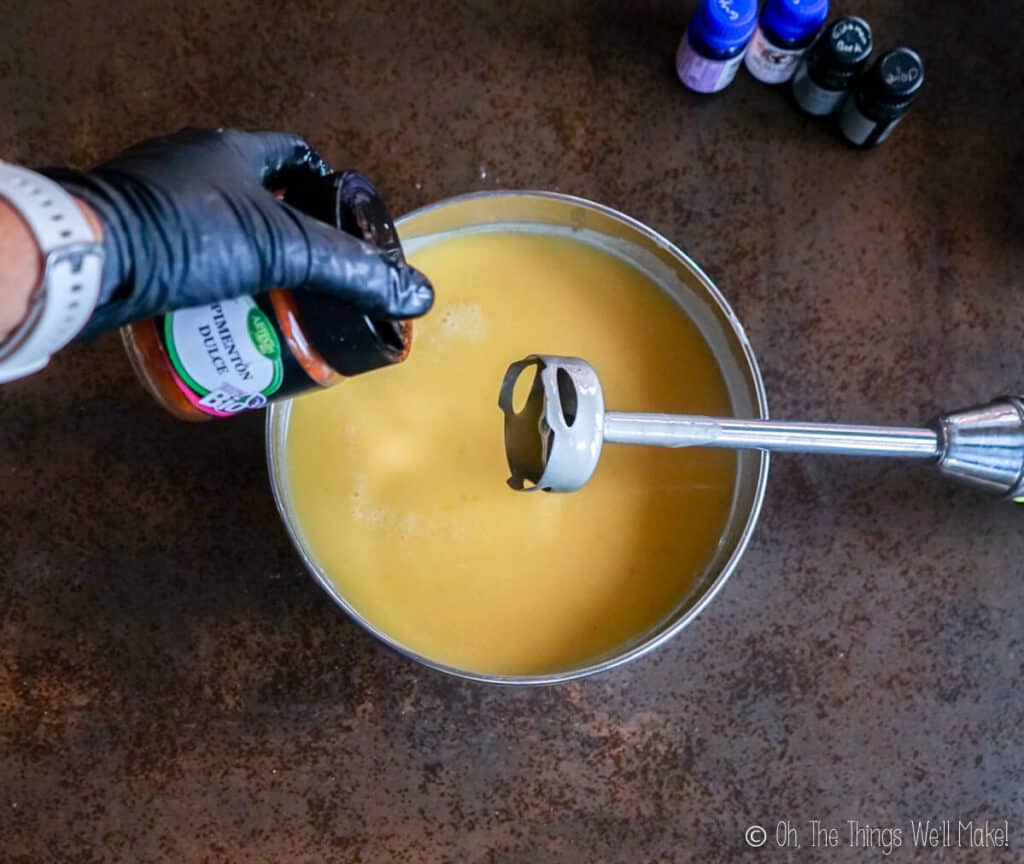
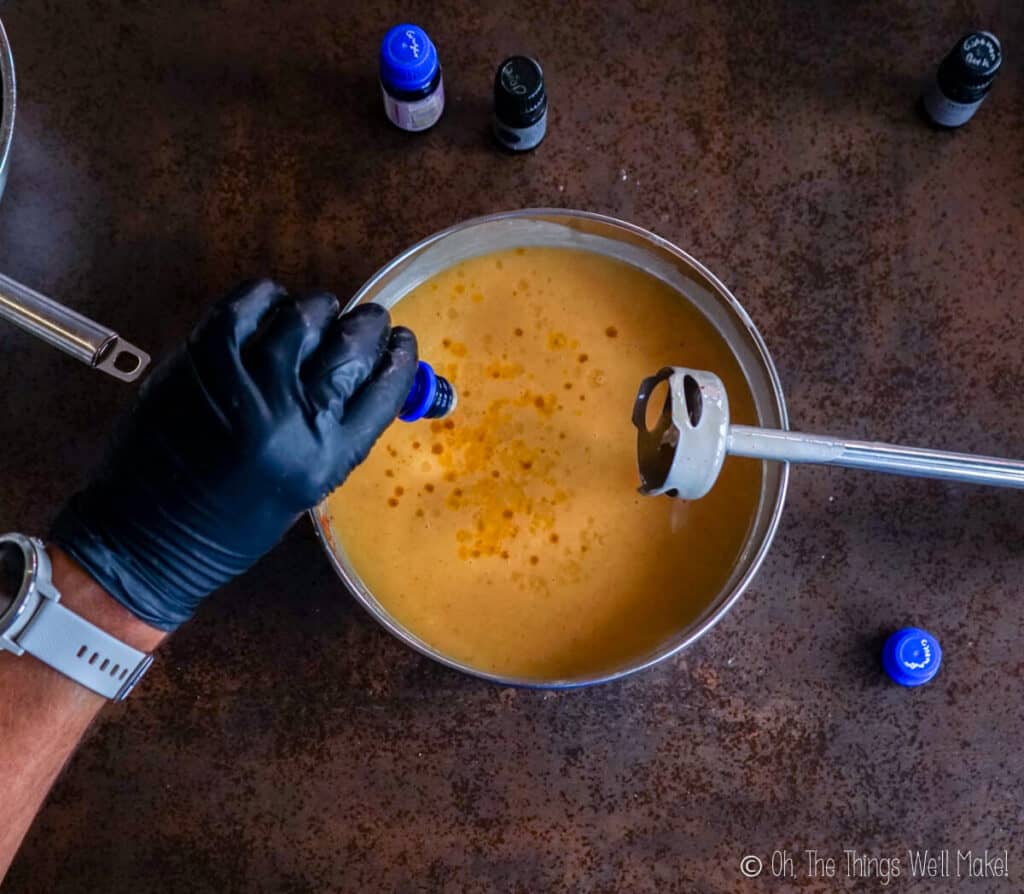
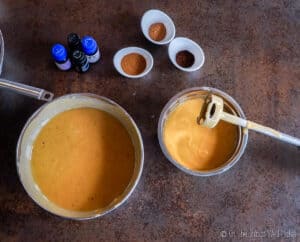
Then, we’ll separate around ⅓ of the mixture into a separate bowl.
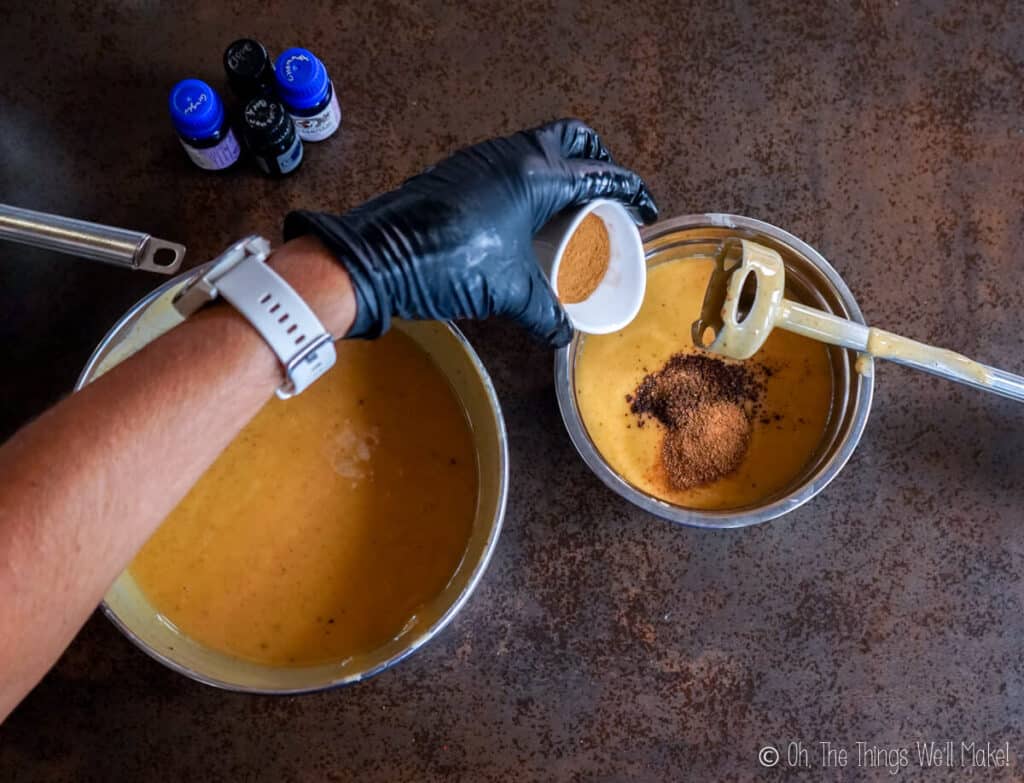
At this point, we’ll add the ground spices into the soap mixture that we just separated out.
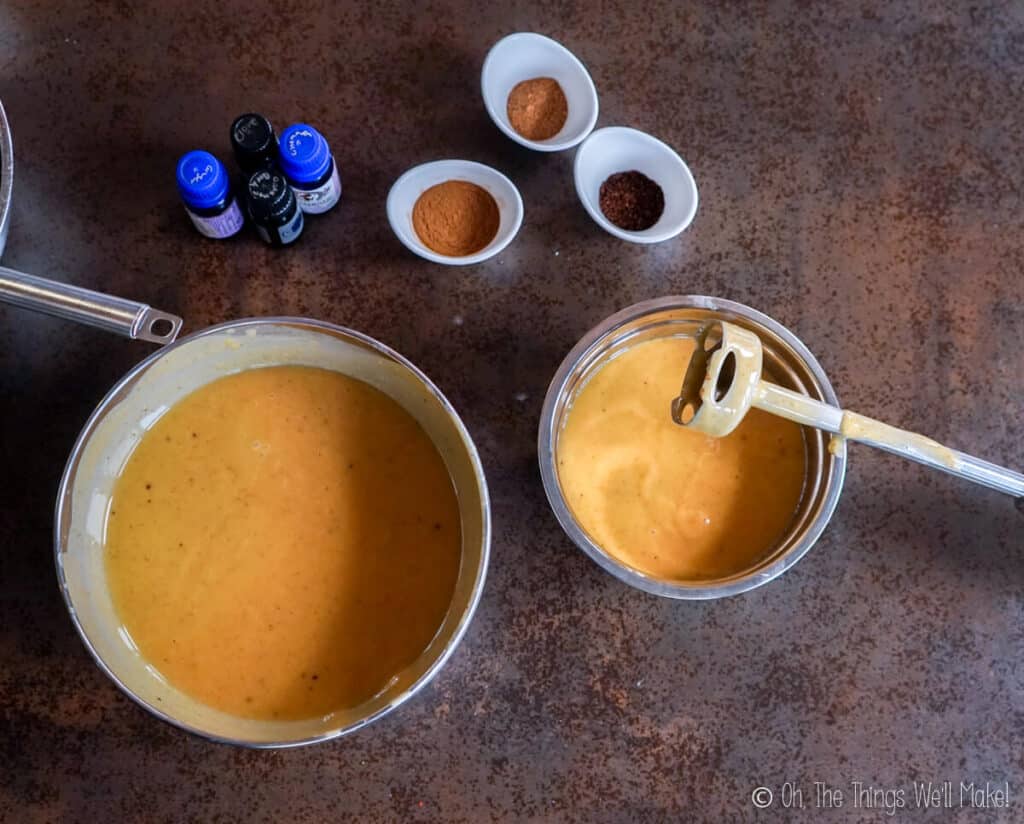
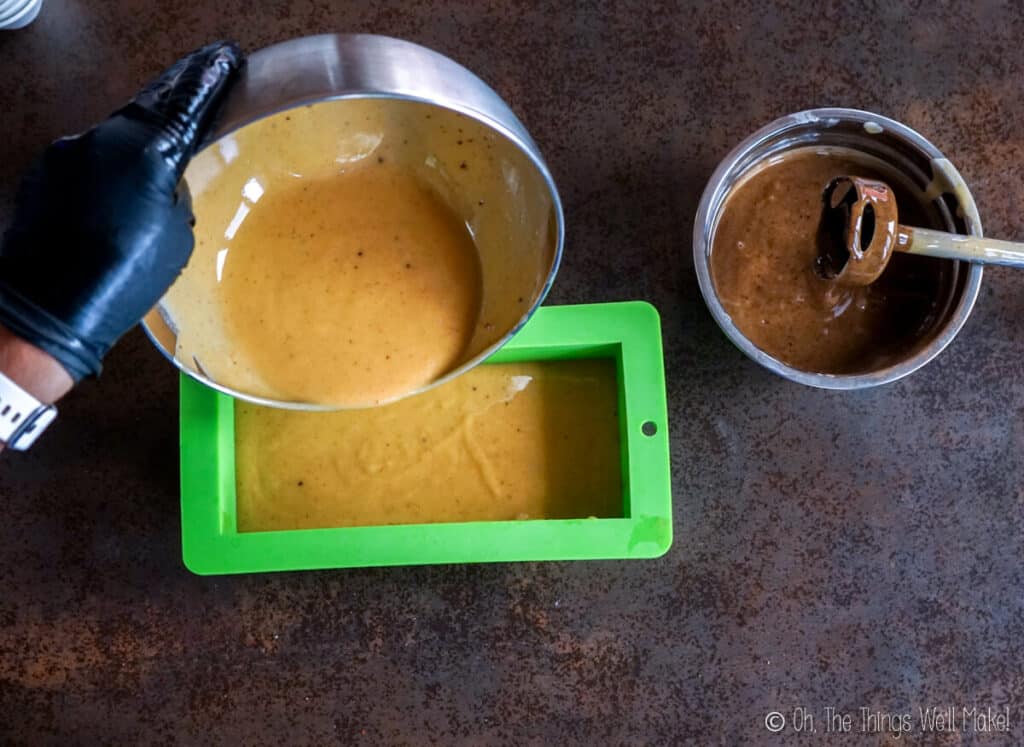
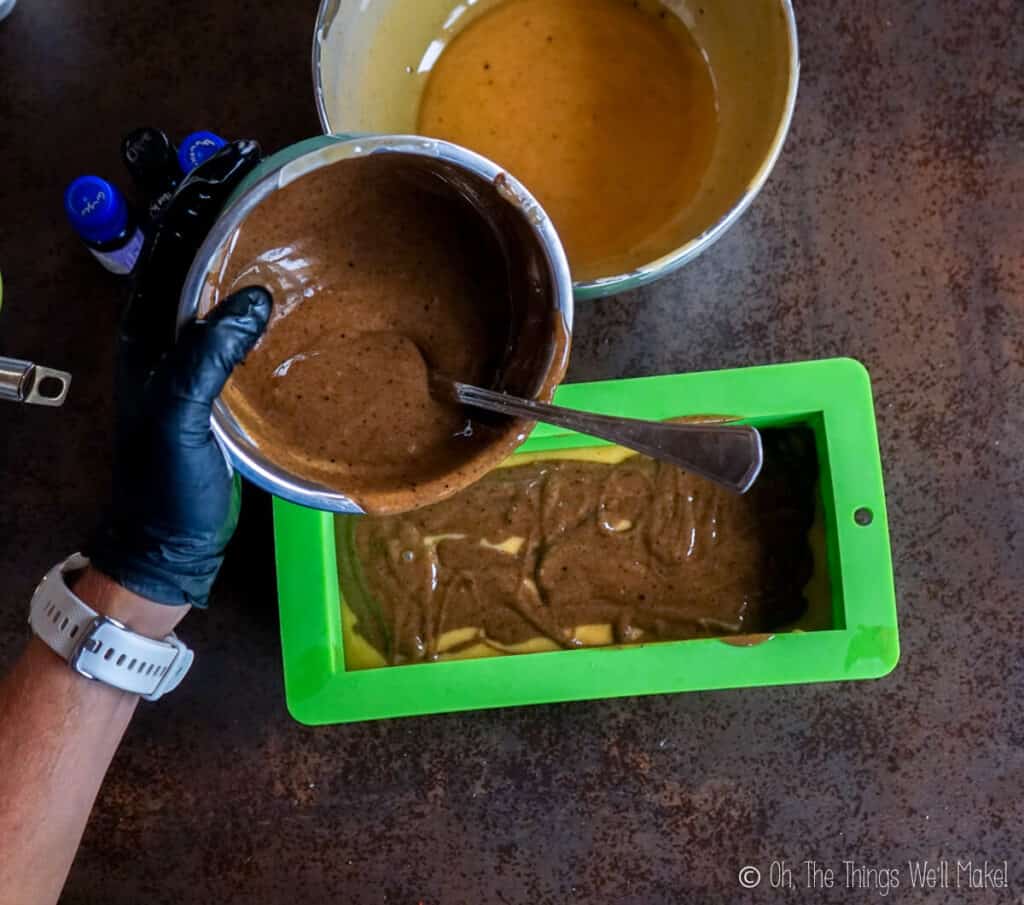
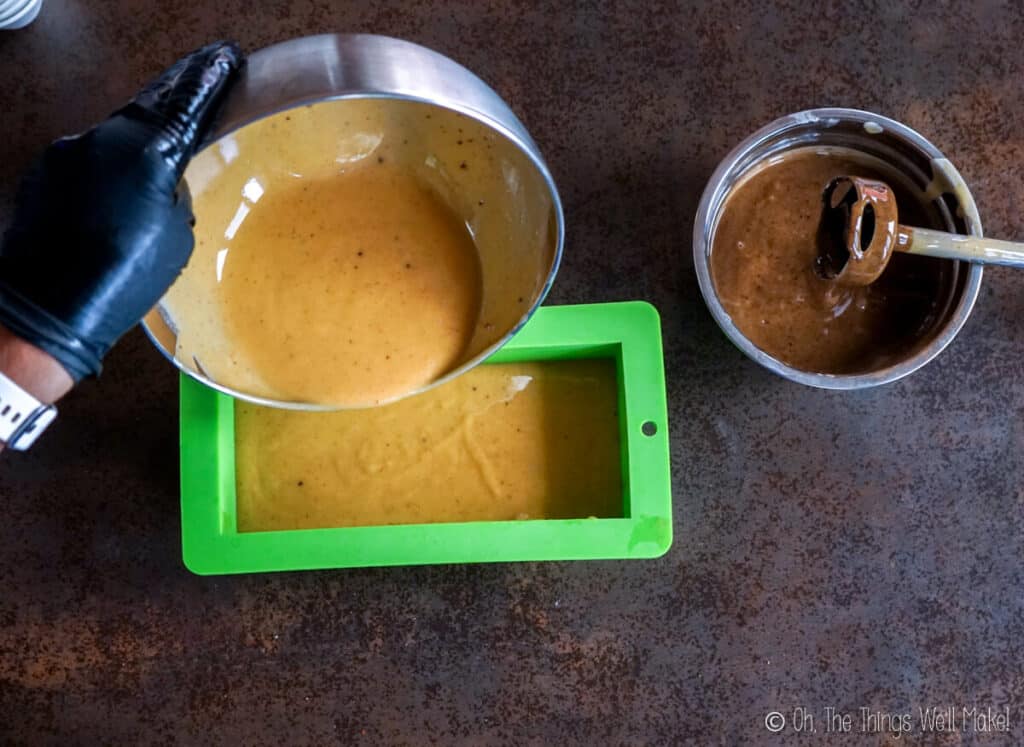
Once we have our two soap mixtures ready, we can begin to fill our soap mold. (I’m using a silicone loaf pan.) Pour half of the unspiced mixture into the mold, followed by half of the spiced, the rest of the unspiced, and finishing with a layer of spiced soap mixture.
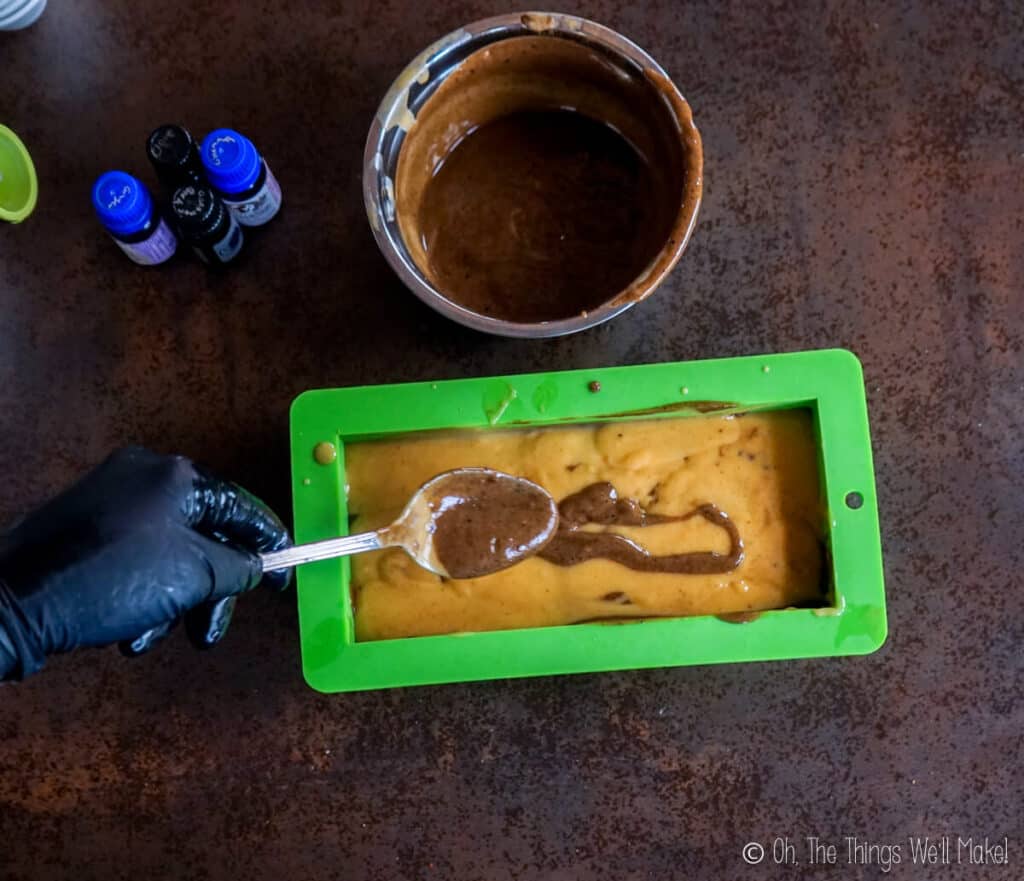
To swirl the soaps, place a stainless steel spoon (or another utensil) into the soap.
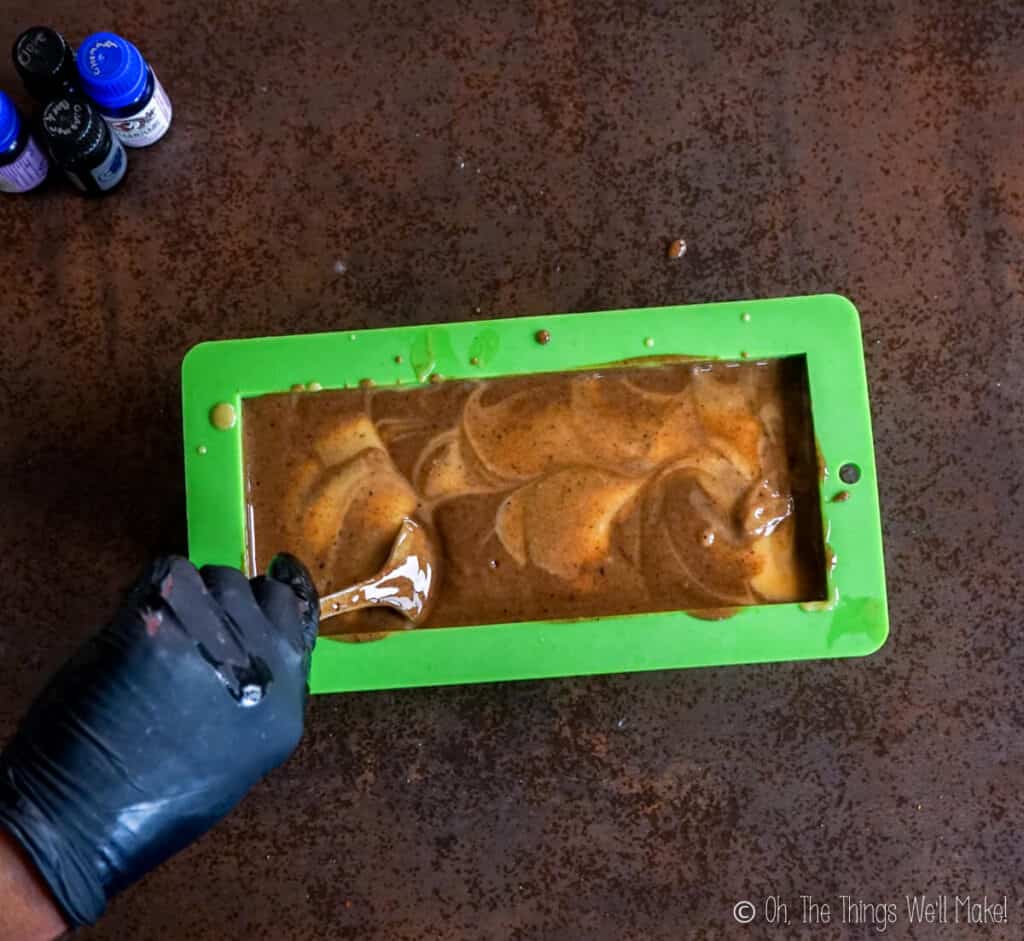
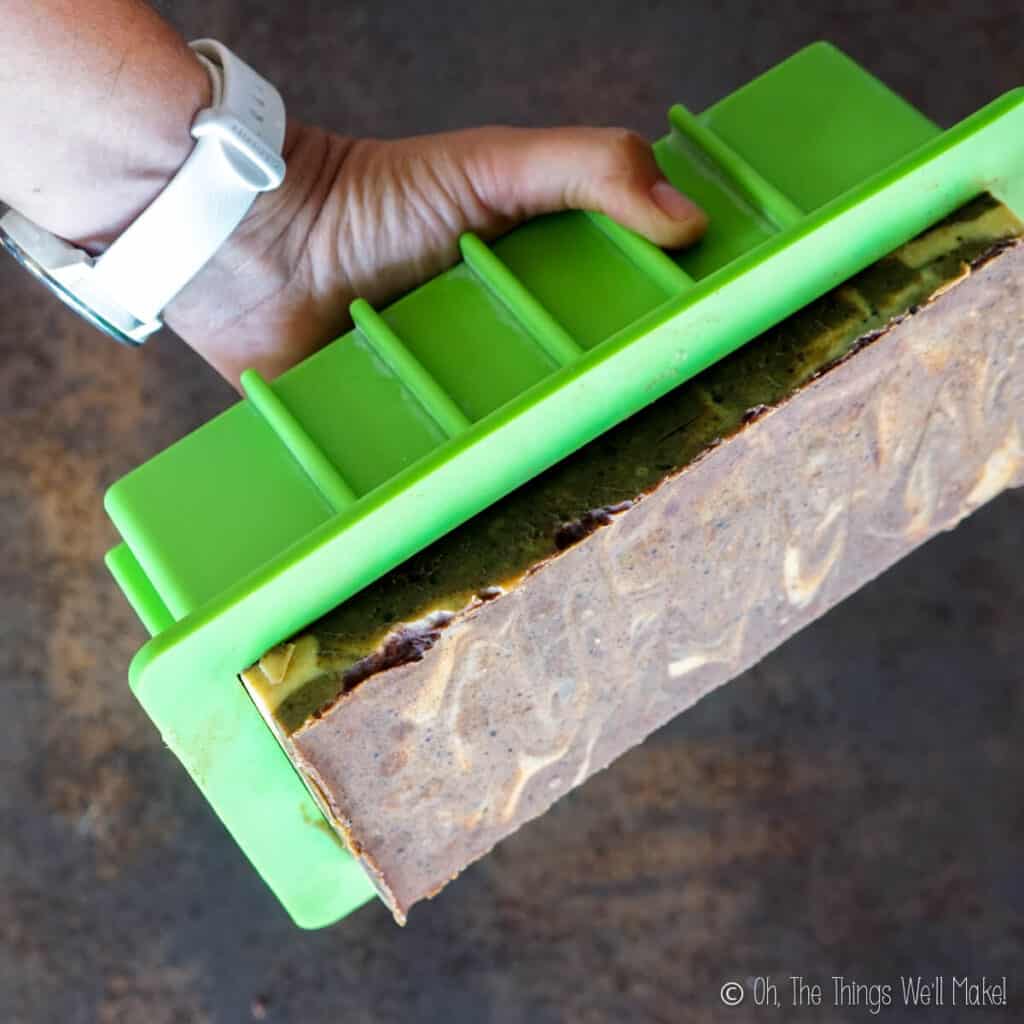
Allow the soap to set untouched for around 24 hours. Once it’s hard enough to unmold it, gently remove it from the mold and cut it into bars.
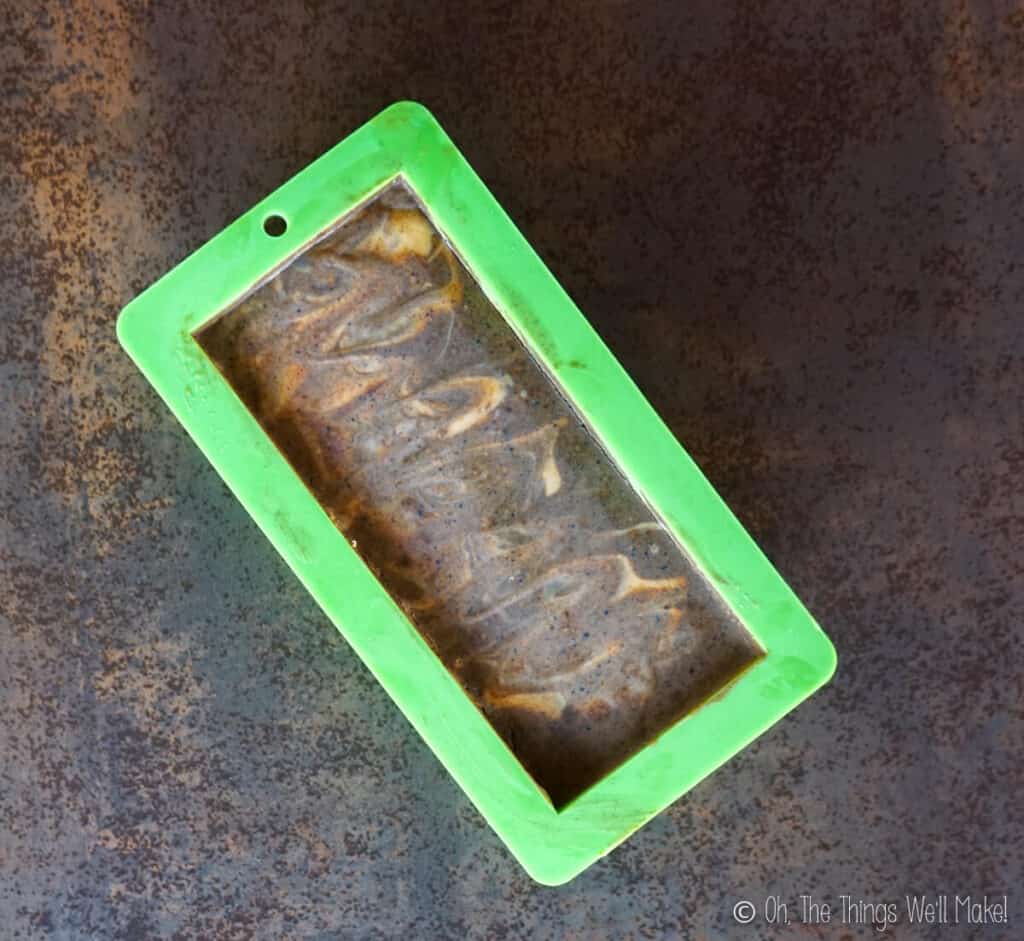
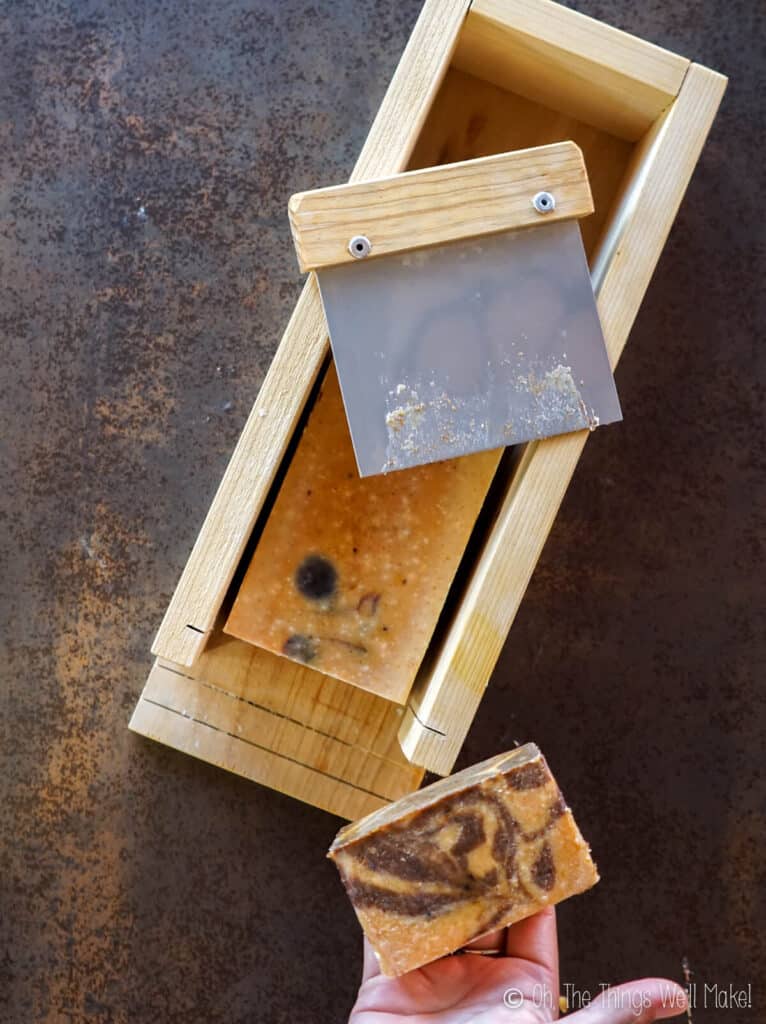
That’s all there is to it. You should let the bars of soap cure for around 3-4 weeks before using them. (During that time, they will harden and improve.)
Customizing the recipe
Even this recipe can be slightly customized to suit your taste.
Adding color
I originally left this soap its natural golden color. This year, though, I wanted to try something new and incorporate a natural orange color by adding some ground achiote to the soap. Unfortunately, when I was ready to make it, I realized I didn’t have any on hand. So, I used paprika instead. Paprika is another way to naturally color the soap, but it doesn’t turn as orange as it would with achiote powder.
Other changes
Don’t want to use goat milk? Just switch it for another 100ml of water.
If you don’t want to do the swirl technique, you can either add the spices to all of the soap (which will result in a brown soap) or don’t use ground spices at all (for a golden colored soap).
Safety Tips
As with all soap recipes, be very careful when working with the lye solution.
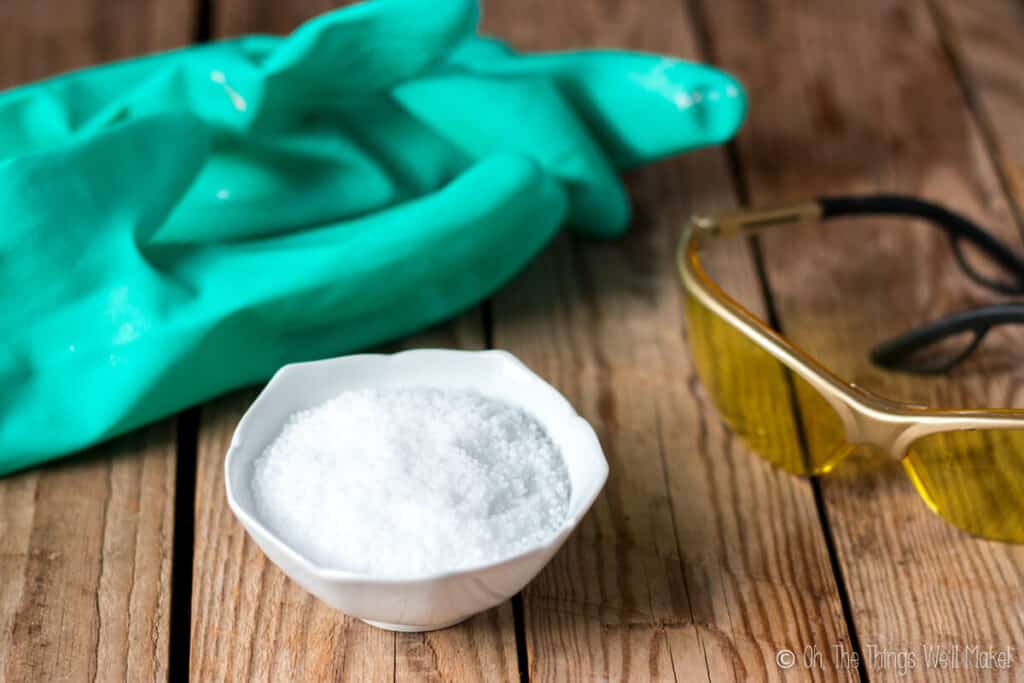
- When making soap, use protective eyewear and gloves. To make the lye solution, pour the lye into the water rather than the other way around!
- Mix the ingredients together outside or in a well-ventilated area. For more safety tips, read my beginner soap recipe post.
Video
Easy Pumpkin Spice Soap
Materials
- 100 g coconut oil
- 500 g olive oil
- 80 g lye 2.8 oz.
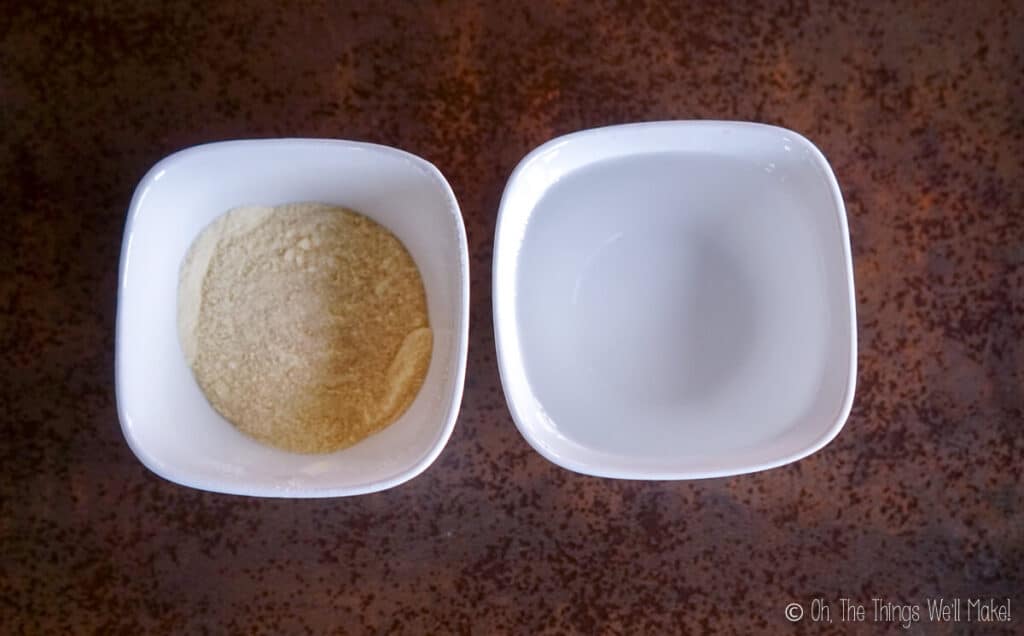
- 100 ml goat milk either fresh or reconstituted from powdered
- 100 ml water
- 45 g pumpkin 1.6 oz., I made my own puree
- 1 teaspoon coconut sugar or any brown sugar
- 1 teaspoon salt
- 1 Tablespoon cinnamon
- 1 teaspoon nutmeg
- 1 teaspoon ground cloves
- clove essential oil & cinnamon and ginger essential oils
Instructions
Prepare the goat milk
- Place the goat milk in the freezer while weighing/measuring out the other ingredients. (You'll want to have the spices ready to go so that you aren't rushed later on.)
Prepare the lye solution
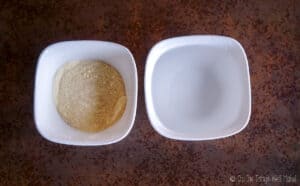
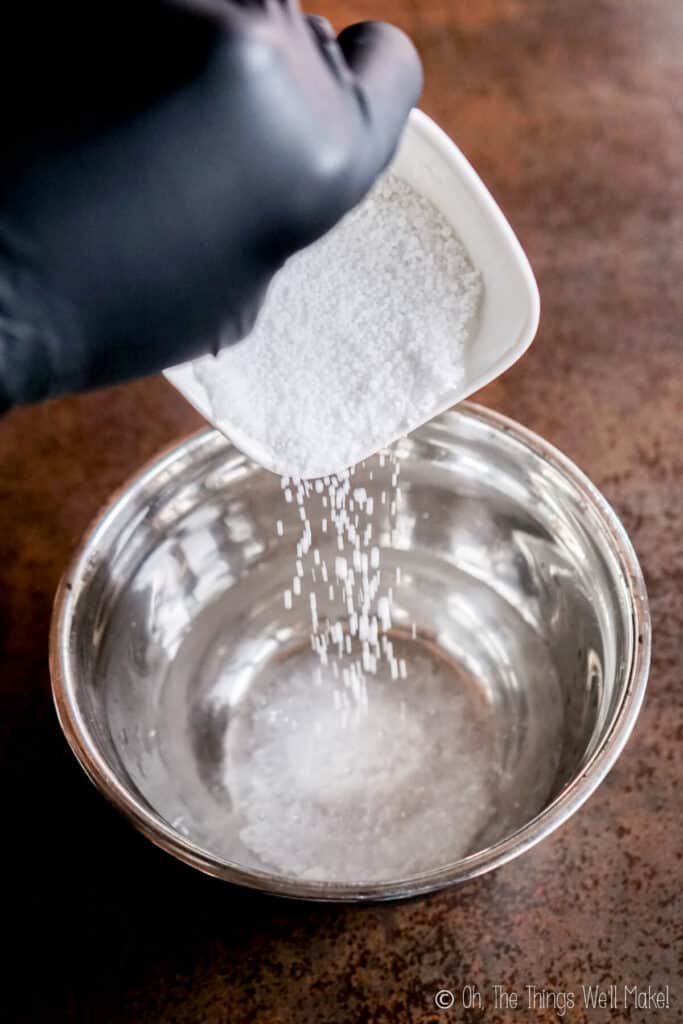
- Carefully pour the lye into the water in a stainless steel or plastic bowl. (For more safety tips, read my easy beginner soap recipe post.) Mix in a well-ventilated area. The mixture will heat up and become cloudy. Try to dissolve all (or most) of the lye before adding in the goat milk.
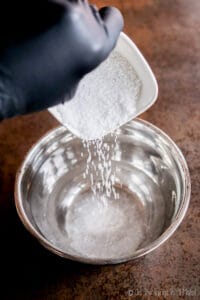
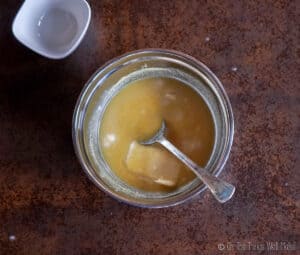
- After a few minutes, begin adding the cold goat milk. I like to add it when it's frozen to avoid scorching the milk. If your milk isn't frozen, you can also mix them together over a pan of ice and water. Your solution will probably yellow. That is a normal reaction of goat milk and lye.
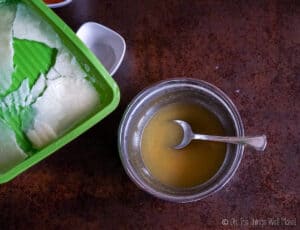
- Add the sugar and salt to the lye solution. Once the solution is thoroughly mixed, allow it to rest while you get together the other ingredients.
Combine the lye solution and the oils
- Melt the coconut oil if it is in a solid state. Then, combine the oils in a large bowl.
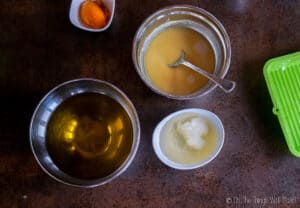
- Add the lye solution to the oil mixture, and gently mix them together.
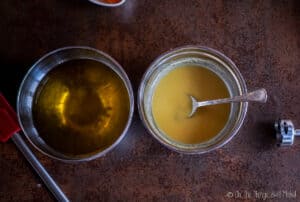
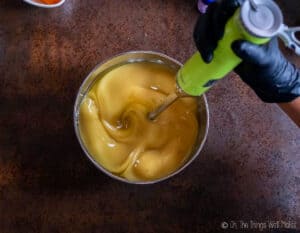
- Once the lye solution is incorporated into the oils, carefully mix them together with an immersion blender. The mixture will become creamy looking and, after a few minutes, will thicken into a thin, mayonnaise-like texture. (If your ingredients are cold, it will take a bit longer.) At this point, it's called "trace." We can now add in other ingredients.
Add in other ingredients
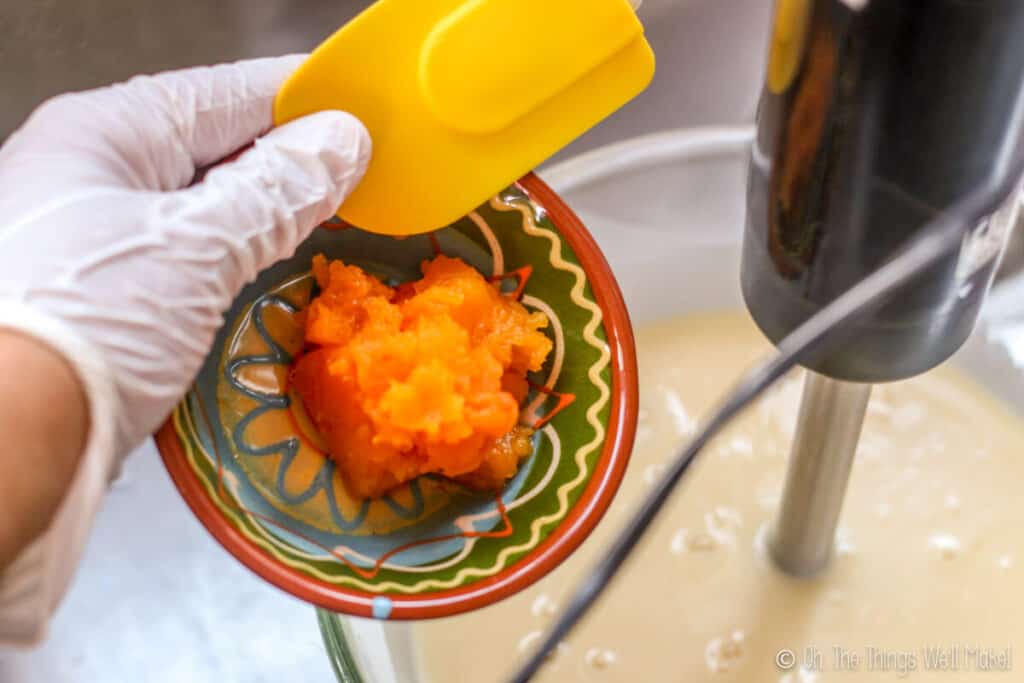
- Add the pumpkin puree to the soap mixture. If you want to add an orange pumpkin color, now is the time to add in some achiote powder (start by mixing in a small amount and add more as desired) or a soap colorant.
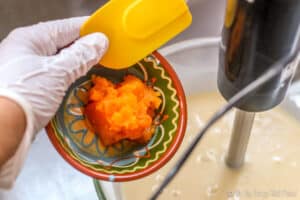
- Add the essential oils or cosmetic grade fragrance oils, if you prefer. Certain essential oils, like clove oil, may cause your soap to thicken more quickly, so be prepared, just in case. I didn't find it to be an issue, but it may depend on the oil. You can experiment here, and use your nose to help guide you. I used mostly clove oil, followed by some cinnamon and ginger oil. 😉
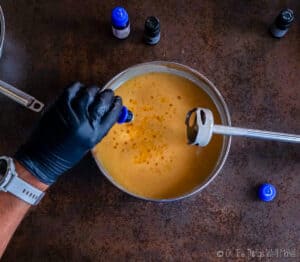
- Separate out about ⅓ of the soap mixture into a separate bowl. Add the ground dried spices to the ⅓ that you separated out. Mix well to fully disperse them in the mixture.
Pour into molds
- Pour about half of the un-spiced soap mixture into your mold. (I'm using a silicone loaf pan.)
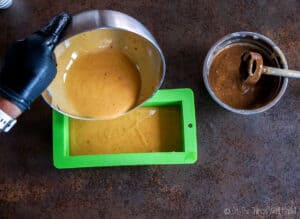
- Add a layer of the spiced soap using about ½ of the spiced soap mixture. If it appears to fall to the bottom in one area, carefully spoon it over the top to completely cover the unspiced layer.
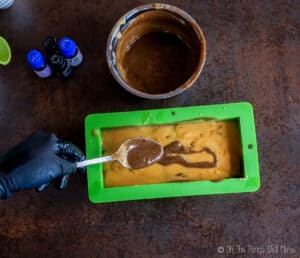
- Cover that layer with another layer using the rest of the un-spiced soap mixture. Then, cover that, as before, with the rest of the spiced soap.
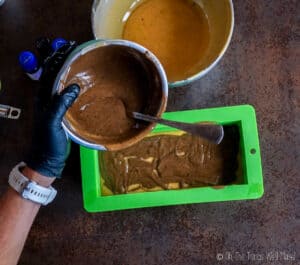
Swirl the soaps
- Using a spoon or some other utensil, poke into the soaps, reaching for the bottom layer and pulling the soap out over top, trying to gently swirl the soaps in certain places. You can also zigzag your way through the soap in places, to have the soaps gently swirl together, without fully mixing them into each other.
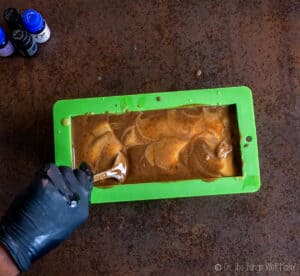
- Once you've gently swirled all over the soap, allow the soap to rest for at least 24 hours.
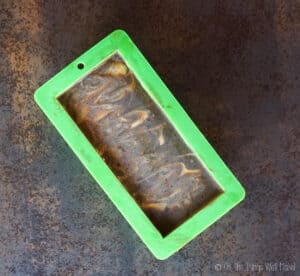
Unmold and cut the soap
- After 24 hours, you can begin to check the soap to see if it's hard enough to be gently unmolded. If it is too soft, wait another day and check on it again. Once hard enough, gently unmold it. (Don't wait too many days or it may be difficult to cut into bars.)
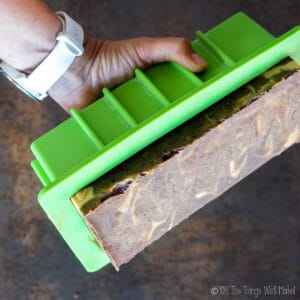
- Once you've removed the block of soap from the mold, cut it into bars. You can make your soaps as thin or as thick as you like.
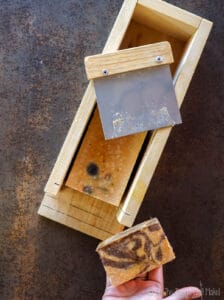
Curing the soap
- Place the soap on parchment paper or cardboard with air space between the bars. Allow them to cure for several weeks, ideally at least 3-4 weeks. During this time, the soap will harden and the crystalline structure will continue to form. To help the soaps dry thoroughly on each side, flip the bars of soap every couple of days at first. Once cured, it's ready to use like any other soap. Enjoy!
Notes
Customizing the recipe
For more cleansing and lather, you can use 450g olive oil and 150g coconut oil for the oils, and increase the lye to 81g. If you don’t want to use goat milk, you can use only water for the recipe.Using goat milk powder
If using goat milk powder, follow the instructions that came with your goat milk powder. If yours didn’t come with instructions, add, by volume, 1 part goat milk powder to 4 parts water. By weight, add around 15g of powdered milk to 100ml water. The final amount of goat milk in the recipe doesn’t have to be precise. Just make sure that the total amount of liquid, water plus goat milk, is around 200ml.This post was originally published on September 23, 2014. It was rewritten and republished in November of 2020 with new photos, information, and video.
Thanks so much for this. I love it, and you’re recipe and pictures are amazing! I just made this (just sat down from doing so 5 minutes ago) my house smells wonderful! I a have made soap before, but still consider myself an amateur and still need practice. The soap is in the mold as we speak, but I have one concern, it is half the consistency as mayonnaise, I was wondering (am worried) will it harden and set up correctly that way? I do hope so, I have been so anxious to try this recipe and give it as gifts as well. Hope to hear from you soon. I will let you know how it turns out. Thanks, and God bless.
Hi Jessica,
Thank you so much for your comment! Yes, this soap does small wonderful!
I really think that you should be OK. Even if the consistency is thinner than mayonnaise, if it has the appearance of a thin mayonnaise, you probably just achieved a lighter “trace.” If your soap ingredients were cold when you mixed them together, like mine were, it does take longer to have the soap fully set.
I’d love to hear how it turns out.
What a great recipe. I made 2 batches. The first exactly as you have written and the second I omitted all the dried spices and added dehydrated beetroot (thinking it would go red, not so much – sadly) and added orange and peppermint EO’s. Seems to be a good base recipe that you can totally customize (I’m making all my Christmas gifts this year)
Thank you so much for this 🙂
Thanks for your comment, Ramona. I’m glad you like the recipe!
Yes, these soaps are very easy to customize. Now that you have tried making soap so it shouldn’t be as intimidating anymore, you can check out lye calculators online to tweak recipes or even make up your own.
I was actually going to try to use beetroot last year, too, to make a red soap for Christmas, but luckily I looked it up online and found that other people had commented that beetroot turned a brownish color in soap.
There are a lot of spices that you can use to add color, though. I want to try some of them out myself! Paprika makes a good reddish orange.
For a naturally colored red, I just ordered some red clay. I’ll be experimenting with it to post on the blog.
As for DIY Christmas gifts, I’m teaming up with some other bloggers to do a series on DIY Christmas gifts starting next week. I’d love it if you’d come back and check it out!
Absolutely. I love your blog and just so you know … your recipe is my go-to recipe. My lucky family and friends. Just so you know – they all LOVED their Christmas gifts and “ordered” more, lol.
Thank you so much, Ramona, for your comment!
You don’t know how much I appreciate comments like these. It’s what makes blogging worthwhile. 🙂
I’m so happy you liked it, and I hope that you had a wonderful Christmas!
Thank you for getting back with me, I went ahead and made a double batch but made 2 mistakes.My first one was I forgot to add the pumpkin puree, I immediately went to the lye calculator and found I was still good. My second mistake was using kosher salt, didnt quite dissolve and you can see white flakes (I am positive its not lye). My moral to this is dont make soap when there is a possible chance your door bell will ring. I also used walnut oil and grapeseed oil, plus small amount of olive oil. This is my second time making soap and the first by myself. Your directions were awesome and I thank you for this recipe! Even with out the pumpkin it smells amazing.
Thanks, Deanna, for letting me know how it turned out for you!
The salt, sugar, and pumpkin are really optional. The salt helps add hardness, and the sugar helps add lather. The pumpkin is supposed to be moisturizing, and helps add vitamins and the tiniest bit of color, but it isn’t necessary either. You are right about the soap working fine without it.
It’s mainly the spice oils that give the soap its scent.
I don’t mind soaps that aren’t completely uniform, and actually quite like them that way. It shows that they are handcrafted. I’m sure yours was beautiful even with the salt flecks.
Why does nobody ever call or ring the doorbell until you’re in the middle of something delicate!?!?!
It always seems to happen that way!
Where did you get the stamps for the words in your soap?
Hi Julie,
They are actually stamps for stamping fondant for cookies. I think it may be this exact set (affiliate link): http://amzn.to/1zfAMBS If you stamp them when the soap is still soft, you can use pretty much any type of stamp, though, even rubber type stamps can work if they aren’t too detailed.
I am just curious, instead of water, can I substitute coconut milk without changing anything else?
Sorry, Deanna! I saw this question when I was out of the house, and forgot to answer it when I got home!
Yes, you can certainly use coconut milk for part of the liquid in the soap! It should help make a nice lather.
You want to treat it more like a milk than like water, though, so it’s a good idea to either freeze it first or mix it with the lye in a container with ice so it doesn’t get too hot when it reacts with the lye. It will also likely turn a bit yellow just like my goat milk did.
I’d love to hear how it turns out if you try it!
I’m so excited to try this! If all works well, this will be “thankful for you” gifts in my office! Approximately how many typical sized bars of soap will this make? Thank you!
Hi Lauren,
I hope it works well for you…
I’m sorry that I forgot to go count my bars of soap the other day and get back to you!
I made 11 bars with the recipe, but I was experimenting so they are all different sizes. Most of them aren’t that big.
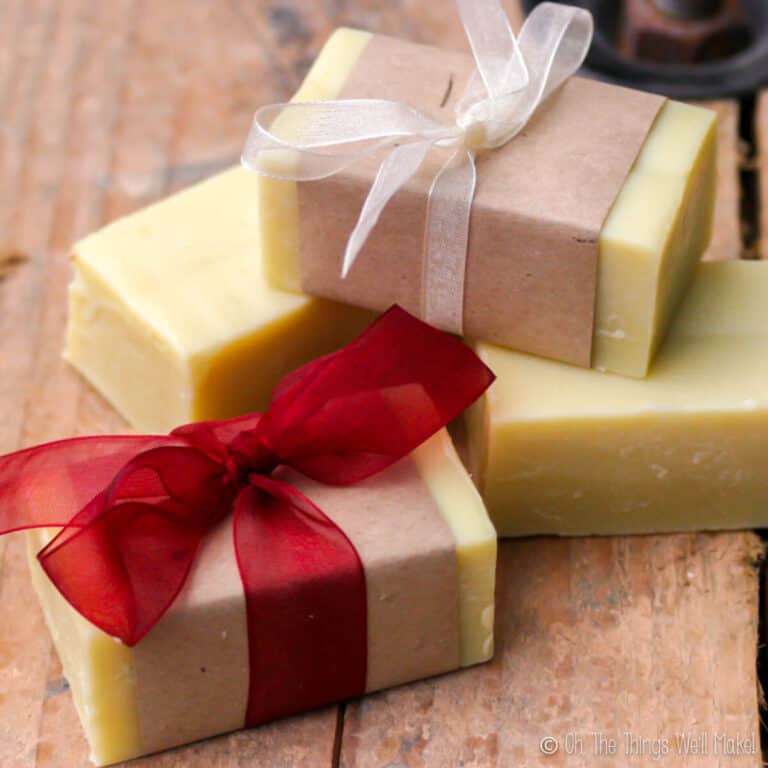
The one in the picture with the words on it is only about 3in. x 1.5in. x .75 in., and I made 7 of those.
The rectangular ones were twice that size 3in. x 1.5in. x 1.5in., and I made 2 of those.
I also made 2 larger soap bars. So, it really depends on the size soap you want to make. In the end, I think my favorite is the rectangular soap.
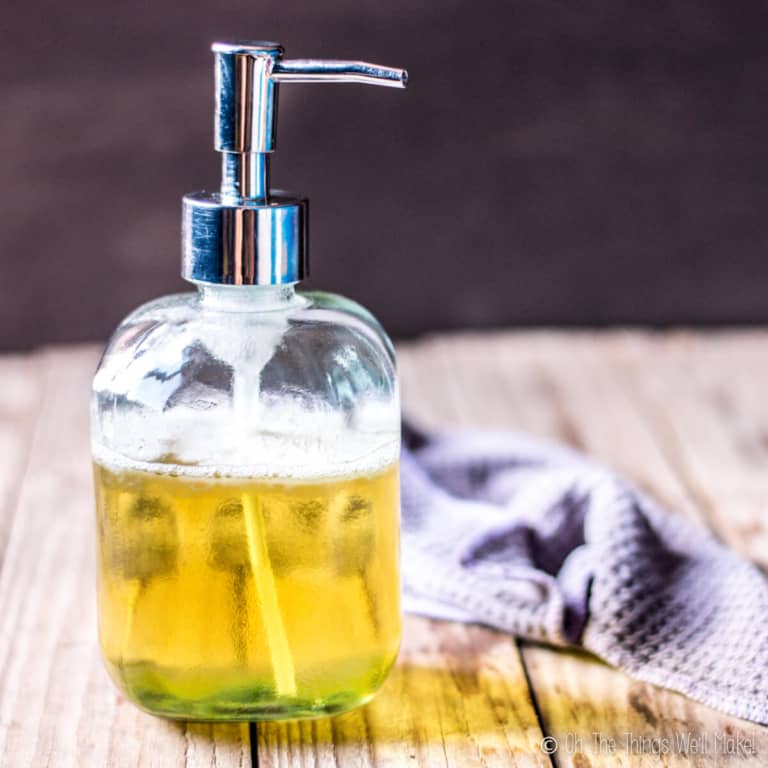
I cut off a lot of edges and things when squaring up my soap, and I added those scraps to water to make a sort of liquid soap for my kitchen. (Future post idea?) 🙂 So, I did get a little more soap out of it than that.
I forgot to mention it in the recipe, but if you want the main base soap to be orange, you can infuse some paprika in the olive oil, too. I may have to do that and take pictures for next year. I was trying to keep it as basic as possible, but I think that could really be fun! 🙂
Great! I will try and remember to come back and share. It’s for a make-n-take party, and would be too hard to do it without the pour&mold! 🙂 Thank you!
How would I adjust this recipe if I were to use a pour & mold soap base?
Thanks!
I’ve never used a pour and mold soap base, but I’m guessing it should be relatively easy to achieve similar results using one.
If I were going to try it, I would start at step 8, and add in the pumpkin and oils, and then separate the soap mixture into two halves, adding the spices to one half. I’d continue with the recipe from there.
I’m not sure how that sort of base would react with the liquid in the pumpkin puree. When I calculated my recipe for the soap, I used a liquid measurement that allowed for a bit of extra moisture from the pumpkin puree. I’ve never used a soap base, so it’s hard for me to know for sure what the pumpkin puree will do to it. I’m guessing it should be OK, but just want to reiterate that it is only a guess!
If you do try it, I’d love to hear how it works out. It may help out other readers.
Good luck!
just wondering if you need to warm the oils before combining with the lye mixture? If so what temp should they be? Nathan’s for this recipe. Can’t wait to try it.
Hello Carolyn!
There’s no need to warm the oils! I used room temperature oils, and my lye mixture was pretty cold when I started mixing everything together. Because the mixture was on the cooler side, it took a little longer than usual to get to “trace,” the stage you want to reach where the mixture thickens like mayonnaise. If you were to use warmer oils, you would probably get to trace really quickly, especially if you add in essential oils like clove oil, which is known to speed things up.
While it’s nice to not have to mix for very long, if you’re beginning with soap making, especially with a swirled soap that you want to play with for a little while before it sets up like this one, having a little extra working time isn’t a bad thing either.
I hope that helps.
Can I use evaporated goat milk for this recipe?
Hi Trish,
Yes, that should work fine. You can play with the ratio of water and goat milk, too. Just make sure that the total amount of liquid remains the same.
HI Trish,
Can I use almond milk, soy or rice milk?
Hi Elma,
I’ve never used them, but any of those should be fine in this recipe. Make sure to treat them as you would the goat milk, though, by freezing them ahead of time. I’ve read that rice milk especially tends to heat up and react very quickly, which tends to make people think it isn’t going to work in their soaps while they’re making them, but afterwards works out quite well. 😉