Take control of the ingredients that go into your hair products by making them at home. This easy, DIY hair conditioner uses natural ingredients to leave your hair feeling soft and tangle-free. It’s light enough to use as a leave-in conditioner too.
When I first wrote this post, I had just recently taken the Dressing Your Truth® course. It’s a fascinating program that shows you how to dress for your energy Type (as well as ideas for how to wear your hair and makeup). In doing so, I started to let my hair do its curly/wavy thing for the first time in over 20 years!
As part of the Dressing Your Truth course, I watched a bonus video that gave tips for styling even (especially) unruly hair to get the curls that you might not even know you have. One of the tips was to not ruin your hair with shampoo. You can either wash with a co-wash or use some other “no-poo” type cleanser. Or, just use shampoo sparingly and less often.
They also recommended using a good conditioner (like this one) without silicones and other ingredients that may be problematic for wavy and curly hair.
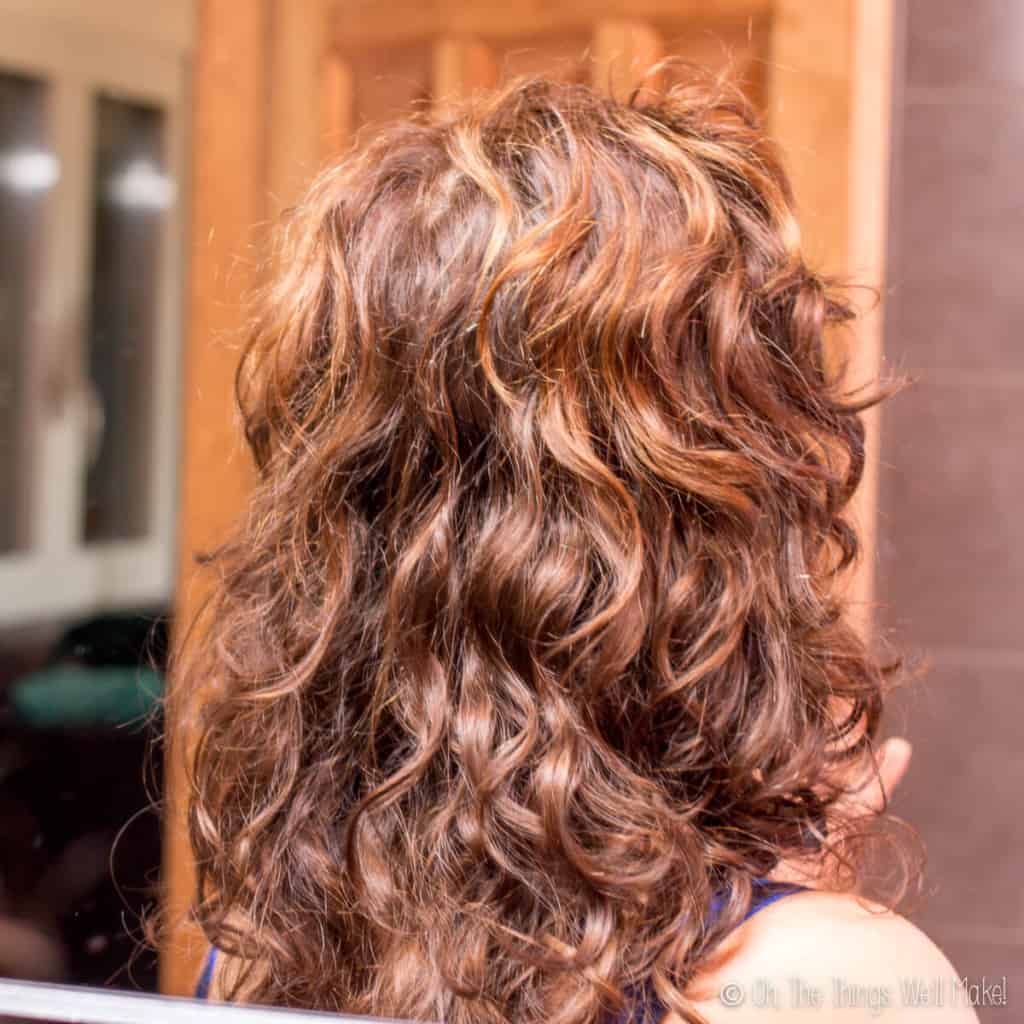
I gave those tips a try, using this conditioner as a “co-wash” during the week and washing my hair with my homemade clarifying shampoo sparingly; once every week or so. Suddenly, I had new waves and curls I never realized I had! I no longer felt the need to constantly straighten my hair to make it look presentable.
The condition of my hair has since improved enough to allow me to let it do its thing. It’s so much less work, and I love the way it looks.
Why make a homemade conditioner?
There are a lot of reasons to make your own conditioner.
When you consider that the main ingredient of most conditioners and lotions is water, you begin to realize that you can save yourself a lot of money by making your own conditioner. That’s true even (or especially) when you are using high-quality ingredients.
You might be tempted to buy a certain product because it uses a certain oil or some other (supposedly) miracle ingredient. Most of the time, though, only trace amounts of the expensive ingredients are actually used. The rest of the product may include questionable chemicals (or might be just water).
By making your own, you can choose which ingredients you want to use which ones to avoid. I love making things myself so that I can control the ingredients. My goal is normally to reduce the number of toxic ingredients and to make more natural versions of the products I would otherwise buy. Staying in control of the ingredients will probably always be my main reason for making things myself.
In conclusion, making your own conditioner allows you to use high-quality ingredients, avoid toxic ones, and save yourself money in the process! (Plus, it’s generally more sustainable, because you can choose to reuse the packaging or at least use more sustainable packaging.)
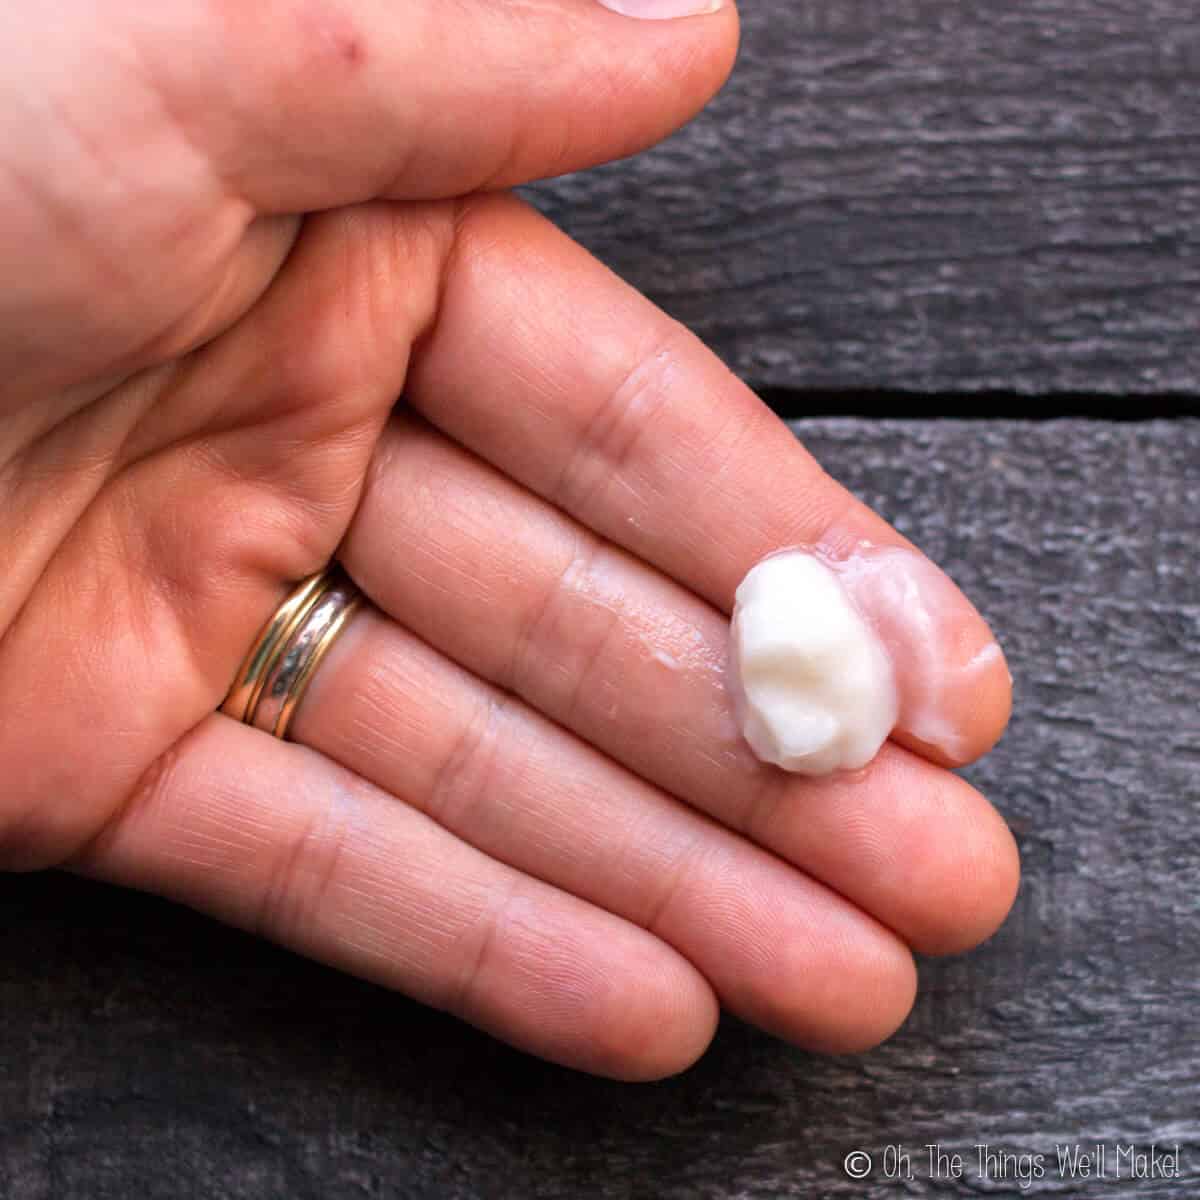
For those who want a super-sustainable option that doesn’t use any packaging at all, you can also try making a homemade conditioner bar!
The ingredients
A basic conditioner only uses a few simple ingredients. The main ingredients are water, oil, an emulsifier, and a preservative. You can then customize those ingredients or add in other ingredients like vitamins and/or essential oils.
To make a conditioner, we’ll be making a simple emulsion. It’s just like making a simple lotion. The main difference is the type of emulsifier used. In this case, we will use a cationic emulsifier, BTMS, for its conditioning properties.
What is BTMS?
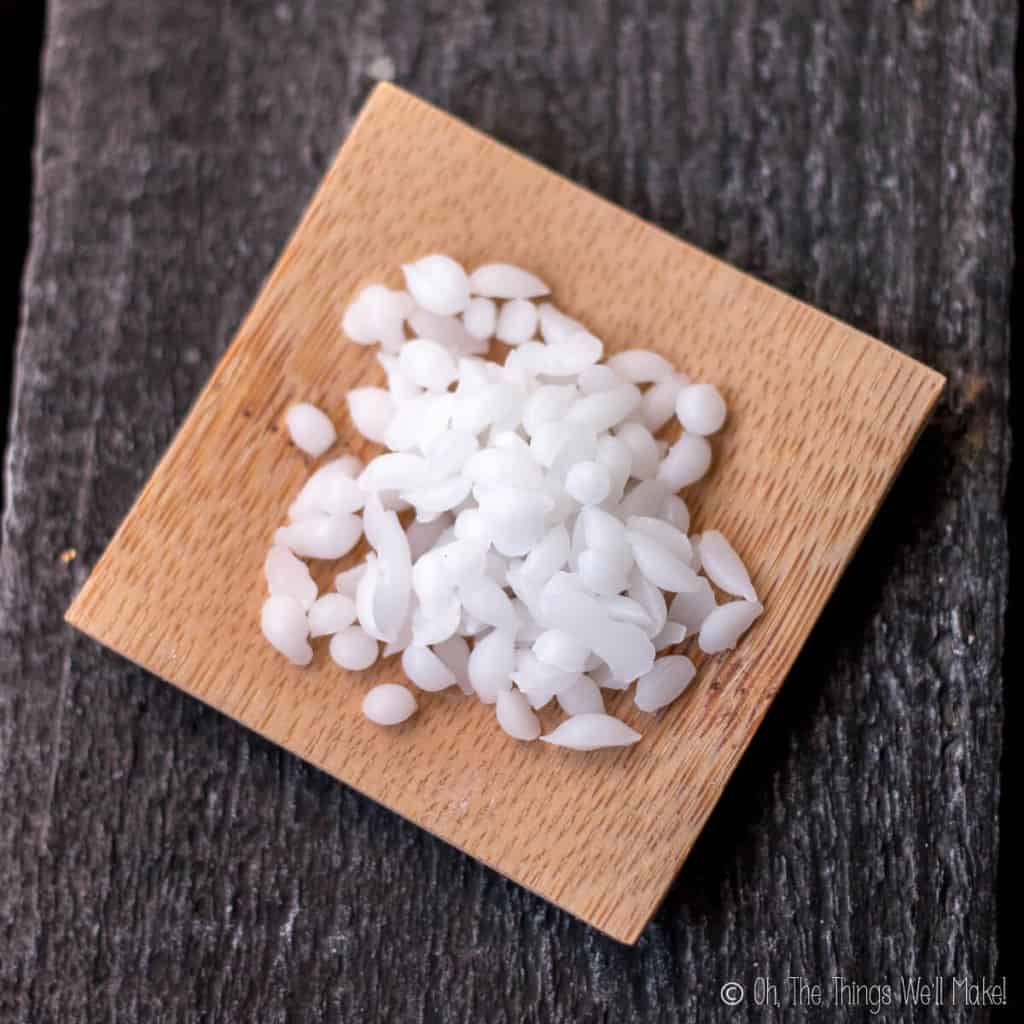
The main, important, ingredient for making this conditioner is a cationic emulsifier called BTMS (aka. Behentrimonium Methosulfate). It’s really great for making hair products because it is a great detangler and makes hair feel silky smooth. At the same time, it’s light enough to use in leave-in conditioners.
BTMS is an emulsifier that is naturally obtained from rapeseed oil. The recommended dosage of BTMS is 2-10% of the final weight of the product, depending on the desired consistency.
I generally use around 5% in my hair conditioners. If you use less than that, you’ll end up with a thinner product. Using too little, though, may result in an unstable emulsion that might separate. Using more than 5%, you’ll end up with a slightly thicker consistency.
BTMS-25 vs. BTMS-50
When I originally wrote this post (in March of 2017), I didn’t realize that BTMS was sold in different formats with different percentages of Behentrimonium Methosulfate. My supplier only referred to my emulsifier as BTMS. After a bit more investigation, I found that I was using BTMS-25.
BTMS-25 ingredients
BTMS-25 is a combination of Behentrimonium Methosulfate and Cetearyl Alcohol, a co-emulsifier. The percentage of Behentrimonium Methosulfate in BTMS-25 falls between 25-30% of the emulsifier, by weight.
Some people prefer BTMS-25 because it only has those 2 ingredients.
BTMS-50 ingredients
BTMS-50, on the other hand, is a combination of Behentrimonium Methosulfate, Cetyl Alcohol and Butylene Glycol. The percentage of Behentrimonium Methosulfate is also higher, around 50%. Some people choose to avoid BTMS-50 because they want to avoid butylene glycol.
What is butylene glycol?
Butylene glycol is a type of alcohol that is sometimes used in cosmetics. While it is generally considered safe, some people avoid all glycols. They may avoid them because they are usually derived from petroleum or because they consider them synthetic ingredients.
Which BTMS should you use?
I formulated this recipe using BTMS-25, so I know for sure it works well with that emulsifier.
BTMS-50 has a higher percentage of the active conditioning agent, but less of the fatty alcohol that can help moisturize dry hair. From what I’ve researched, it may also make for a thinner final product. You should be able to use either effectively, but I haven’t personally tried this recipe with BTMS-50 as of yet. So, I can’t personally vouch for it.
My best-educated guess, though, is that if you use BTMS-50, you’ll end up with a wonderful, albeit slightly thinner conditioner. You can compensate for that by using slightly less BTMS-50 and then adding a small amount of co-emulsifier like cetyl alcohol or cetearyl alcohol.
If you do make this recipe with BTMS-50, I’d love to hear how it goes!
The oil phase
In the basic recipe, I chose to use 5g of argan oil. I used argan oil because it’s a great emollient oil that may add shine and reduce frizz. Don’t feel like you have to use argan oil, though.
When formulating your conditioner, you can sub out the argan oil for a different oil. You can also use a combination of different oils and/or butters. Just make sure that the final weight of the oils is similar to the amount of oil I used to get a similar type product.
What oils are best for hair?
My favorite oils for hair products are argan oil and jojoba oil. I often use a combination of the two when making a conditioner for my hair.
Other great oils for hair, especially dry and unruly hair, are coconut oil, avocado oil, or olive oil.
Castor oil is said to help hair grow faster, so you may consider using it if that’s a concern for you. That said, it can also be drying and feel sticky when added in larger quantities. With that in mind, I’d suggest combining it with other oils.
Shea butter is also often added to hair products. It may be especially helpful for curly and/or coarse hair, but may be a bit too heavy for finer hair.
The water phase
The main ingredient in lotions and conditioners is water! That’s what helps keep their price down.
I use distilled water because it is a type of purified water that is free from minerals and impurities that may otherwise contaminate our product. You definitely want to use some sort of purified water when making your own cosmetics. If using regular filtered water, it’s best to boil the water shortly before making the conditioner with it.
Customizing the water phase
While you can make a great conditioner using only water, you can further customize your conditioner by substituting part of the water with a hydrosol or floral water. Using something like rose water or lavender water adds a nice, mild fragrance to the final conditioner. They may also add some of the beneficial properties of the plant from which they were extracted.
Apart from floral waters, you can also use other water-soluble ingredients like aloe juice or glycerin. Glycerin and aloe are both humectants that can help draw moisture into the hair. Aloe may also help soothe your scalp.
While I love adding floral waters and aloe juice, using too high a percentage of these botanicals may make your final product more difficult to preserve.
Natural preservatives aren’t generally as strong as the synthetic ones you are probably trying to avoid. Since you aren’t likely to do microbial testing on your homemade product, it’s best to use smaller amounts of those sorts of ingredients. To err on the side of caution, I also recommend making smaller batches so that you end up finishing your product within a few (2-3) months.
Should you use glycerin in your hair products?
Glycerin is a humectant that is often added to hair products to helps capture the moisture from the air and incorporate it into your hair. That helps keep your hair moisturized and also helps with curl definition and frizz reduction!
If you want to add glycerin to your conditioner, you can use it in place of part of the water component of your conditioner.
How much?
In the case of glycerin, you can definitely get too much of a good thing. When using too much glycerin, your product will likely feel sticky.
In extreme weather, it can also end up working against you. Rather than pull moisture into your hair, it may pull moisture from your hair instead. That can result in dry hair if used in extremely dry weather. It may also be problematic in extremely humid conditions.
For most people (in normal environments), I’d recommend using a small amount of glycerin, up to 5% of the final weight of your conditioner. If you are living in an extremely dry or humid climate, you may want to consider lowering that amount or leaving out the glycerin altogether.
Keep in mind, when adding other ingredients, that many extracts are glycerin based. So, when formulating how much glycerin to use, make sure to account for the total amount of glycerin in your recipe. Otherwise, you may end up with an overly sticky product.
Adding a preservative
Because this conditioner is an emulsion with water in it, it needs a preservative. Otherwise, it will be a breeding ground for microbes like bacteria and mold. While mold is normally visible, a homemade product can have unsafe bacteria without you being able to see it. (These microbes could give you a rash or an infection.)
If you are choosing to make your own products to ditch toxic chemicals, you don’t want to replace them with potentially toxic bacteria and molds, right?
Natural preservatives
Not all preservatives are “bad” (or toxic). There are several preservatives available for home use that have been accepted by natural certifications like ECO_CERT and the strict BDIH. They will allow you to make safe emulsions that will keep for several months, even out of the fridge. (I’d still recommend formulating small batches that you think you’ll use up within 3 months.)
When I originally wrote this post, I recommended Rokonsal, Leucidal ® Liquid, and Cosgard/Geogard because they were the first natural preservatives that I could easily find locally. I had successfully tested each of those preservatives without any visible issues.
In the last few years, though, many new options have become available. I now often use Sharomix™ 705 or Euxyl® K903.
All of the preservatives listed above are Ecocert approved, meaning that they are approved for use in making products that are certified organic.
Feel free to choose a preservative that is inexpensive and easy to find in your area. Just make sure that you use the proper amount. This will depend on the recommended dosage of your chosen preservative. It’s also important to make sure that the pH of your conditioner is within the effective range for your preservative.
The dosage and pH are important!
Most natural preservatives are effective at around 1% of the final recipe by weight. That means you should use around 1g of preservative for every 100g of the final product. Some preservatives, like Leucidal, need to be used at higher percentages (around 3-4%) to be effective. So, make sure to use the proper amount of preservative by checking on the recommended dosage for your particular one.
It’s also important to make sure that the final pH of the conditioner falls into the effective range for your chosen preservative. For more information, read about the importance of pH in cosmetics.
How long does it keep?
Without a preservative, you’d need to treat this conditioner as if it were food. It would need to be stored in the fridge to slow bacterial and mold growth. Even then, I wouldn’t recommend using it for more than 7-10 days.
Some people feel comfortable making fresh batches each week and storing their homemade lotions and conditioners in the fridge. They throw the old batch out and make a new one every 7-10 days. I personally don’t have the time and energy to do that.
By now, there are many preservatives available for home use that conform to Ecocert and COSMOS standards. I have covered many of them in my guide to natural preservatives.
Beginner’s Guide to Natural Preservatives
Check it out!
Especially when making products with the more natural preservatives, I recommend making small batches. Don’t make more than what you think you will use within 2-3 months. In reality, the finished product will very likely keep for longer than that. Most people making homemade cosmetics, though, aren’t willing to spend money on microbial testing to determine their product’s shelf like. That’s why it’s best to err on the side of caution.
Making a new batch of conditioner takes me less than 30 minutes. So, I think it’s worth investing a tiny bit of time every 3 months to make a new, fresh batch.
You could use more potent preservatives, like parabens, to extend the shelf life further. I personally don’t recommend doing that, though.
One of the main reasons I make my own products is to avoid ingredients like parabens. Parabens can cause skin irritation and may disrupt your hormones. Not only that, without doing microbial testing, it’s still impossible to determine an accurate shelf-life for your homemade products. That’s why I recommend making smaller batches more often regardless.
Making a natural conditioner
For a while, I was trying to formulate all of my DIY beauty products and cosmetics using only “completely natural” ingredients. For me, that meant only using whatever I could find in my refrigerator or pantry.
With time, I came to the realization that I can live a healthy, natural lifestyle without feeling quite so “crunchy”. I’ve learned to make my own beauty products, with safe ingredients, that actually resemble the products I used to buy in stores (but without the extra chemicals).
Each person will have to decide what they consider “natural” enough for them.
We’ve already touched on using the more natural preservatives, the ones that are accepted for use in organic and certified natural products, but what about the emulsifier?
Is BTMS “natural”?
BTMS is an emulsifier that has wonderful conditioning properties. It’s what gives this conditioner the perfect slip in the hair, which makes it the perfect detangler.
Whether or not it is considered “natural”, though, is a bit controversial. Some argue that it is natural because it’s generally regarded as safe and it’s naturally obtained from rapeseed. Others argue that it isn’t natural because it isn’t generally allowed in products with an organic certification. (It’s not Ecocert or COSMOS approved.)
When I took the 2 courses in natural haircare formulation, one of the courses did talk about the possibility of using BTMS. The other, however, avoided it because they didn’t consider it natural.
I personally don’t have a problem using BTMS because I have no intention of trying to officially certify my homemade products as organic. That said, I have tried some other options. These other emulsifiers are more natural, but they don’t give the same amount of slip and detangling as BTMS, in my opinion.
Substituting BTMS
Those who have issues with Behentrimonium Methosulfate, or who want a truly organic product, can use a different emulsifier. Don’t assume that using just any emulsifier will work to make a similar product, though. Conditioners are generally different from lotions in that they use cationic emulsifiers that help reduce frizz and detangle hair.
If you are trying to avoid BTMS, there are a couple of cationic emulsifiers that you can use in its place. While you could theoretically use any emulsifier, those that aren’t cationic will not give the hair the same conditioning feel. They won’t have the same “slip” nor will they detangle in the same way.
Emulsense™ HC
Emulsense™ HC is a natural cationic emulsifier that is palm-free and Ecocert and COSMOS approved. Its ingredients are Brassicyl Isoleucinate Esylate and Brassica Alcohol.
It’s probably the most common natural cationic emulsifier, but can still be hard to find. I’ve made several homemade conditioners with Emulsense and it works pretty well. I like the feel of conditioners made with BTMS better, though.
If you plan on choosing this emulsifier, there are a couple of things to keep in mind. First, it’s highly recommended that you use Spectrastat G2-N as your preservative when using Emulsense. Also, because it tends to make an acidic product, it is likely that you will need to increase the pH slightly to get it into an ideal pH range of 4.5-5. To do so, this product is really only compatible with arginine for adjusting the pH upwards.
Varisoft® EQ65
Varisoft® EQ65 is one of the few Ecocert and COSMOS approved cationic emulsifiers available for making a totally natural conditioner. Its ingredients are Distearoylethyl Dimonium Chloride and Cetearyl Alcohol.
Like Emulsense, Varisoft is usually harder to find than BTMS. Also like Emulsense, it works relatively well, but not as well as BTMS (in my opinion). Conditioners made with Varisoft just don’t have the same slip and conditioning feel. Either, though, is much better than using a “regular” emulsifying wax to try to make a conditioner. (I did try to make one with Olivem 1000, and didn’t like it at all.)
Ways to use this conditioner
I’m really proud of this recipe because I really, really love the way it turned out. It leaves my hair feeling clean and soft. While I originally formulated it to be a rinse-out conditioner, you can use it in other ways!
Leave-in conditioner
While it might look a bit thick to be a leave-in conditioner, it’s actually quite light in my hair. I love that it’s light enough to allow my hair to curl as intended, all while conditioning it and keeping it untangled and frizz free.
To use it as a leave in conditioner, I rub some of it between my hands and then spread it over my towel dried hair.
I have also used it to give my curls a pick-me-up between washes. To do so, I spray a bit of water on my hair, and then apply the conditioner as I would to towel-dried hair. I then scrunch it through my hair to help revive the curls. (You can also add a bit of homemade hair gel (or flaxseed hair gel) to help refine them.)
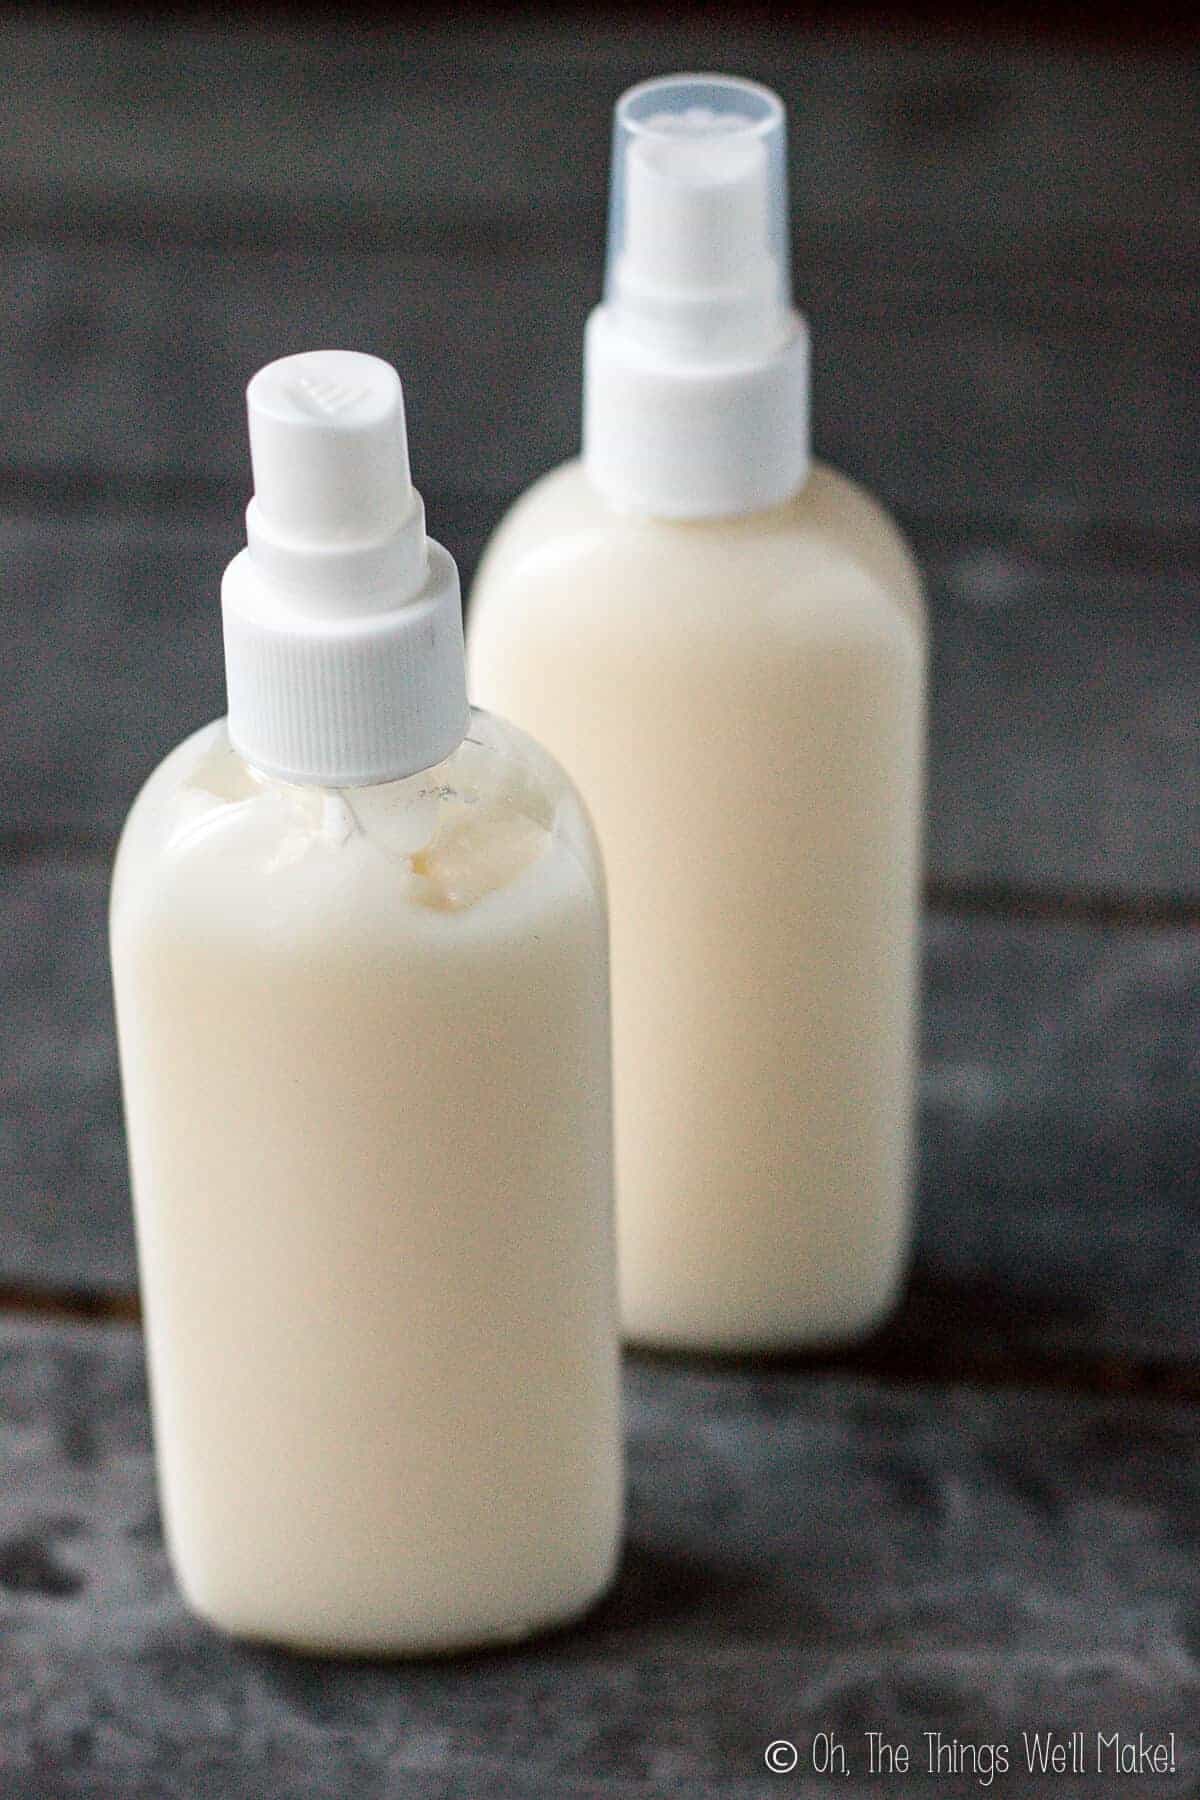
If you plan on using this as a leave-in conditioner, you could consider slightly lowering the amount of emulsifier used to keep it on the thinner side. That would also make it easier to use in a spray bottle.
Cleansing conditioner
Because these cationic emulsifiers are also really a type of surfactant, they can help gently cleanse the hair. They can bind to the dirt and oils in your hair, removing them when rinsed out.
Curly and wavy hair does especially well with using a co-wash (or conditioner only wash) to cleanse the hair. Not all hair types benefit from this.
I have been able to use this conditioner as a co-wash for around two weeks without needing to resort to shampooing. After about 2 weeks, I feel like my hair feels a bit heavy if I don’t use some sort shampoo to give it a deeper cleaning. (I use my gentle clarifying shampoo or my homemade shampoo bar every 1-2 weeks to provide a deeper cleaning and to remove any buildup.)
Storage containers
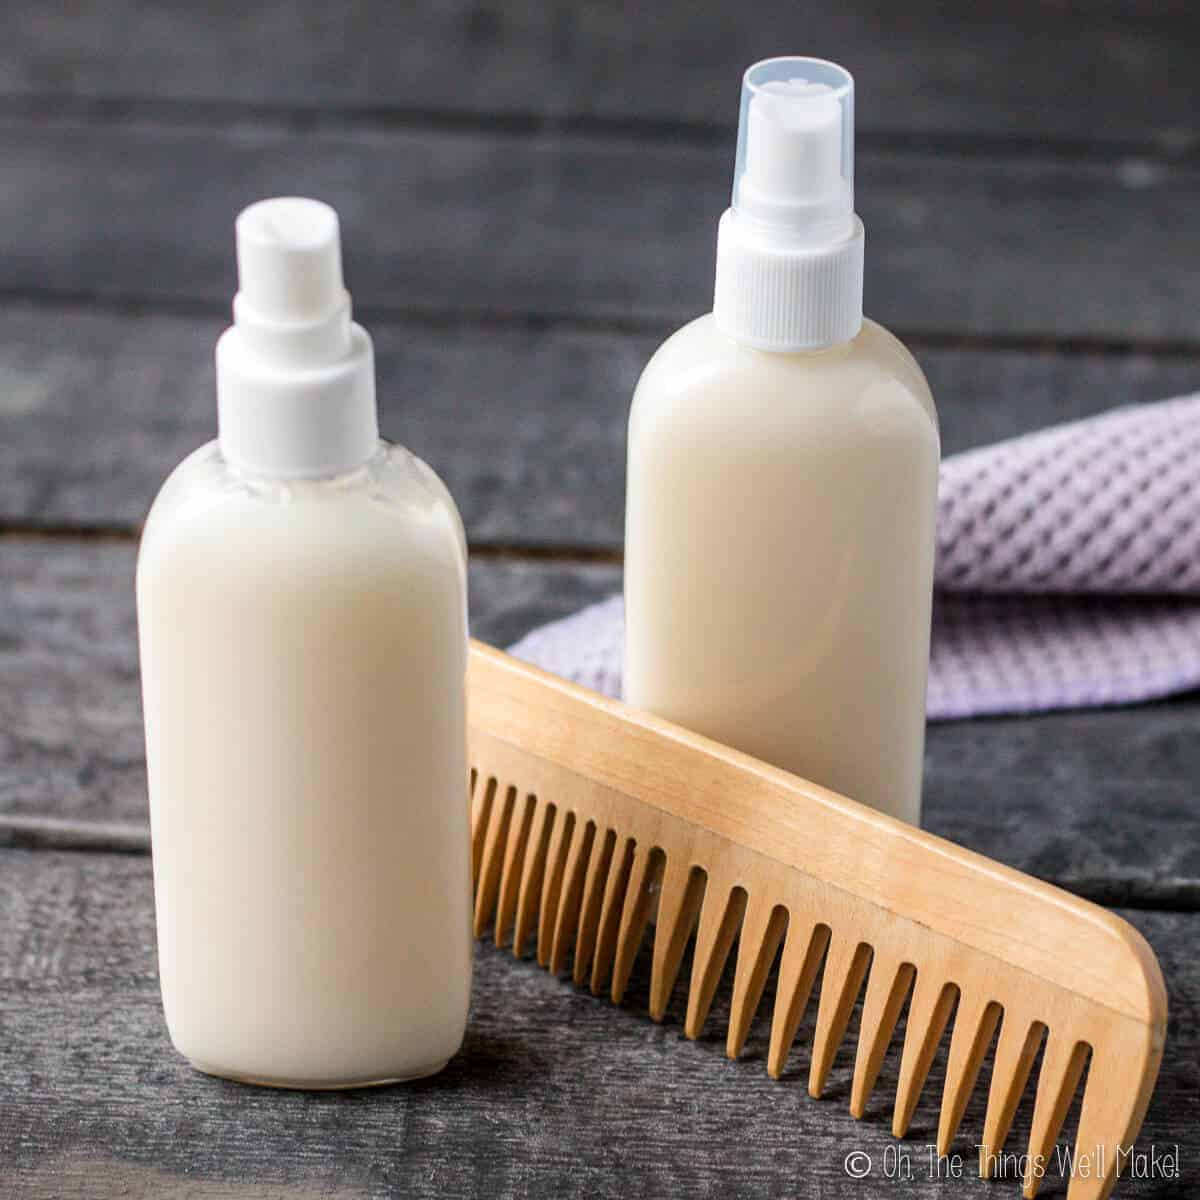
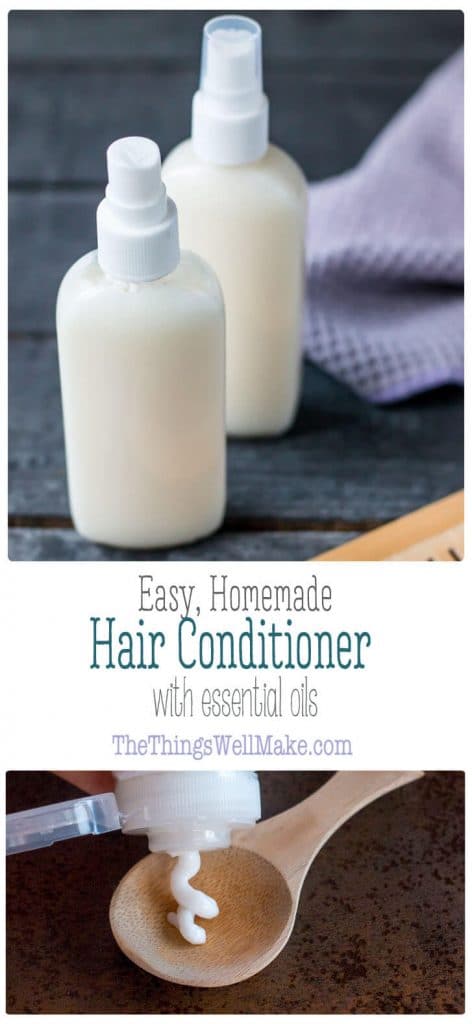
I photographed the conditioner in spray bottles because I wanted to use transparent bottles that showed off the conditioner. At the time, that’s what I had on hand. While it is possible to use it with the spray bottles, it’s a bit too thick for them.
I prefer using a pump bottle or silicone travel tubes instead. You can also use a flip-cap bottle.
I like using the silicone travel tubes because they hold up really well to being washed in the dishwasher. That allows you to thoroughly cleanse and sanitize the bottle between uses. (By reusing the packaging, you are able to make a much more sustainable product!)
Other optional ingredients
Apart from changing out the oils and waters, or adding humectants like glycerin, there are other ways to customize your homemade conditioner.
To add fragrance, I generally add essential oils. Lavendar and rosemary are oils whose fragrance I love and that are great for hair care products. Some essential oils may add other properties. Mint can stimulate circulation in the scalp, which can help prevent hair loss, but some people might find it irritating to the delicate skin there.
To further nourish the hair, you can also add vitamins like d-panthenol and/or other additives like rice or wheat protein.
Video
Natural DIY Hair Conditioner
Equiment
- pump bottle
Materials
- 83 g distilled water
- 5 g BTMS
- 5 g glycerin
- 5 g argan oil or other oil(s)
- 1 g Sharomix 705 or other natural preservative, at its recommended dosage (3.5g Leucidal)
- 1 g lavender essential oil or other oil(s)
Instructions
- Clean your work surfaces, utensils, and packaging. (You can use alcohol to better sanitize surfaces.)
- Weigh out the distilled water.
- Heat the water over a double boiler while you measure out the oil(s) and emusifier.
- Weigh out the oil (or oils) in a double boiler insert.
- Tare the scale and add the BTMS (or another cationic emulsifier) to the oil(s).
- Heat the oil and BTMS mixture over the double boiler until the BTMS has melted. Fully stir the ingredients together until well combined and remove from the heat.
- Add the hot water to the hot oil mixture. Ideally the water and oils should be at around the same temperature (around 70º-75ºC/160º-170ºF). Keep stirring until the mixture comes together and thickens slightly.
- Allow the mixture to cool to around 90ºF/30ºC, and then add delicate ingredients like the preservatives, essential oils, or any other additives like silk or wheat protein that you may want to add. Combine well.
- Test the pH of the conditioner. Ideally, you want the pH to be in a good range for both your hair (4.5-5)and for the effectiveness of whatever preservative you are using. (I'd suggest choosing a preservative that works at that range rather than adjusting the recipe to suit your preservative.) Adjust the pH down with a couple of drops of lactic acid (or, less likely, up with a solution of NaOH).
- Bottle your conditioner. Wait until fully cooled to cap the bottle to prevent condensation from forming above the conditioner. You can now use it as needed!
Notes
Customized homemade conditioner example
For those who want to see an example of how the above conditioner recipe can be customized, I have added another recipe below that uses aloe juice and a combination of oils. I’ve also incorporated wheat protein and d-panthenol to further nourish the hair.

Customized, DIY hair conditioner recipe
Materials
- 60 g distilled water
- 20 g aloe juice
- 5 g glycerin
- 5 g BTMS
- 3 g argan oil
- 2 g jojoba oil
- 1 g natural preservative Check recommended dosage for your preservtive and dose accordingly
- 2 g wheat protein
- 2 g d-panthenol
- 1 g essential oil I used lavender EO
Instructions
- Weigh out and mix together the water, aloe juice, and glycerin in a heat-resistant container.
- In another heat-resistant container, weigh out the oils and BTMS. (You can also use a double boiler insert.)
- Heat the oils and water mixture in a pot of water. Heat until the BTMS melts, stirring until the BTMS is fully incorporated into the oils. Once the BTMS has melted and the temperature of all of the ingredients is around 70º-75ºC/160º-170ºF, remove them from the heat.
- Mix together the hot, water-soluble ingredients and the hot oil mixture. Ideally, both should be around 70º-75ºC/160º-170ºF. Stir constantly until all of the ingredients come together well and are emulsified.
- During the cooling process, continue to whisk together the ingredients periodically. The mixture will continue to get thicker as is cools.
- Once you've allowed the mixture to cool down to around 30ºC/85ºF, you can add in the more heat-sensitive ingredients like the preservative, the wheat protein, the d-panthenol, and the essential oil(s).
- Check the pH of the conditioner and adjust it if needed. (You can use a few drops of lactic acid to lower the pH if necessary.)
- Bottle your DIY hair conditioner.
- Don't place the cap on the container until the mixture reaches room temperature. This prevents water from condensing on top of the conditioner. Once cool, you can seal the container and use or store the conditioner.
Notes
Other homemade hair care products
Hair butter recipe
DIY Clarifying Shampoo
Shampoo Bar
Easy Homemade Hair Gel (With or Without Aloe Vera)
Nourishing DIY Flaxseed Hair Gel
Homemade Natural Root Concealer Stick
 Español

 How to Make a Simple, Homemade Lotion and How to Customize it
Cecilia
can I use mantanov 68 instead of BMTS
Tracy Ariza, DDS
While you can use it, you probably wouldn’t be happy with the outcome. It would be more like using lotion on your hair.
BTMS and other emulsifiers meant for conditioners is cationic. That’s what gives it its conditioning/detangling feel.
Barb
Hi Mary,
I’ve unsuccessfully tried to make a few different recipes of diy hair conditioner now, and I’ve accumulated a few products that I now have no other use for. So I’m just wondering if I could temporarily use the Glyceryl Stearate I already have to replace the BTMS ingredient you use, above? I’m also live in a small town and so far have been unable to find any of the natural preservatives you list. A check on Amazon also doesn’t appear to bring any of them up (I’m in Canada, if that makes a difference). Do you have any suggestions where I might get them? Or other substitutions that are more readily available?
You sound far more knowledgeable on making these DIY products than a lot of other people who’s posts I’ve read/tried, so I’m eager to try this recipe out!
Thanks for your time,
Barb
Tracy Ariza, DDS
Hi Barb,
I get it, but, while you can use other emulsifiers, you’ll end up with more of a lotion than a conditioner. You might be OK with using it, but it won’t have the same slip/detangling/conditioner feel.
BTMS and the other emulsifiers sold for hair conditioners are special in that they are cationic, which helps them detangle hair.
As for the preservatives, most of the ones you can find for sale should work in this recipe as it’s an emulsion, so it can incorporate water or oil based preservatives, the pH falls into a range that most preservatives work. Just look for what you can find where you are and follow the dosage. I tend to formulate the recipes to around 100g to make it easier. If the dosage is 0.5-1%, as many are, you can use 0.5-1g.
Barb
Thanks so much Tracy!
Mary Keeney
Please tell me: What does “weigh out oil in a double boiler insert” mean since the step before this was to “measure out the oil & emulsifier”?
Tracy Ariza, DDS
Hi Mary,
I was just trying to make it clear that you’re heating up the water (that you previously weighed out) in a separate container while you weigh out the oil ingredients in a separate container.
I can try to make it clearer when I get home and have better internet. (On vacation now!)
I hope that clears things up.