

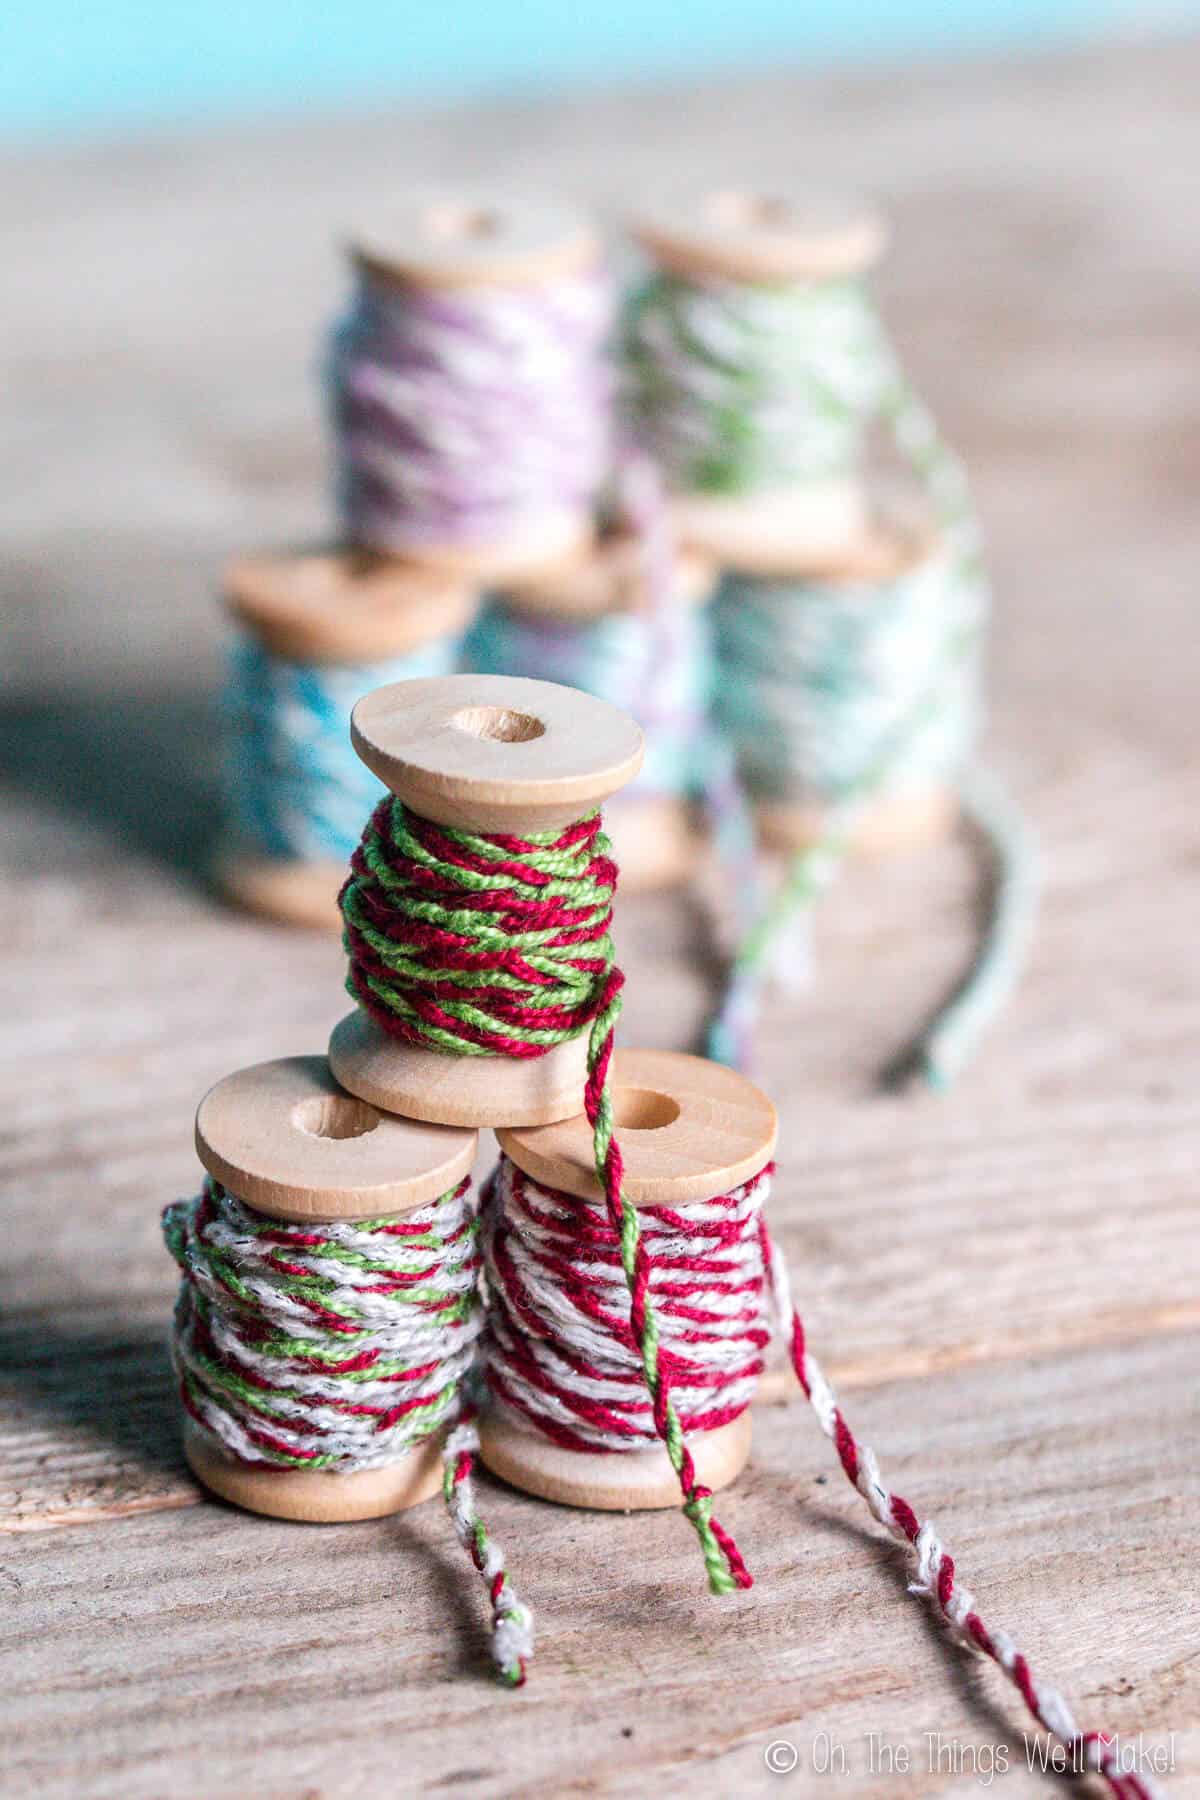
DIY Bakers Twine

Make your own professional looking DIY bakers twine in custom colors quickly and easily using cotton thread or embroidery floss.
Lately bakers twine has become very popular; it is seen decorating the products of online stores and bloggers’ recipes and crafts. The more I was seeing it everywhere, the more I wanted to use some myself. Especially at Christmas, the basic red and white variety is reminiscent of candy canes, and is perfect for decorating gifts and holiday DIY projects.
Unfortunately, though, it isn’t something that I can find around here. If I wanted some, I was going to have to buy it online. To my surprise, though, bakers twine is unexpectedly expensive! It comes in all different colors, and it’s not surprising that some of the specialty colors might cost a little more, but even the basic red and white bakers twine, my favorite, costs more per meter than even some of the prettier organza ribbons!

I was determined that something so simple should be just as simple to make yourself.
At first I did a search on the web, looking to see if other people had tried to make their own.
I found a few different methods, but didn’t really like any of them.
One way was to wrap white string around a piece of cardboard, and make diagonal stripes across it using permanent marker. When unwrapped, the painted string is striped like bakers twine. It’s a quick and easy way to get the look, but I’m a bit of a perfectionist and wanted a twine in which I could see that two different colored strings were twisted into one.
Further searching found a method in which you tied two colors together and twisted each of them separately, and then let them wind together. I liked the idea, but wasn’t able to use that method successfully. It was hard to twist each side quickly, and even more difficult to keep each side twisted long enough to be able to twist them together. Even when I was able to do it, for some reason I couldn’t get the twisting to come out uniformly striped.

I was still determined to make some bakers twine for my peppermint liqueur, so I thought back to when I was younger and friendship bracelets were all the rage. Some of the more complicated bracelets were made using lots of different colors and knots, but there was a quick and simple rope type bracelet that was made by twisting.
The idea is very similar to the twisted DIY bakers twine that I mentioned above, but uses loops of thread instead of individual strands so you end up with a thicker twine. The loops make it easier to twist and keep twisted, and the doubled up threads more uniformly come together resulting in a uniformly twisted bakers twine.
Ready to see how it’s done?
Here’s how you make your own DIY bakers twine.
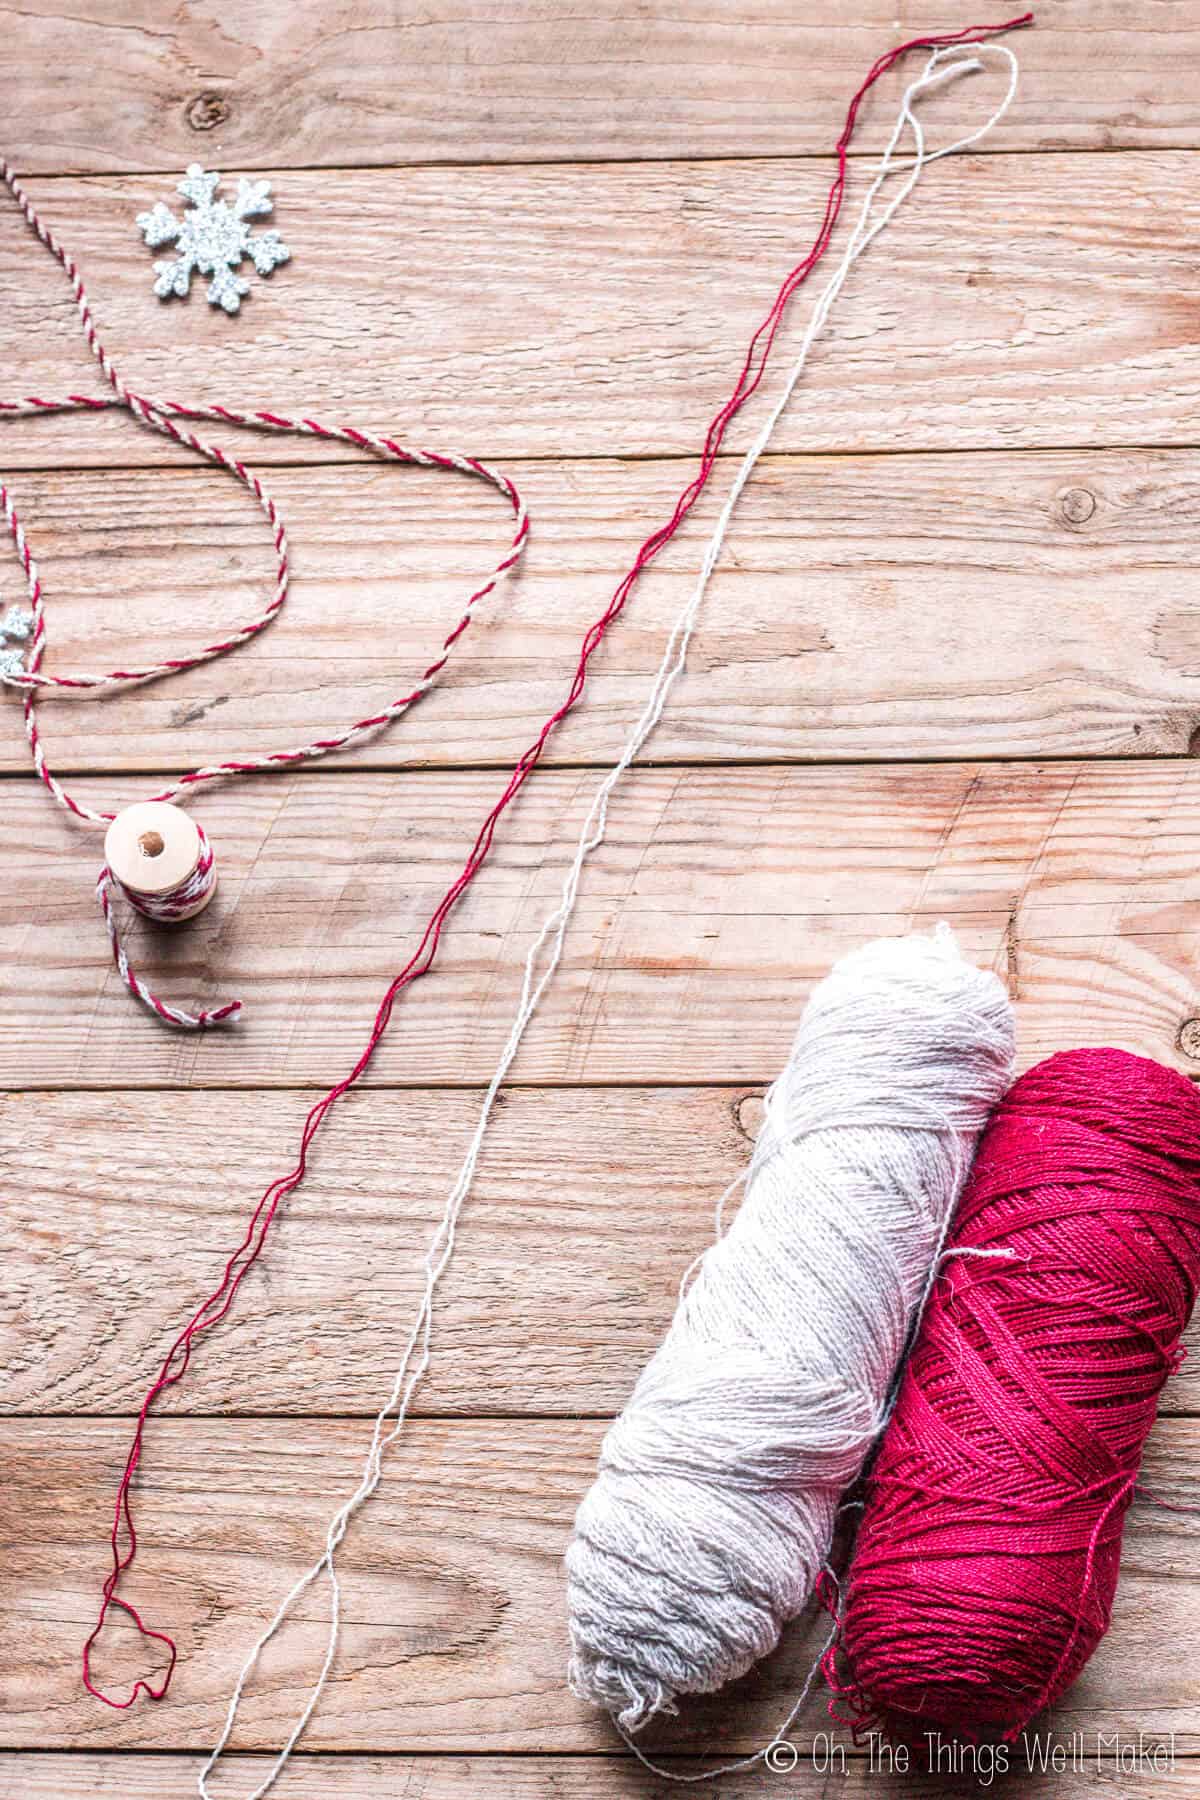
- Cut two pieces of embroidery floss or a similar type cotton thread twice as long as you want your finished piece of bakers twine to be.
- Fold each piece of string in half, bringing both ends of each string together and leaving a loop in the center.
- Tie all 4 of the loose ends together near the ends of the strings and attach the ends to a table or doorknob with some tape, or clip them in place on a clipboard.
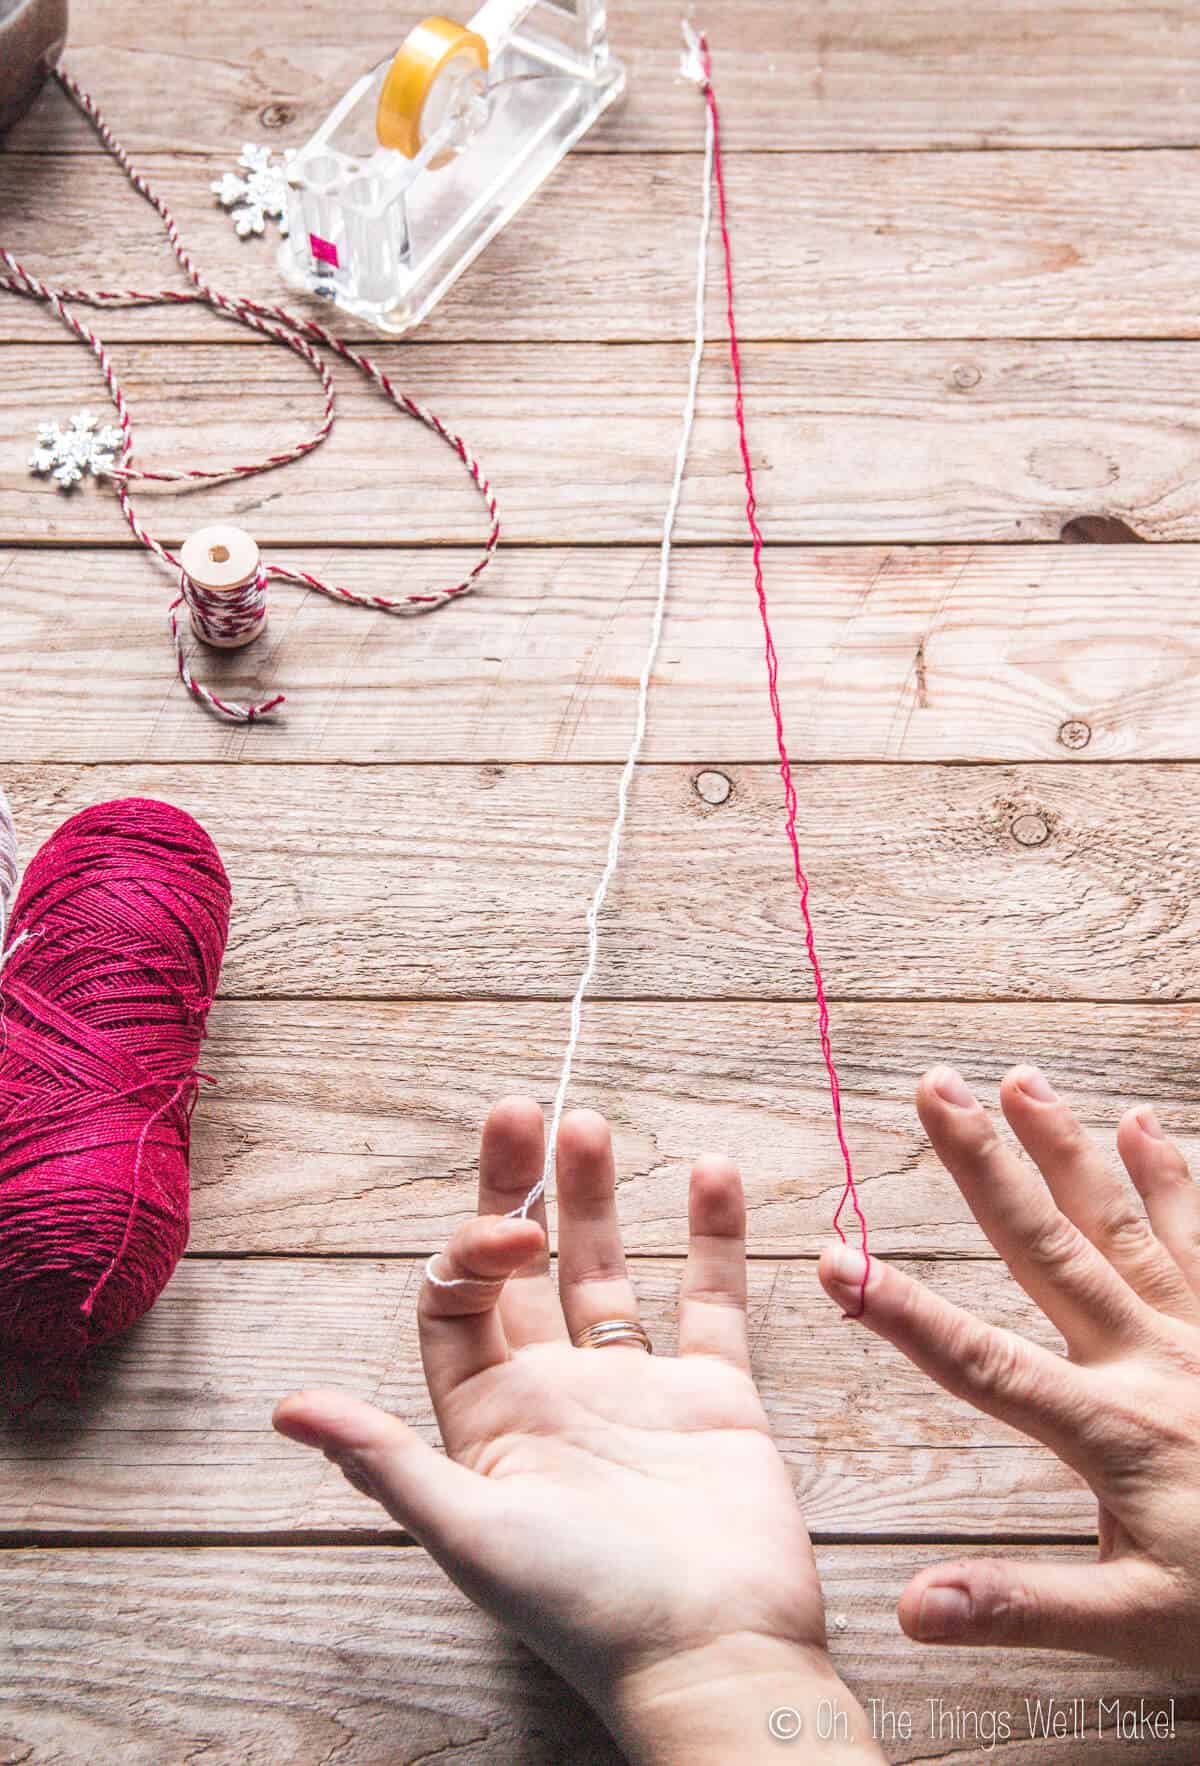
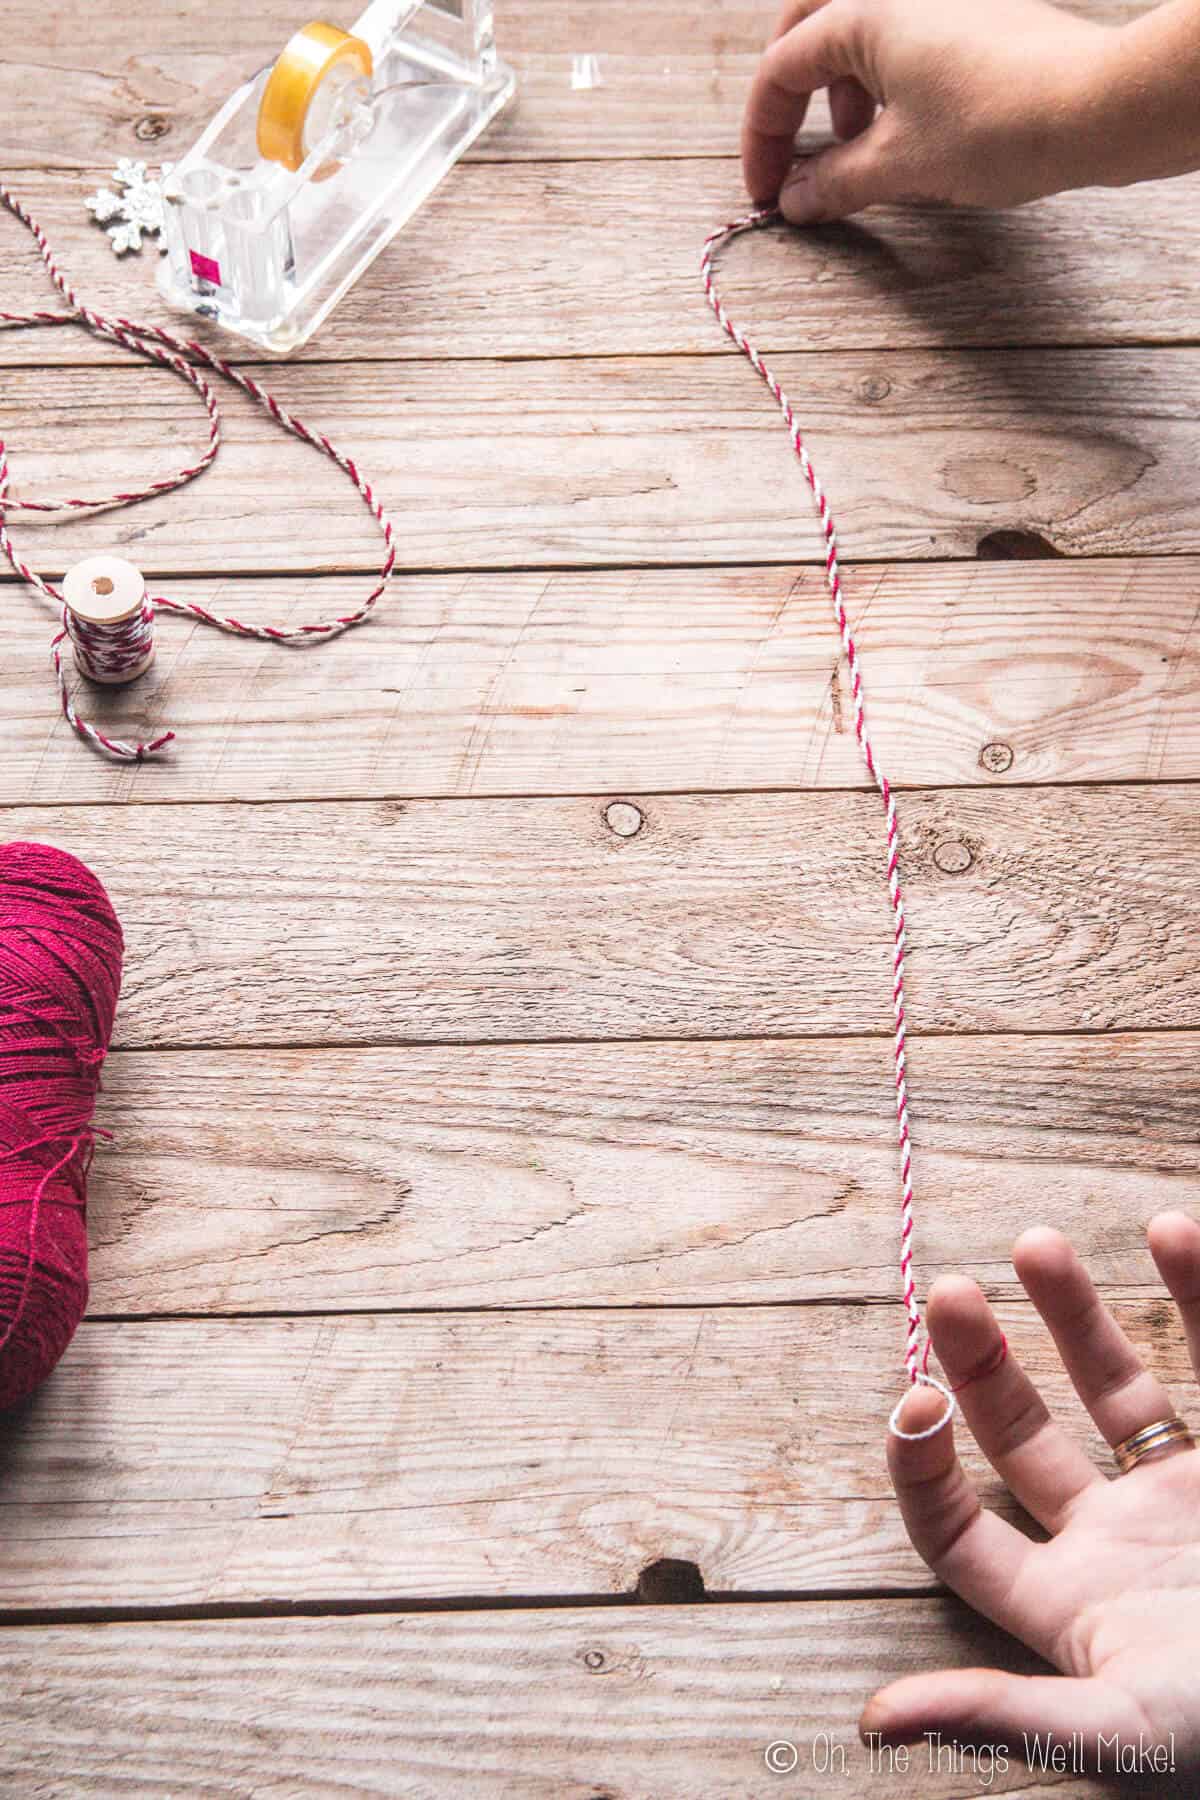
- Take the loop of one thread in one hand (I loop it over my index finger) and the loop of the other thread in the other hand.

- Begin twisting both strings by winding your fingers clockwise over and over again. After winding for a while you will notice that the thread will wind up on itself as you loosen up tension on it. That’s a good start! Keep going until you feel the tension on your fingers from winding.
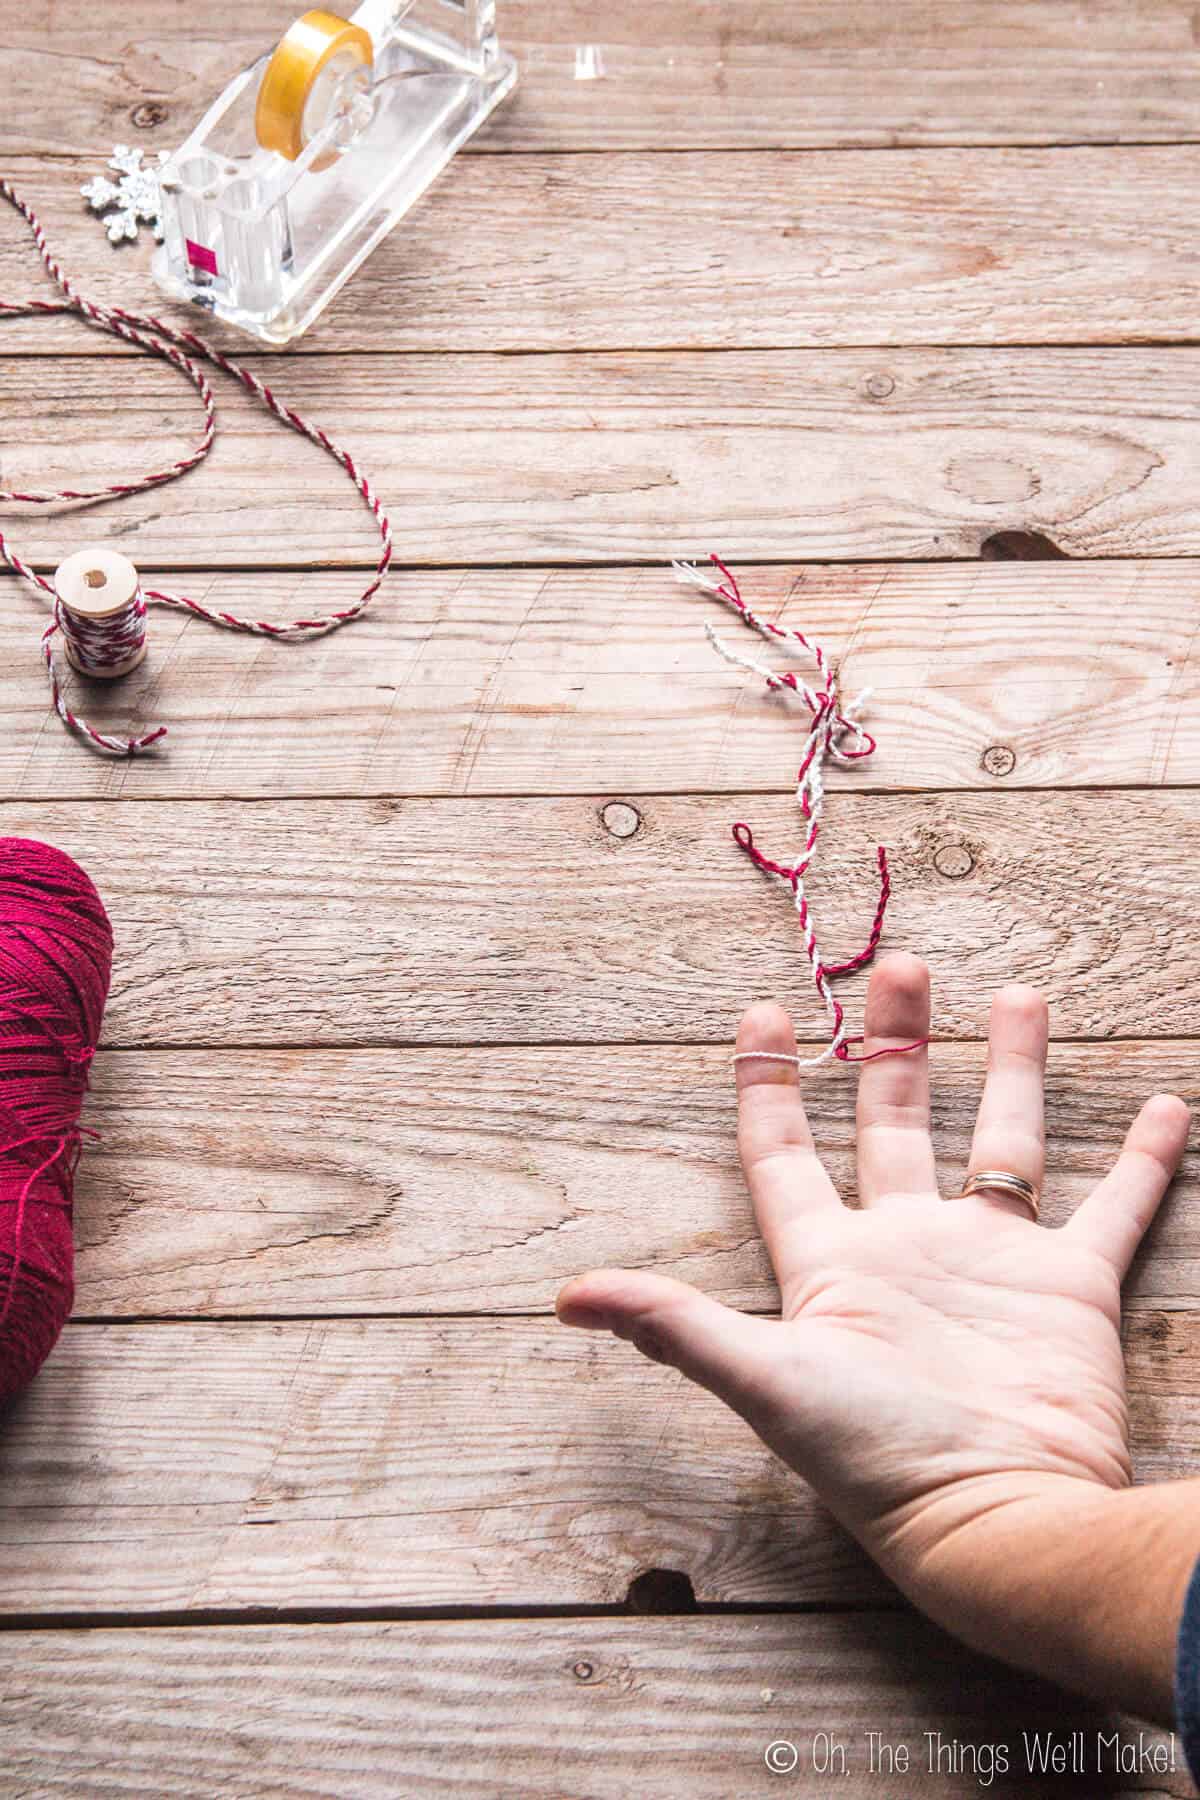
- Release the thread from where it was attached and let it wind up on itself. You can help it wind itself more uniformly by pulling both ends apart and letting the threads wind up again on each other again. (I had to release one side from one hand and loop it over on another finger of the other hand to be able to accomplish this step.)
- Tie the ends to keep it from unraveling, and you have your finished piece of DIY bakers twine!
If you are having a hard time figuring out the process from the pictures, I have made a video to help show the process:
I have used very small pieces of thread so that I could make a more simple video and could fit everything into photos, but I have accomplished this with much larger pieces too. To make large pieces of twine, I went outside and looped the end over a fence. I then stepped away from it and moved my arms in circles until finished. I have to admit that it was a fun excuse for an arm workout, but I made it fun with some music. 🙂
Now THAT would have been a fun video for the blog. 😉


oh , lovely,,, would also be super easy to do on a spinning wheel 🙂