

Nourishing DIY Flaxseed Hair Gel
Style and nourish your hair with this homemade flaxseed hair gel. It’s perfect for defining curls and waves, but also helps style hair when straightening.
One day, a friend of mine was over, and we were talking about flax seeds. She told me that in Colombia it’s common to make flaxseed hair gel, and is especially popular for styling curly and wavy hair. I was fascinated and decided to try it out myself.
I have to admit that I was a bit skeptical at first. I rarely use hair products because I hate the way they feel. Plus, once I made the flaxseed hair gel, I didn’t find the look of it very appealing.
Because it was a bit gloppy, I was worried that it would be sticky and gross, but I was pleasantly surprised. It wasn’t sticky at all, and I didn’t feel like I needed to immediately run and wash my hands off after applying it like I do with pretty much all other hair products! It just feels clean!
Why make it?
Flaxseed hair gel is amazing! Not only does it work wonderfully as a styling aid, but it is also said to be nourishing to the hair because flaxseeds are rich in omega 3, proteins, and antioxidants.
Any time you can use a natural product that works well, is non-toxic, and is even beneficial for your hair or body, I’d consider that a major win. It’s very simple to make, and you can reuse the packaging. That makes it a sustainable option too!
Ingredients
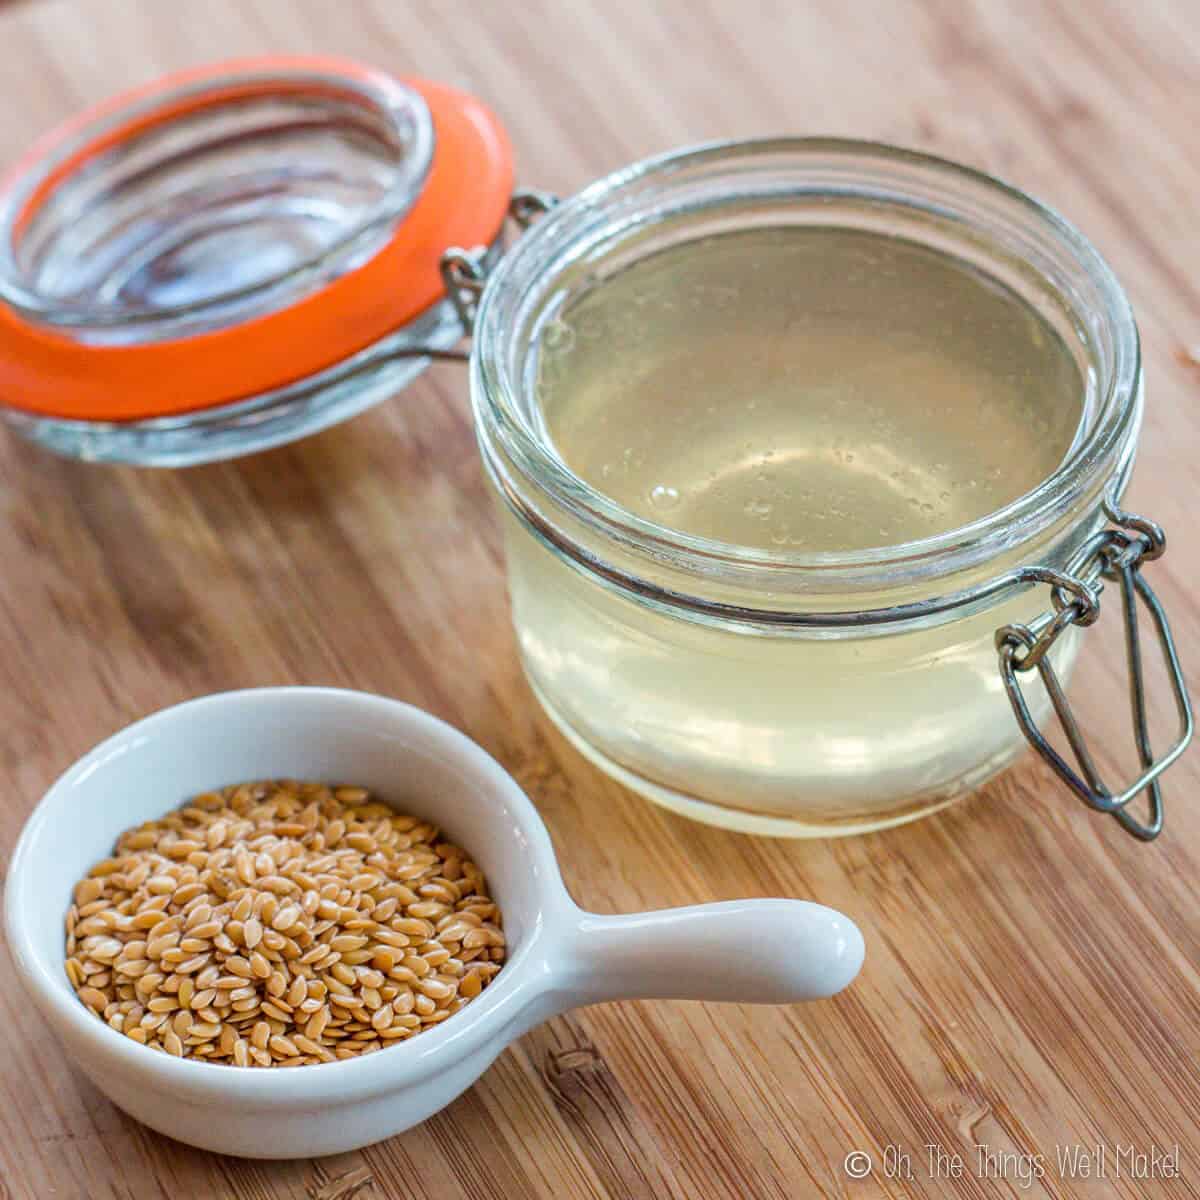
This simple recipe uses only 2 main ingredients: flaxseeds and water. That said, you can customize the recipe by adding other ingredients that may further nourish your hair.

The Flaxseeds
I have made the gel with both golden flax seeds and brown flax seeds. The brown flaxseeds seemed to give off more gel than the golden ones. Either will work, though. No matter what you use, you may find yourself needing to adjust the ratio of flaxseeds to water to get the consistency that you want.
The water
While I generally use distilled water for all of my homemade cosmetics, I normally use our filtered water from home when making this gel. Because we’ll be boiling the water in the first step, we should be killing off any problematic microbes that our water may have.
Essential oils
Essential oils are the perfect addition to your homemade flaxseed gel because they add a pleasant fragrance. Plus, some essential oils are said to be beneficial to hair.
I love using rosemary and lavender because they provide a fresh, herbal scent. They’re also great for the majority of hair types. They may add shine, improve circulation of the scalp, and help with dandruff.
The possibilities are really endless, though.
Vitamins and proteins
You can further boost the beneficial properties of your homemade hair gel by adding other nutrients. D-panthenol, aka. provitamin B5, is one of my favorite additions to almost all hair and skin product recipes. I buy it in liquid form and add it at around 2% of the recipe by weight. (So, I’d add around 2g if making 100g of hair gel.)
Apart from panthenol, I also often add either some sort of protein such as wheat or oat protein. Check the recommended dosage for any additives that you want to add. (I usually add these at around 2% too.)
Making flaxseed hair gel
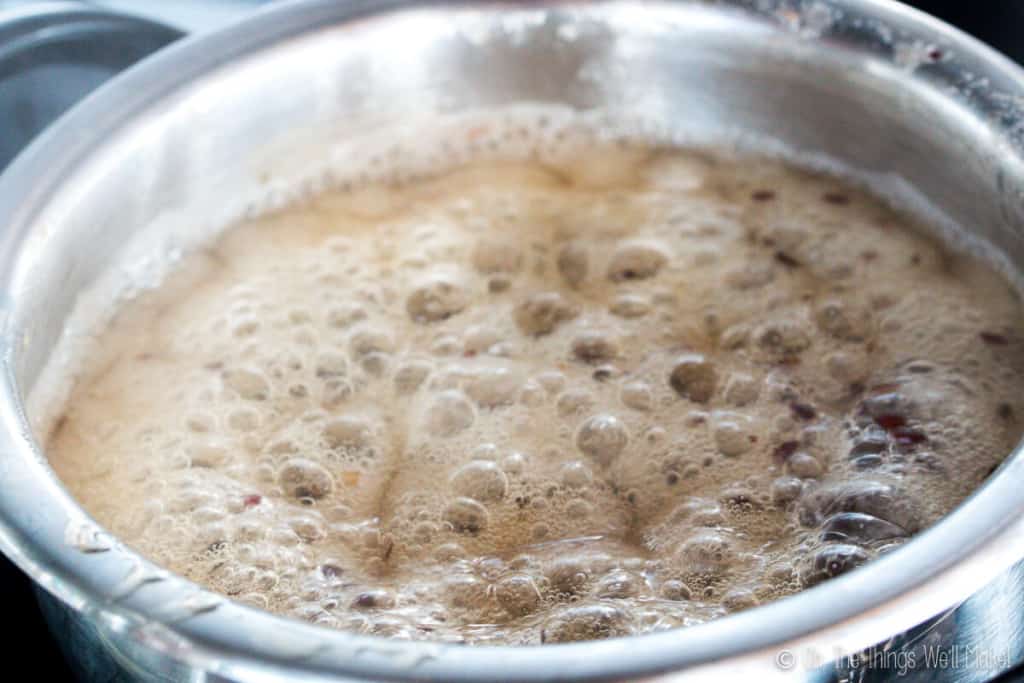
Making the gel is simple enough too!
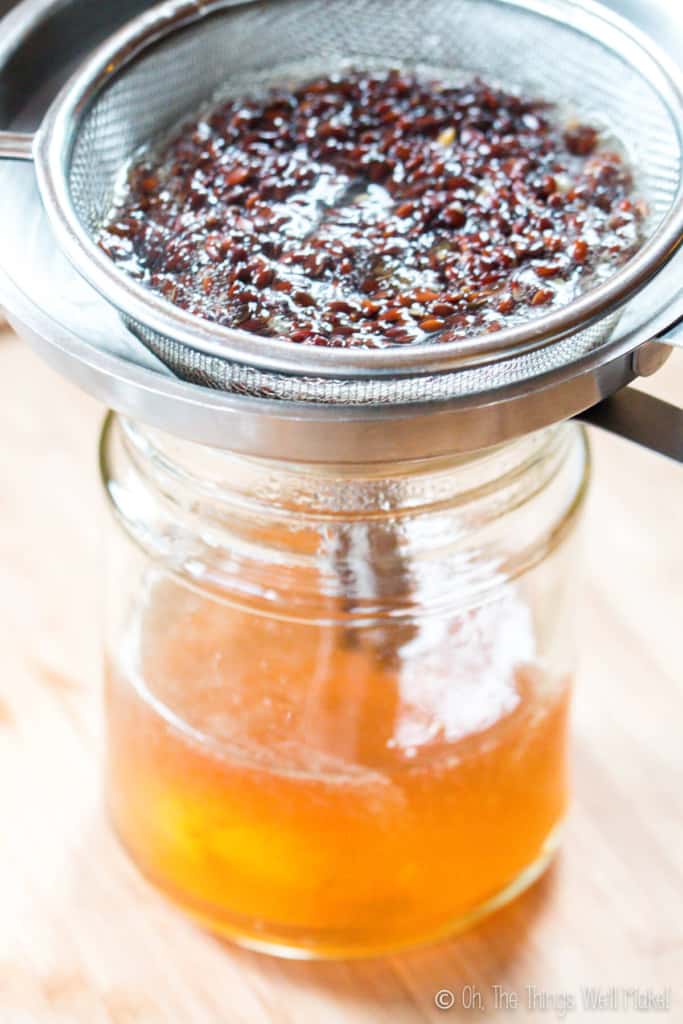
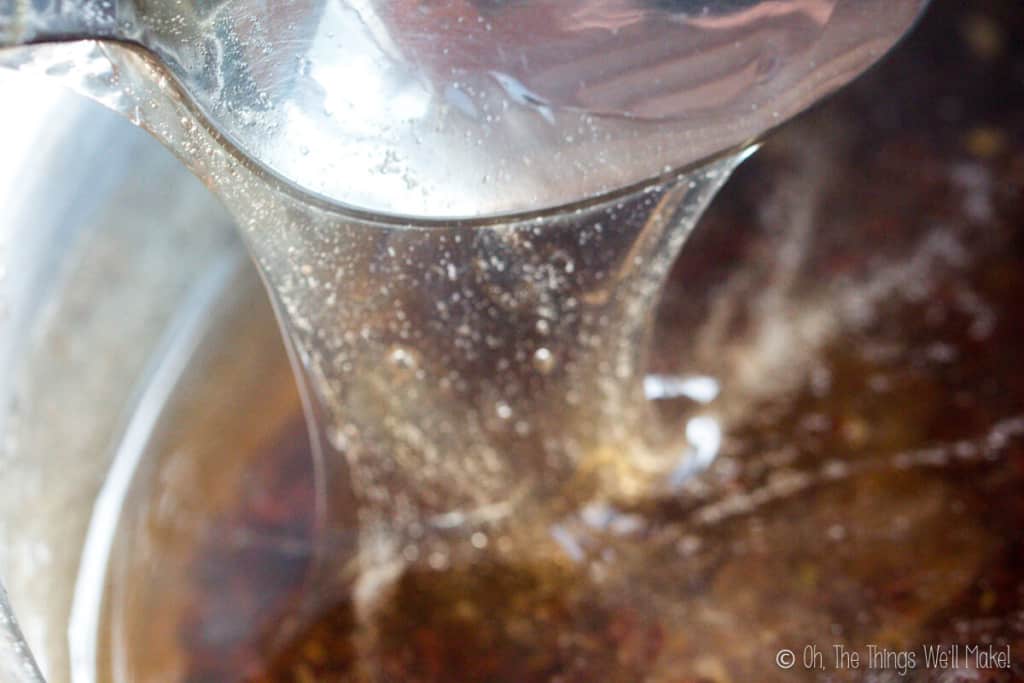
All you really need to do is to boil some water, add the flaxseeds to the boiling water and cook them. Once the mixture thickens slightly, you strain out the flaxseeds and allow the gel to cool. Once cool, you can add in any other ingredients like essential oils.
Troubleshooting
While this recipe is pretty simple overall, you may find yourself having issues straining out the seeds. This can happen if you cook the flaxseeds for too long and the gel gets too thick.
To remedy the situation, just add more water! You may need to cook it down a little bit longer, if you add too much, to get it right back to a happy medium point. (One where it is thick enough to be gel-like, but not so thick that you can’t strain the seeds out.)
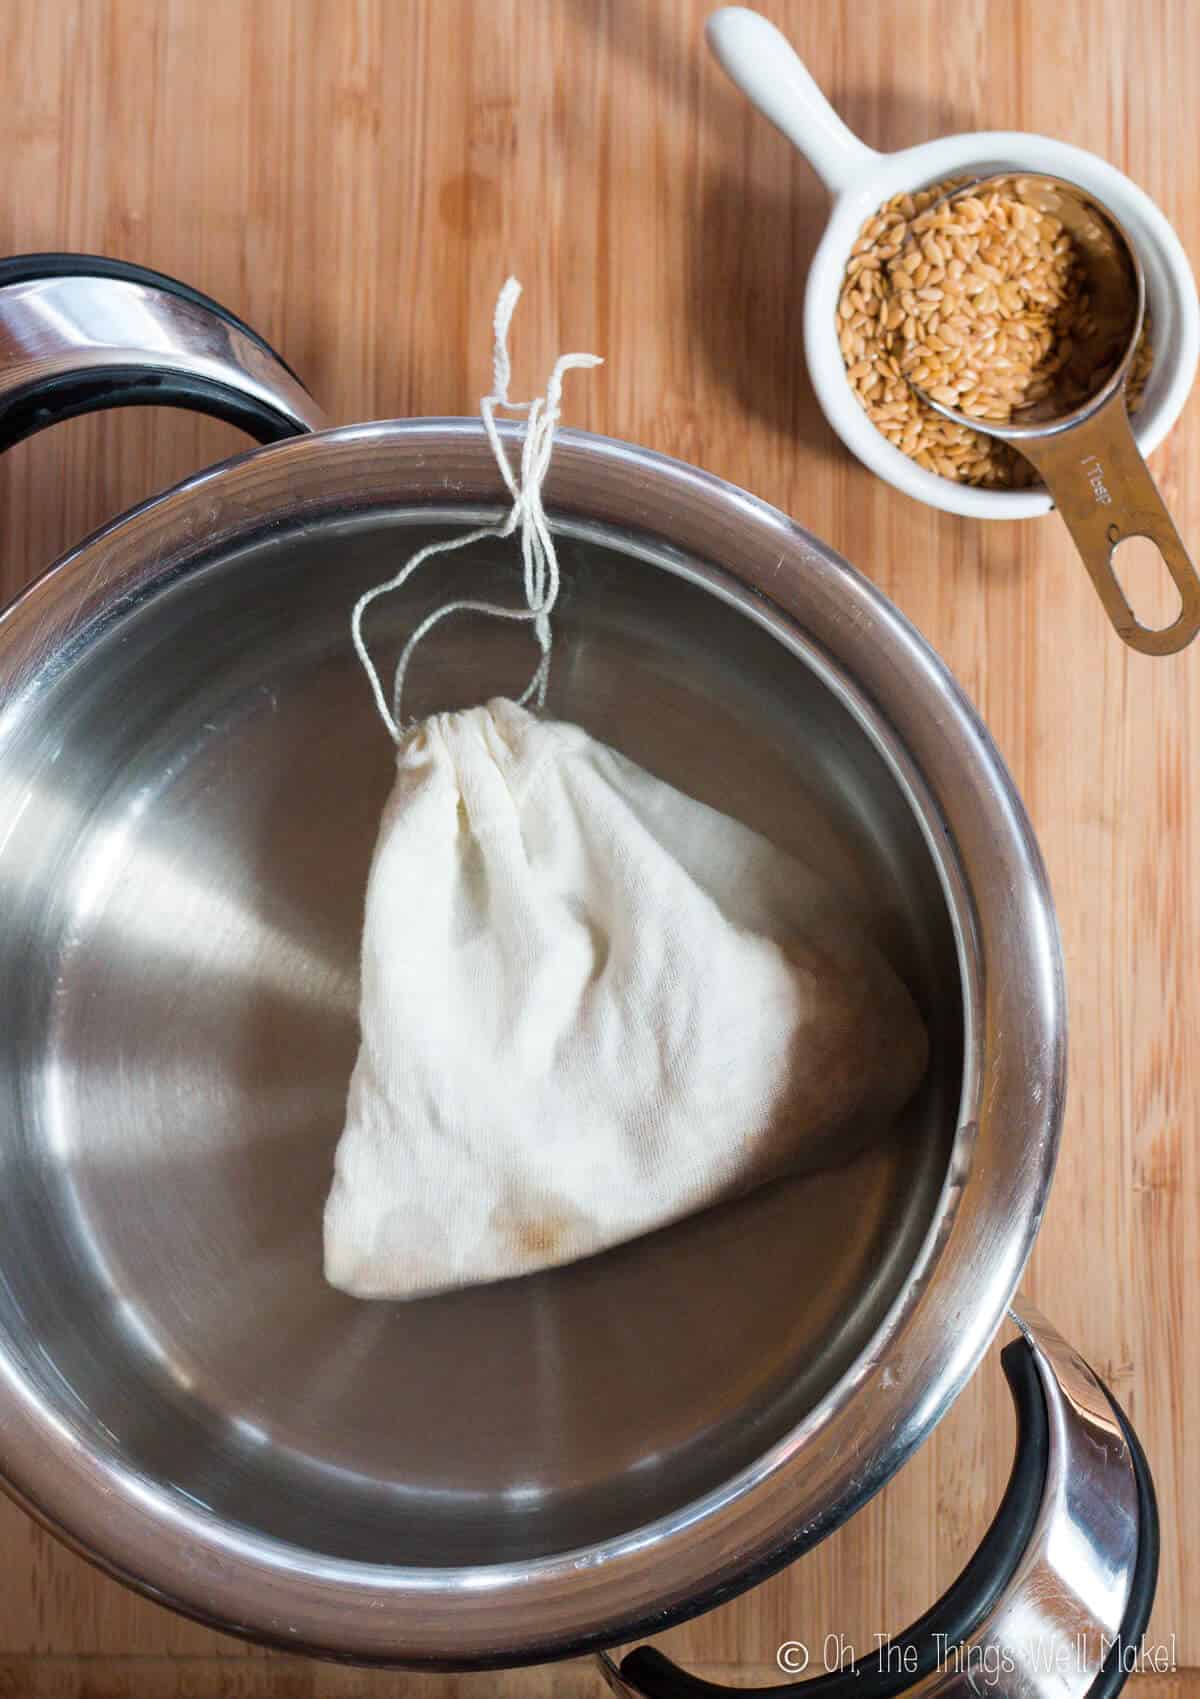
Some people like to add the seeds to a small cotton pouch (like the teabags I quickly made from recycled t-shirt sleeves) or a tea strainer for easy removal. I tried that once, but didn’t find that I could get as much gel using that method. (The gel tended to stay within the pouch along with the seeds.) Feel free to give it a try, though.
I
How long does it keep?
As this is a product with water in it, it won’t keep for very long unless you add a preservative.
Most people make flaxseed hair gel and store it in the fridge for up to a week. Because it’s a quick and easy recipe, and you probably end up using quite a bit of it in your hair each day, that’s really a great option.
If you want to keep the gel out of the fridge and/or for a bit longer than that, you can add a preservative to it.
Packaging
While I show the gel in a glass jar in the photos, I generally use silicone travel tubes for my homemade hair gel. The advantage of using a bottle or tube with a flip-top cap is that you aren’t using your fingers to scoop up the gel. Whenever you scoop up a product from a jar with your fingers, you are likely to be contaminating it, which will reduce its shelf-life.
You could also consider using a pump bottle of some sort. While they are convenient to use, I don’t like using them as much because they are harder to clean and reuse. I usually throw my silicone tubes in the dishwasher for cleaning and sanitizing before reusing them. They’ve held up pretty well over the years for multiple uses.
Preserving flaxseed gel
There are a few things that you’ll need to keep in mind before just randomly adding a preservative to your gel. I have a whole guide dedicated to natural preservatives, but I can give you a few tips here too.
pH
It’s important that the pH of the gel falls into the pH range in which your preservative is effective. The pH of my gel was (unsurprisingly) around 7 (neutral). That may be a bit high for some of the natural preservatives.
Normally, I’d want the pH for hair care products to be lower than 7 anyway (4.5-5). In the case of this gel, though, the pH doesn’t concern me as much as it does with a homemade shampoo. Applying this gel is basically like wetting your hair with water. It dries pretty quickly, leaving only the beneficial ingredients of the flaxseed.
That said, if you’d like to lower the pH of the gel (for either reason), you can add a couple of drops of lactic acid or make a solution of citric acid and add a small amount.
For more information about pH, check out my post about the importance of pH in cosmetics.
Dosage
The amount of preservative needed will depend on the preservative you are using.
Most of the natural preservatives need to be added at around 1% of the recipe by weight. That means that for every 100g of hair gel you make, you’ll need to add around 1g of preservative. (Leucidal will need to be added at a higher dosage, around 3.5%.)
Solubility
Because this product is mostly water-based, I’d choose a water-soluble preservative.
Other seed gels
I’ve had people ask me if chia seeds can be used to make a hair gel. To be honest, I still haven’t gotten around to trying it yet, but I’ve seen that other people do use chia seeds for hair gel. I’ve mostly stuck with flaxseeds because they’re generally the more frugal option. I’d also think that it would be slightly harder to filter out the chia seeds, but I could be wrong about that.
Interestingly enough, I also read that a fenugreek hair gel works better for straighter hair. (Flaxseed hair gel is said to work best for curly and wavy hair.)
How well does it work?
Well, here is a picture of before putting the gel in, and right after putting it in my hair without any further styling.

Before 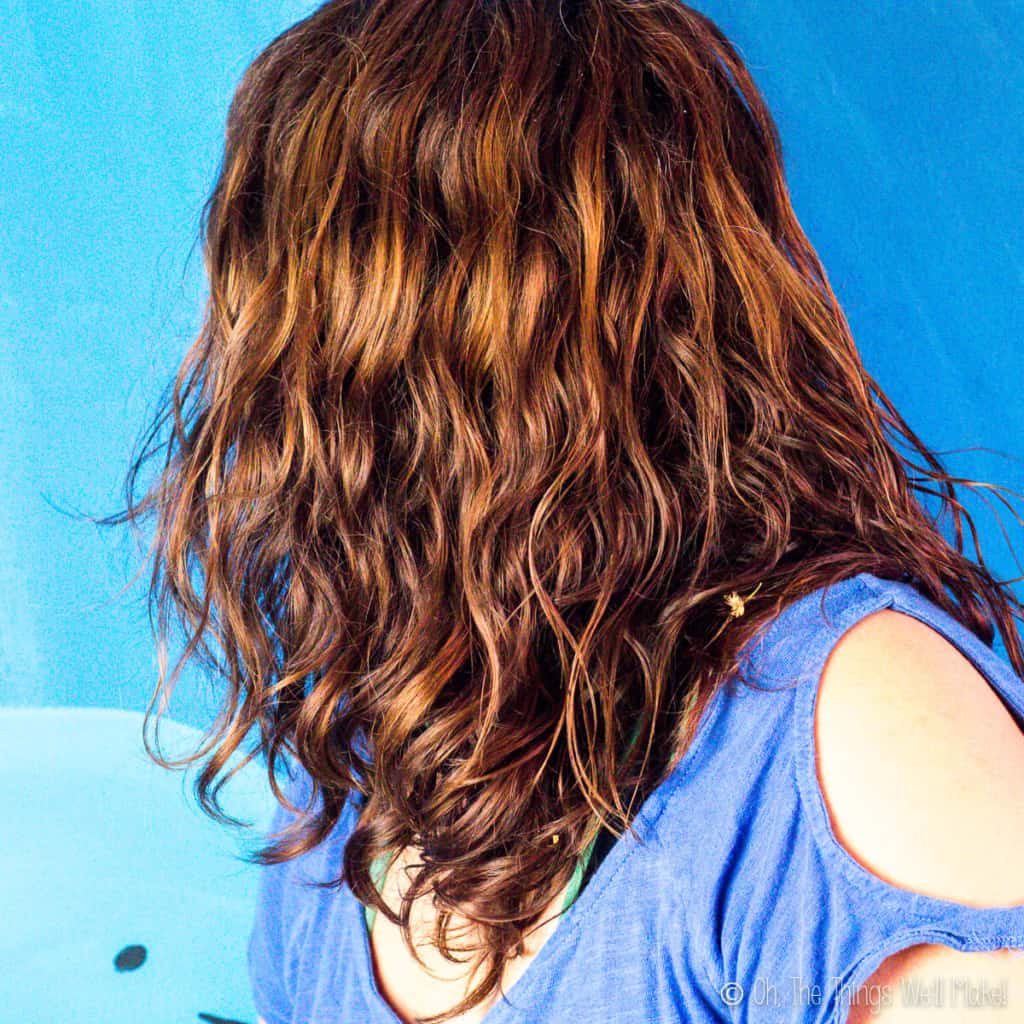
After
I’m pretty happy with that for quick and effortless summer styling!
Of course, I can always go back and define some of the curls better if I’m going out and want my hair to look even better.
How to use it
How you use the gel will depend on your type of hair and the way you want to style it.
I use it both on freshly washed hair, after towel-drying it, and as a pick-me-up for dry hair that needs a bit of styling help.
When you first put the gel on your hair and let it dry, it will get a little bit crunchy. I like to apply the gel, comb it through with either my fingers or a wide-tooth comb, and then allow it to dry. Once dry, I scrunch my hair to make it soft again. The curls will stay defined.
Sometimes I find myself adding a bit of the gel to my hair first thing in the morning after combing through my hair. That said, I have found that when I’m using this gel, I don’t really have to reapply every morning. After combing my hair, I can also wet it to reactivate the gel.
Flaxseed gel for skin
While this gel is normally used for styling and nourishing hair, some people like to use it on their skin!
Because it isn’t greasy, it can easily be applied in the morning to help hydrate the skin without making your skin look oily. Some people say it makes their skin glow!
It is also said to help tighten the skin and reduce the appearance of pores.
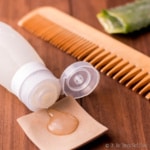
Alternative homemade hair gel
For those who are looking for another alternative for styling their hair, you can also make a no-cook homemade hair gel using gums like xanthan gum.
Easy Homemade Hair Gel (With or Without Aloe Vera)
Video

Nourishing DIY Flaxseed Hair Gel
Materials
- 3 Tbsp flaxseeds Brown or golden
- 1.5 cups water
- 5 drops lavender essential oil
- 5 drops rosemary essential oil
Instructions
- Add the water to a small saucepan and boil it.
- Once boiling, add the flaxseeds to the boiling water and lower the heat. Keep heating over medium heat until the water starts thickening up and getting frothy.
- When the water has thickened slightly, strain out the seeds using a metal sieve or other strainer. Work quickly as the gel will thicken as it cools, making it hard to strain.
- Optionally, add essential oils to your DIY flaxseed hair gel for fragrance.
- Store in the fridge for maximum storage time. Throw away and make a new batch when the gel starts to get cloudy, or after 10 days, whichever comes first.
- Flaxseed hair gel can be applied to wet or dry hair. Some people also like to apply it to skin for its nourishing qualities.
Notes
This post was originally published on April 22, 2015. It was rewritten, adding new information, in April 2021.


This DIY flaxseed hair gel is brilliant! Clear recipe, easy-to-follow steps, and practical tips on consistency and usage. Perfect for natural, nourishing hair care
Thank you so much, Pachouli!
I made made and used this for the first time today and LOVE it! I have a plethora of allergies and curly hair. Sadly all of the curly hair products contain ingredients I am allergic to, so having something to help keep my hair curly and not frizzy is wonderful. I am so pleased with the ease of making this as well as the result of using it. Thank you so much for sharing this recipe!!
You’re welcome, Jessica! Thank you for giving the recipe a try and sharing your experience.
Strain with Cheese Cloth from the baking isle or A stocking it work do much better
My 3a curls LOVE this gel..my curls are soft, bouncy & light..NO crunch, stickiness, grease, heaviness or matting. Made it as shown..added 1 tsp Argan oil. And I love that I no longer have to buy a “product” that utilizes chemicals & fossil fuel in multiple steps along the production line:)
Hi Christine,
I’m so happy to hear that your 3a curls are loving the gel! 😊 I love how you described the results—soft, bouncy, and light is exactly what we’re going for. Adding a little argan oil sounds perfect for extra shine and smoothness. And yes, it feels so good to skip all those commercial products and make something simple, natural, and effective at home! 💕
Instead of adding a preservative I just freeze mine in cubes then pull what I need out the day of or the night before has worked great so far
Hi Tiffany!
Yes, that’s a great idea!
Even when I use a preservative, I find this doesn’t keep for several months like most other homemade cosmetics. So, I generally make larger batches to save time, but I pour them into different silicone tubes. I then freeze all the tubes except for the one I currently use.
Thia Hair Gel is amazing! It is even better than any Store brought Gel! My hair doesnt feel crunchy like traditional Store brought Gel plus it gives great hold and adds a beautiful shine.
I definetly will be throwing out all of my other products.
I do have a question though – How do I extract more Gel!? when I was straining there seemed to be a lot more Gel that would go through the Strainer?
Thank you
Hi Tiana,
I’m so happy you liked it. I stopped using it for a while (mostly out of laziness) and have recently gotten back into making it and, yes, I love it!
I’ve found that you can keep extracting more gel if you add more water to the same seeds. You can do that to get more gel out of the same seeds until you find they aren’t giving you as much or as thick of a gel as you’d like. 😉
still use & love in 2024… agree with melissa haas, commercial products are full of unwanted ingredients & they dry my hair & scalp… if they do have acceptable ingredients they often have an unpleasant smell &/or are expensive & this is a super easy, inexpensive & effective solution.
I’m so happy to hear you’re still loving it! 😊 I completely agree with you—so many commercial products are either full of things we’d rather avoid, don’t smell great, or cost a fortune. I love that flaxseed gel is such an easy, affordable, and effective alternative.💕
I use the gel as a lotion for my entire body… I love it
Thanks for sharing, Desiree! I’m so happy you’re loving it and using it as a body lotion too. Thanks for letting me know.
I LOVE this hair gel! I have wavy hair that tends to get very poofy (and straight at the ends) if I don’t use styling products, but I’ve had a lot of difficulty finding commercial products that don’t dry my hair out! I’ve been using this gel for over a month and my hair has never looked better. It’s so easy to make, and I even made a batch of homemade hibiscus oil from flowers in my yard and I added a few drops to the gel. I keep the gel in the fridge and it lasts for a couple of weeks without any issue. I put the gel in my hair when it’s still dripping wet from the shower and then scrunch a bit with a microfiber towel. I let my hair air dry for a couple of hours and then scrunch/ clap out any areas that are a little stiff. My hair stays wavy – not poofy – for up to 4 days! My ends are soft and healthy, too. I don’t plan to buy commercial styling products any more!!
Yay! I’m so happy it worked so well for you! I love it too.
I have to admit I’ve been lazy lately, but I’d love to start making it again as it really helped my hair too!
thank you so much for posting this! I’m going to five it a try 😀
You’re very welcome! I’m so glad you’re going to give it a try — I hope you love it.