

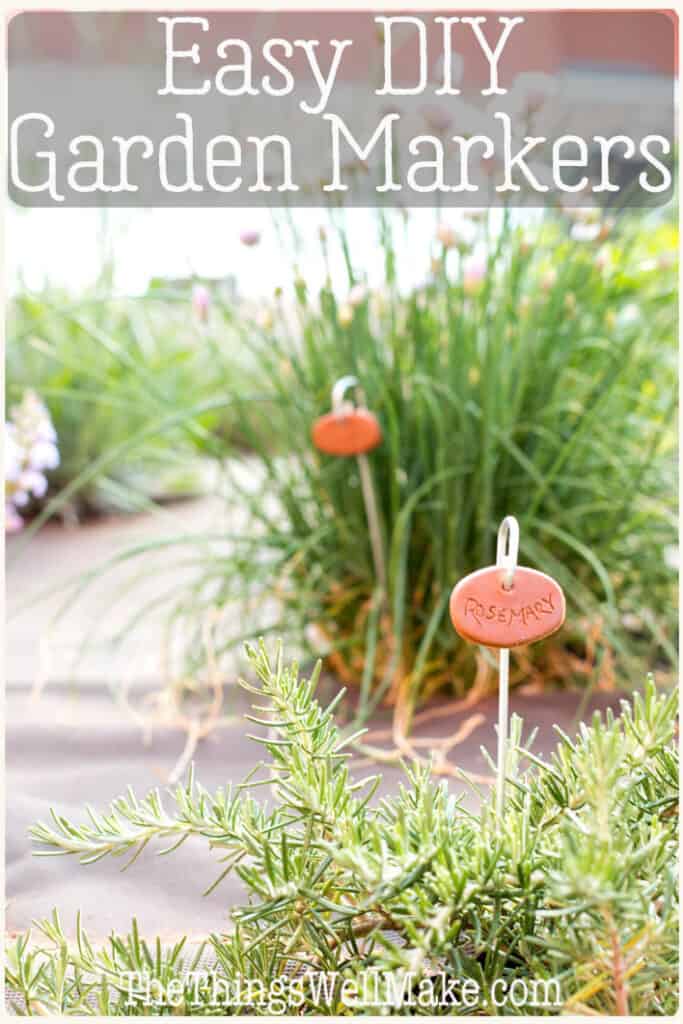
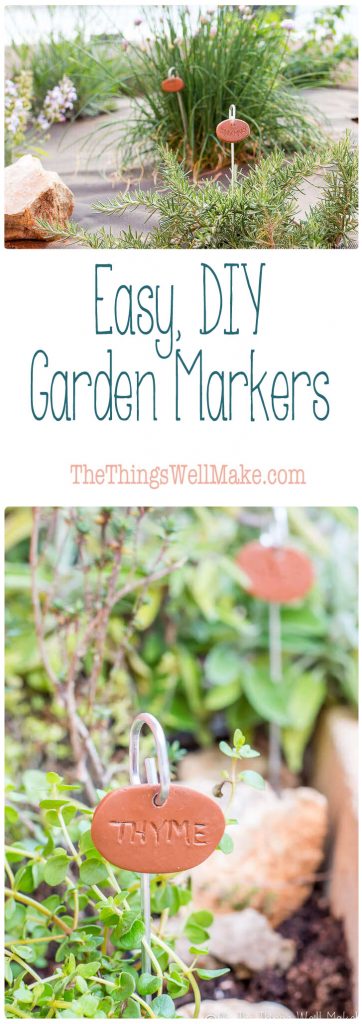
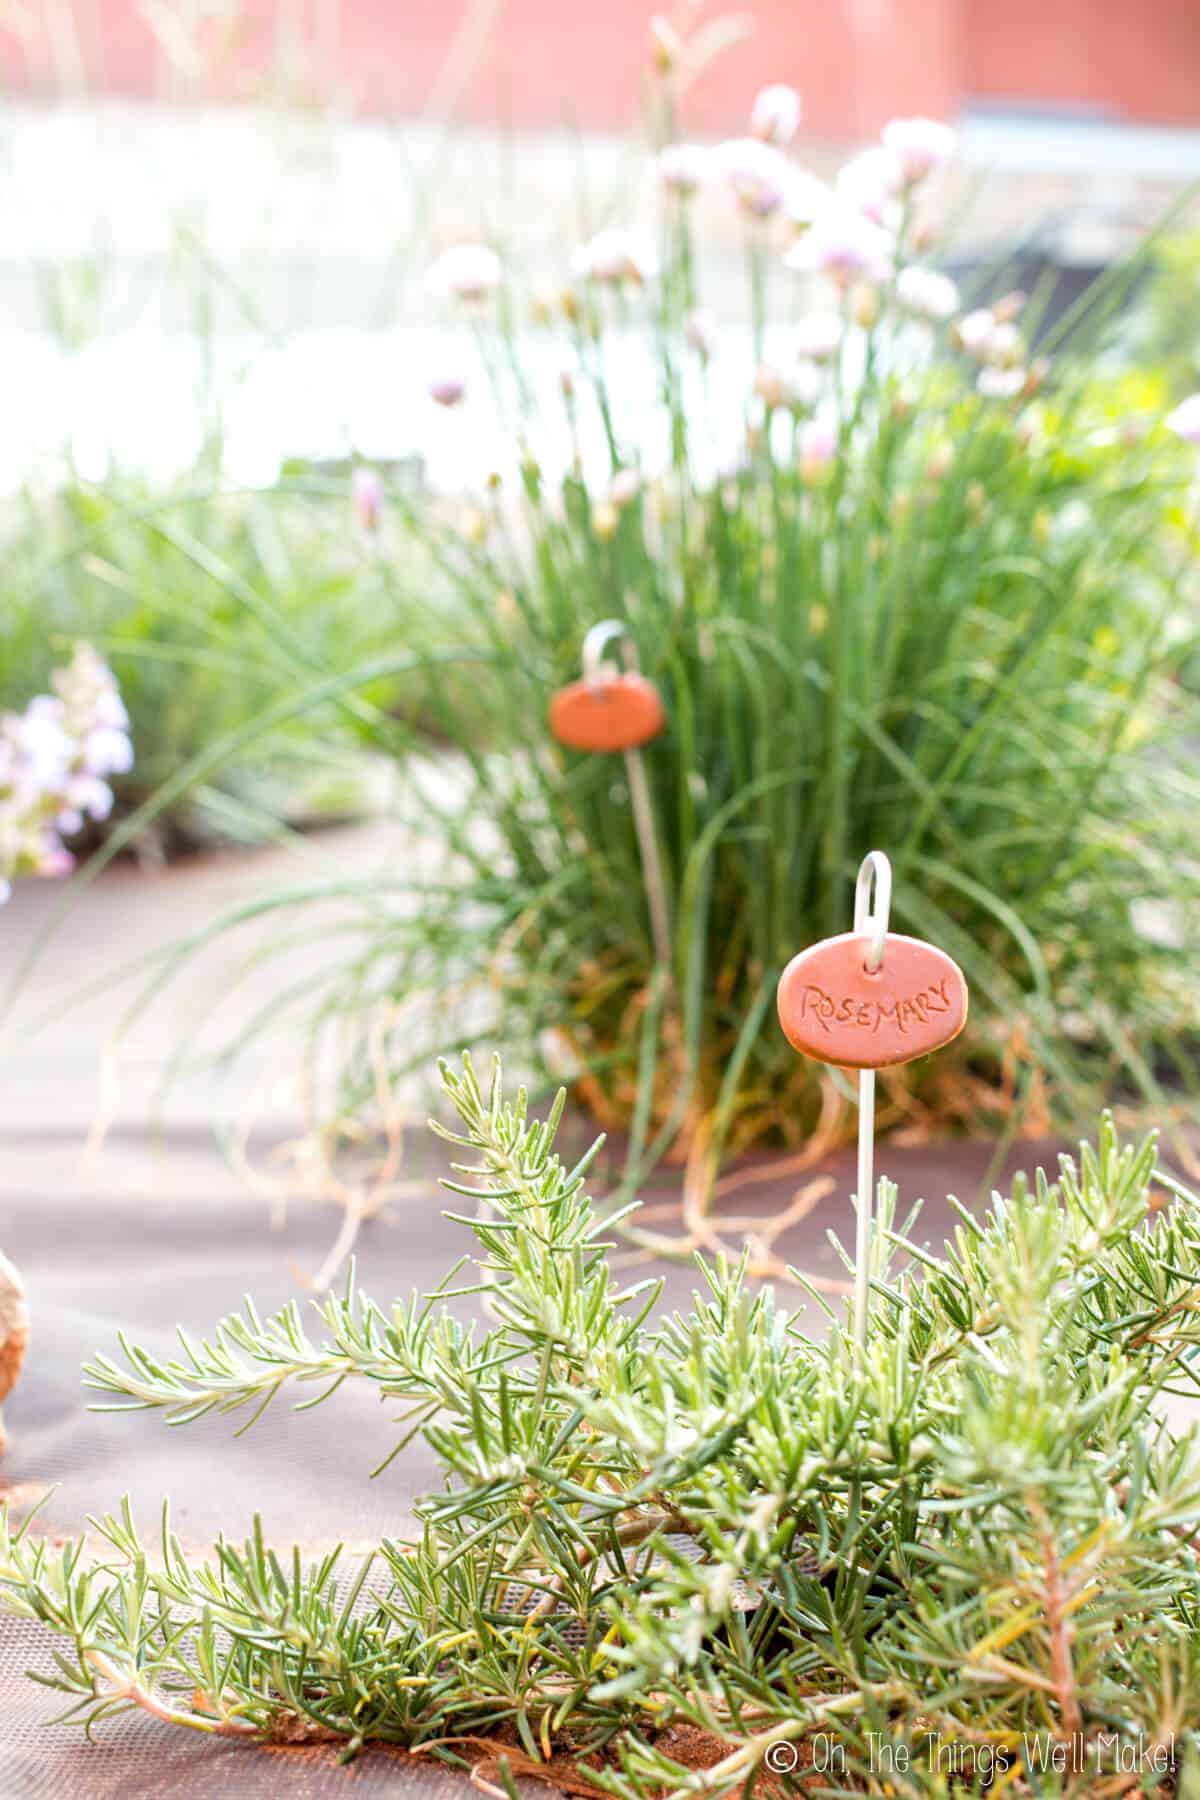
Easy DIY Garden Markers
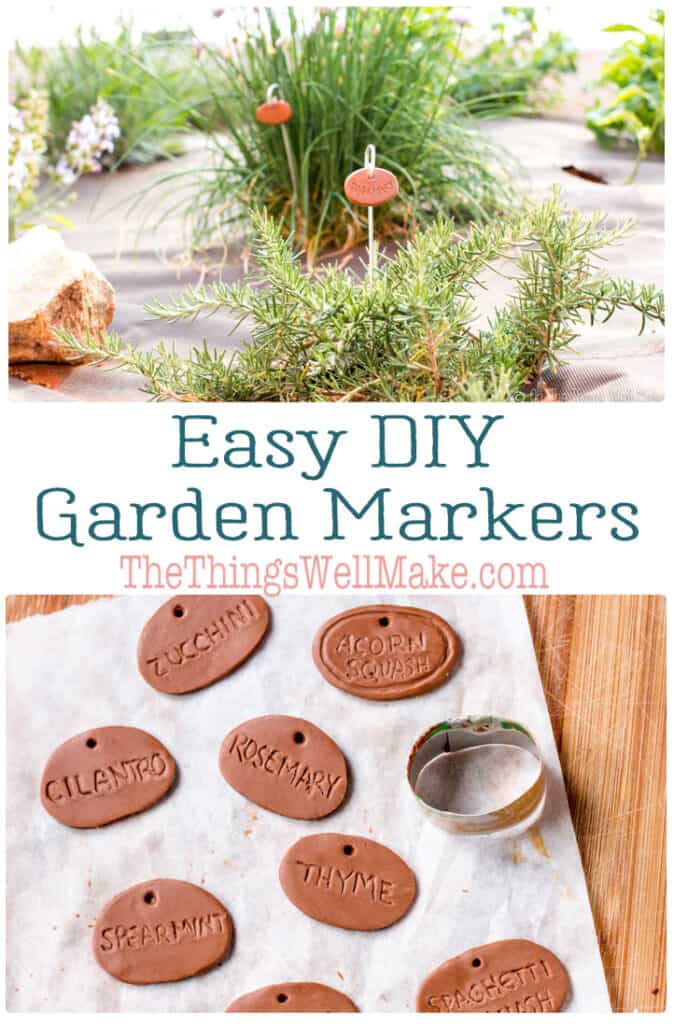
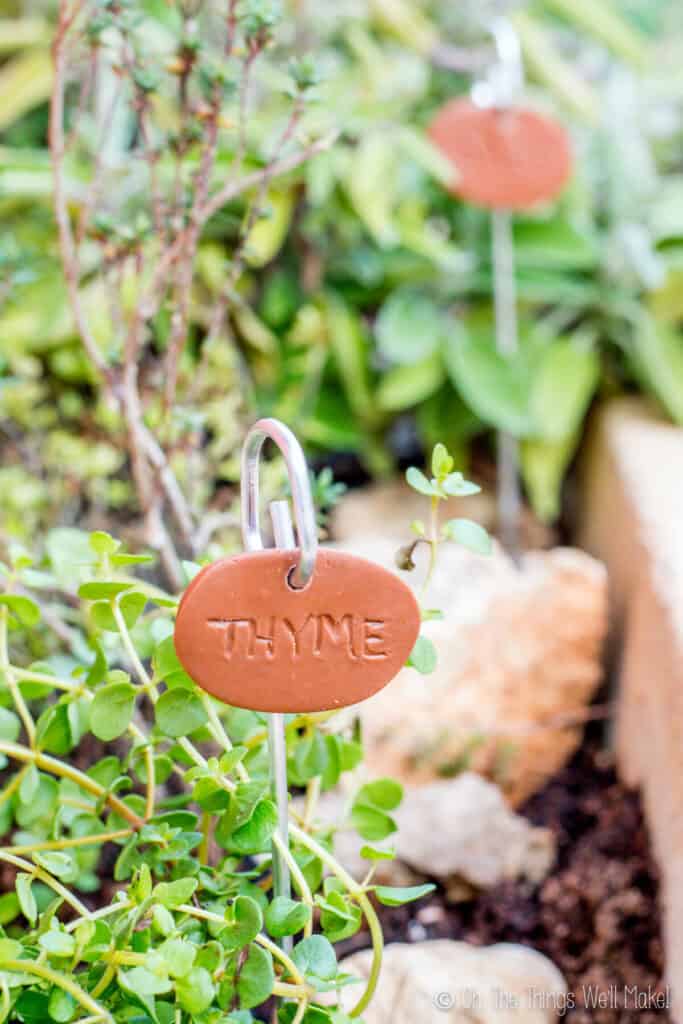
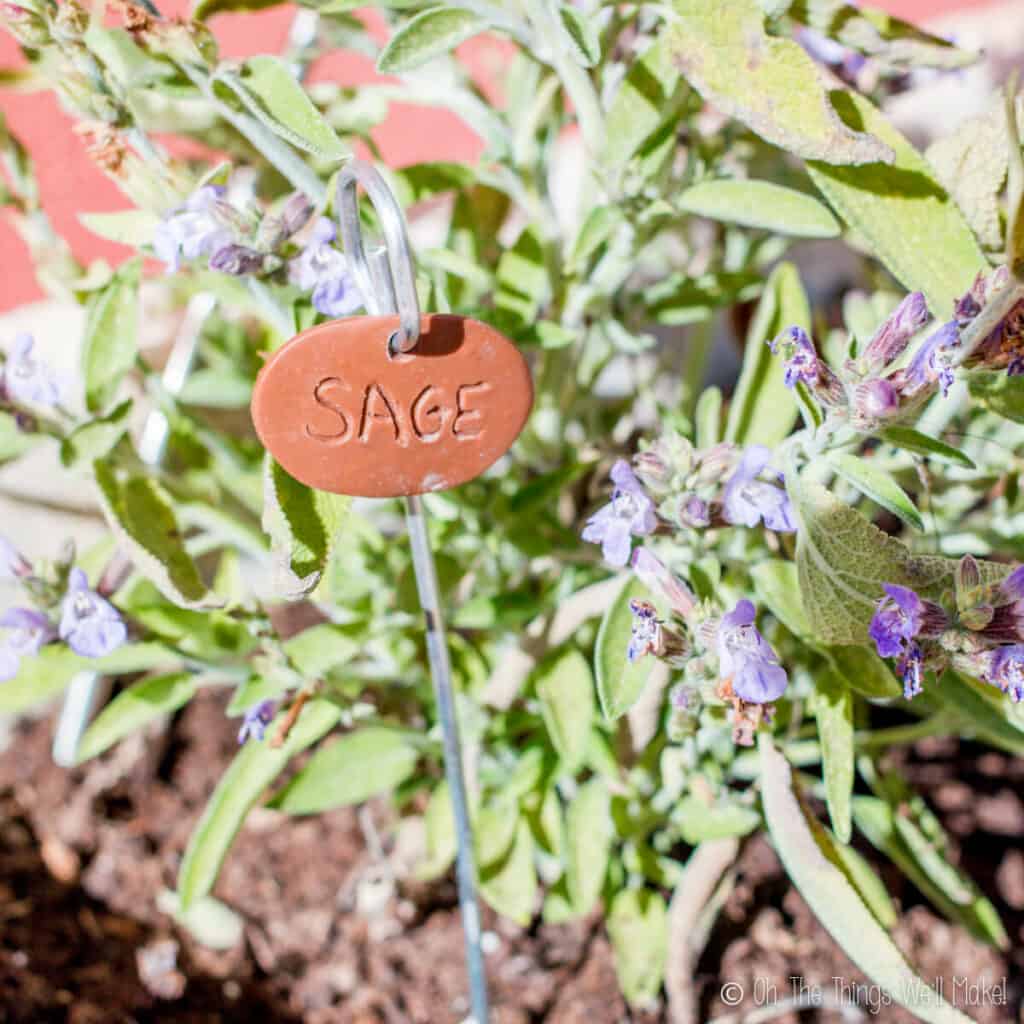
Super cute and easy to make, these DIY polymer clay garden markers are a durable way to label your herb garden and other plants.
With the coming of spring, we’ve been out in the garden more lately. We’ve already planted some seeds in newspaper pots for our vegetable garden and have also cleaned up our herb garden.
During the cleanup process, I pruned some herbs that were out of control. I also made room for some new herbs to plant. I’ve been trying to be strategic about what and where I plant it so that I can have a more sustainable, eco-friendly garden.
As a way to help identify the different herbs, I decided to make some cute garden markers. I guess I already know which ones are which, but I thought that it would be a good learning experience for my son. Plus, I just like the way the garden markers look in the garden.
Fun ways to make garden markers
I’ve made garden markers several ways in the past. I’ve used strips of slate-like tiles to mark some plants. (You can temporarily write on them with chalk or chalk markers, or use opaque metallic markers for something more permanent.)
I’ve also marked them by writing on aluminum salvaged from cans. When you press on the aluminum with a pencil, it embosses the metal, leaving a more permanent marking.
The markers I’m going to show you how to make today, though, have been my favorite so far.
Polymer clay markers
These DIY garden markers use polymer clay. While polymer clay isn’t food safe, we are only using small bits of clay for these markers. The clay doesn’t go directly into the soil, so I don’t have a problem using it in this way.
If you have access to a terra cotta clay and a kiln to fire your tags, you could make some “greener” tags. Unfortunately, I don’t have access to a kiln, so I used what I could. 🙂 I will say that these hold up really well in the garden over time.
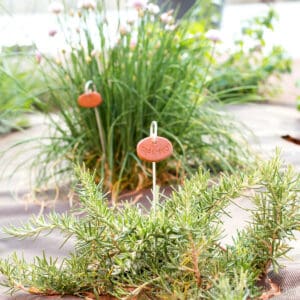
The garden markers shown in the photos have been in my garden for 3 years now, and they look pretty much the same way they did when I first made them.
Materials
To make these garden markers, we need 2 main materials. First, we use the polymer clay to make the labels themselves. We then use wire to make the stakes from which to hang the clay handles.
- Metal skewers for kebabs or other metal wire (with a diameter of around 3-4mm)
- Polymer clay
- Rolling pin
- Parchment or wax paper
- A toothpick or bamboo skewer for writing on the clay
- An oval cookie cutter, knife, or other round/oval recipient to use as a cutter.
Instructions
Preheat the oven to the temperature setting for your particular polymer clay. FIMO recommends a temperature of 110°C/230°F. Sculpey recommends 265-275ºF (130-135ºC).
Prepare the clay disks
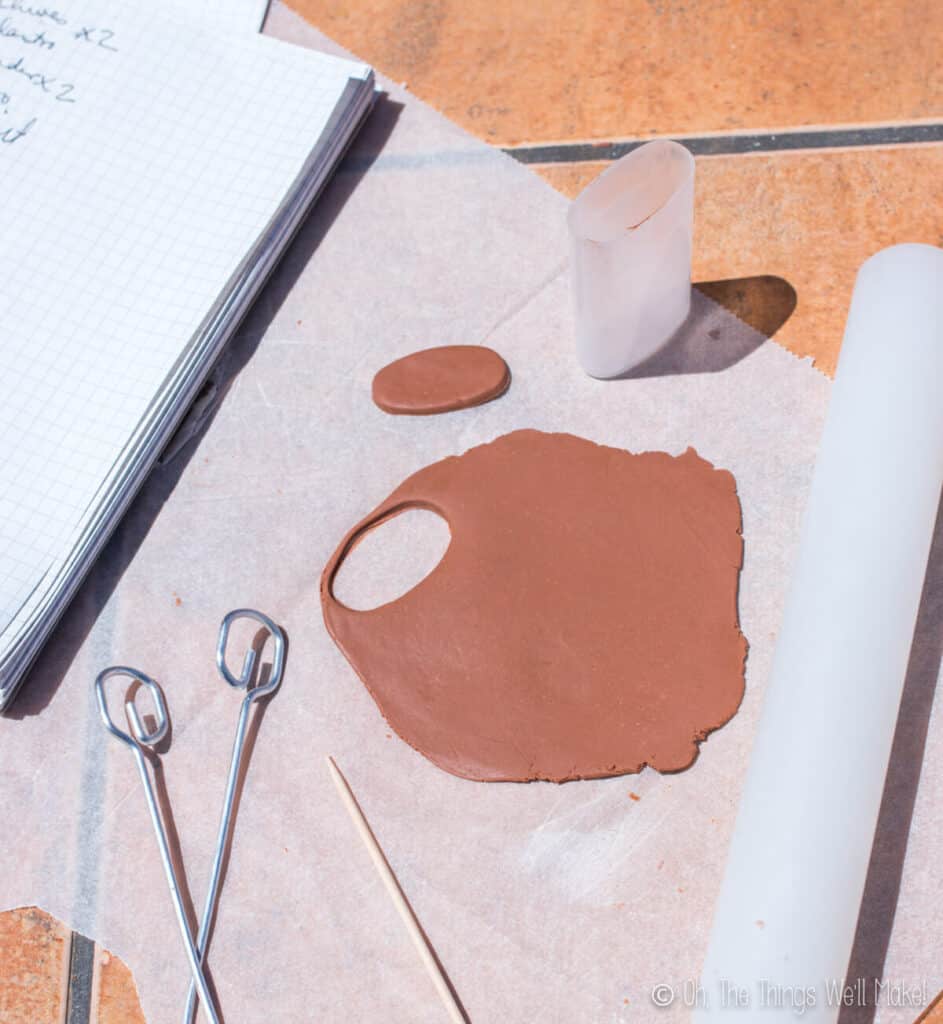
Knead the clay to soften it and make it workable. For me, this is (surprisingly) the hardest part. To get it more pliable, I rolled it out with a rolling pin between layers of parchment paper. Once it was rolled out into thinner pieces, it was easier to manipulate the clay.
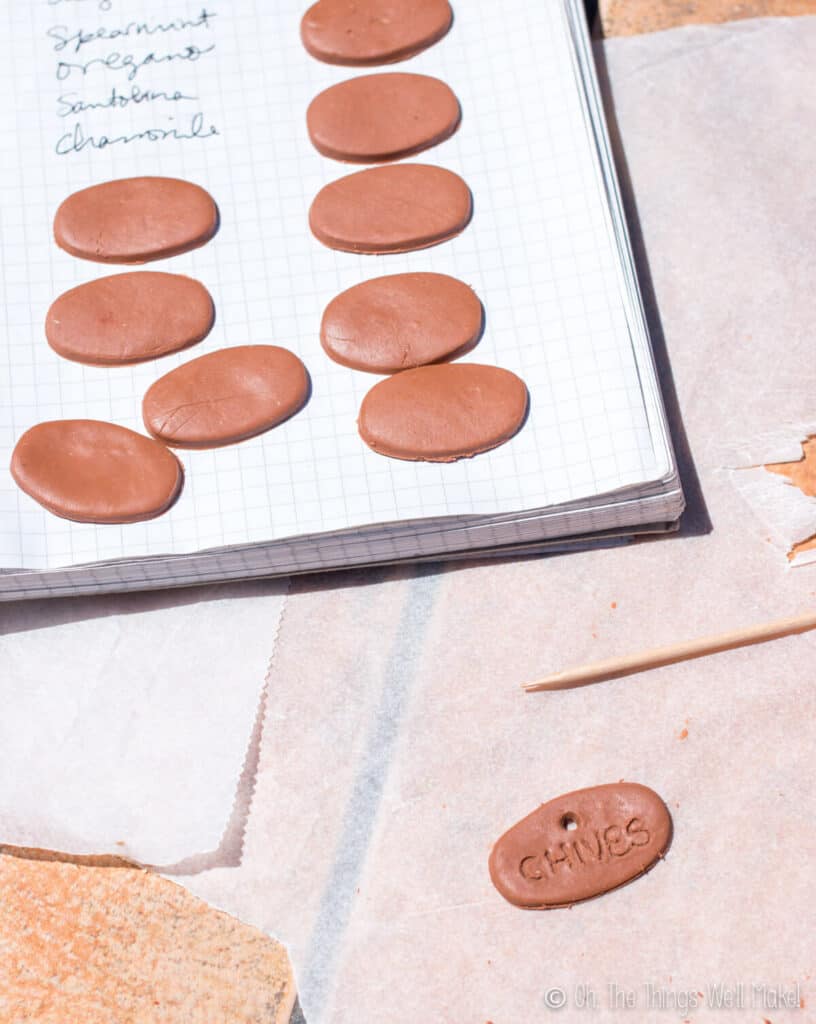
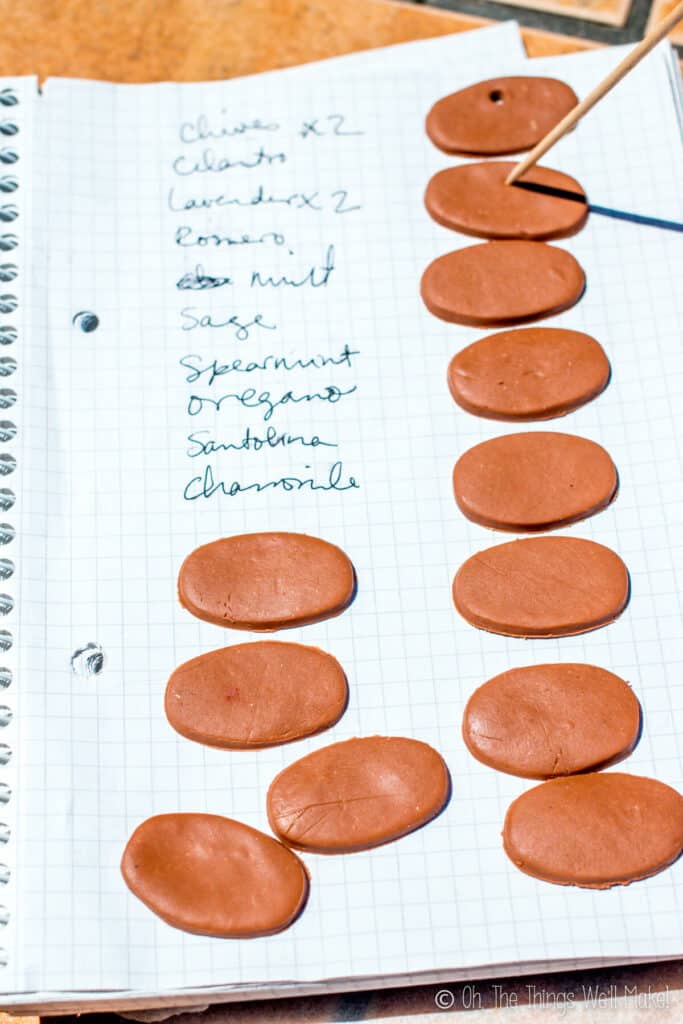
Once the clay is workable, roll it into a thin sheet. I made mine around 4mm thick.
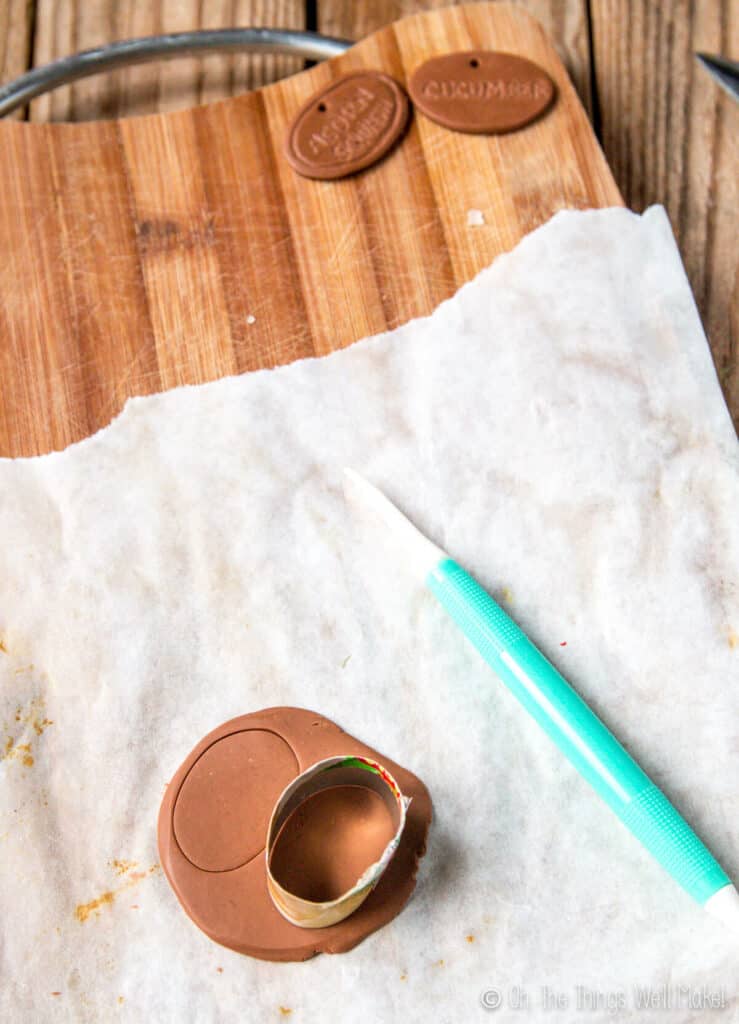
Cut the clay into round or oval shapes. While you can use a knife, I find that the easiest way to get smooth edges is to use some sort of cookie cutter. If you don’t have the right shaped cookie cutter, you can try using items you have around the house. I used the lid of a small stick deodorant container for some of my tags.
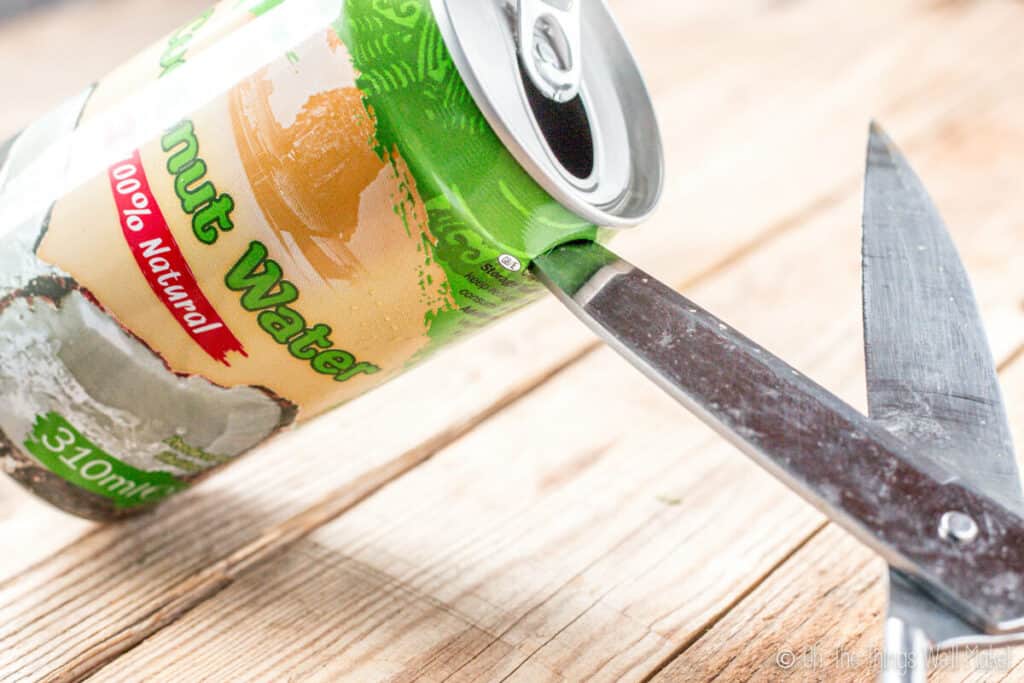
I later made my own cookie cutter by forming an oval from a strip of aluminum cut from a beverage can. Both types of improvised cookie cutters worked well.
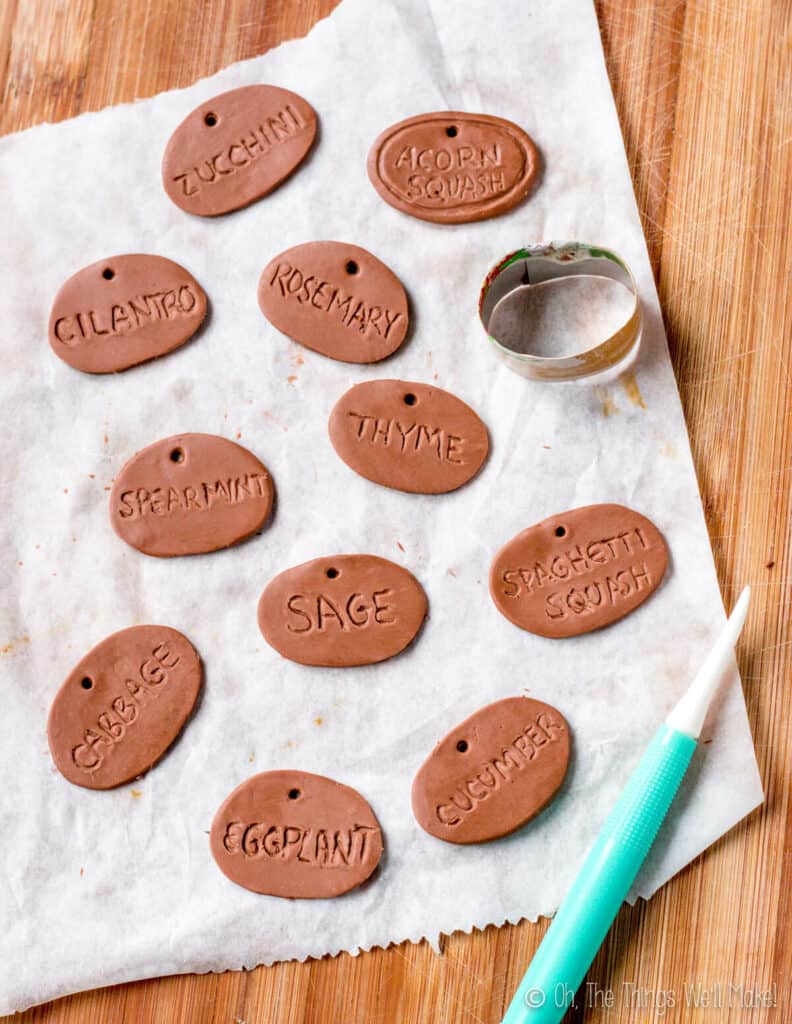
Using a toothpick or a skewer with a pointed tip, write the names of the plants in the clay. (If you’re really fancy, use clay or fondant modeling tools.)
Work little by little, removing any clay that comes off onto the point as you write. I find it easier to lightly scratch in the name, and then clean it up by passing over the letters once again. (If you have small rubber stamp letters, you can stamp the words into the clay instead.)
Using the point of the skewer, make a hole in the top of the clay oval for hanging the markers once they are ready.
Bake the clay disks in the oven for the amount of time specified for your particular polymer clay. (Usually 15-30 minutes.)
Prepare the wire hangers
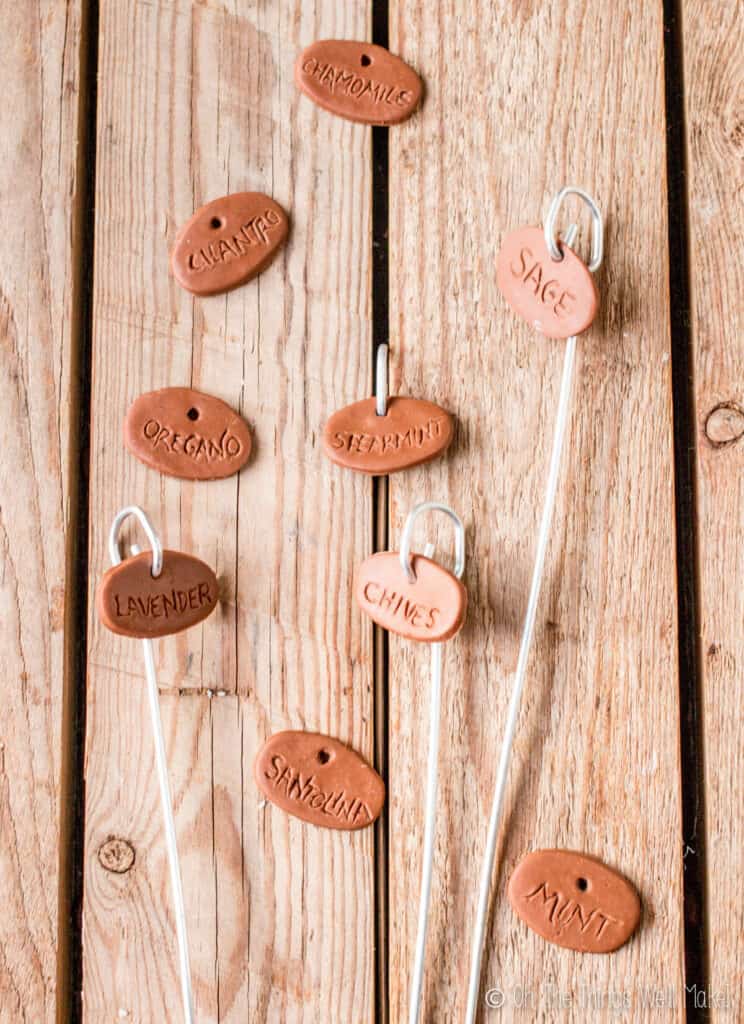
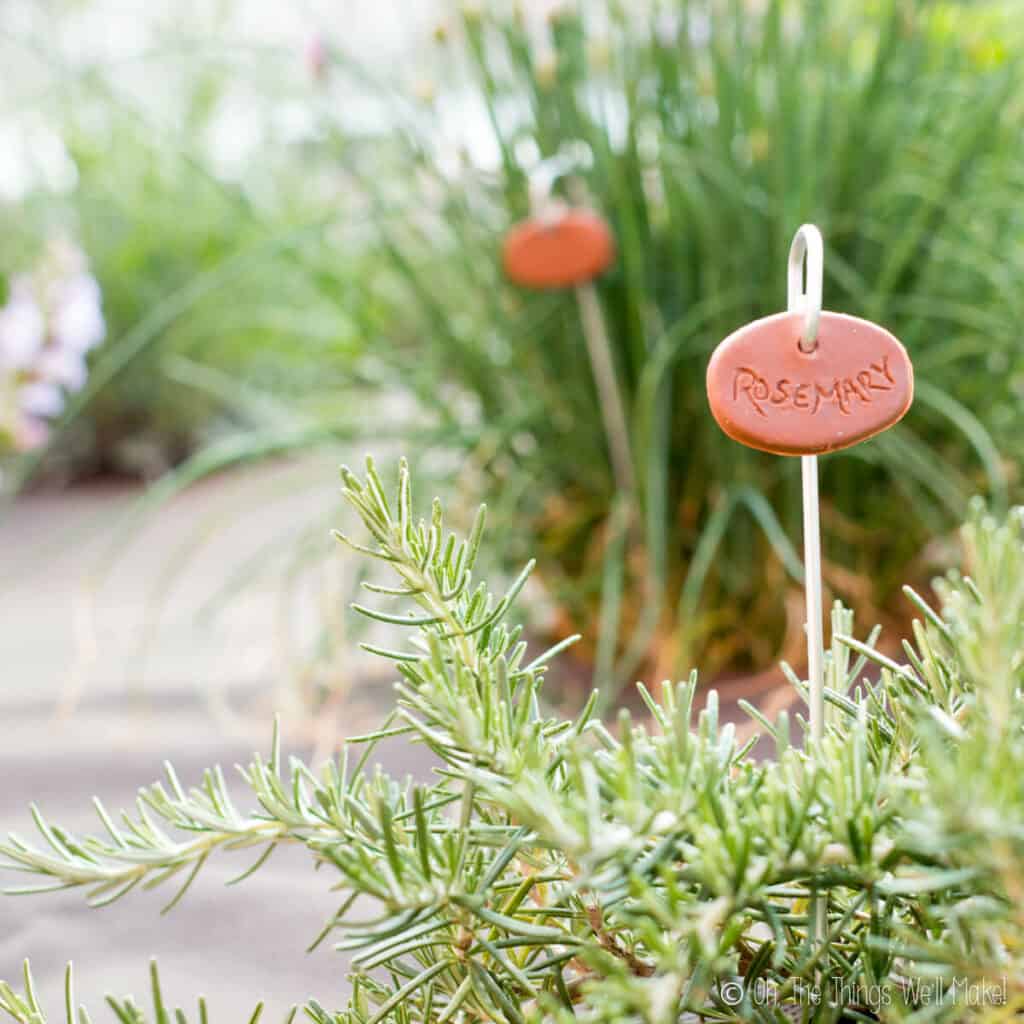
To make wire stakes for hanging the clay disks, I repurposed the metal skewers that came with some pre-prepared kebabs from our butcher. They were actually perfect for this purpose because the end meant to be the handle of the skewers was coiled in a way that was perfect for hanging the clay disks.
If you don’t have skewers like mine, you can use metal wire with a diameter of around 3-4mm and cut it into sections of around 10-12 inches (25-30cm). Using pliers, carefully coil one end over in such a way that you can hang your clay disks on the wire. (See photo below.) Leave the other end straight for sticking into the soil.
Assembling the garden markers
Once the clay disks have finished cooking and have cooled, you can carefully hang them on the wires.
If the hole is a little small you should be able to make it slightly bigger with the point of a scissors or something similar. I kept mine slightly tight so that the tags don’t fall off the wire. That said, I’ve been using some of these for several years now and they have held up really well, and I haven’t lost any disks.
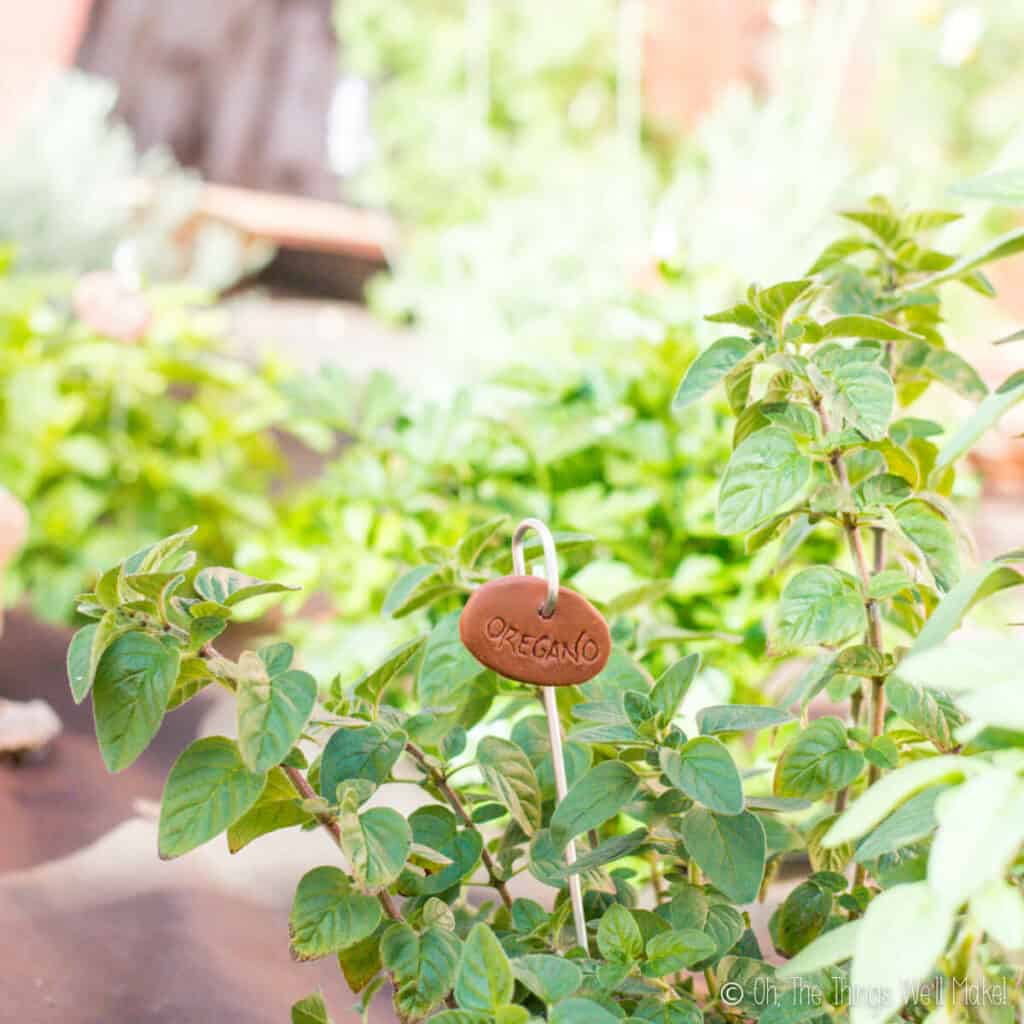
When ready, jab the other end of the wire into the soil near the plants you want to mark. Easy as that!

Printable tutorial
DIY Garden Markers
Materials
- Metal skewers for kebabs or other metal wire with a diameter of around 3-4mm
- Polymer clay
- Rolling pin
- Parchment or wax paper
- A toothpick or bamboo skewer for writing on the clay
- An oval cookie cutter knife, or other round/oval recipient to use as a cutter.
Instructions
- Preheat the oven to the temperature setting for your particular polymer clay brand. (It's usually between 230ºF-275ºF /110º- 135ºC.)
Make the clay disks
- Knead the clay to soften it and make it workable. This is probably the hardest part of this tutorial. I usually roll it out with a rolling pin, between layers of parchment paper, to get it into thinner pieces rather than trying to knead thicker pieces of the clay.
- Once the clay is workable, roll it into a thin sheet. I made mine around 4mm thick.
- Cut the clay into round or oval shapes. I find that the easiest way to get smooth edges is to use some sort of cookie cutter. If you don't have the right shaped cookie cutter, try using something you have at home like a cosmetic container lid.
- Using a toothpick or a skewer with a pointed tip, write the names of the plants in the clay. Work little by little, removing any clay that comes off onto the point for a cleaner look. I find it easier to lightly scratch in the name, and then clean it up by passing over the letters once again. (If you have small rubber stamp letters, you can stamp the words into the clay instead.)
- Using the point of the skewer, make a hole in the top of the clay oval for hanging the markers once they are ready.
- Bake the clay disks in the oven for the amount of time specified for your particular polymer clay, usually 15-30 minutes.
Make the wire hangers
- To hang the markers in place, I repurposed the metal skewers that came with some pre-prepared kebabs from our butcher. They were actually perfect for this purpose because the handle end was coiled in a way that was perfect for hanging the clay disks. If you don't have skewers like mine, use metal wire with a diameter of 3-4mm instead.
- Cut the wire into segments that are 10-12 inches long (or whatever length you prefer).
- Using pliers, carefully coil one end over in such a way that you can hang your clay disks on the wire, leaving the other end straight for sticking into the soil.
Assembling and using the garden markers
- Once the clay disks have finished cooking and have cooled, you can carefully hang them on the wires. If the hole is a little small you should be able to make it slightly bigger with the point of a pair of scissors or something similar.
- When ready to use them, poke the straight end of the wire into the ground near the plant you want to mark.
Notes
I hope you enjoyed this tutorial.
Do you make your own garden markers? I’d love to hear your great ideas for organizing your garden!
This post was originally published on May 17, 2017. It was rewritten and published in April of 2020.


Does it need to be bake able clay or is the air dry clay ok too?
Hi Monica,
Air dry clay may be OK, but I’m not sure how well those would hold up.
The bakes le clay is waterproof and almost unbreakable once baked. I’ve had mine for years in the garden and they look just as they did when I made them years ago!
Air dry clay probably won’t hold up well to water, so they may break once it rains!
You may be able to protect them somehow with a protective glaze or something, but I suspect they still won’t be very durable or long lasting.
Thanks so much for impacting us with your knowledge and time you spend to do research we appreciate.
Hi !
Its really lovely ! Ok, maybe this is a stupid question but what happens when it get wet because of the rain? Is clay not supposed to be in contact with water? Thank you 🙂
Hi Anne-Marie,
These are baked polymer clays and not like natural clays. They hold up really well. I’ve had mine in the garden for years now and they look pretty close to the way they did when I first made them.
This is a super cute craft idea. Do you think the baking aspect would work in a toaster oven?
I don’t see why not- as long as you can get the temperature right.
These are so cute! What brand and color of clay did you use? It’s perfect!
Hi Christina,
Thank you!
I made these a while back, but I’m pretty sure I used Fimo clay in the terra cotta color.
(I should add that they are still looking pretty much like new years later!)
Actually, looking at the packages, it may have been Sculpey like this one. I will look to see if I have any left at home to answer for sure.
Thanks for the tutorial. Just made 16(!) markers thanks to our quarantine these days. Will be painting mine but loved your easy directions. Thanks again.
Hi Catherine!
Yay! I’m happy you enjoyed it!
We made a few more too and have been growing seeds and lots of plants from veggie scraps (like celery and lettuce).
Stay safe and healthy!
These would make a neat gift for the gardener in your life too 🙂
Great idea, Maggie!
I love, love, love these! Will have to get to the craft store soon.
Thanks, Kim!
I hope you have fun with them. 🙂
This is such a great idea, which I will be using for my many groups of flowers and herbs. Thank you for your wonderful pictures and instructions.
You’re so welcome, Kathleen.
It’s a fun project. I hope it goes well for you. 🙂
So amazing! I can’t wait to make these for my small garden. Thanks a lot for sharing
You’re welcome, Richard!
Glad you liked them. 🙂