Roasting a turkey doesn’t have to be intimidating, and is actually quite simple. Learn 3 methods for roasting a turkey, either whole roasted, spatchcocked, or roasted in pieces to save time!
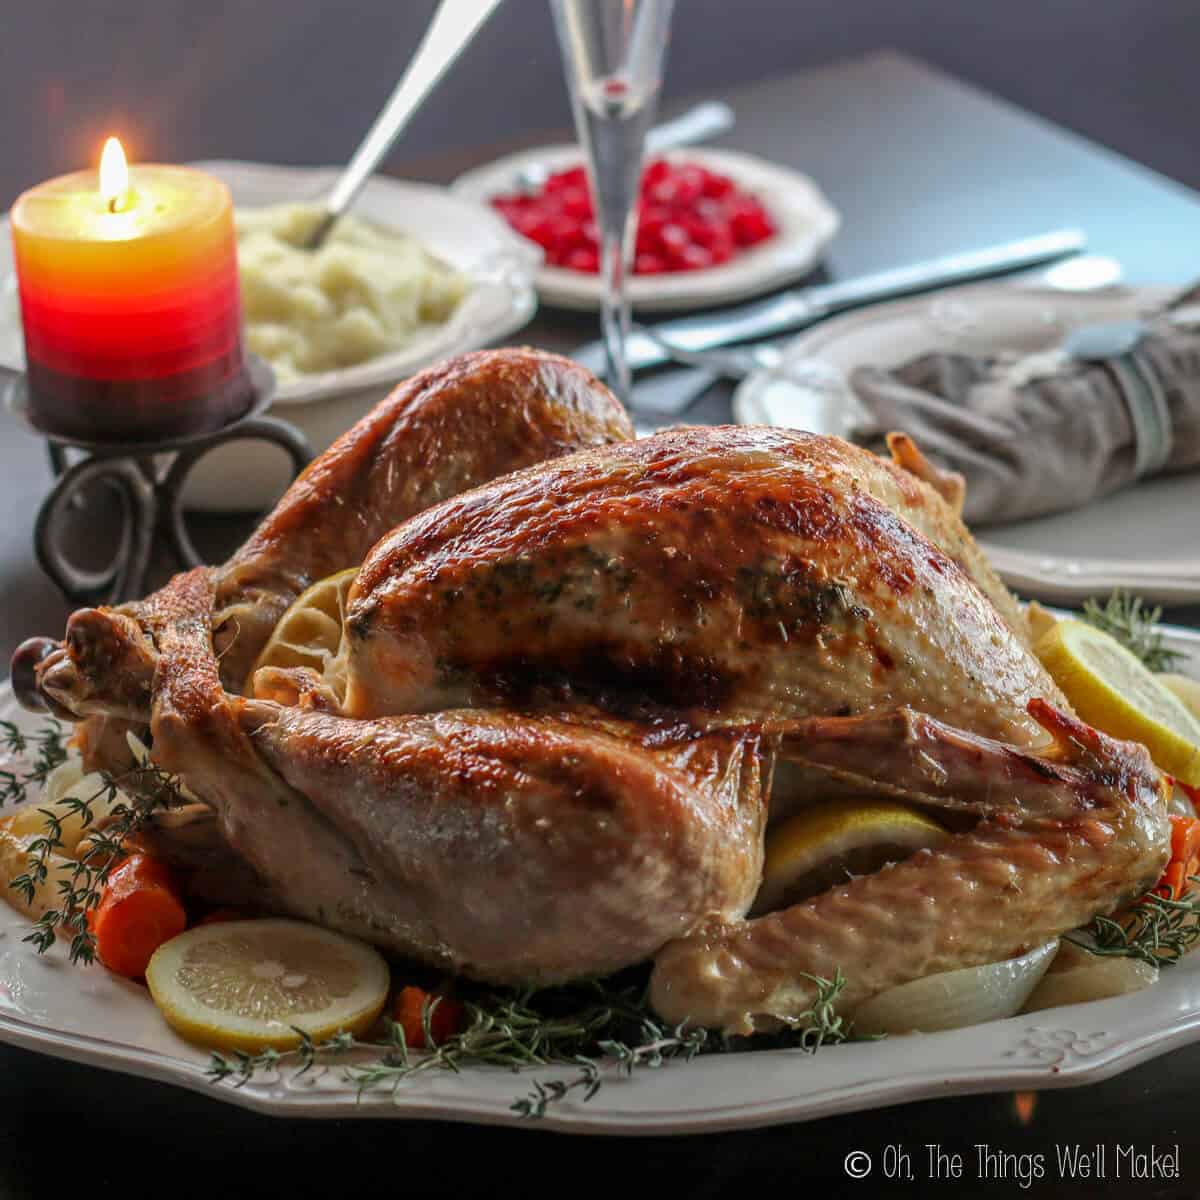
Few recipes intimidate like how to roast a turkey. With the stress of the holidays, perhaps we build it up too much. Fortunately, roasting the perfect turkey isn’t as difficult as it may appear in the sitcoms on tv.
When I was growing up, we always went to my grandmother’s house for Thanksgiving. By the time we arrived, a perfectly roasted large turkey was already being sliced. My grandparents then presented the sliced turkey on trays, ready to be served with homemade mashed potatoes and gravy.
Roasting the Turkey Whole vs. in Parts
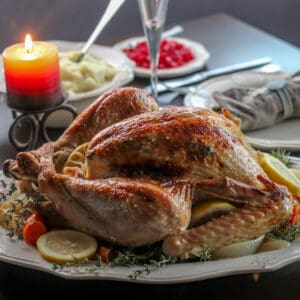
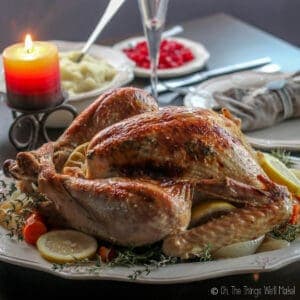
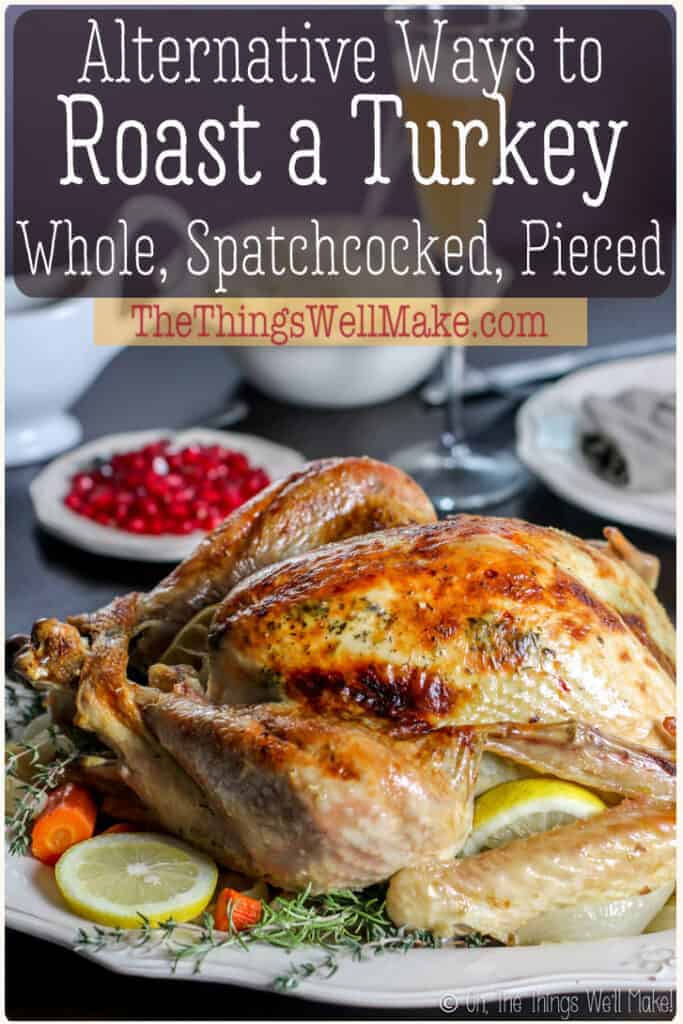
We are used to seeing beautiful holiday table settings with a perfectly roasted whole turkey served on a platter. That’s why for years, I always roasted my turkeys that way.
Once it’s at the table, though, you’re presented with a new challenge. How do you cut and slice the turkey (in front of everybody) on that serving platter? In reality, it’s much easier to cut the turkey into pieces and slices in the kitchen before bringing it out to the table.
If you’re going to cut it up before serving it anyway, why not consider cutting it up before roasting it?
Advantages to roasting a turkey in Parts
I know it sounds unconventional, but there are some great reasons for breaking the turkey down into parts before roasting it.
- It’s much easier to brine a turkey once you’ve broken it down into smaller pieces.
- It takes much less time to roast a turkey in parts.
- You’re less likely to have areas that aren’t cooked to the proper temperature.
- You can remove the carcass and begin working on your turkey stock ahead of time. (Making turkey stock is important for making your own homemade gravy. It’s also great for making soup with your leftovers.)
- It’s much easier to slice a turkey that has been cooked in parts vs. trying to break the turkey down once cooked.
Spatchcocking a turkey
There is a compromise. Somewhere in between roasting a turkey whole and cooking it in parts is spatchcocking a turkey.
While it may sound intimidating, spatchcocking is just a way to cut the turkey to flatten it out for quicker, more even cooking. It still looks like a whole, roasted turkey, but you can save yourself cooking time and cook the turkey more evenly this way.
I tried spatchcocking the turkey one year, and the results are great. For me, the problem with spatchcocking is that I find it harder to cut the turkey to flatten it. You need heavy-duty kitchen shears.
How long does it take to roast a turkey?
If you have decided to cook your turkey whole, plan for around 15 minutes per pound of turkey. The average time needed for roasting a turkey is said to be around 13 minutes per pound, but I always gave myself a little extra time, just in case. Any leftover time can be used to allow the bird to set so that the juices can be reabsorbed into the turkey before carving it.
If you break down the turkey before you bake it, you can save yourself some time!
A spatchcocked turkey, or one that has been cut into pieces, both normally take around and hour and a half in the oven.
Using a Frozen Turkey
Perhaps one of the biggest mistakes people make when cooking a turkey is not allowing enough time for either cooking it or defrosting it.
If you have a large frozen turkey, it can actually take days, and not just hours to thaw! Prepare ahead and don’t wait until the last minute to defrost your turkey.
The best way to defrost a turkey is to let it thaw slowly in the fridge.
For every 4 pounds of meat, it can take a full day to thaw if you are slowly defrosting in the fridge!
Speeding up the defrosting process
If you’ve waited too long, and need to speed up the process, you can thaw the turkey by submerging it in cold water instead. Even then, it will take around a half hour for every pound of meat to defrost.
You’ve defrosted your turkey… Now what?
What are giblets? What should you do with them?
Whether or not you have bought a frozen or fresh turkey, most turkeys sold for Thanksgiving or Christmas can be found with a bundle inside them. Inside the bundle, you can find the neck and a few organs like the heart and liver. This little package is normally referred to as the giblets. The giblets may not look too appealing, but they are great for making a flavorful stock that can be used to help baste the turkey. This stock also adds flavor to homemade turkey gravy.
As soon as I remove the giblets, I immediately add them to a pan and completely cover them with water and bring it to a boil. I want to get the flavorful broth started right away so that I can pour it over the turkey and veggies in the roasting pan at the beginning of the baking process.
Once you have removed everything from the turkey cavity, fully rinse the turkey inside and out, and pat it dry. You’ll then leave it our for at least an hour, while you are cooking your giblet stock, to help the turkey come to room temperature.
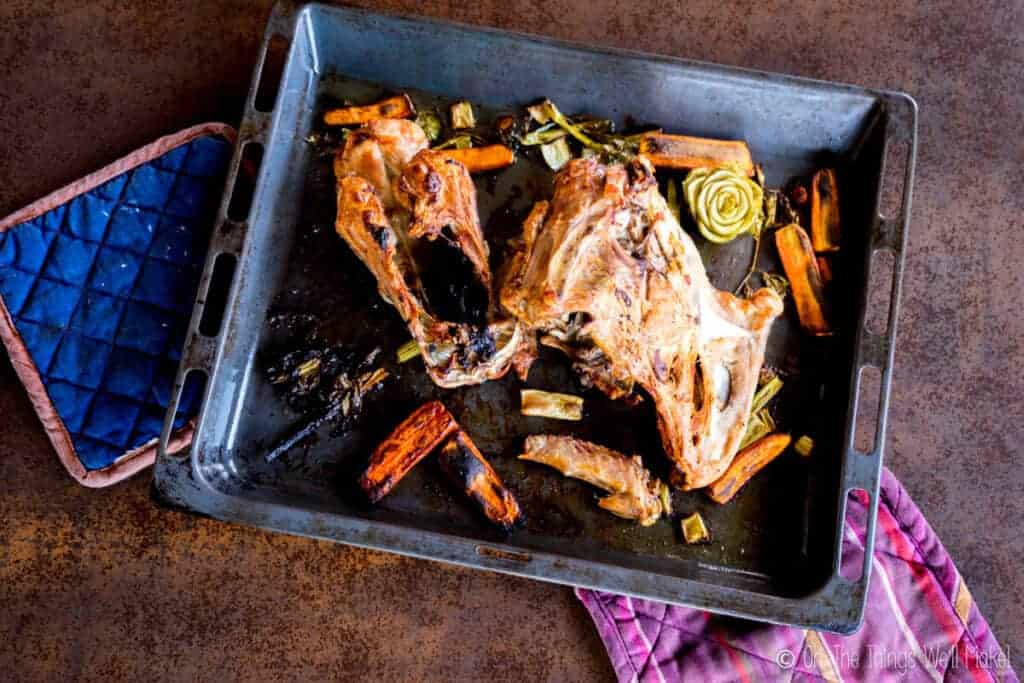
If I’ve broken the turkey down into parts, I add the giblets to a pan with the turkey carcass and some veggies and roast them all in the oven on a pan. Once roasted, I add some water to the pan to release all of the goodness. I use that liquid in my homemade gravy.
How to brine your turkey
One of the secrets to avoiding a dry turkey is to brine your turkey before baking it. Brining a turkey before roasting it gives it flavor and helps lock the moisture into the meat.
The idea is that the salt breaks down the strands of protein in the muscles of the turkey. This is said to keep them from contracting during the baking process which helps keep the meat from losing moisture when cooked.
There are several ways to brine a turkey, specifically wet brining vs. dry brining.
Many or most frozen turkeys have either been pre-brined or injected with sodium to ensure they will be juicy and flavorful. Make sure to check if yours has been pre-brined before brining your turkey (again) or you may end up with a very salty bird!
Wet brining
Most people are already familiar with the idea of wet brining a turkey. In wet brining, the turkey is immersed in a salt solution that has often been flavored with herbs and spices.
One of the problems with wet brining your turkey is that you need to find a container that is large enough to hold the entire bird. The turkey and container also have to fit in your refrigerator. For that reason, wet brining is much simpler with a turkey that has been cut into pieces.
Another disadvantage of wet brining is that it uses more salt than dry brining. Plus, it is possible to wet brine for too long. Too much water can be absorbed into the meat of the turkey, breaking down the meat so much that it can actually dry it rather than add moisture.
Dry brining
Dry brining is a bit simpler than wet brining in that no liquid is used. Instead, a salt mixture is rubbed all over the turkey and allowed to add flavor. The salt does remove some moisture from the turkey, but it’s said to mix with the juices released and then be reabsorbed into the meat during the cooking process.
Which is better? Wet or dry brining?
You can probably guess, from what I’ve written so far, that I much prefer dry brining to wet brining. It has several advantages:
- Dry brining takes up less space. (There is no need for fitting a huge container filled with liquid in your refrigerator.)
- Dry brining is easier. I find it much easier to rub a spice blend over the turkey than to try to handle the turkey and immerse it in a tub of liquid.
- Dry brining is more forgiving. You can leave a dry brine on for several days without problems. On the other hand, leaving the turkey in a tub of wet brine may mean that too much water gets absorbed into the meat. This may result in a “watery” bird or even a dry one.
Once again, prepare in advance either way. No matter which method you choose, you will have to brine your turkey for at least a few hours before baking it to see the real benefit from it. Ideally, you’ll want to brine the turkey overnight the night before baking your turkey.
Dry Brine Recipe
Making a dry brine is very simple. This is a sample recipe that you can use, but feel free to substitute the ingredients as desired. I like using a ratio of 2 parts salt to 1 part sugar. The sugar can be substituted for honey or maple syrup, but this will give you a wetter “dry” brine.
- 4 Tbsp. salt
- 2 Tbsp. panela or brown sugar
- 1 Tbsp. garlic powder (coarse grind)
- 2 tsp. onion powder
- 1 tsp. freshly ground pepper
- 1 tsp. thyme
- 1 tsp. parsley
- 1 tsp. sage
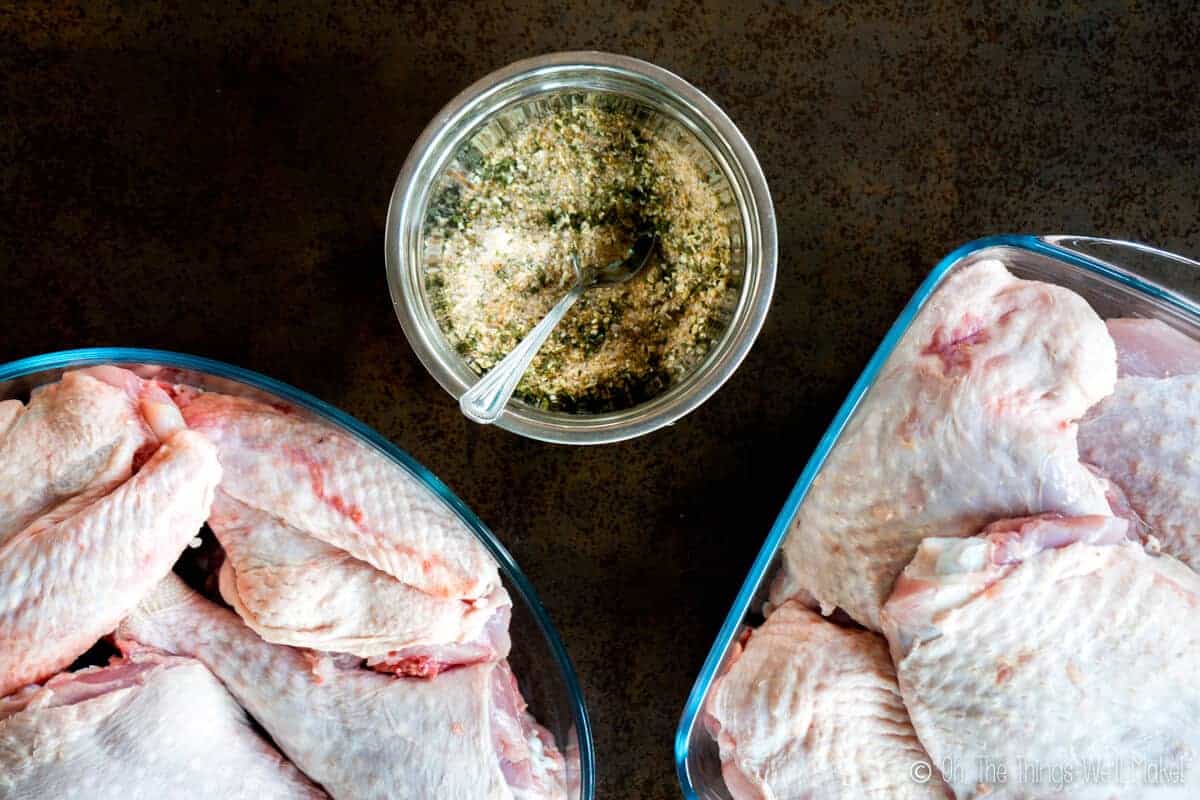
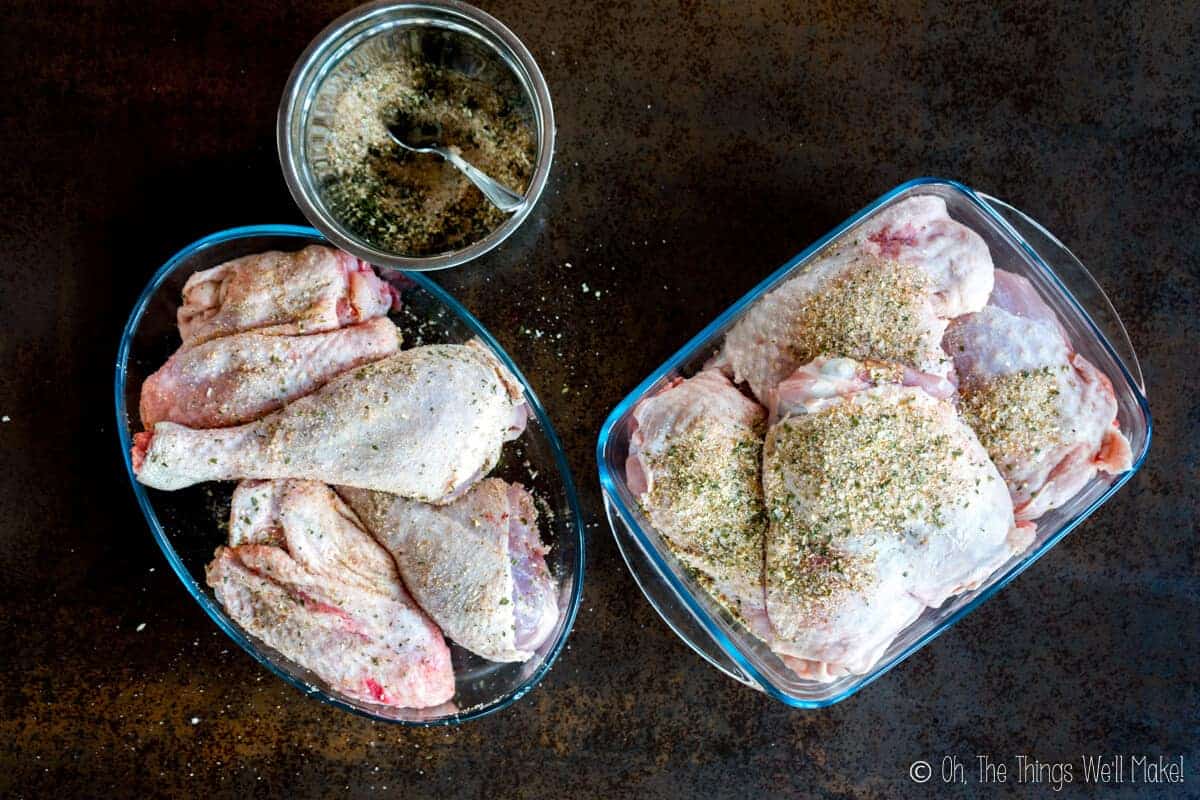
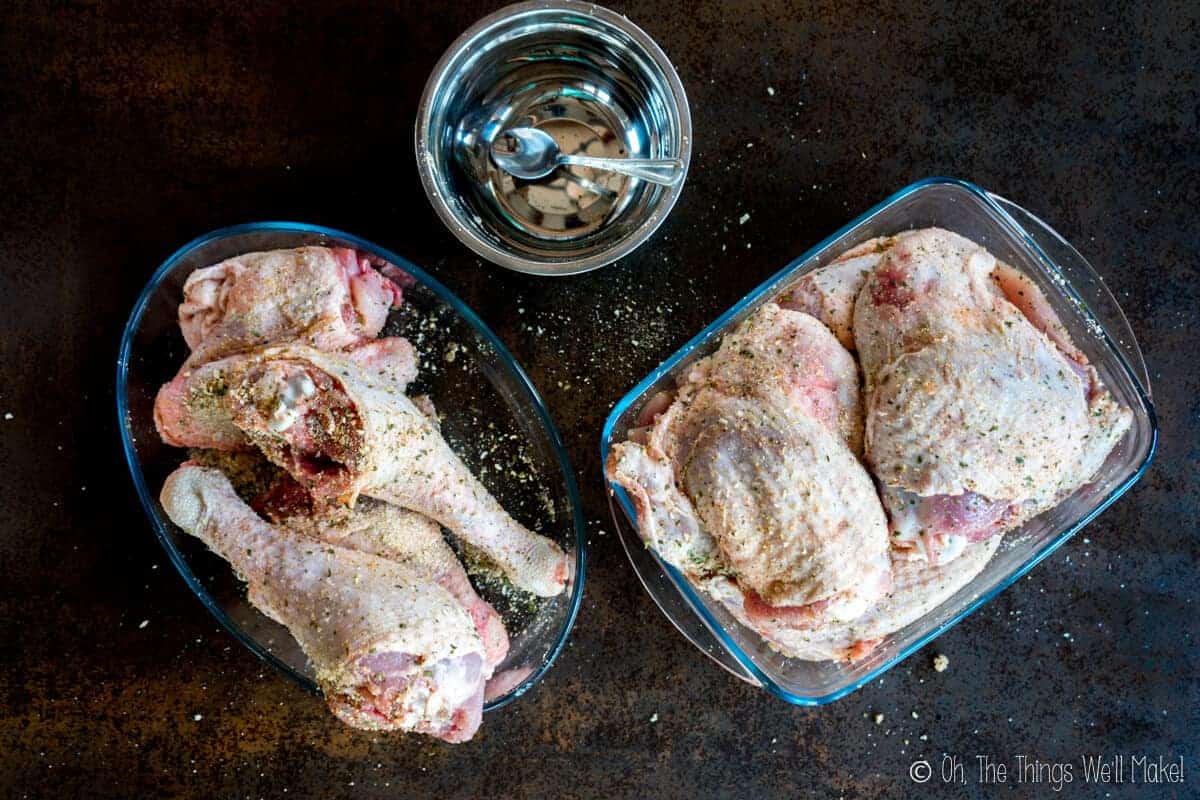
To make the dry brine, mix together all of the above ingredients and rub them all over the turkey. Store the brine covered turkey in the fridge overnight, or until you are ready to bake it.
How to Roast a Whole Turkey
Other than brining, roasting a turkey whole doesn’t need much more preparation.
Remove anything that may be inside the turkey like the neck and giblets. (Save those for your gravy.)
They no longer recommend rinsing the turkey to avoid the water and bacteria from splashing out and contaminating your workspaces. Instead, pat the turkey dry with a cotton cloth or paper towels.
Ideally, leave the turkey out for 1-2 hours to allow it to reach room temperature before baking it.
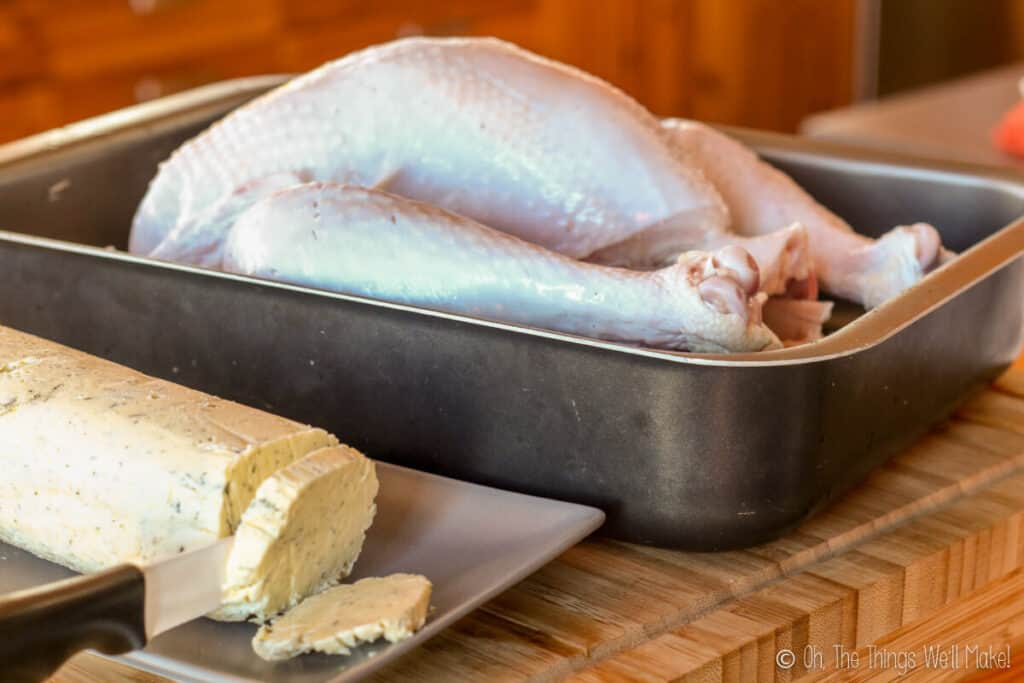
Meanwhile, you can begin to prepare some compound butter if you plan on using it. Compound butter is a butter that has been combined with other ingredients for flavour. When baking a whole turkey, I like to use an herbed butter that has a touch of garlic.
Prepare the turkey for the oven by slicing the compound butter, and sliding the disks of the herbed butter underneath the skin of the turkey. Spread the rest of the compound butter over the skin of the turkey. (If you don’t want to use compound butter, you can also use oil, salt, and herbs.)
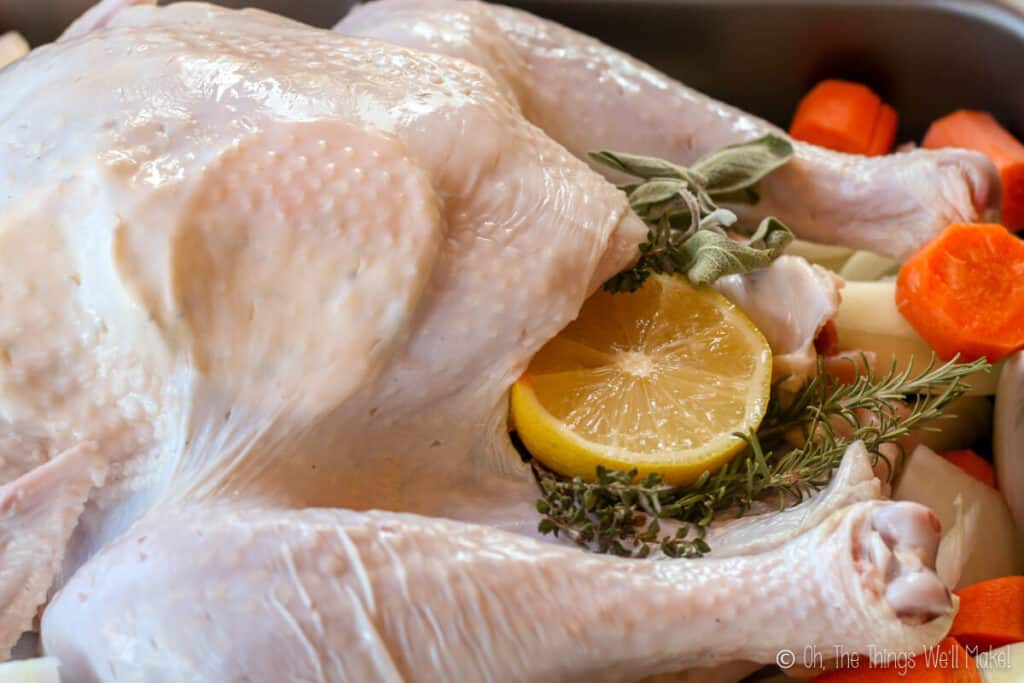
Slice a lemon in half, and place both halves, along with the sprigs of fresh herbs, inside the turkey. These help flavor the bird from the inside.
To truss or not
To keep the turkey together, you may choose to “truss” the turkey by tying it up with cotton string. While I don’t normally fully truss my turkey, I do usually secure the legs. This can either be done with baking twine or by cutting a slit in the skin of the tail part of the turkey and slipping the legs into the slit to hold them in place.
Once you’ve secured the legs, tuck the tips of the wings underneath the wings. This helps prevent them from burning.
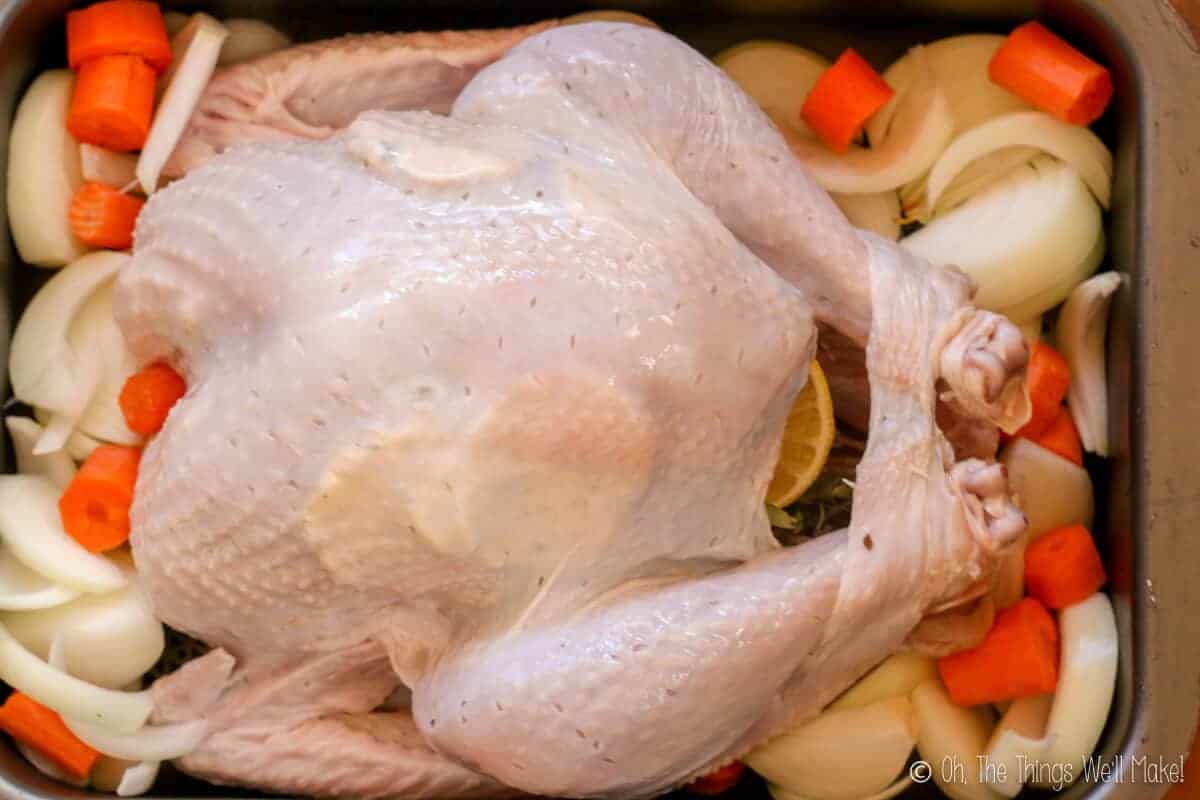
Rest the prepared turkey, breast side up, in a roasting pan surrounded by vegetables. I usually chop up onions, carrots, and celery to place around my turkey, and then cover them with a stock that I make from the neck and giblets (1-2 cups). You can, of course, choose to be creative with the vegetables that you use. Why not try adding some fruits like apples and oranges or persimmons to add your own personal touch to the basic recipe?
Before placing the prepared roasting pan into the oven, lower the temperature to around 350ºF/175ºC.
If you choose to baste your turkey, do so every 45 minutes to an hour. To baste the turkey, drizzle the pan drippings over the turkey breast. You can use either a spoon or a turkey baster. I normally don’t baste the turkey during the last hour of baking, and instead rub it down with olive oil or melted butter, to ensure nice, crispy skin.
Baking time
Most turkeys take around 13 minutes per pound to finish baking.
As you near the end of the baking time, start checking the temperature of your turkey. You want every part of the turkey to have reached at least 165ºF/74ºC, but don’t want to bake it so that it gets too much higher than that, or you risk baking it too long and drying it out. I usually take the temperature in two main places: at the thigh, near, but not touching the bone, and deep into the turkey breast.
Once your turkey has reached the right temperature, pull it out of the oven and let it rest for around half an hour. This will help the juices reabsorb into the meat. Now is the perfect time to take a break, admire your work, and get all of your side dishes together.
Once your turkey has rested, you can begin to carve it. (Or get your handsome, savvy husband to do so. Mine is easily bribed with wine.) 😉
Serve it immediately! And, of course, be thankful for your wonderful meal and your perfectly roasted turkey!
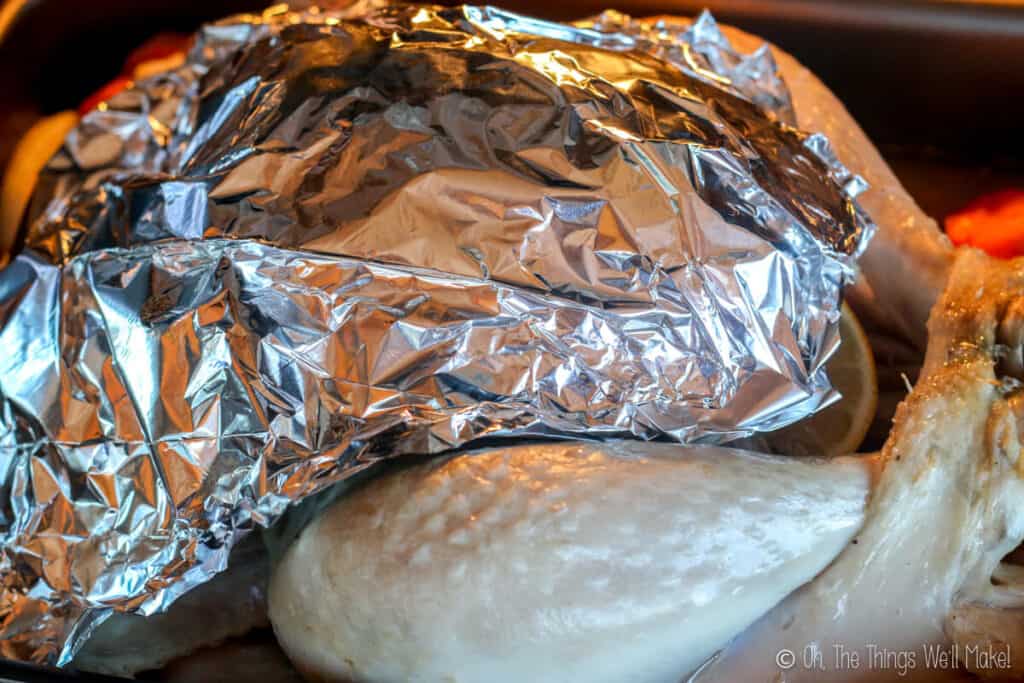
Shield the breast with foil. 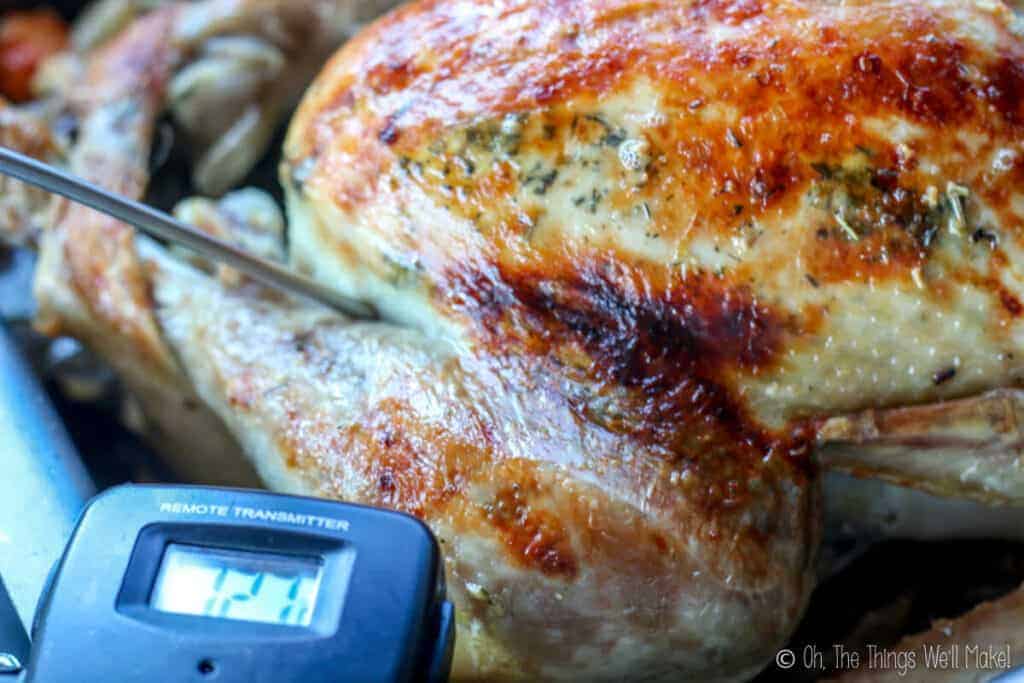
Take temperature at thigh and breast. 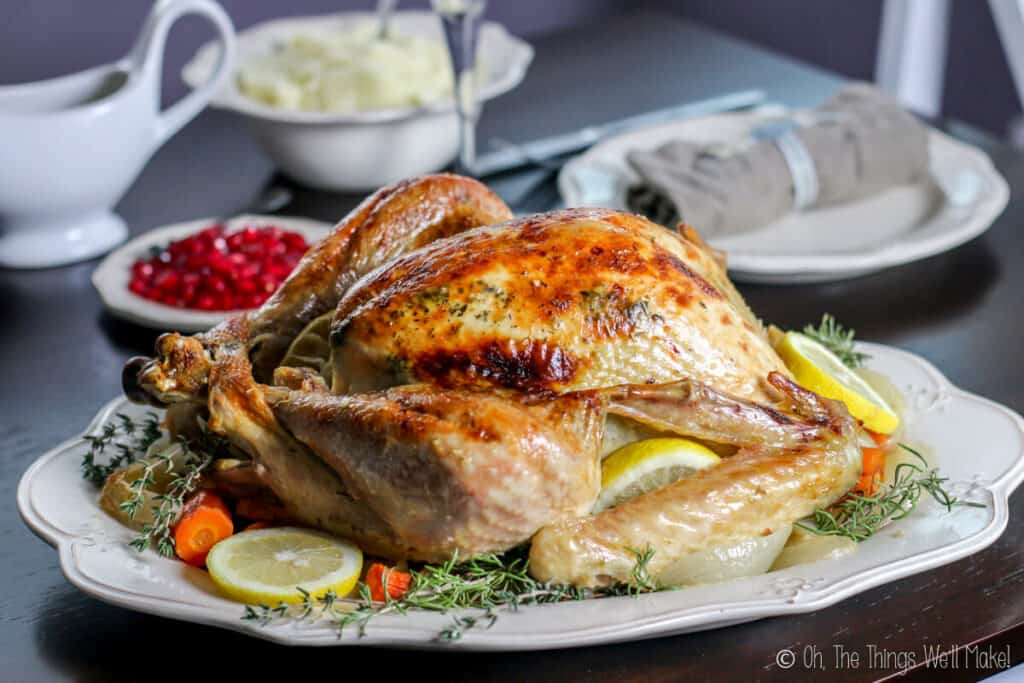
Spatchcocking a turkey
To save some time, you can spatchcock the turkey. Spatchcocking involves cutting out the spine of the turkey and then flattening it so that it is spread out evenly over a pan. Because the turkey is evenly spread, the turkey takes much less time to cook. Another advantage to spatchcocking is that more of the turkey surface is facing upwards in the oven. So, more of the skin will get nice and crispy.
To remove the backbone, you’ll need some heavy duty kitchen shears. Use a knife to slice into the skin along the backbone to help expose the spine. Once you can see everything more clearly, begin using the shears to cut the bones along the spin to help release it.
If you are having a hard time, try cutting a bit further away from the spine. Once you’ve removed it, flip the bird over and press down on the breast until the ribs break, allowing the turkey to flatten. Spread out the legs and thighs so that they cook easily. Either remove the wing tips or tuck them underneath the rest of the wing.
Once you’ve arranged the turkey, it will only take around an hour and a half to bake, maybe even less. Bake at 400ºF/200ºC for around 75 minutes, and then check for doneness by checking the temperature in the thickest parts of the breast and thighs. (They should reach 165ºF/74ºC.)
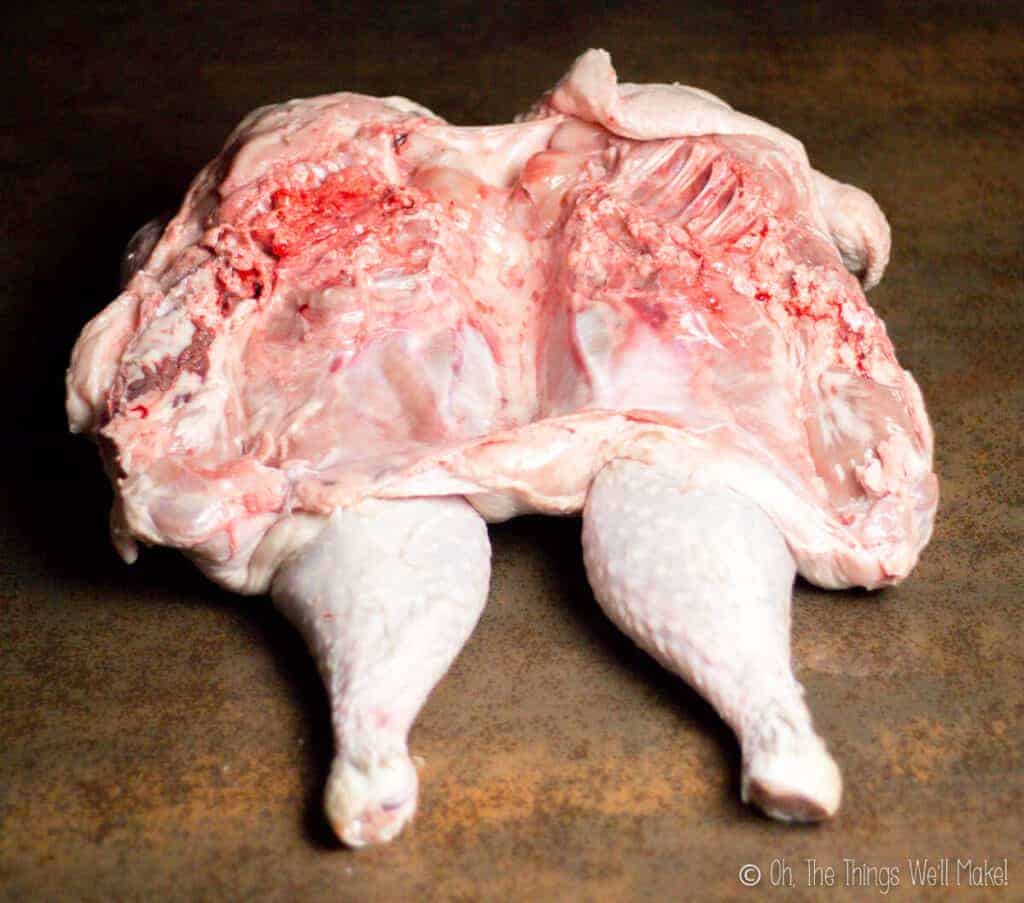
Remove the backbone. 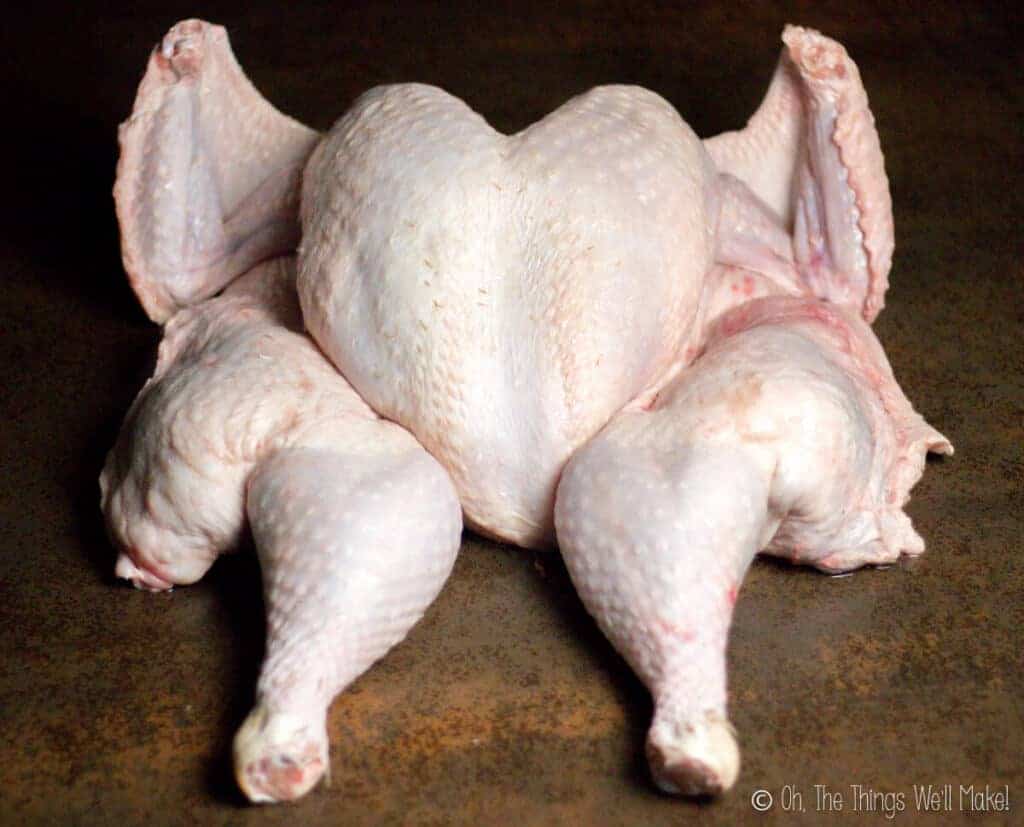
Flip and press down. 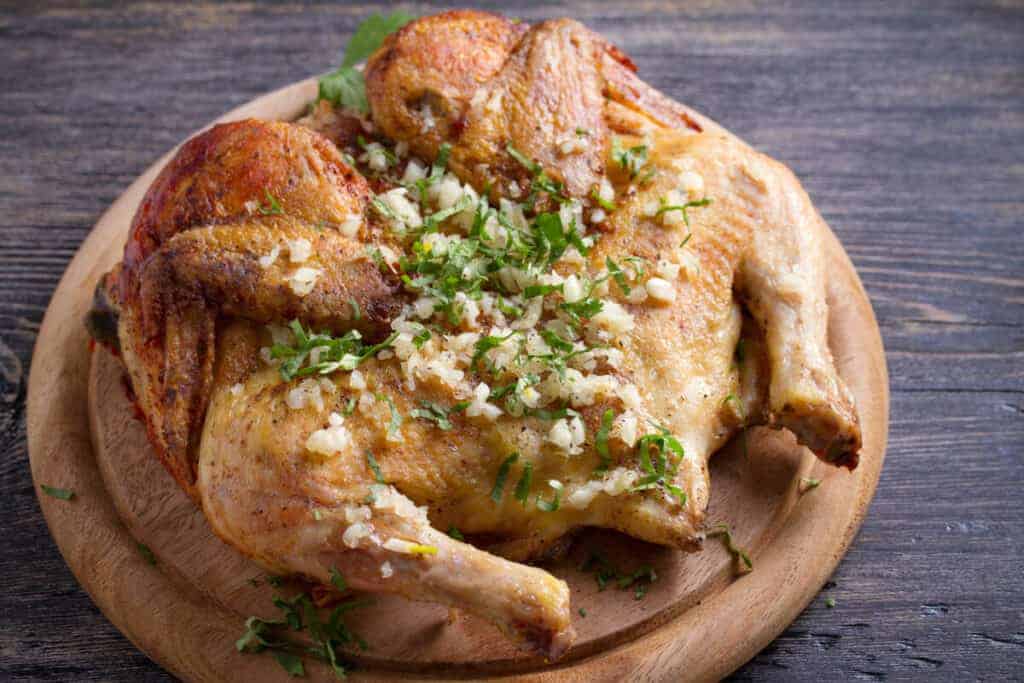
When spatchcocking the turkey, you should end up with an even roasted bird that has crispy skin all over it.
Roasting a turkey in pieces
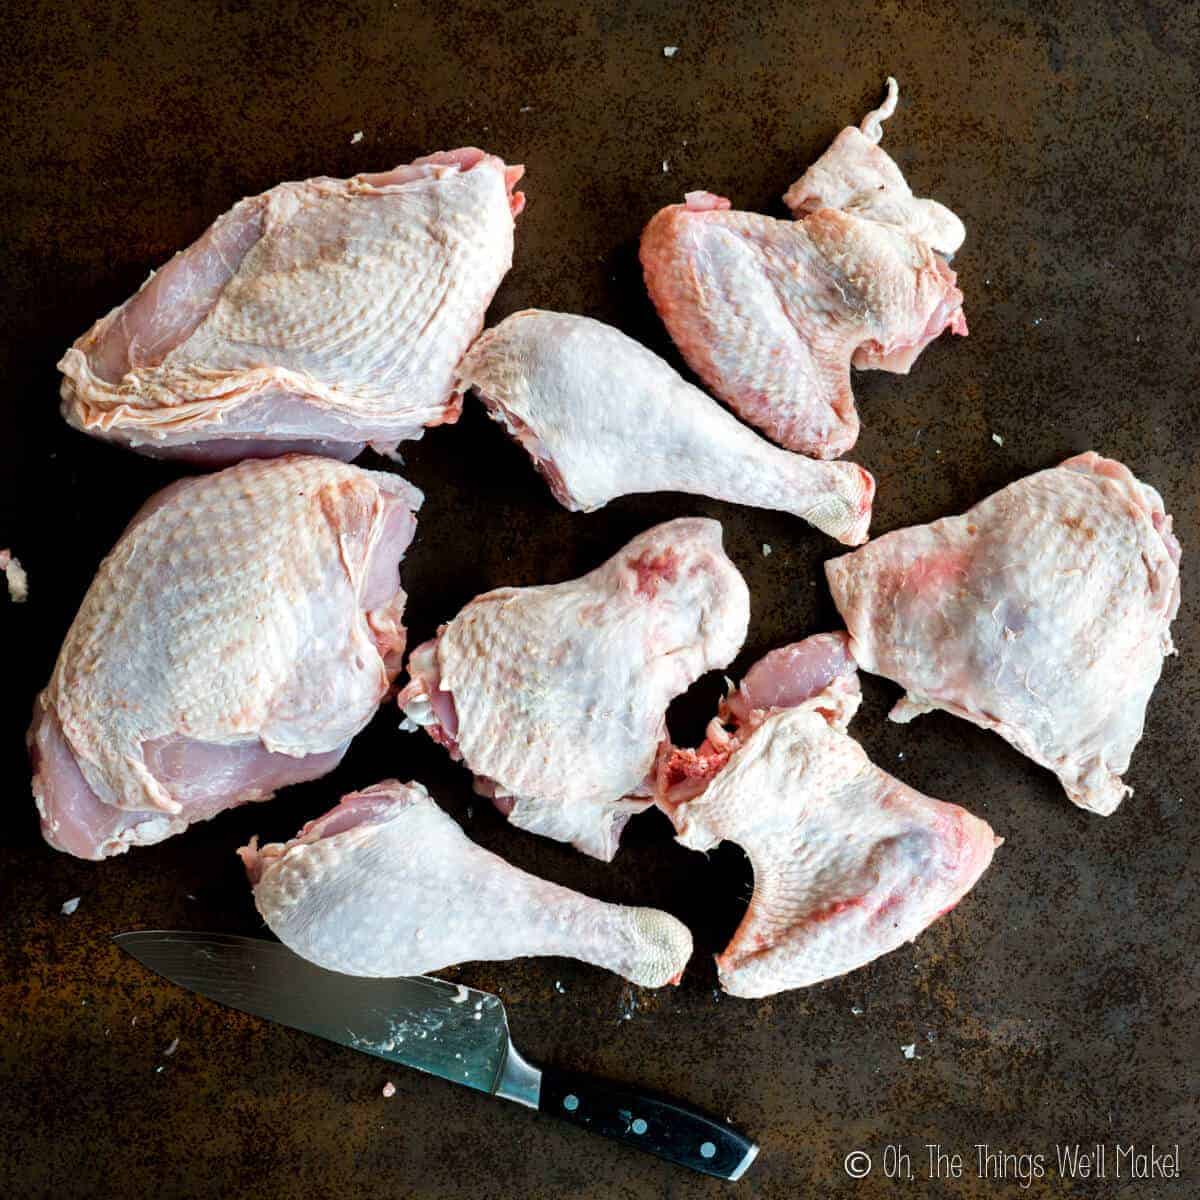
For the last few years, we’ve been roasting our turkeys in pieces. It’s simple to break the turkey down into pieces. (If you buy from a butcher, you can probably get him or her to do it for you.) Breaking down the turkey not only saves on roasting time, but it allows you to easily monitor each piece, flipping it as needed to get the turkey skin to be crispy all over!
Breaking down a whole turkey
To break down the turkey yourself, clean up the workspace, and get out a clean, sharp knife.
Remove the feathers and wing tips
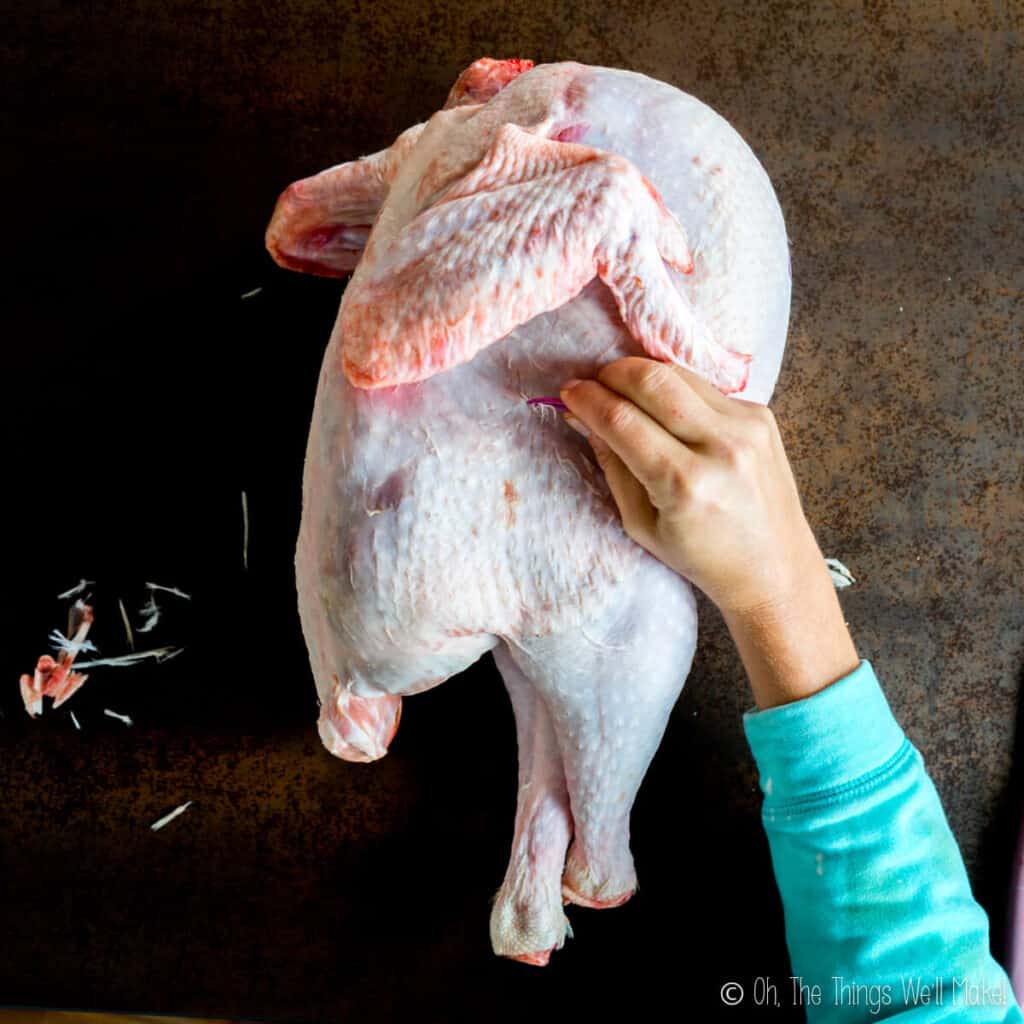
Begin cleaning up the turkey by removing any large feather pieces that have been left behind.
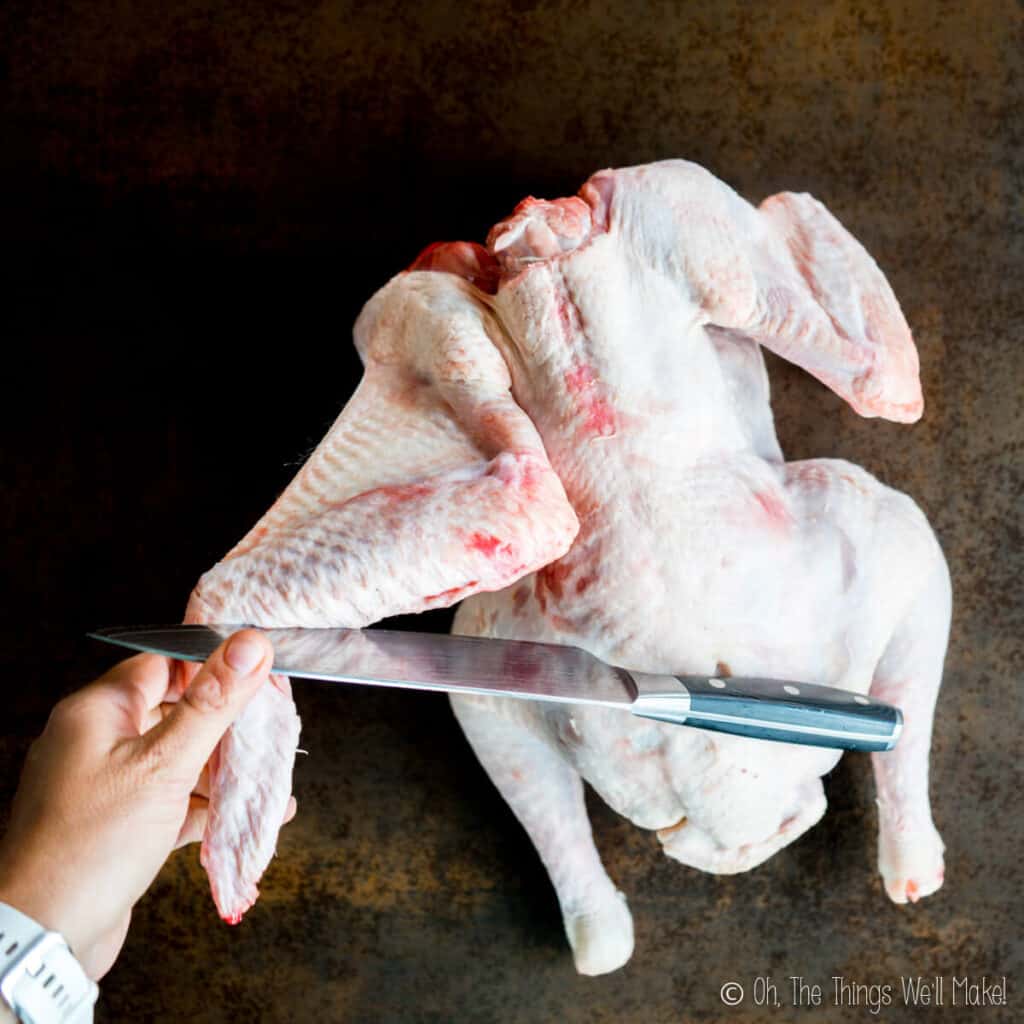
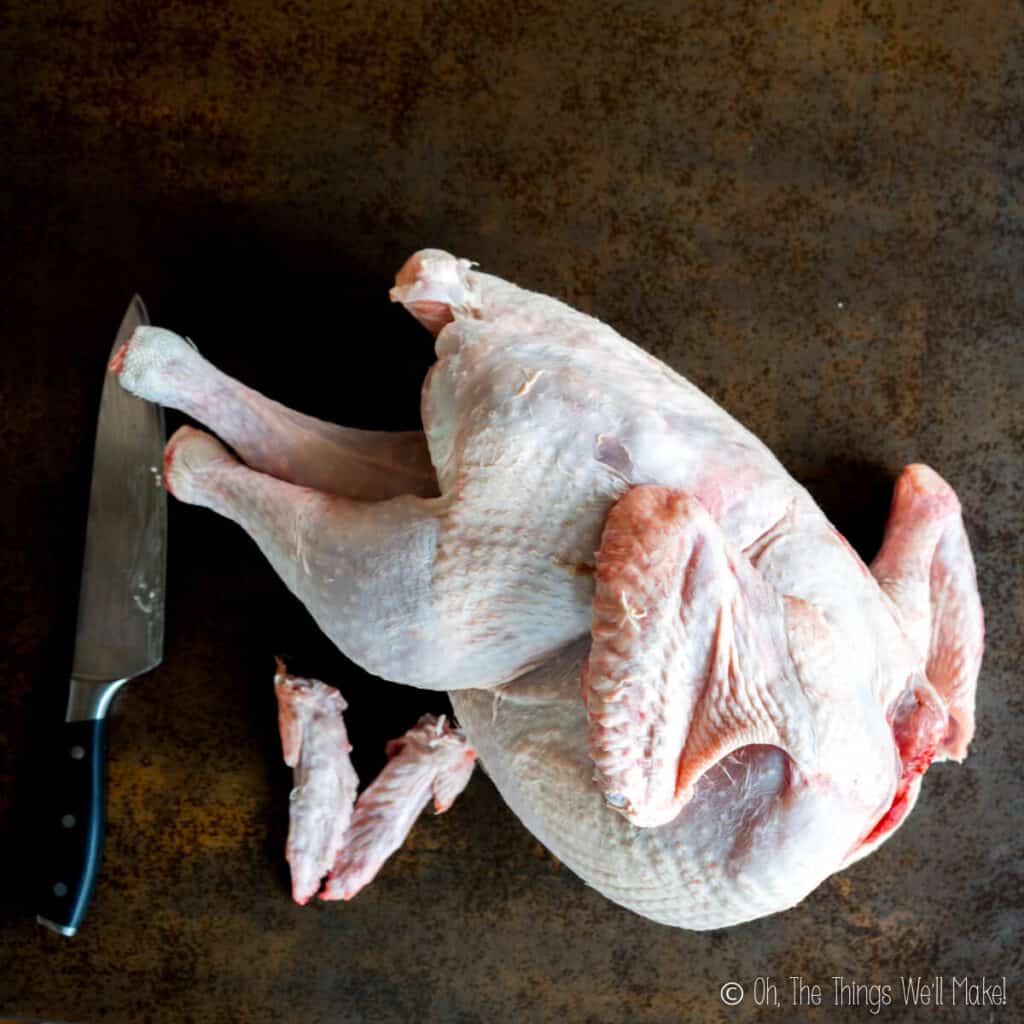
Remove the wing tips and set them aside for adding to the broth with the rest of the carcass. To remove the wing tips, open the wing and cut diagonally at the point on the joint where the knife easily cuts through the joint.
Stabilize the turkey
Once you’ve removed the wing tips, we’ll continue to cut the turkey into parts. First, we’ll spread out the legs of the turkey to help stabilize it. That will make the removal of the breast pieces easier.
Begin with the turkey breast facing down, and make a long cut down the center of the turkey along the backbone. Make another perpendicular cut in the center of the turkey, above the legs.
Peel back what is referred to as the “oyster” of the thigh piece. It’s the medallion of thigh meat that is attached to the back of the carcass. Carefully scrape it away from the carcass with a knife. Don’t cut it off. We’ll leave it with the turkey thighs.
Flip the turkey over and pull the legs open. You’ll be releasing the thighs from the hip bone. For now, we won’t cut them off. We’ll leave them in place to help stabilize the turkey while we work on removing the breast pieces.
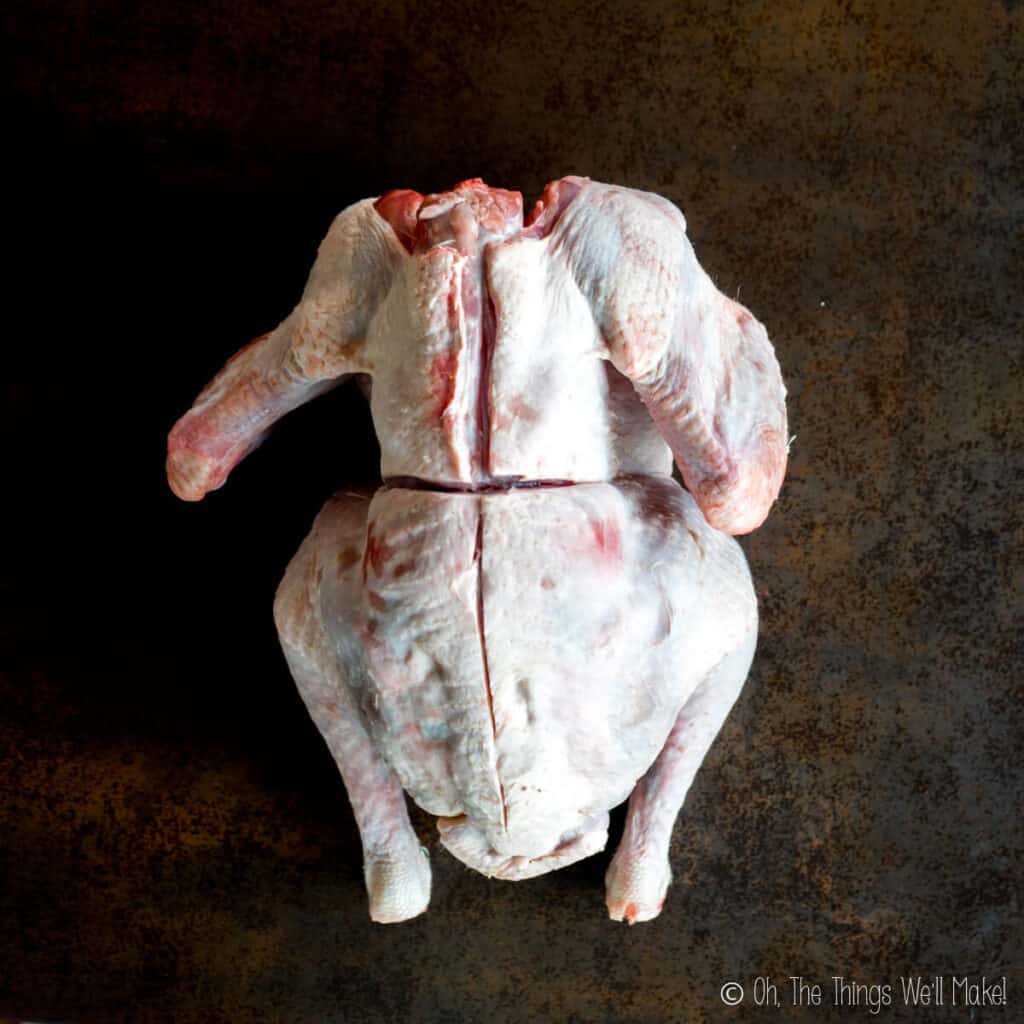
Cut a cross down the back of the turkey. 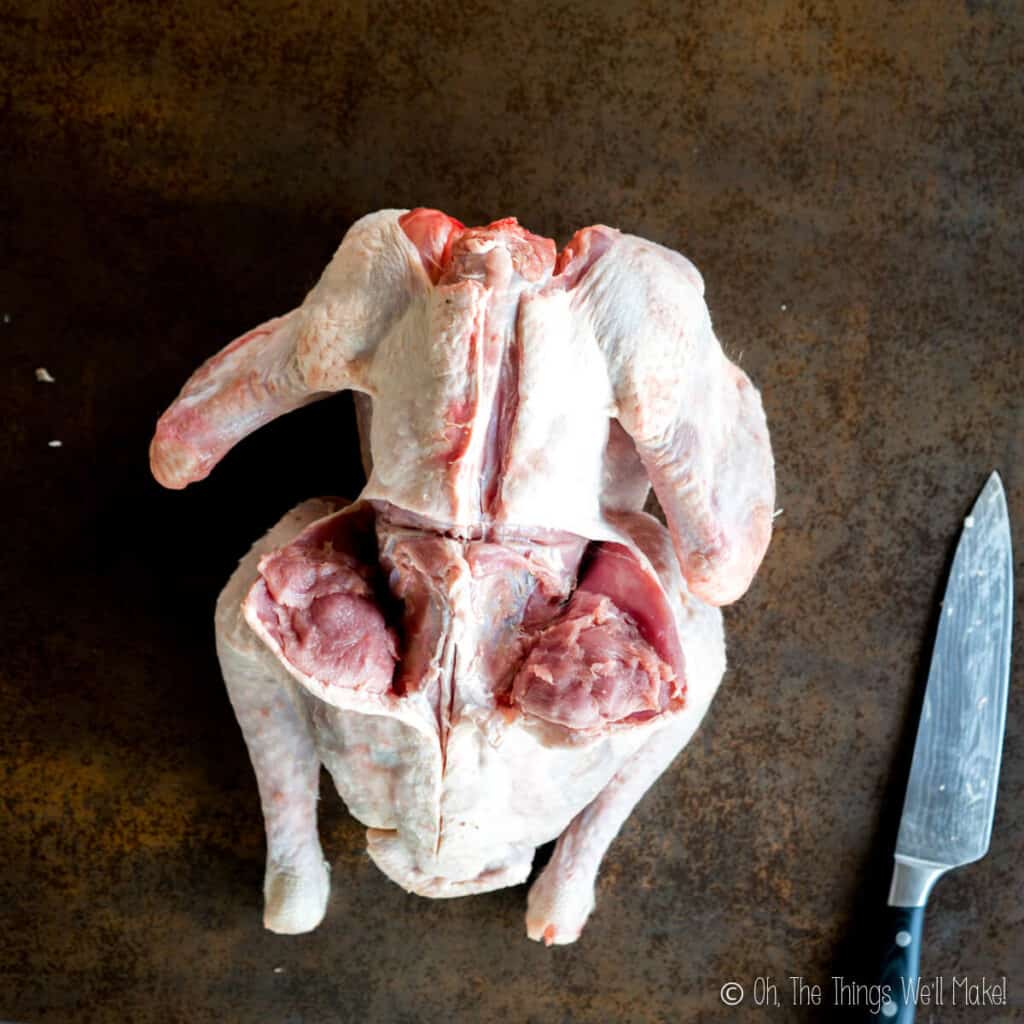
Release the “oyster” from the backbone. 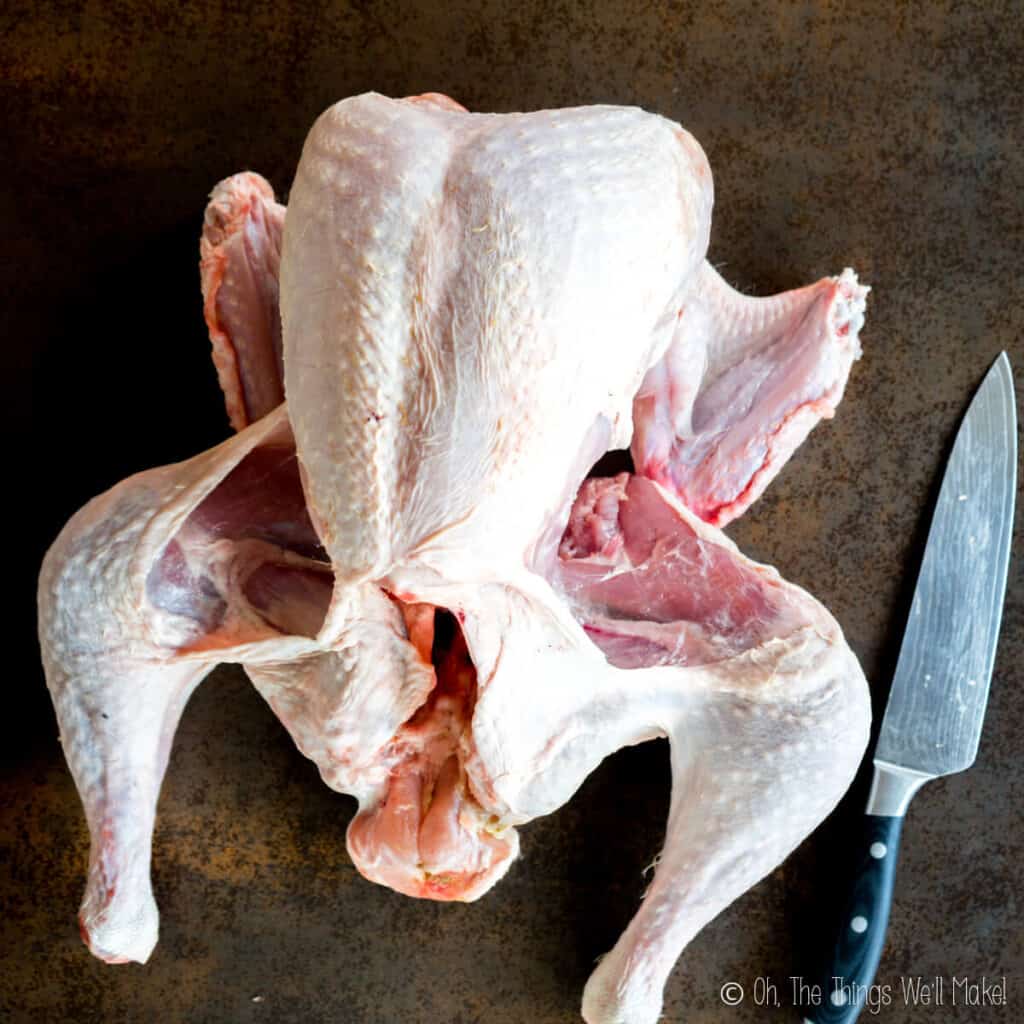
Flip the turkey and pop the thigh joints to stabilize it.
Remove the breast pieces
Once the turkey has been stabilized, you can begin to remove the breast pieces. To remove the breasts, make a cut down the center of the turkey, along the breastbone.
Using the knife, carefully cut along the carcass to release as much of the turkey breast meat as you can in one piece. Remove the breast from one side, followed by the other. For now, each breast piece will include a wing.
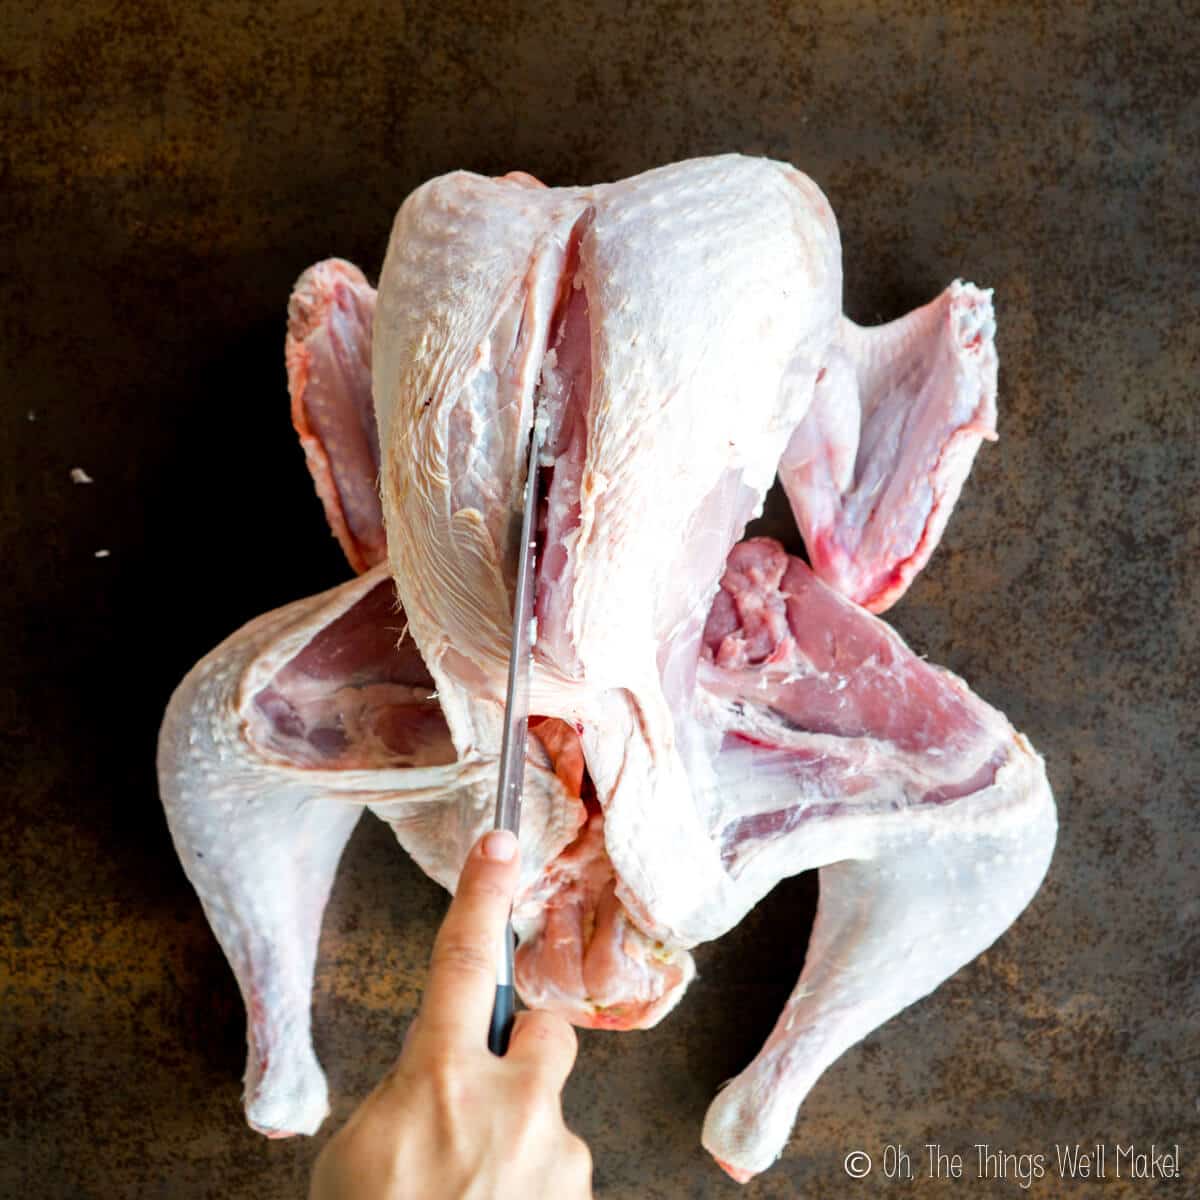
cut down the breastbone. 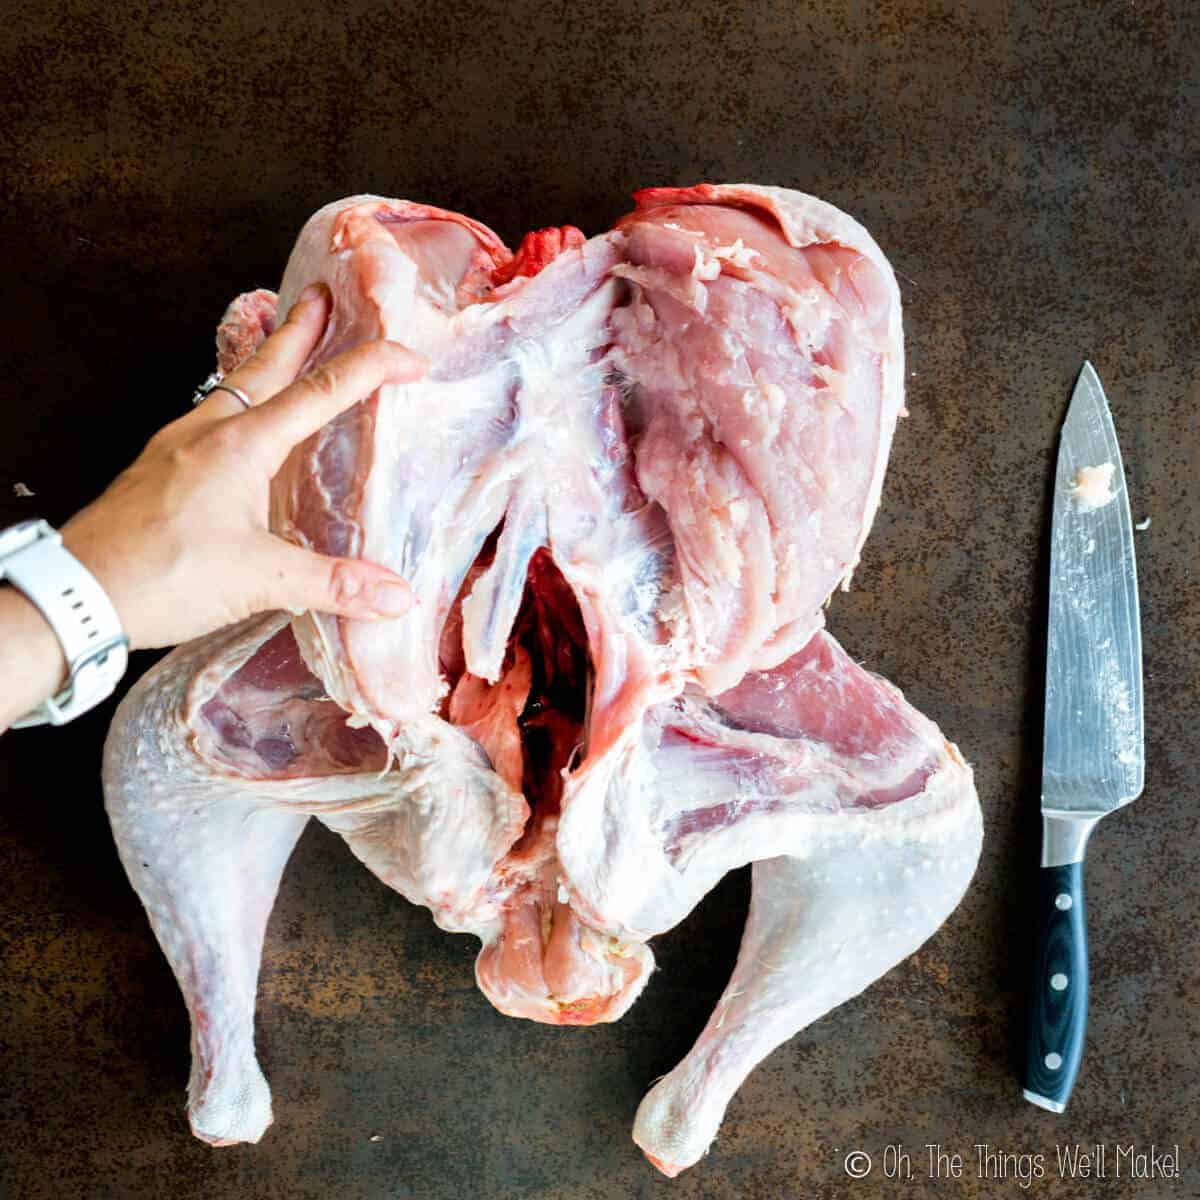
Separate the breast meat. 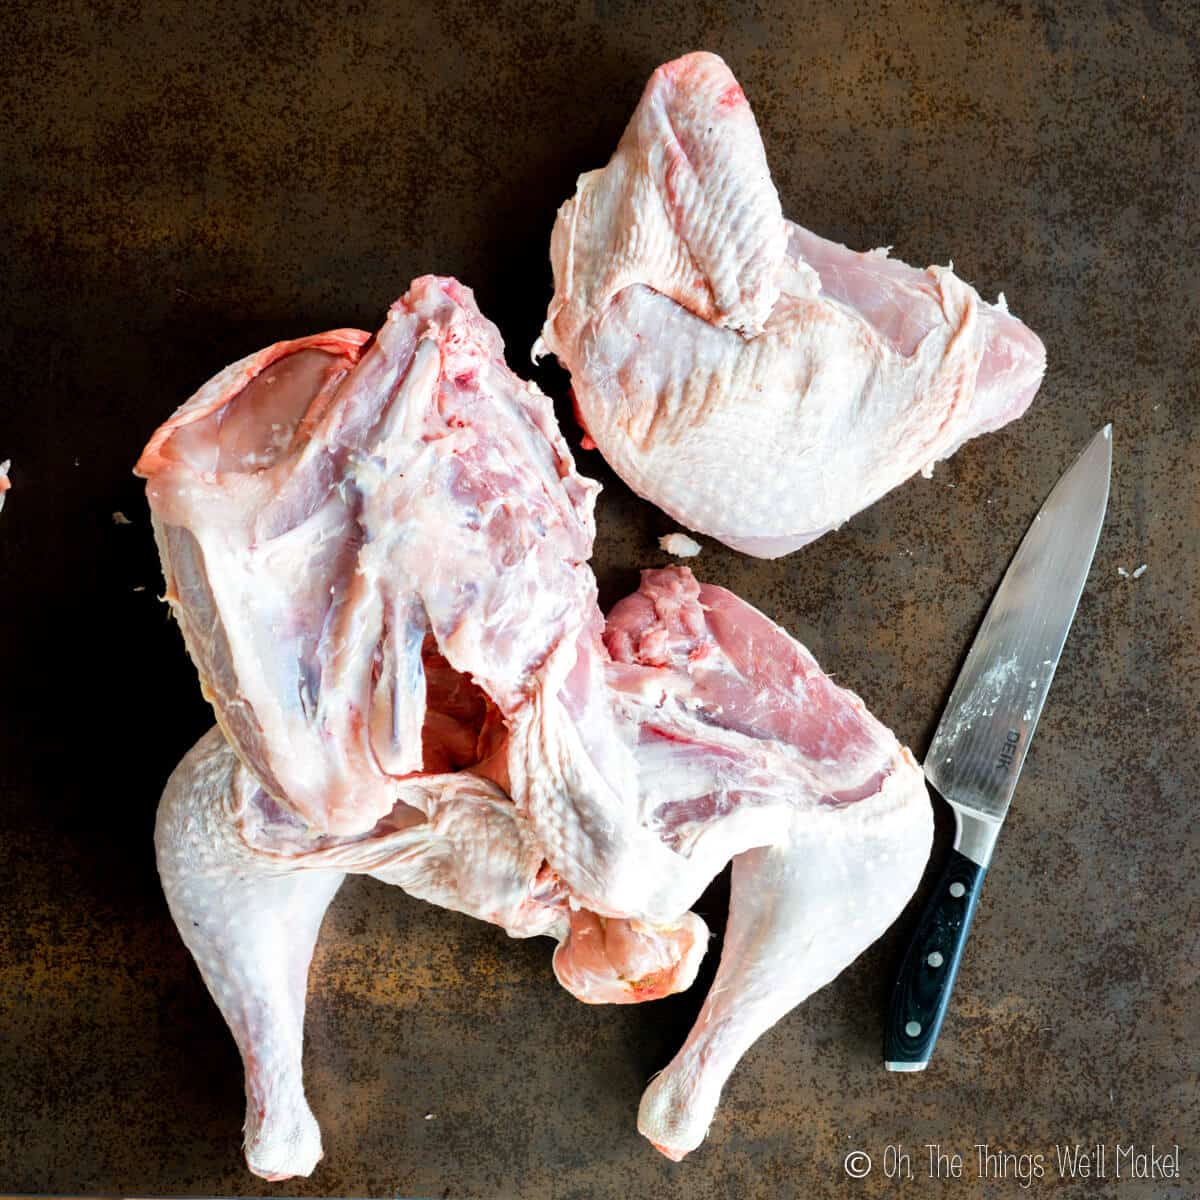
Remove one breast. 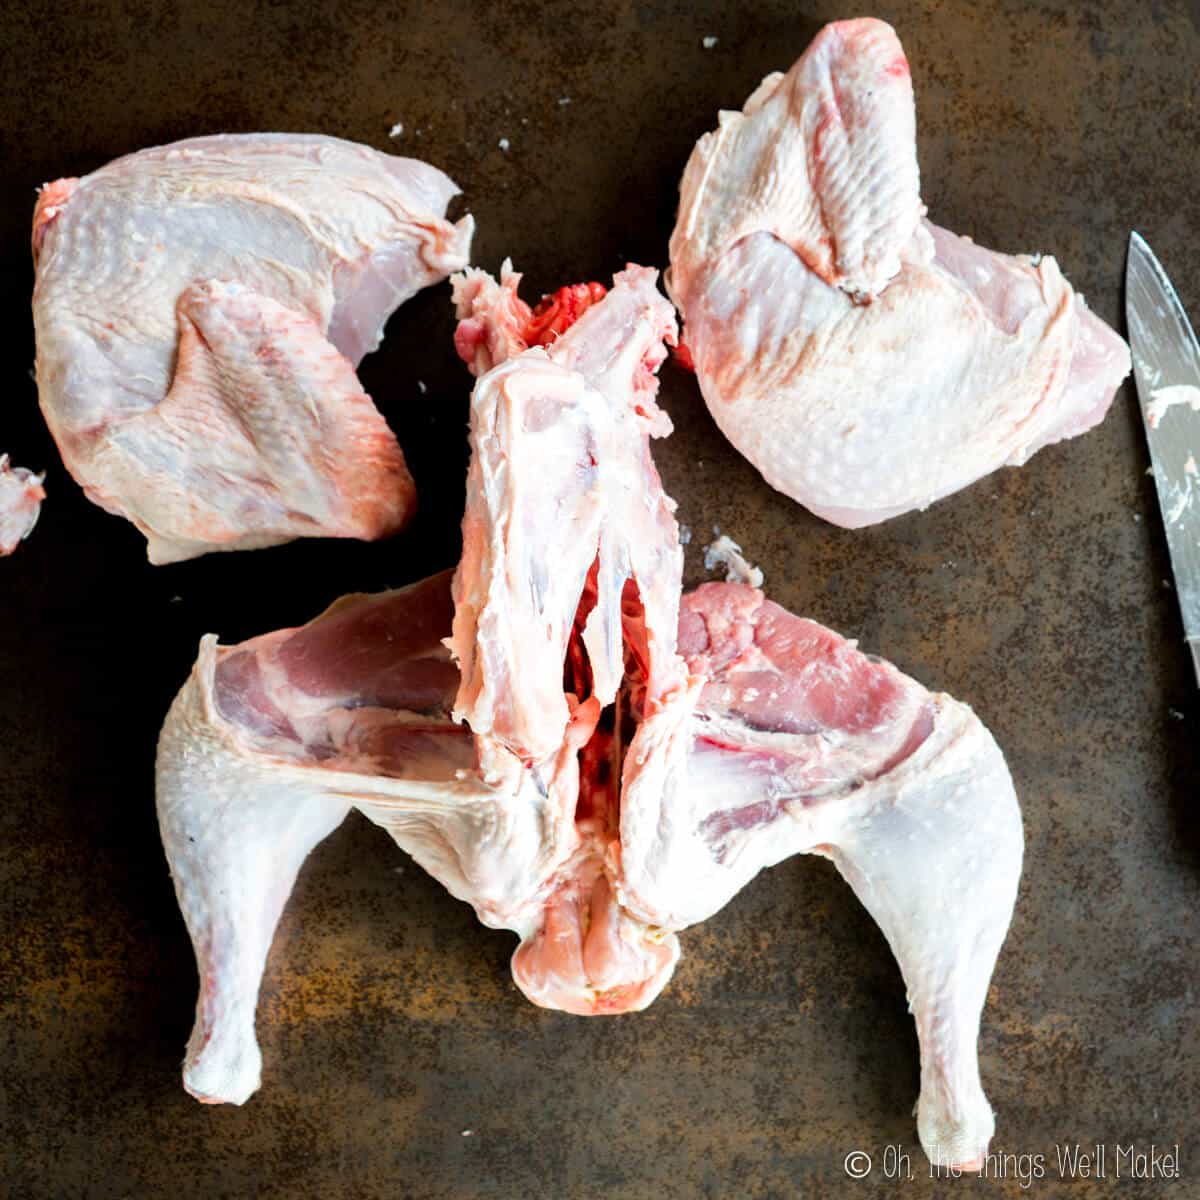
Remove both breasts, together with the wings.
Remove the thighs
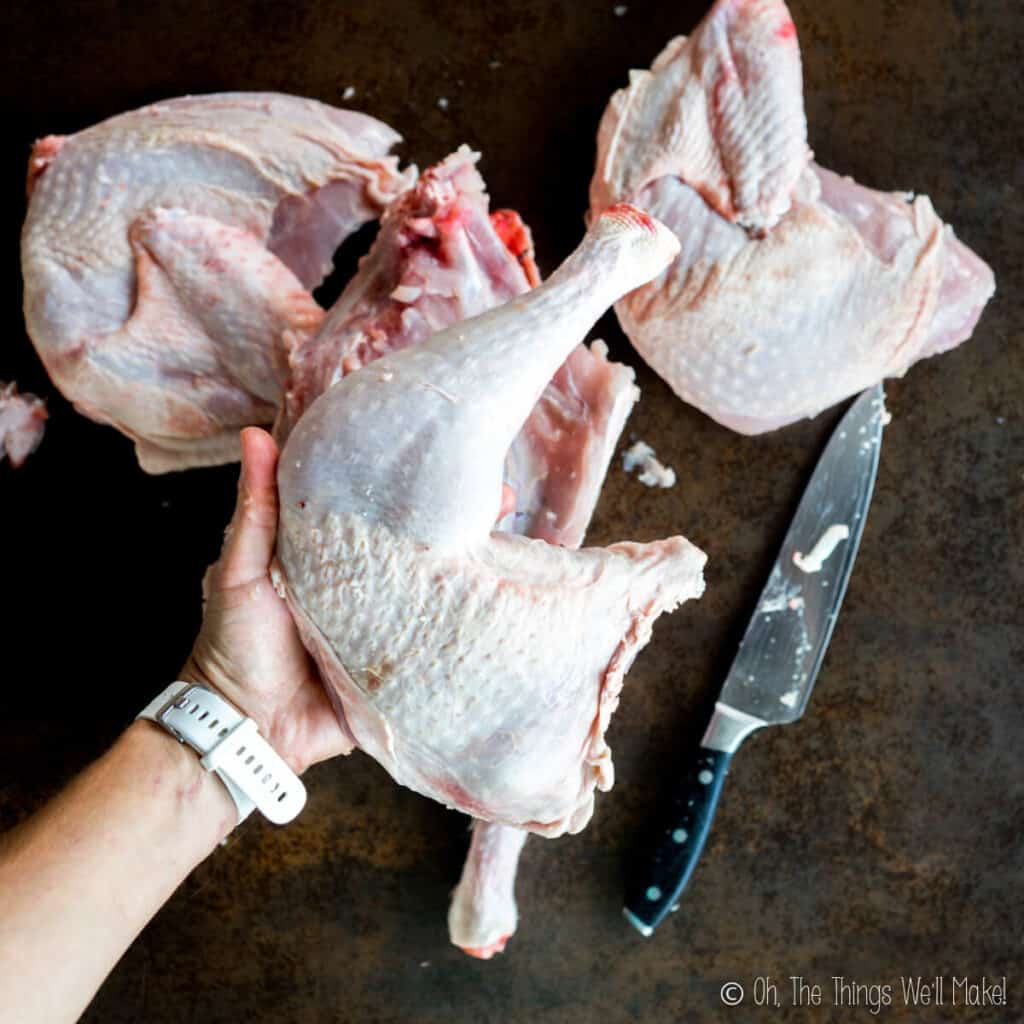
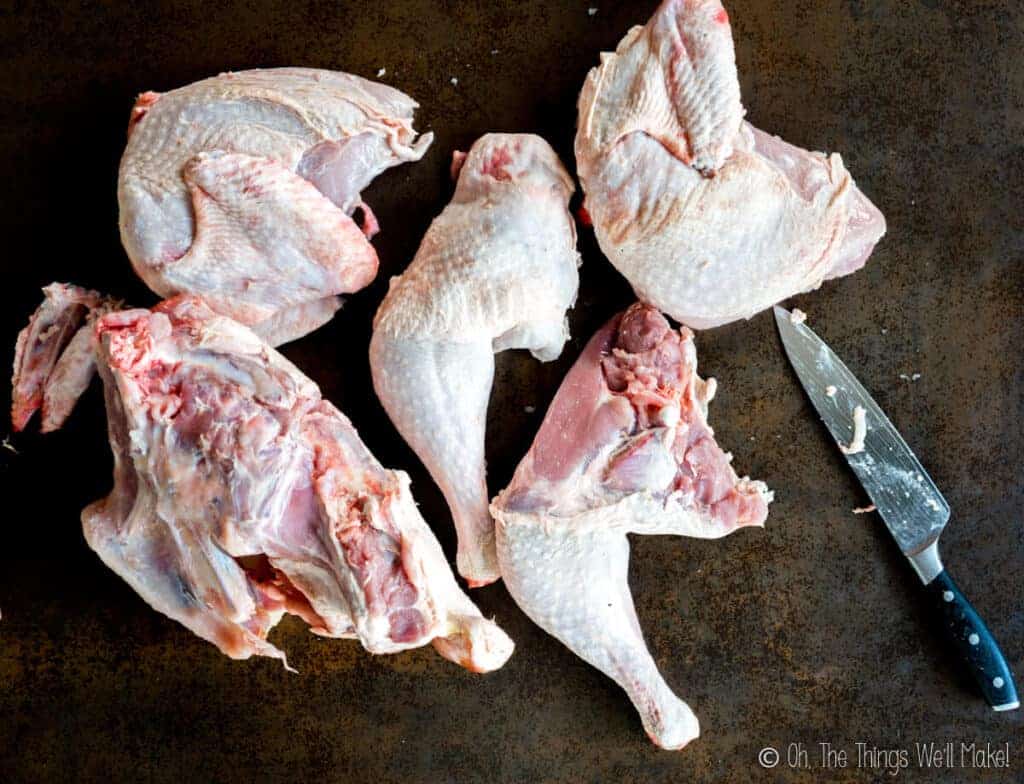
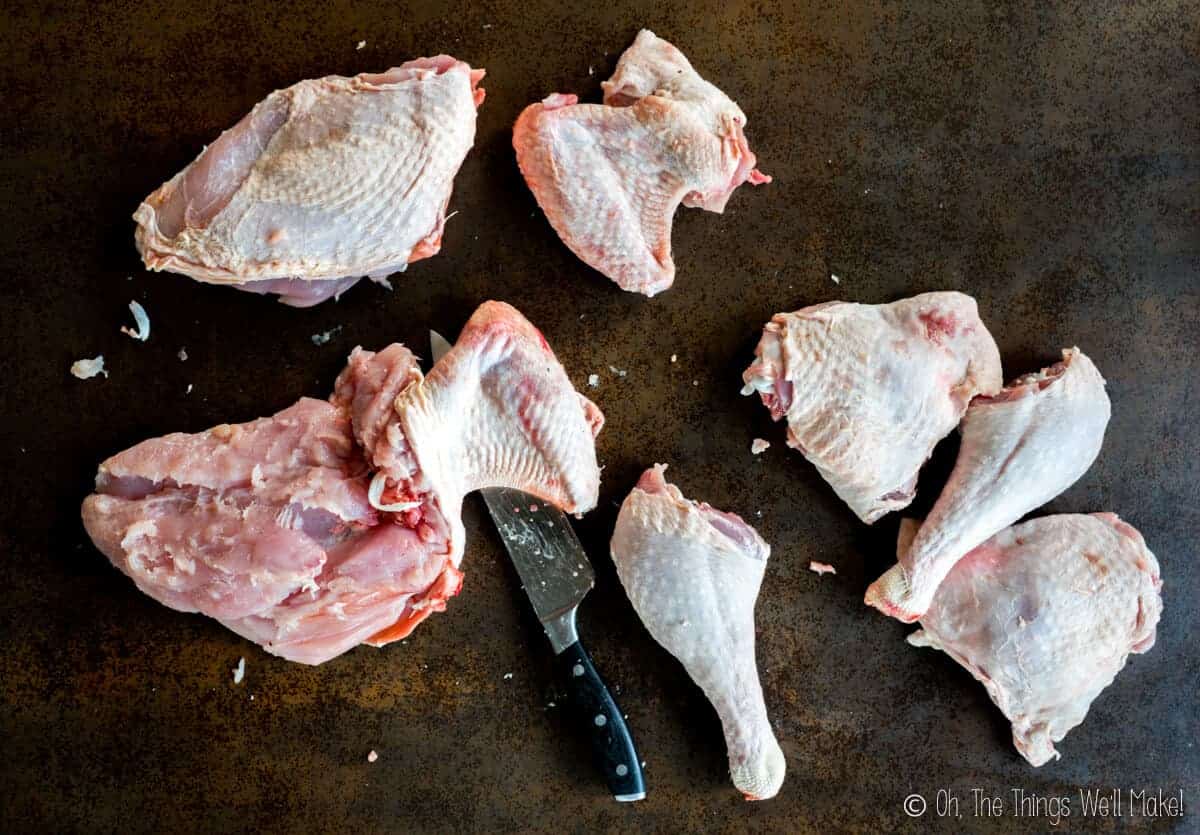
Once you’ve removed the turkey breast pieces, you can also remove the thighs and legs. To do so, simply cut along the carcass until you’ve removed them. Try to scrape off as much meat as possible, without getting too picky about it.
Separate the larger pieces
Now that the turkey is mostly broken down, we can continue to cut it into smaller pieces.
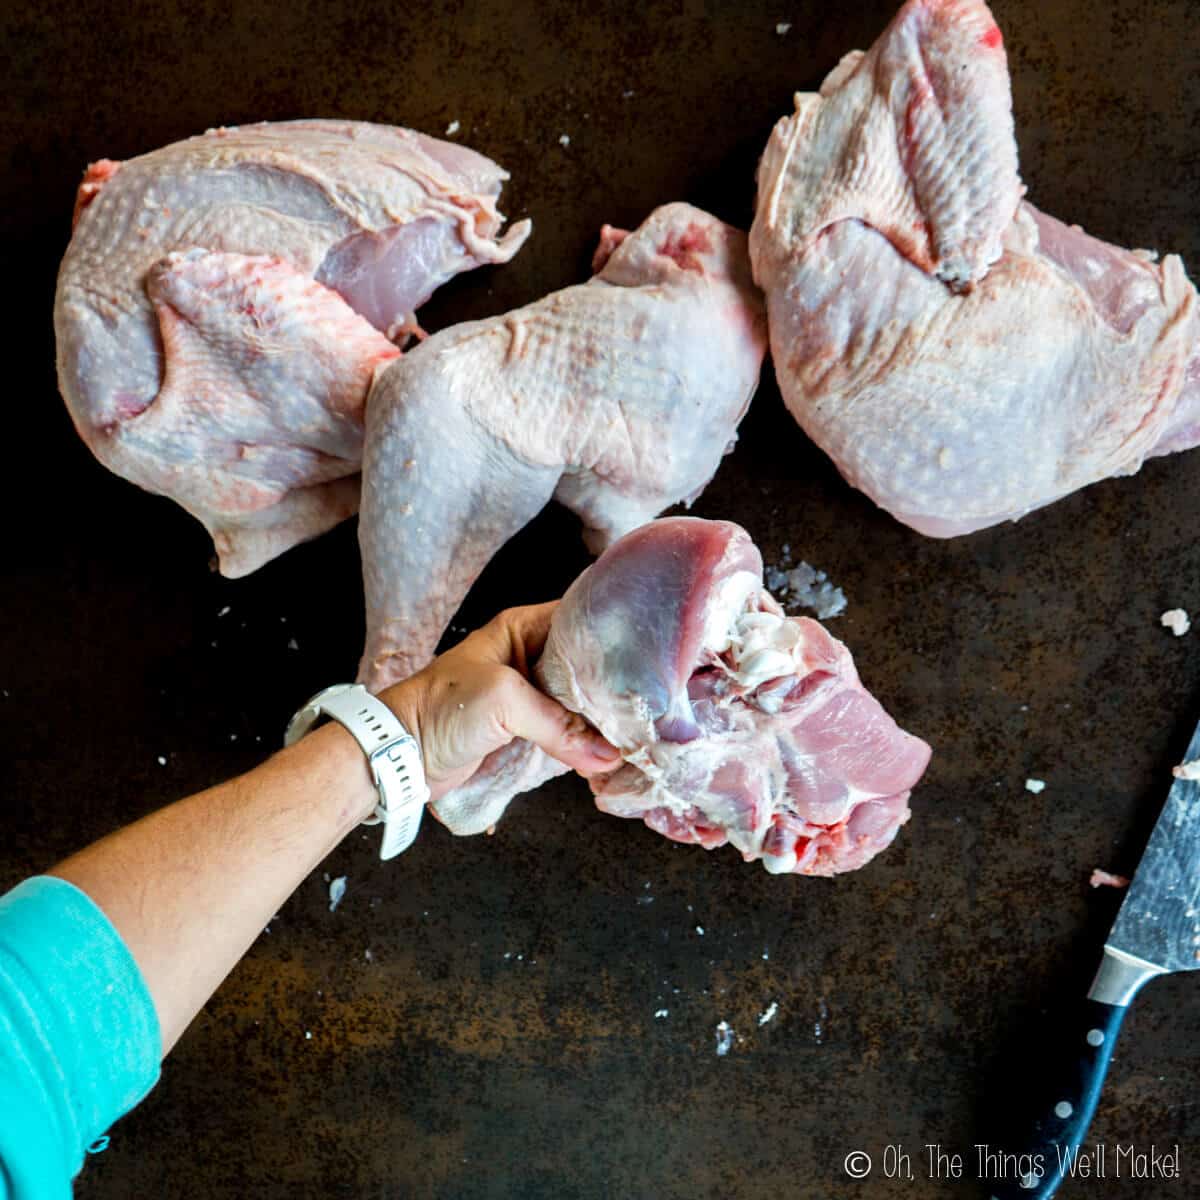
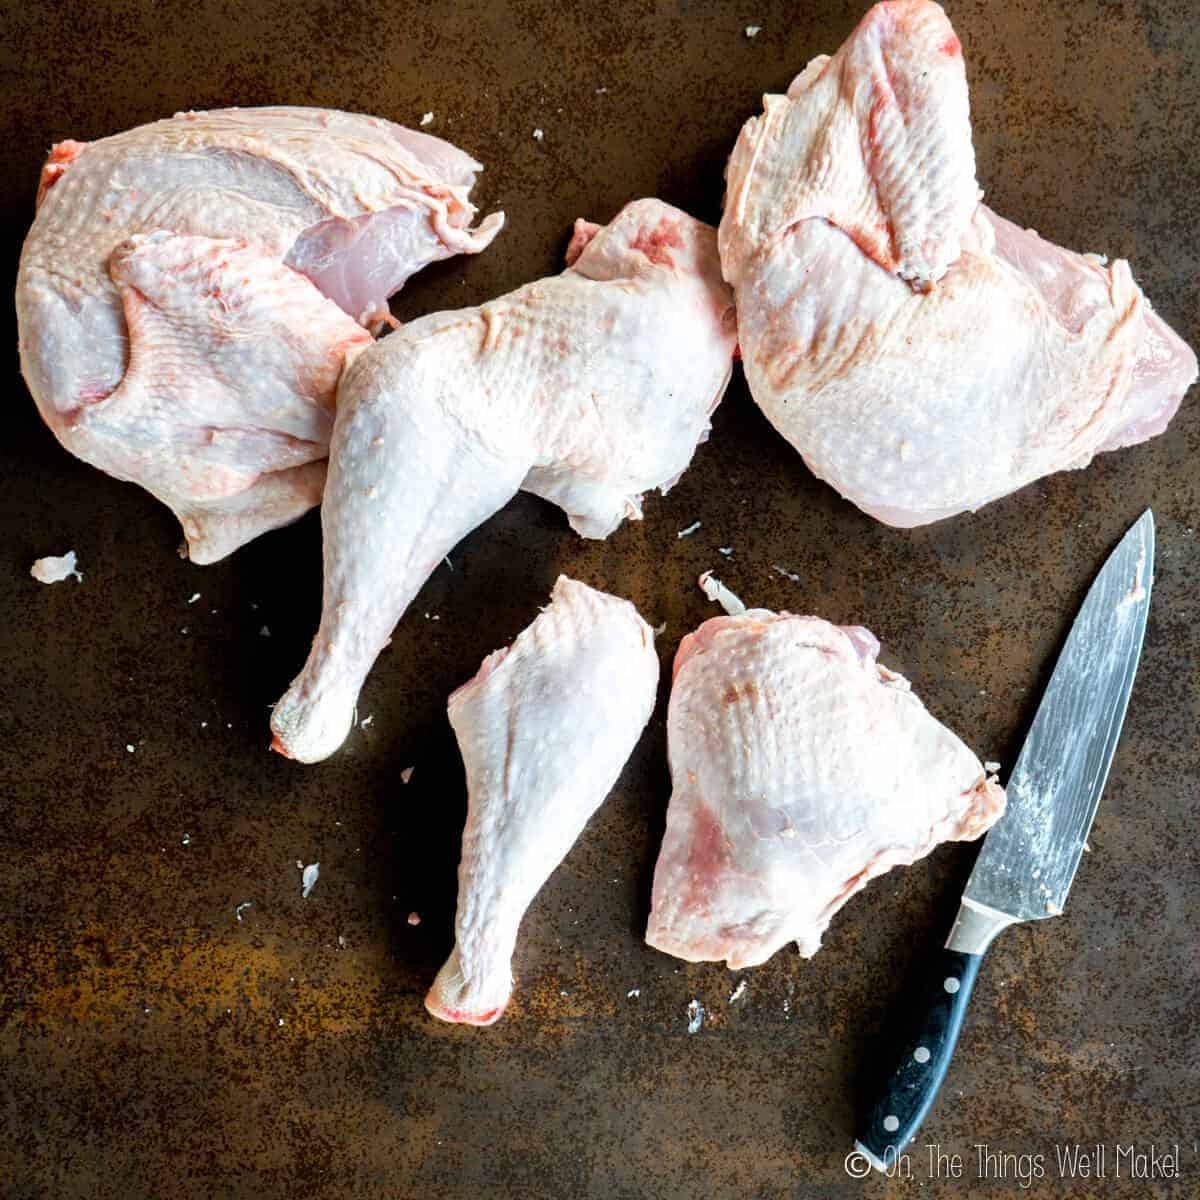
Separate the thigh and the leg by pulling open the joint and cutting into it. Try to find the area with the least resistance, and carefully cut there until they have separated.
Remove the wings from the breast pieces in a similar way by pulling up on the wing, and cutting into the joint.
Brine the turkey pieces
Now that you have cut the turkey into pieces, brine the turkey for at least several hours, or overnight.
Make a stock for gravy
Once you’ve covered the turkey pieces with the dry brine and placed them into the fridge, you can work ahead for the next day’s gravy!
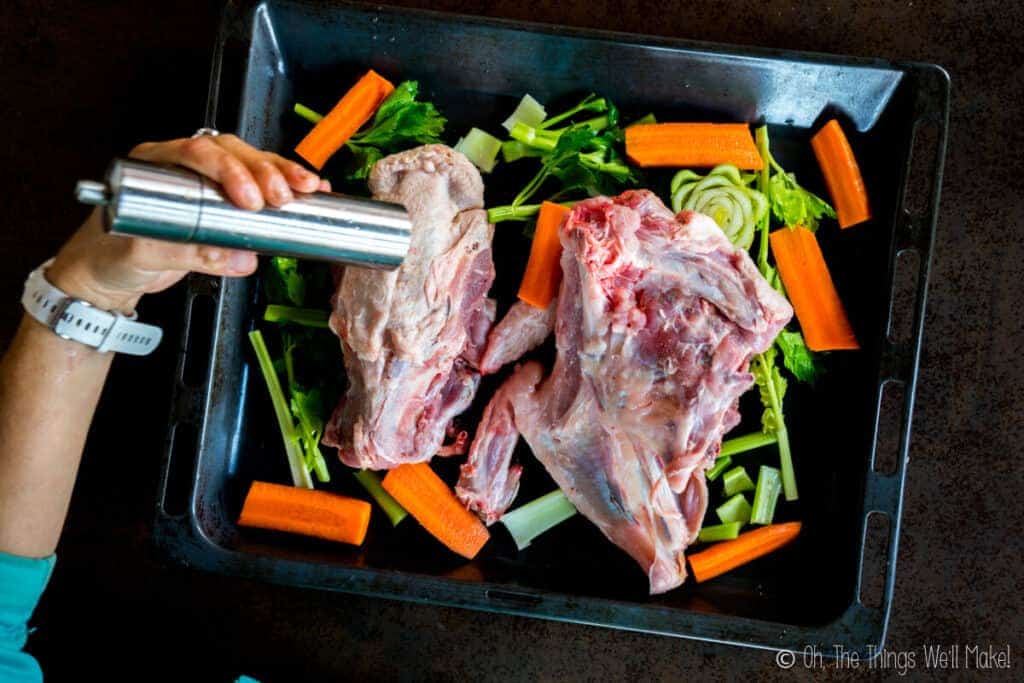
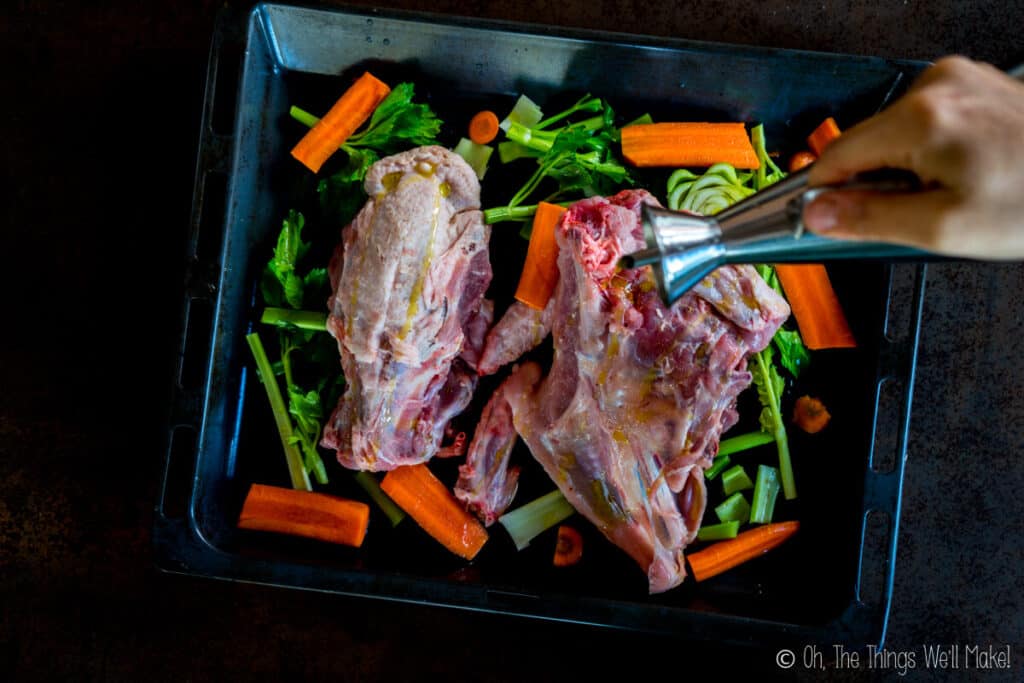
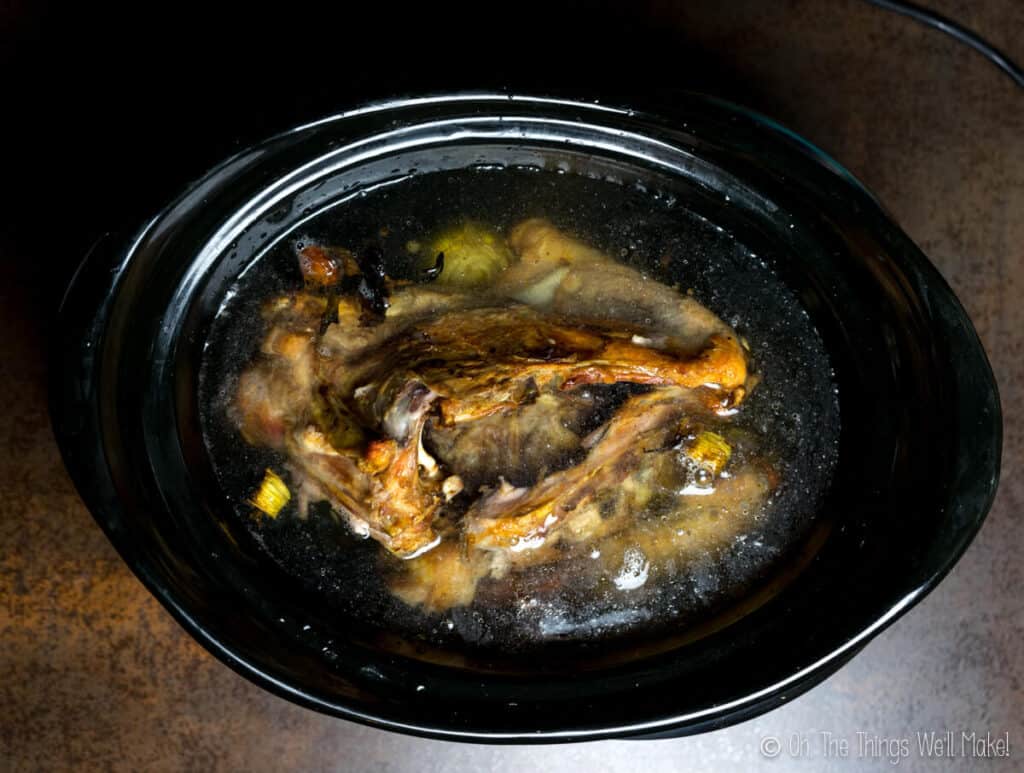
Take the turkey carcass, wing tips, and any other pieces of turkey that you may have removed (like the giblets!) and place them on a baking tray. Surround them with veggies like carrots and celery. Add some olive oil, salt, and pepper, and place under a broiler until browned.
By broiling the turkey and vegetables, they release more flavor. During the process, the oils will also be released from the skin and fat of the turkey. We can save them for making our gravy.
When you’re ready to make the gravy, add some flour to the warmed turkey grease in a pan. Slowly add some turkey stock to it, stirring constantly to incorporate it. Continue to cook until thickened. Season with salt and pepper, and you should have the most flavorful gravy ever!
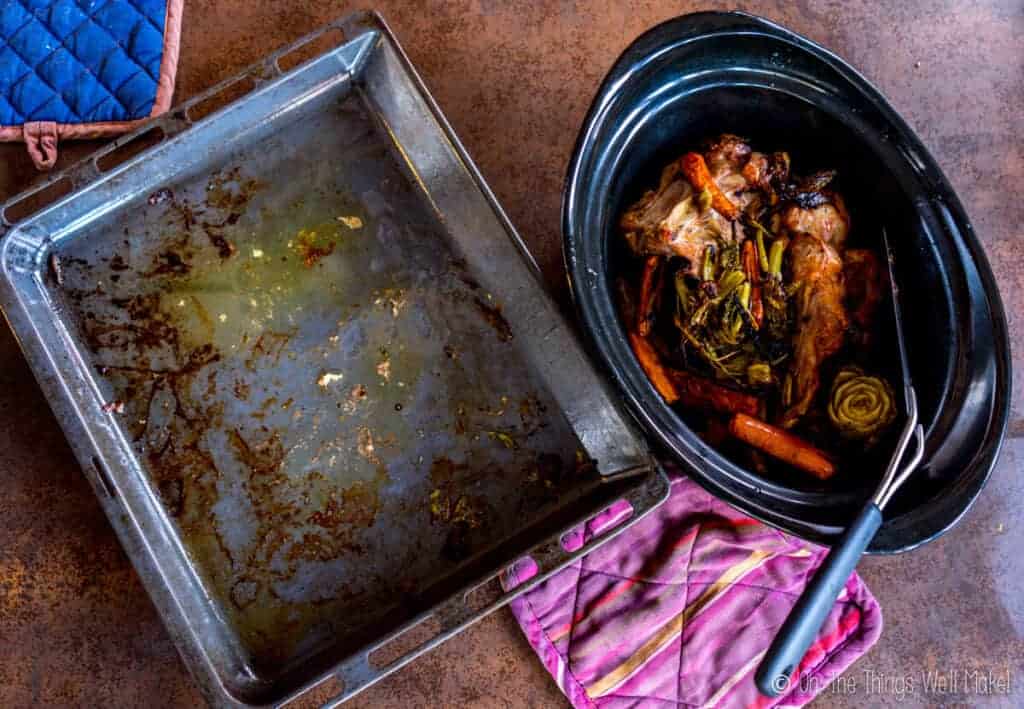
Once you’ve roasted the carcass and veggies, remove them from the tray, and add them to a large pot or slow cooker. I like to use the slow cooker and have my turkey stock cooking slowly overnight.
Pour off the released oils, straining them through a strainer into a small jar or food storage container. Save the turkey grease for making your gravy.
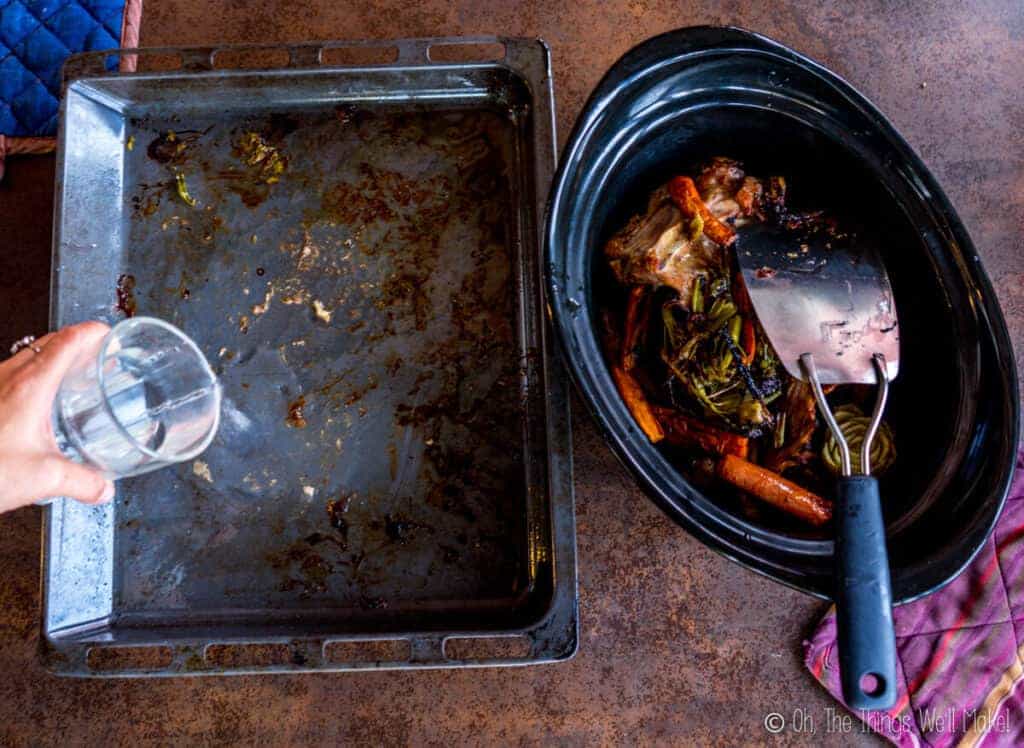
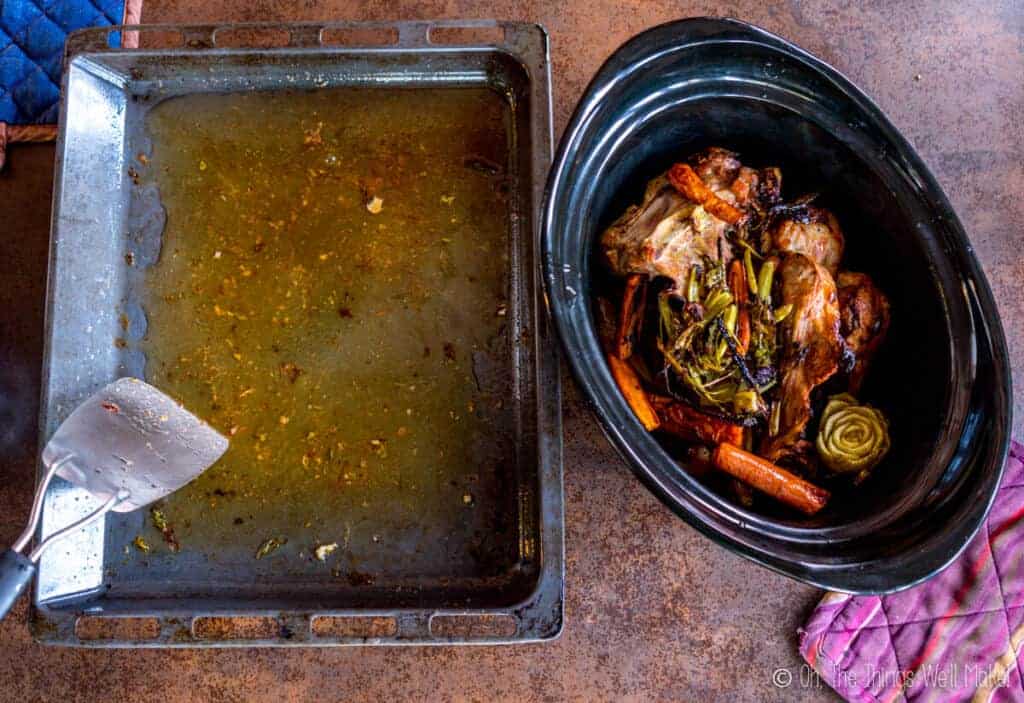
Once you’ve strained off the oils, add water to the pan to help release the brown bits that have stuck to it. These flavorful bits are prefect for adding to the stock that will be used for the gravy! Release as much of the roasted goodness as you can, and pour it into the pot or slow cooker.
Cover the rest with water and cook for several hours, or, if using a slow cooker, overnight. The next day, you will be prepared with turkey fat and stock, and ready to quickly whip us some delicious gravy!
Roasting the turkey parts
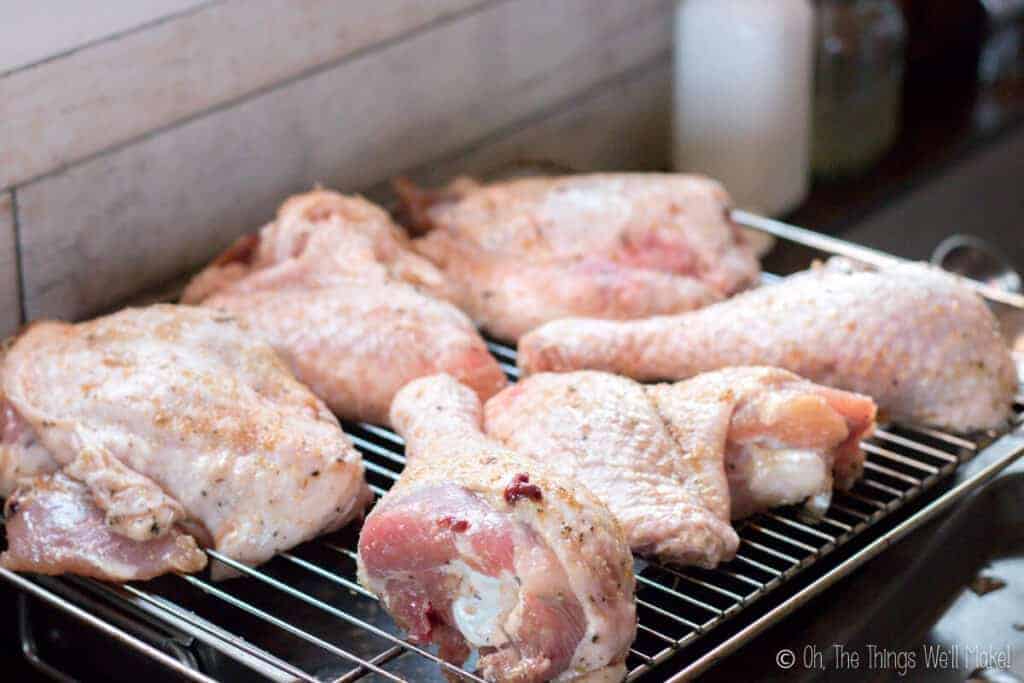
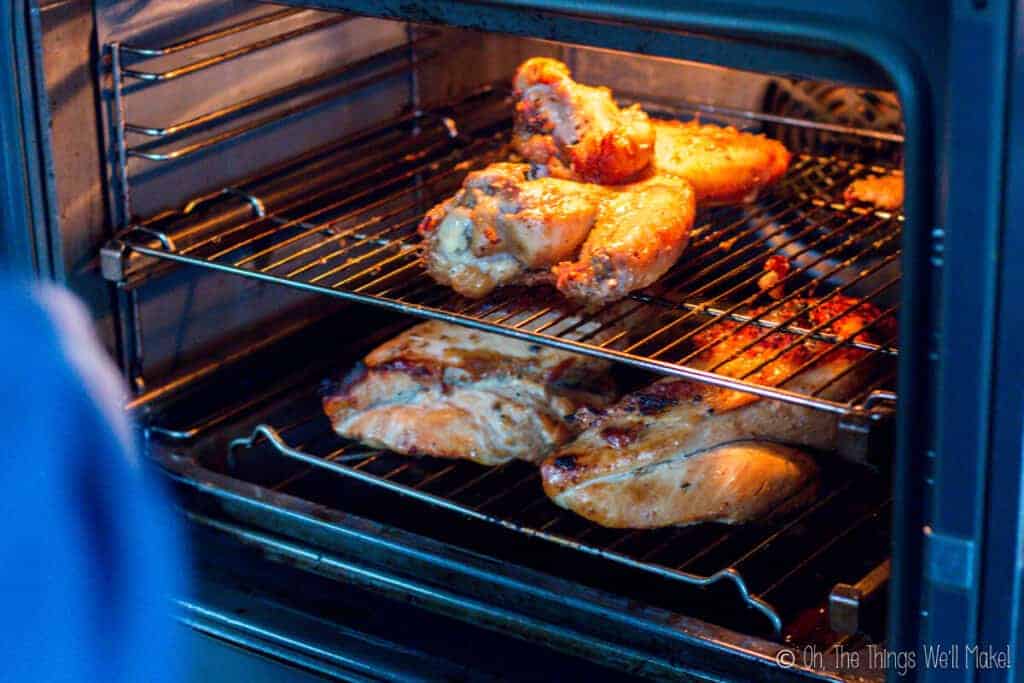
On the big day, you can start much later because it won’t take as long to roast the broken down turkey. Spread the pieces out to allow air to flow between them, and bake at around 400ºF/200ºC.
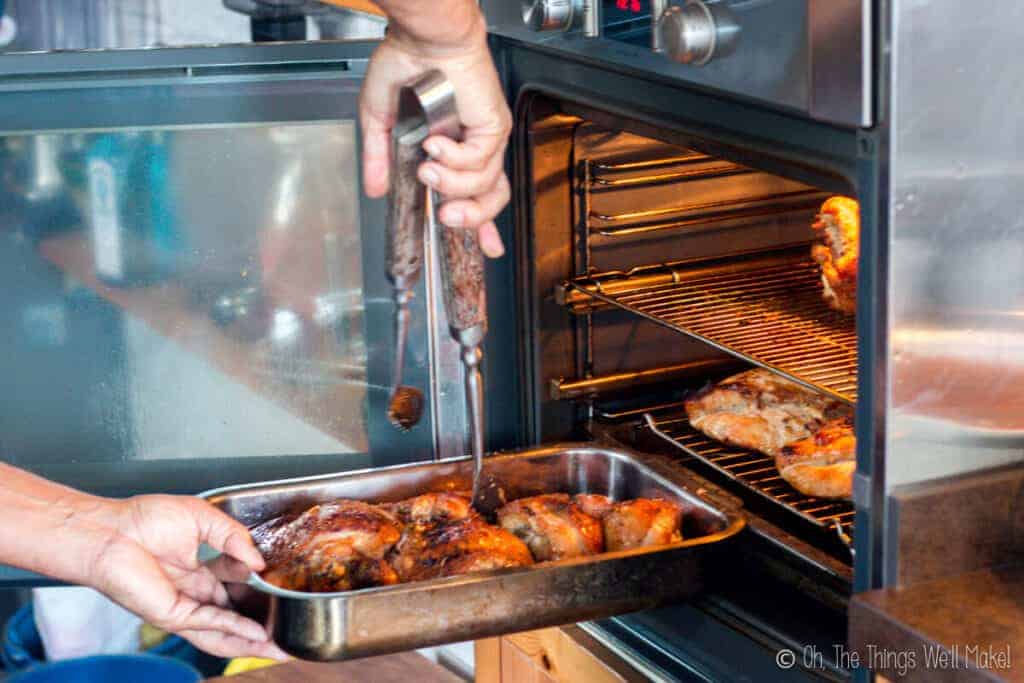
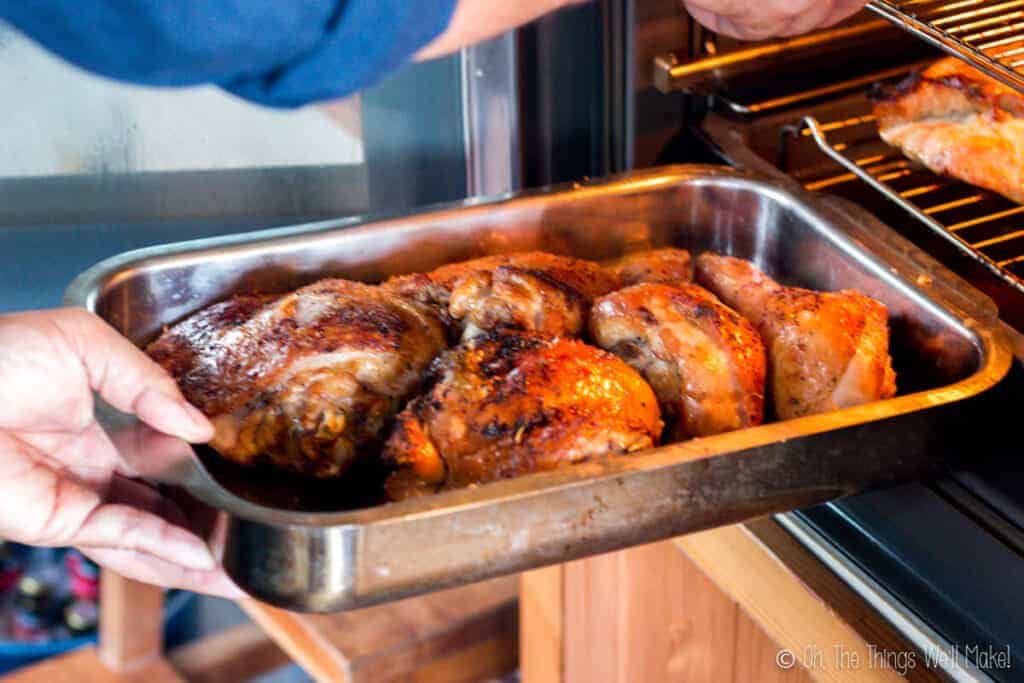
To ensure a crispy skin all over, we choose to bake the turkey pieces over grills, and flip the pieces once the top skin has become crisp.
To check for doneness, as always, you can use a thermometer to make sure the turkey has reached a temperature of 165ºF/74ºC in the thickest parts of the thighs/breasts.
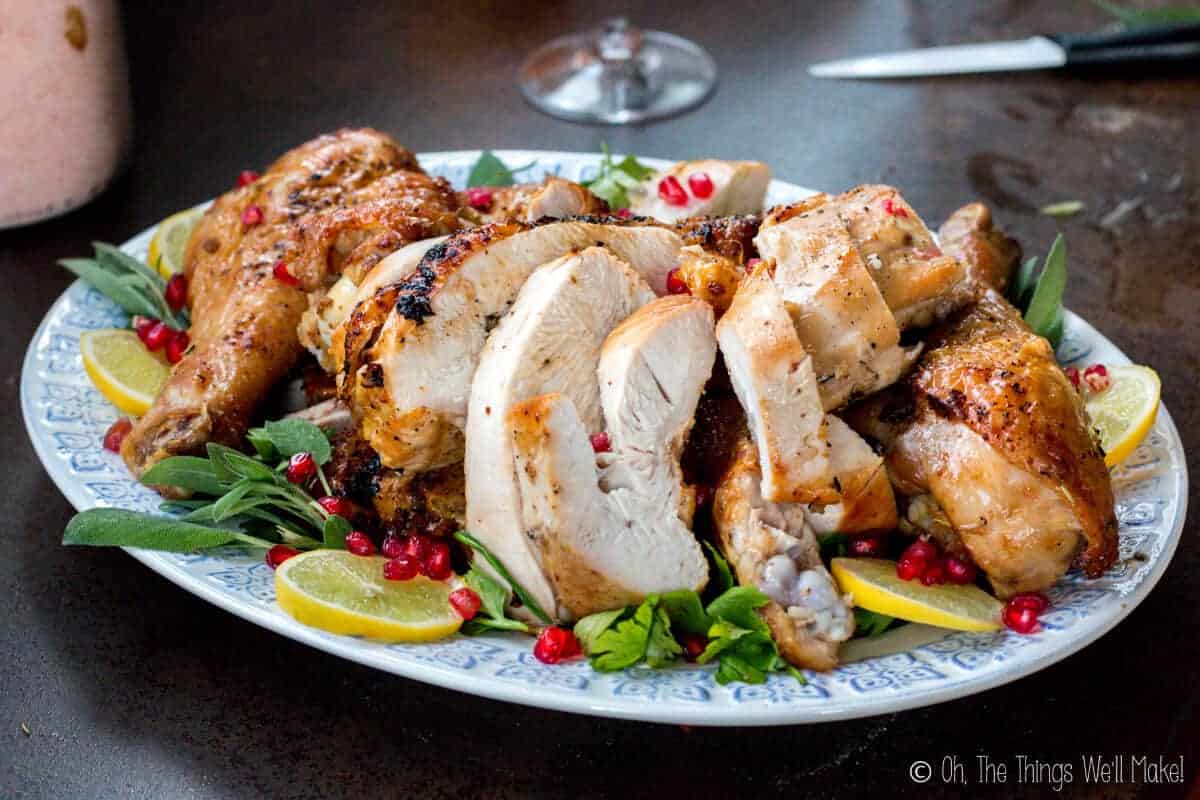
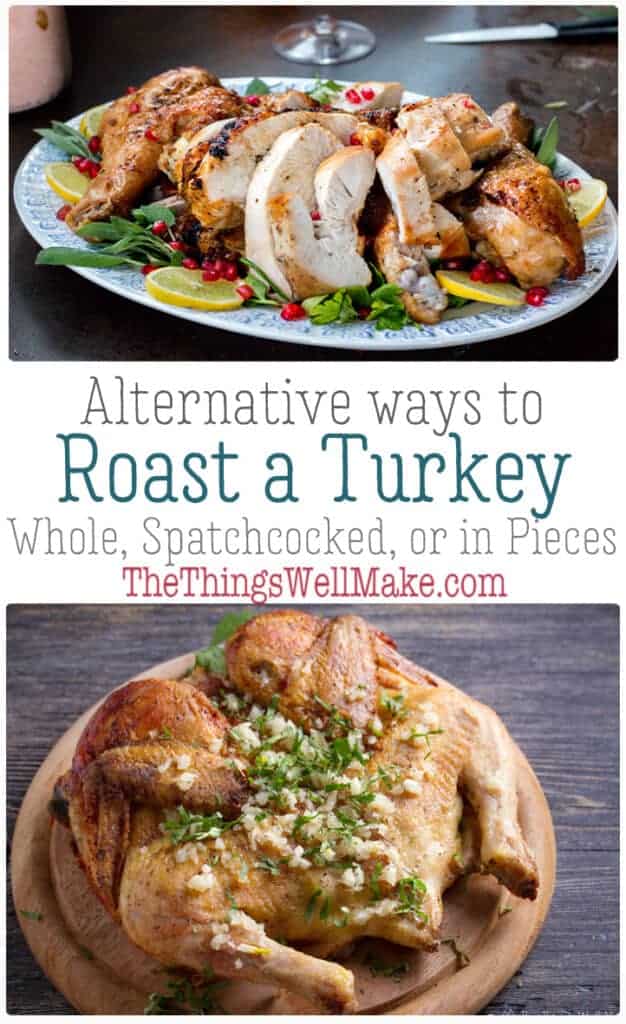
Once roasted, it’s quite simple to serve. The legs and wing can be placed on the serving platter whole. The now boneless turkey breasts are easily sliced. You can choose to slice the thighs or leave them whole, depending on the size of your turkey.
Garnish with some fresh herbs, lemon slices, and pomegranate seeds (or other fruits for color). Once garnished, you’ll never miss seeing a whole roasted turkey on the platter.
Why not serve some cute Thanksgiving appetizer skewers along with your turkey?
Leftovers?
May I suggest that you don’t throw away the carcass and any other leftover skin, bones, and other bits?
No matter which method you used to roast your turkey, the bones can be used for making a delicious turkey stock. It can then be combined with some of the other leftovers to make the most delicious and nourishing Turkey rice soup. That is, by far, my favorite way to enjoy the leftovers!
Enjoy! And have a Happy Thanksgiving!
Video
Learn to spatchcock and break down a turkey into pieces.
How to Roast a Turkey
Ingredients
- 1 turkey
For roasting the turkey whole
- ½ cup compound butter
- 2 onions
- 5 carrots
- 2 stalks celery
- 1 lemon halved
- salt to taste
- 2 sprigs
rosemary
- 1 bunch sage leaves
- 5 sprigs thyme
Dry Brine
- 4 Tablespoons salt
- 2 Tablespoons panela or brown sugar
- 1 Tablespoon garlic powder coarse grind
- 2 teaspoons onion powder
- 1 teaspoon freshly ground pepper
- 1 teaspoon thyme
- 1 teaspoon parsley
- 1 teaspoon sage
Instructions
Thaw the turkey, if frozen.
- Thaw the turkey by removing it from the freezer and placing it in the fridge. Expect it to take up to a full day for each 4lbs (2kg) of meat. If you need to speed up the process, submerge the turkey in cold water. (Expect it to take around 30 minutes for each pound of meat using the cold water method.)
Brine the Turkey
- To brine the turkey, mix together the dry brine ingredients and rub over the entire turkey. (If you plan on spatchcocking the turkey or breaking it down into pieces, cut the turkey before covering in the dry brine.) Make sure your turkey isn't pre-brined.
- Place the brined turkey pieces in the fridge for several hours, or overnight.
To Roast a Whole Turkey
- Preheat the oven to 425ºF/220ºC.
- If your turkey has been filled with a bag with the neck and giblets, remove the bag. Rinse the neck and giblets and add them to a small pot. Cover the neck and giblets with water and bring to a simmer while you continue preparing your turkey.
- Clean out anything else that may have been left inside the turkey cavity. Then, pat it dry. Leave it out for 1-2 hours to allow it to reach room temperature. Meanwhile, you can begin to prepare the compound butter.
- Prepare the turkey for the oven by slicing the compound butter, and sliding the disks of the herbed butter underneath the skin of the turkey. Spread the rest of the compound butter over the skin of the turkey.
- Slice a lemon in half, and place both halves, along with the sprigs of fresh herbs, inside the turkey. These help flavor the bird from the inside.
- To keep the turkey together, you may choose to "truss" the turkey by tying it up with cotton string. You could just tie the legs together with some baking twine or cut a slit in the skin of the tail part of the turkey, and slip the legs into the slit to hold them in place.
- Once you’ve secured the legs, tuck the tips of the wings underneath them.
- Rest the prepared turkey, breast side up, in a roasting pan surrounded by vegetables. I usually chop up onions, carrots, and celery to place around my turkey, and then cover them with the stock made from the neck and giblets (1-2 cups).
- Lower the oven temperature to around 350ºF/175ºC and place the turkey in the oven.
- If you choose to baste your turkey, do so every 45-65 minutes. To baste the turkey, take the pan drippings and drizzle them over the turkey breast. You can use either a spoon or a turkey baster. I normally don't baste the turkey during the last hour of baking, and instead rub it down with olive oil or melted butter, to ensure a nice, crispy skin.
- Most turkeys take around 13 minutes per pound to finish baking. As you near the end of the baking time, begin checking the temperature of your turkey. Every part of the turkey should reach at least 165ºF. Don't bake it so that the temperature gets too much higher than that or you risk baking it too long and drying it out. Check the temperature in the thigh, near, but not touching the bone. Also check by probing deep into the turkey breast.
- Once your turkey has reached the right temperature, pull it out of the oven and let it rest for around half an hour. This will help the juices reabsorb into the meat. Now is the perfect time to take a break, admire your work, and get all of your side dishes together.
- Once your turkey has rested, you can begin to carve it.
- Use the released juices for making gravy. Once carved, you can save the bones and skin for making a stock and delicious soup later on.
Spatchcocking a turkey
- To spatchcock the turkey, cut the skin along the spine to expose it. Cut out the spine by cutting into the bones on either side to release it using heavy-duty kitchen shears.
- Once you've removed the spine, flip the turkey breast side up and flatten it. Reserve the spine and wing tips for making a turkey stock and gravy.
- Cover with oil, salt, pepper, and any other herbs you want to use.
- Place on a tray surrounded by vegetables like onions, celery, and carrots.
- Roast at 400ºF/200ºC for around 75 minutes and then check for doneness by probing into the thicker areas of the breast and thighs with a thermometer. Roast until you've reached at least 165ºF/74ºC everywhere.
Roasting a turkey in pieces
- Have the butcher break down the turkey or break it down into pieces yourself.
- Cover the turkey pieces fully with dry brine. Refrigerate for several hours or overnight.
- Save the carcass and wing tips for homemade gravy and turkey stock.
- Place the brined turkey pieces on grill trays, and roast in the oven at 400ºF/200ºC. Check for doneness by probing into the thicker areas of the breast and thighs with a thermometer. Roast until you've reached at least 165ºF/74ºC everywhere.
Notes
To make a homemade turkey stock and delicious gravy
- Roast the turkey carcass and wingtips on a tray with some vegetables. (Onions, celery, and carrots are a good choice.)
- Remove the roasted carcass and vegetables, and add them to a pot or slow cooker to make a turkey stock.
- Cover the carcass with water and cook for several hours. If using a slow cooker, cook overnight.
- Pour off the melted turkey fat from the tray into a small container. Save it for making gravy later on.
- Pour water over the brown bits that remain stuck to the pan. Use a spatula to release them, and pour off the liquid into a small container to use in your homemade gravy.
- To make the gravy, add the turkey fat to a small pot and cook with several tablespoons of flour. Slowy add in the liquid that you have reserved for the gravy. Continue to stir and add in more turkey stock. The gravy will thicken once it reaches its simmering point.
This post was originally published on November 27, 2014. It was rewritten and republished in November of 2020, adding new roasting methods, new photos, and video.
 Español
 DIY Fun and Cute Face Masks
MAVIS
I joined oh, the things we’ll make not long ago and am very excite any time you are going to teach us a new thing and am yet to practice what I have learned from you so far. Am bless to have met you and you liking natural things. So far I have learn how to make soap and paste and about to try my hands on it. Thank you.
Tracy Ariza
Hi Mavis,
Thanks so much for your comment. I really appreciate it.
I love sharing my projects with others.
Happy Thanksgiving!