

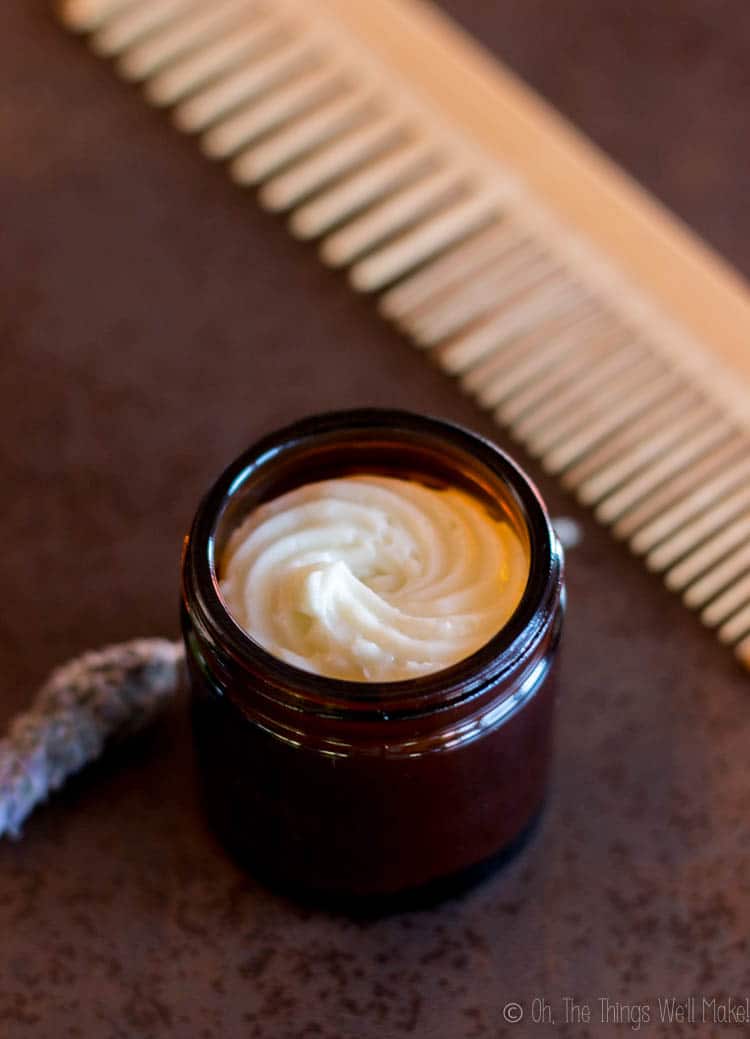
Hair Butter Recipe
Perfect as an intensive conditioner for dry and damaged hair, this hair butter recipe is simple to make and nourishing to many hair types.
For my last MIY product, I shared with you how to make a homemade whipped body butter. Whipped body butters are a type of moisturizing agent that is great for dry skin, especially in dry areas, because they provide an occlusive barrier to your skin, keeping moisture from leaving it.
Some people have been curious as to if you can use a whipped body butter on your hair, and the answer is yes! That said, it’s better served for hair with a few minor tweaks. I’ll be sharing with you some of those options for making it more hair-friendly today.
How is this hair butter different from a body butter?
Both body butters and hair butters have one main thing in common. They are both oil-based products without any water-based ingredients. Because the product is made up of oils and butters and no water, they also tend to be more expensive to make than a lighter conditioner whose main ingredient is water. The entirety of the product is an active ingredient.
While they are both very similar, there are a few things that we can modify to make a butter more hair friendly.
Choosing hair-friendly oils
The most obvious difference is to use oils that are known to be great for hair. Some of the more common hair oils are argan oil or shea butter, but other oils like avocado oil and illipe butter are also great, nourishing oils for hair. Broccoli seed oil is another lesser known oil that works really well for many hair types. It is often used as a silicone substitute in natural hair care products. As you get to know your hair, you can better judge which oils and butters work best for your hair type. So, if you know that shea butter doesn’t play well with your hair, you can try another butter like illipe butter and see if that works better for you.
I purposely used several oils and butters in this recipe to give you an idea of some great choices for developing your own hair butter, but you don’t need to use all of the oils and butters that I used. You can simplify the recipe and adapt it to what you have on hand, or what works best for your hair. (You may need to adjust the ratios slightly to get a product with the right texture if you are making a lot of changes to the recipe.)
Adding an emulsifier
Another difference between this hair butter and the whipped body butter that I showed you the other day is that I have added an emulsifier to this recipe.
Although there is no water in the recipe, you can still add an emulsifier to change the properties of certain products. In the case of the emulsified sugar scrub recipe, I added the emulsifier so that the sugar scrub wouldn’t feel so greasy on the skin. As you add the scrub to your wet skin and scrub, you are basically forming an emulsion with the water on your skin, converting it into a lotion-like scrub. That leaves you with soft, supple skin after the scrub and a not-so-greasy feeling.
In the case of this hair butter, though, we aren’t using just any emulsifier. We are using an emulsifier that is also a cationic surfactant. Cationic surfactants are great at detangling your hair. They also cling to your hair and reduce the static that can be formed when you damage your hair. (Your hair normally has a slightly negative charge overall, but this increases when you damage your hair.) Cationic surfactants are, in my opinion, the best emulsifiers for making a hair conditioner, and it’s what normally sets a conditioner apart from a normal homemade lotion.
Do you need a preservative in this product?
Technically no.
Because there is no water (nor are there any other aqueous ingredients) in this hair butter, you don’t really need to add a preservative to it. That said, I added one to mine and you may consider adding one to yours too.
Why would you want to add a preservative?
Any time that you are using an oil-based product in a humid environment, or are going to be scooping it up with wet hands, your product can become contaminated with water which can be a source of microbial growth. If you plan on using this on wet hair and think that you’ll be likely scooping the hair butter out of the jar with wet hands, it’s a good idea to use a preservative. The same goes for using it in a really humid environment, like when you are getting out of a steamy shower.
Who benefits most from a hair butter?
Hair butters aren’t normally used as a day-to-day conditioner, but are more often used as an intensive deep conditioning treatment occasionally. That said, it really depends on the type of hair a person has as to how often to use one and/or if it will be beneficial to that person’s hair.
The porosity of the hair
Because hair butters are quite rich and heavy, they tend to work better on hair with high porosity. High porosity hair is hair that more easily absorbs oils and other hair products. People with high porosity hair may even be able to use small amounts of a hair butter more often and as a leave-in product that helps smooth the hair and keep frizz away.
People with low porosity hair will probably find that the hair butter will just sit on top of the hair, weighing it down. They still may be able to use this product occasionally as a deep, wash-out conditioner, but they may not be as happy with the way it makes their hair feel.
If you aren’t sure about the porosity of your hair, there are several methods to help you determine it. Read more about how to determine the porosity of your hair.
Dry hair vs. oily hair
Just as this hair butter works best for people with high porosity hair, it also tends to be favored by people with hair on the dry side. Those with oily hair may feel that a hair butter makes their hair feel greasy.
How to use a hair butter
Depending on your hair type, there are several ways that you can use this hair butter on your hair.
As a deep conditioner
As an occasional deep conditioner, you can use this hair butter in place of your normal conditioner. Scoop some out and apply it to either wet or dry hair and allow it to stay on your hair for several minutes. I prefer to use it before shampooing, as I use quite a bit and am not able to rinse it out thoroughly afterward. Some people, though, prefer to shampoo first and use this as a rinse out conditioner afterward. Again, it really depends on your hair type!
As a sort of hot-oil treatment
Perhaps this will age me, but I remember being a young pre-teen/teenager and following the advice in Teen Magazine for how to keep myself looking my best. One of my favorite hair memories was when I went to a Monkees concert (1986-ish?) after having made big 80’s hair thanks to wrapping strands of it around the plastic adapters used in the center of the 45RPM (smaller) records.
Another thing I learned, though, was how to do a hot-oil treatment. At the time, I’d occasionally sit in a bubble bath with my hair wrapped up in a towel with VO5 hot oil treatment on my hair. (I see that it’s still around. 🙂 ) I never really thought it helped my hair much, and often left my hair feeling greasy, but I continued because Teen Magazine always knew best. 😉
Anyway, sorry for getting off topic…
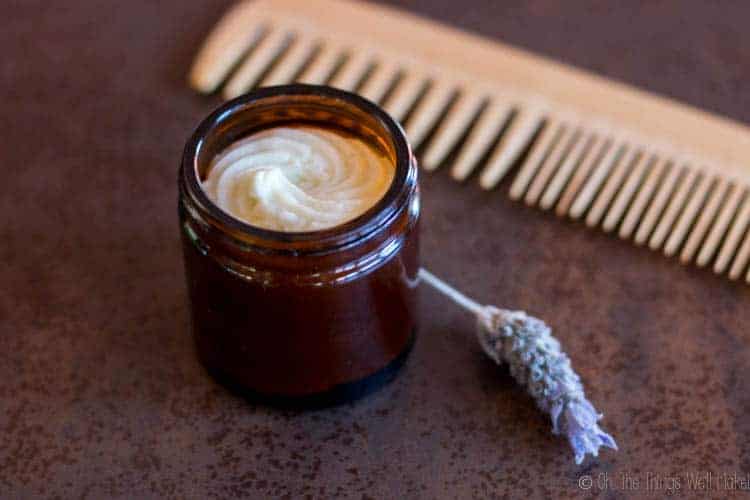
The idea is that by heating the oil, it will deeper penetrate the hair. These days, rather than heat oil and run it through my hair, I like to scoop out some hair butter and comb it through my hair. I then do a sauna session with it. (I bought my husband an infrared sauna similar to this one for his birthday last year. It’s always a good idea to buy gifts that are just as beneficial to you. Am I right? 😉 )
If you don’t have a sauna, you can carefully blast some warm heat from your hair dryer onto your coated hair. (Don’t go crazy with the super-hot setting. You can also diffuse the heat slightly by wrapping your hair in a thin towel before blasting it with hot air.)
After you’ve allowed the oils to penetrate your hair, you then wash your hair with shampoo as usual.
As a leave-in hair smoother
Rather than applying a lot to your hair and rinsing it out, you can use a smaller amount as a way to smooth your hair and keep frizz away. I was actually surprised at how well this works for my slightly dry, curly hair.
When I used to wash my hair more often, my hair felt a lot oilier and I probably wouldn’t have been able to use a hair butter as a leave-in product. These days, though, I don’t wash my hair very often at all, and when I do, I wash it with a lighter shampoo that doesn’t use harsher surfactants like SLS. (I normally wash my hair with my homemade clarifying shampoo around once a week.)
My hair has adjusted, and rather than being on the oily side between washings and needing to wash out excess oils, I actually use the new wash to hydrate my hair again. I find myself adding leave-in conditioners on my hair and even sometimes add some oils, like argan oil, to the tips of my hair to keep them from drying out.
In the same way that you can use a very small amount of oil to smooth out your hair and nourish it, you can also use this hair butter.
To apply it as a leave-in hair smoother, take a small, pea-sized amount of hair butter and rub it between your hands to melt it and spread it out over your hands. You can then rub your hands over your hair, concentrating on the areas near the tips of your hair to keep your scalp from looking greasy.
The hair butter should help shape your strands, reduce frizz, add shine, and help nourish your hair, all at the same time.
If you have oily or non-porous hair, though, you’ll probably find that the hair butter makes your hair look heavy and/or greasy.
How to make hair butter
Hair butter recipe
Materials
- 25 g shea butter
- 20 g illipe butter
- 7 g BTMS or other cationic surfactant
- 5 g broccoli seed oil
- 5 g squalane
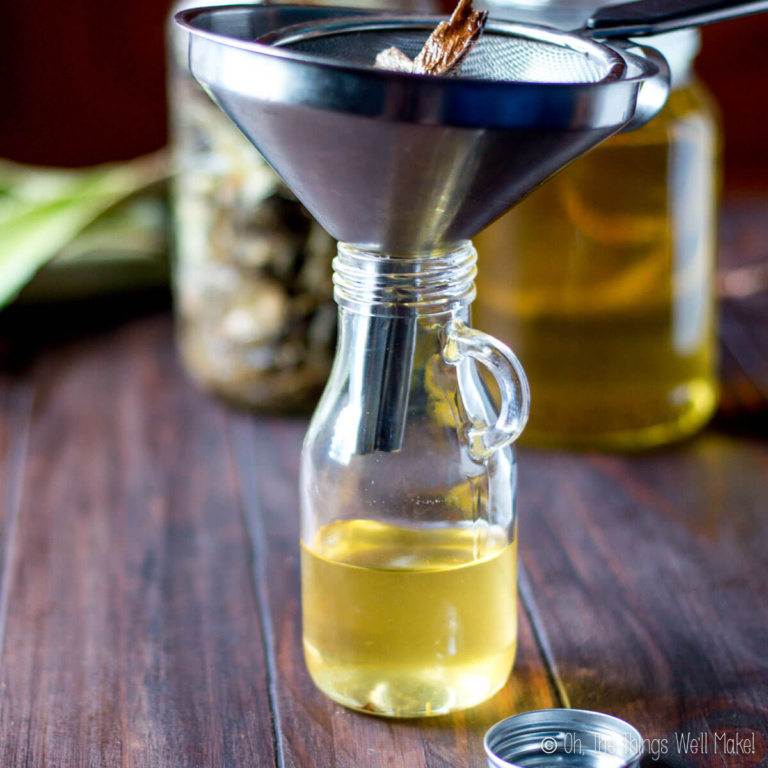
- 20 g aloe oil I make my own aloe oil.
- 5 g babasu oil
- 5 g argan oil
- 5 g avocado oil
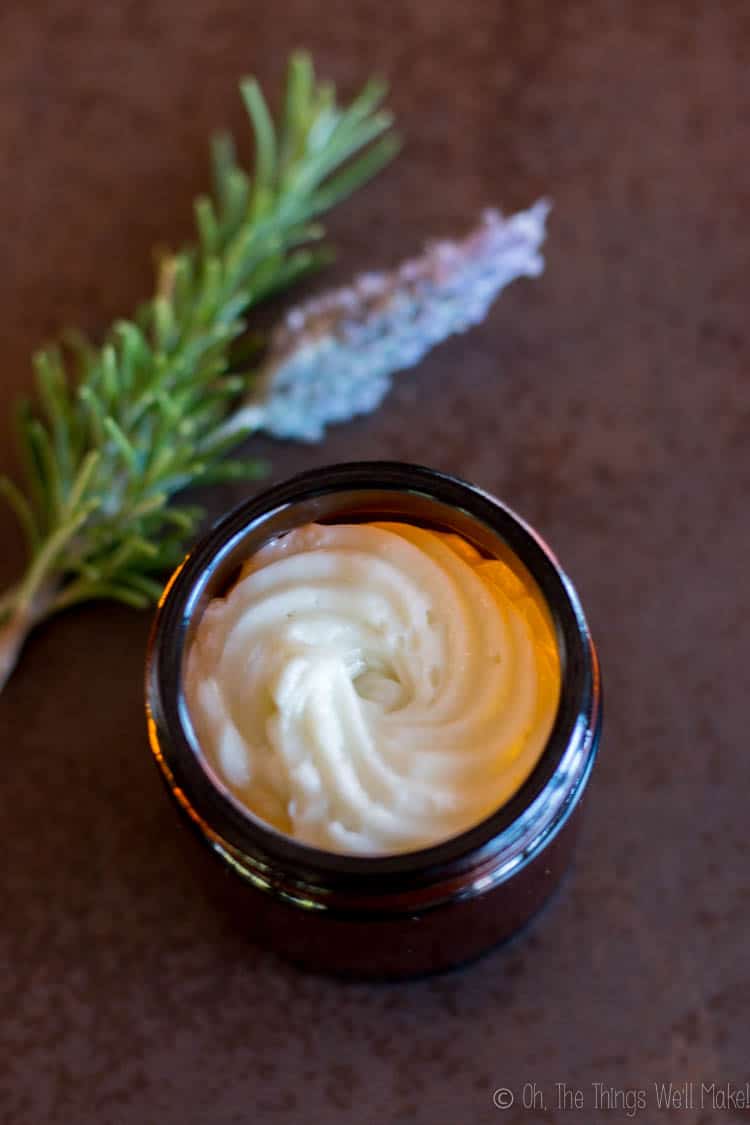
- 1 g essential oils I used a mix of lavender and rosemary.
- 1 g vitamin E
- 1 g natural preservative I used Euxyl K903.
Instructions
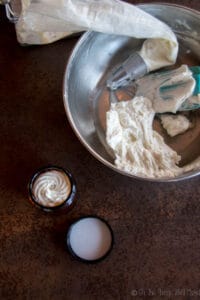
- Melt the shea butter and illipe butter with the BTMS over a double boiler.
- Once melted, remove from heat. Add in the carrier oils (the squalane, aloe oil, argan oil, and avocado oil). Stir until combined.
- Place the mixture in the freezer to cool it rapidly. (This is to keep the butters from getting grainy in texture.)
- After a few minutes, remove the butter from the freezer, and scrape down the sides of a bowl with a spatula. Stir the ingredients. Place the mixture back in the freezer.
- Once the temperature has reduced to below 100ºF/40ºC, add in the rest of the ingredients (the vitamin E, essential oils, and preservative). Combine all ingredients well.
- Place the mixture in the freezer again for another few minutes.
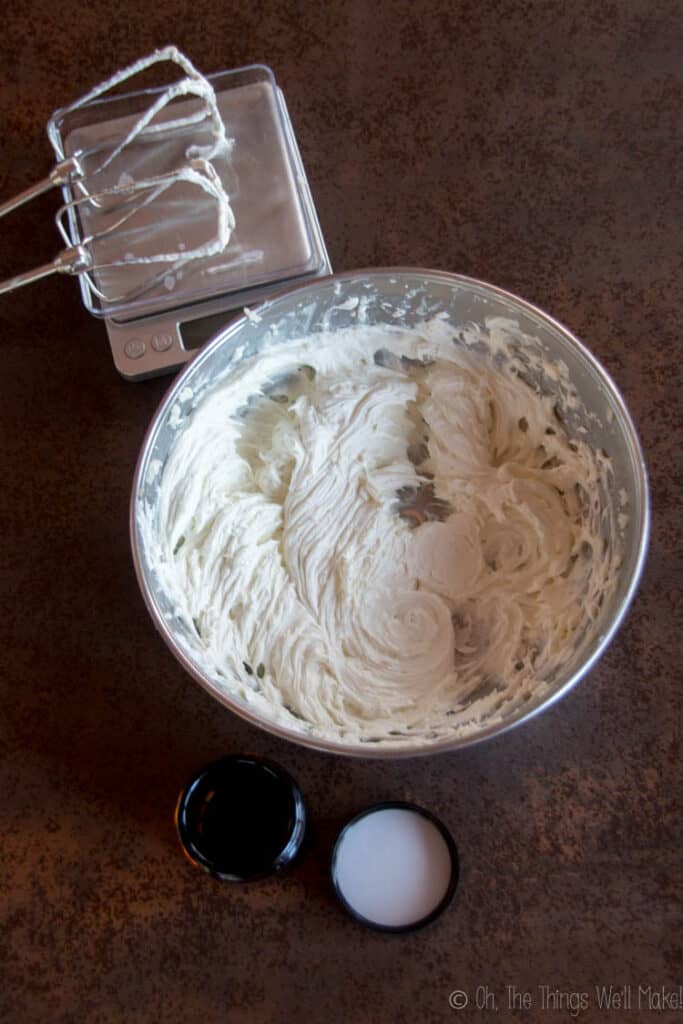
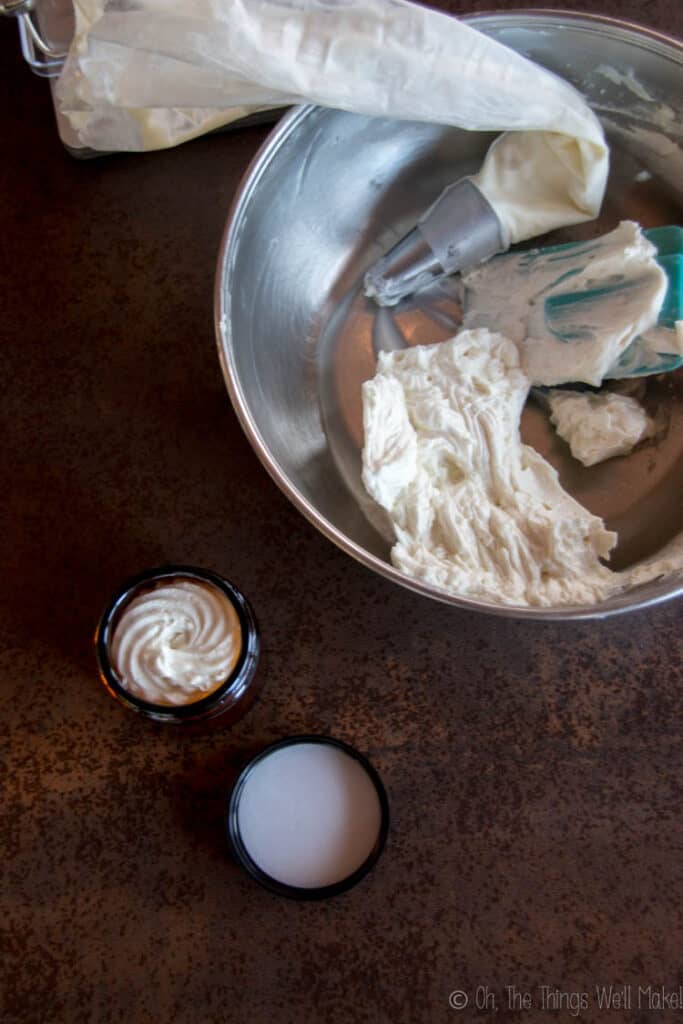
- After a few minutes have passed, remove it from the freezer and use a spatula to scrape down the sides of the bowl again. Mix everything together and you can now begin to whip up the mixture with an electric beater.
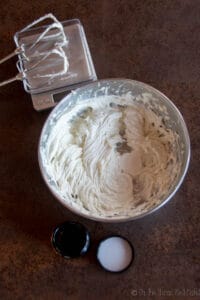
- Continue to cycle between adding the mixture to the freezer and taking it out to whip it until the butter holds its shape.
- Once you’ve gotten to a whipped, solid texture, you can transfer your mixture to glass jars for storage.


Hi. Thanks for this recipe. How long can this butter last. Also will it melt if it’s been transported or kept in a higher temperature environment. N lastly can I add bee wax to make it harder n not melt? If yes what quantity of bee wax can be used for this ur exact measurements.
Thanks so much.
Hi Precious,
Like body butters, yes, this will be temperature-dependent. It can melt if exposed to high temperatures. Adding ingredients with a higher melting point can raise the melting point of the finished product, but they will also make the product harder- which will make it more difficult to use.
Because it doesn’t have any water-based ingredients, it keeps for a long time. You can go by the expiration date of your ingredients to have an idea about the shelf life.
Hello,
Can’t we out BTMS of this recipe or any substitute ingredients for that please
Thanks
Hi Prasad,
You can try, but it won’t have the same feel. BTMS is a specific type of cationic emulsifier. You need a cationic ingredient to make it feel “conditioning” to the hair.
You could try to use a different cationic emulsifier, but those are harder to find. Emulsense HC is an example.
This doesn’t have a pH reading as it isn’t water-based. The shelf life is dependent on the ingredients you are using. So, if you’re using oils that will expire in 6 months, for example, this would have the same type shelf-life expectancy, more or less.
HELLO,
Would you mind please tell me are there any substitute ingredients, pH value, and shelf life of the product please?
Thanks
I’m excited to try this recipe! If I’m swapping out oils, do I want to keep a 50/50 ratio of thicker butters to liquid oils? So I could use 45 g shea butter and 45 g olive oil and it should still turn out well?
Hi Tara,
Yes, that’s a good goal to shoot for- to keep the ratios of the types of oil similar.
You could definitely try that to simplify the recipe. If you find it to be too hard or too soft, you can always adjust it slightly by remelting and adding more liquid oils to soften it or more butters to solidify it more, if needed.
Awesome! I’m excited to give this a try!
Would 1g of Leucidal work well for the preservative? I got Leucidal to make your lightweight hair conditioner and it would be nice to stick to one preservative. =)
Hi Tara,
Leucidal is probably fine, but the normal recommendations for it are usually at 2-3% of the recipe by weight (vs. around 1% for most preservatives).
So, I’d use around 2-3g for every 100g of hair butter.
Seeing as this is an anhydrous product (one without water), the preservative isn’t as important.
You could technically get away without one if you keep it in a cool, dry place.
Hallo. tHANK YOY FOR THEESE INTERESTING POSTS. Can I use this emulgator instead of BTMS ? In hair butter receipe?
https://www.amazon.de/-/en/gp/product/B004ZWM0VG/ref=ppx_yo_dt_b_asin_title_o07_s00?ie=UTF8&psc=1
Hi Tamar,
I’m not familiar with that emulsifier.
That said, BTMS is different from most emulsifiers in that it is a cationic emulsifier which gives it a conditioning property. Using a different emulsifier won’t give the same detangling properties.
Hi Tracy
I’d really love to try this recipe but living in Australia I’m finding it a challenge to buy some of the ingredients.
Any suggestions what I can replace illipe butter and babasu oil with? Also, squalane, I’ve found it here but it is soo expensive, I’m hoping there is something similar I could use instead?
Then, I’ll be using Geogard as a preservative, would the amount be the same?
Thanks again for such an awesome site.
Lee
Hi Tracy,
Thank you for this. You just got the porosity wrong. If you have low porosity, that means your hair doesn’t absorb much of anything, oils will just sit on top of it.
Hi Katrin,
Wow- I totally mixed things up when I was writing! It must have been one of those days. ? I can’t believe I never caught that. Sigh.
Thank you so much for catching that. I went in and fixed it immediately!
How long do these keep for, and what is the recommended storing?
Because it doesn’t have any water-based ingredients, it keeps for a long time. You can go by the expiration date of your ingredients to have an idea about the shelf life.
Thank you so much for the recipe. But what can we use instead of broccoli seed oil and babasu oil?
Hi Níhal,
I used those to show some of the oils that are known to be good for hair.
Broccoli seed oil is a sort of natural silicone replacement. There isn’t really another oil I know of that is similar to it, but you can leave it out. It helps with frizz, etc., but the other oils also can do that. You could sub it for a liquid oil that you have on hand.
The babasu oil can be subbed for coconut oil (because they have very similar properties) or, perhaps, a liquid oil so that the butter isn’t too hard to easily use.
Oooohhh…I am so excited to try this and see how it works on my frizzy, grey hair! I think I’ll make it today! Stay tuned!
I hope you like it! 🙂
I mostly use it as a “hot oil” treatment. I leave it in for around 20 minutes while in the sauna and then wash it out. I use it every several weeks. That said, I have used a very, very tiny amount rubbed over my hands as a leave-in frizz tamer on dry days, and that works well for me too.
I love this butter! I have grey hair, so it’s quite dry. It’s also wavy with a lot of frizz and I’ve been battling that/trying to accept that for my entire life. Because my hair is pretty fine, Shea butter is a little heavy, so I went with mango butter, avocado butter, capuacu butter (which is a new one for me), avocado oil, argan oil and olive squalane (plus emusifier, vit E, preservative and lavender and rosemary essential oils). I put it on my hair before going running and left it for about an hour and a half or so before I showered and washed it out. I’m not using clarifying shampoo (yet! it’s on my list to make!), so my hair is not clarified, but I washed it with a conditioning shampoo and conditioner and then applied my usual products (which don’t particularly work). I dried my hair on low heat and left it a little wet and then put some more of the butter on the ends. Then I went out to pick my kids up in the pouring down rain and when I came home I didn’t look like I had been electrocuted. Result!
Hi CLaire,
Yay! Awesome! I’m so happy it helped with the frizz.
I’ve also rubbed a very tiny amount on my hair when it gets dry and rub the tiniest bit over my hair to help with flyaways- and that seems to work really well for me.
Thanks for the suggestions for other butters- that could be very helpful to other people too!