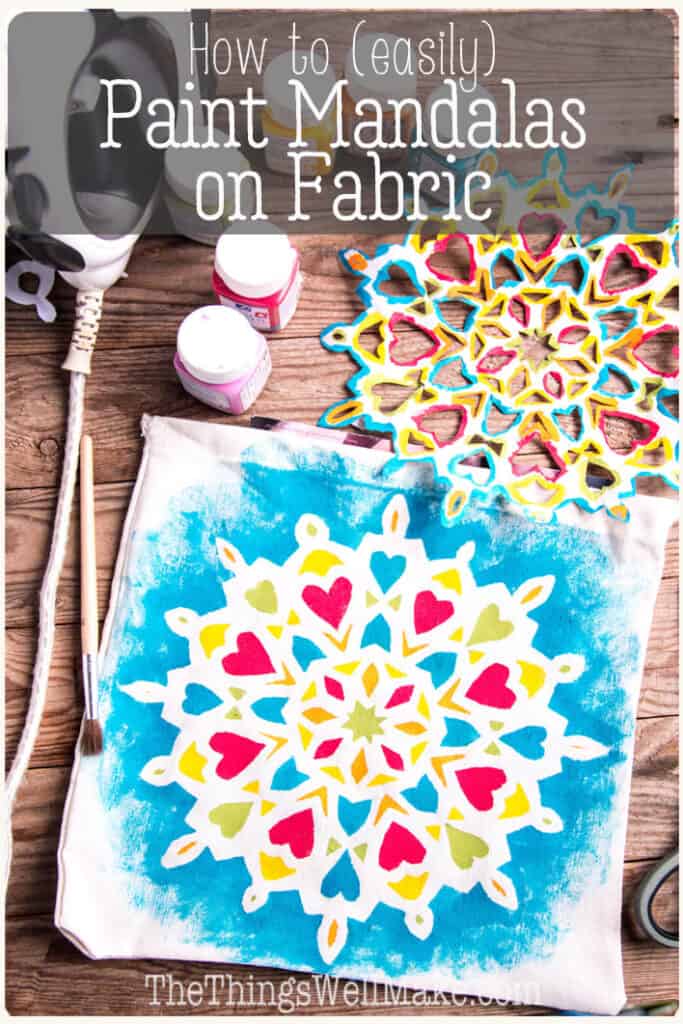
Easy Mandala Painting (On Fabrics)

It’s easier than you think to paint professional-looking, colorful geometric designs on fabric. If you can make a paper snowflake, you can paint a beautiful mandala design. This is a fun project for kids and adults alike.
Some mandala purists might not approve of my technique for making mandalas, but when you are working with young kids, you need to find easy methods that allow them to make something beautiful as easily as possible. While this isn’t fool-proof, it’s a pretty good way to ensure that a not-so-artistic child (or adult) can feel like an expert painter.
What is a mandala?
The word “mandala” means “circle” in Sanskrit.
In English, the word is used to describe a wide array of circular geometric designs. While they originate from Eastern cultures and are associated with Buddhism, they have been seen adapted into all sorts of designs (both nonreligiously and in other religions.)
I personally don’t look at them or use them as a religious symbol, but instead, appreciate the intricacy of the beautiful designs that remind me of a kaleidoscope.
These days, many people choose to color beautiful mandala designs as a way to relax. They also make dot mandala designs that are especially popular in rock painting.
How this Project Came About
Let me tell you the story about how this craft idea “unfolded”… (Excuse the pun.)
It was time for another craft tutorial at my friend’s summer school. We had been wanting to do tie-dyeing with the older kids, but we couldn’t get our hands on the Procion dyes (the best, high-quality dyes for tie-dyeing) in time for our project. So, we decided to have the kids paint their t-shirts instead.
We considered watering down the fabric paints to a dye-like consistency and using them with a spray bottle, but were afraid that might be too messy and too quick of a project. So, we decided to let them free-hand it.
I went armed with some craft foam for making stamps, freezer paper, paint brushes, fabric paint, and fabric markers.
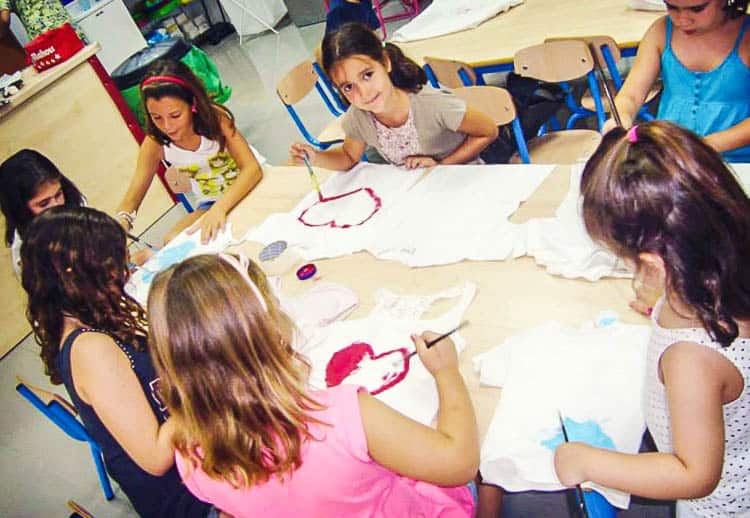
Before we began, I explained some of the techniques to the kids and told them to come up with a plan. The girls instantly decided that they wanted to paint hearts with either their names or “I love you” or both. The boys had a more ambitious goal of painting Ferraris.

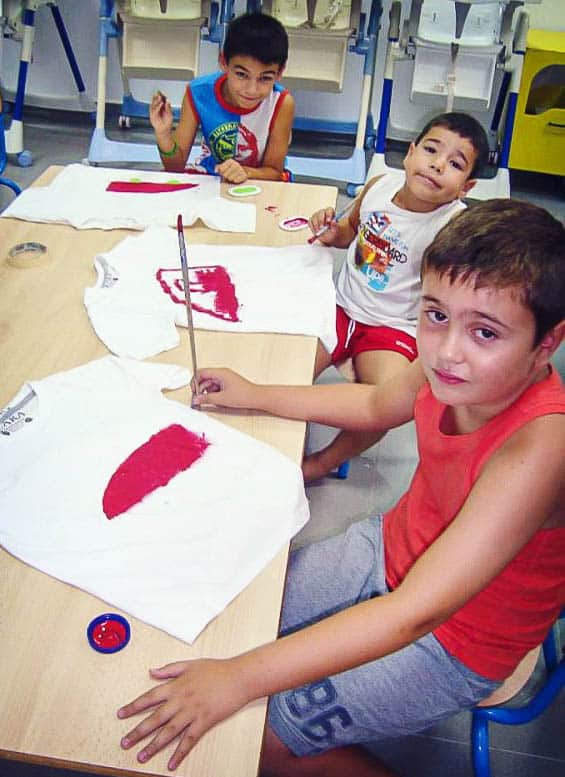
Not having a clue about how one would paint a Ferrari, I left the boys to fend for themselves with their paintbrushes, paint, and markers.
I decided to help the girls make their hearts instead. To make completely symmetrical designs, I showed them how to use freezer paper. I folded the paper in half, cut out half a heart, and opened it to a perfectly symmetrical heart for the girls.
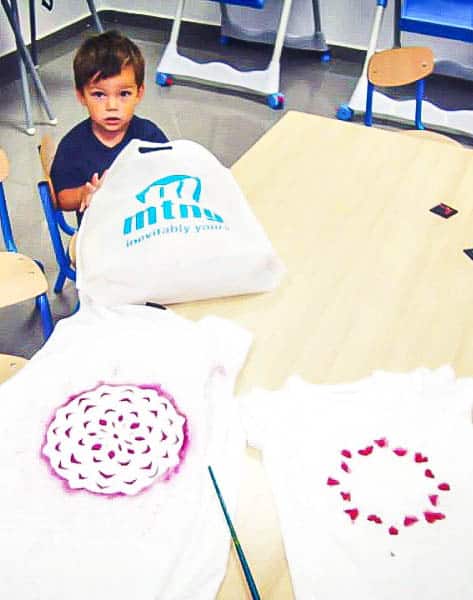
Doing so brought back school memories of cutting out hearts and snowflakes. That’s when it hit me: Freezer paper snowflakes (aka. mandalas) would make a great stencil for a T-shirt!
We cut out some paper snowflakes, adhered our designs to the t-shirts with an iron, and then painted on the designs.
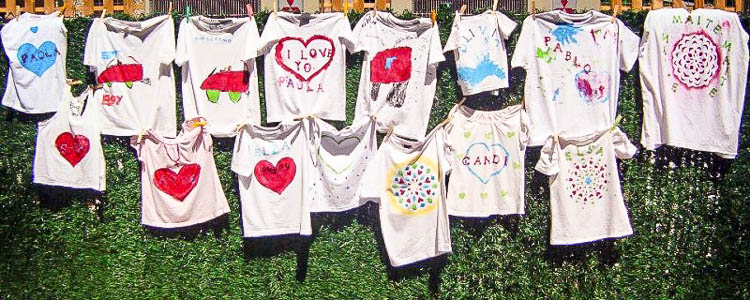
At the end of the day, we had t-shirts of all sorts. Some were stamped, some used freezer paper, and some were done free-hand.
How to Paint a Mandala on Fabric
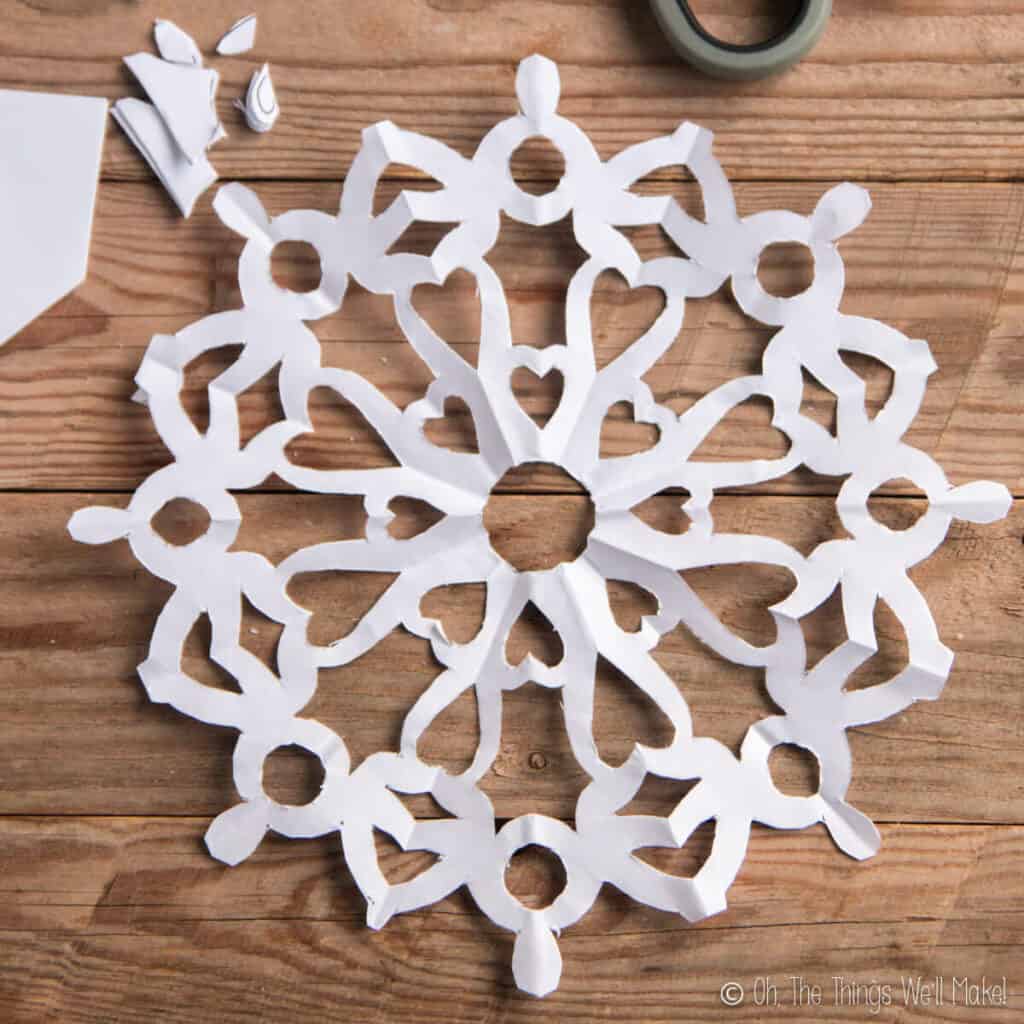
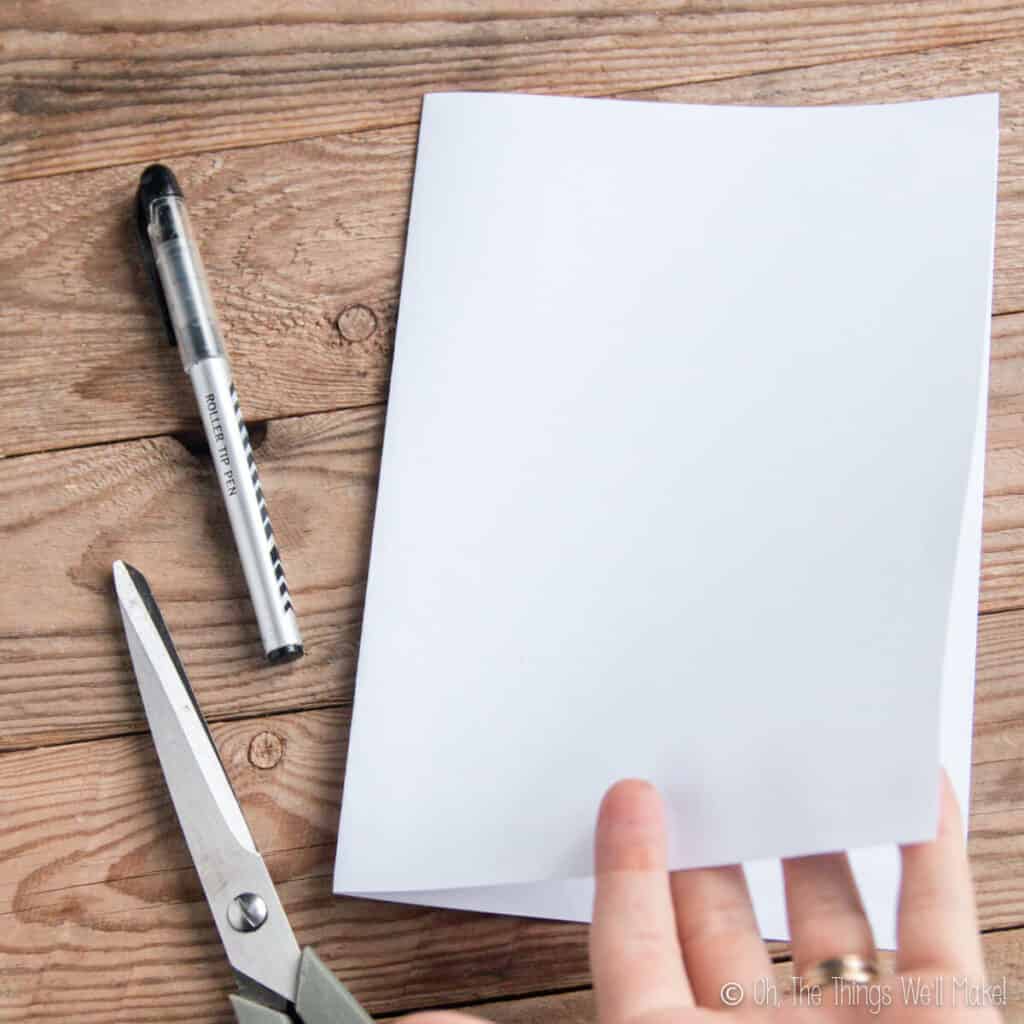
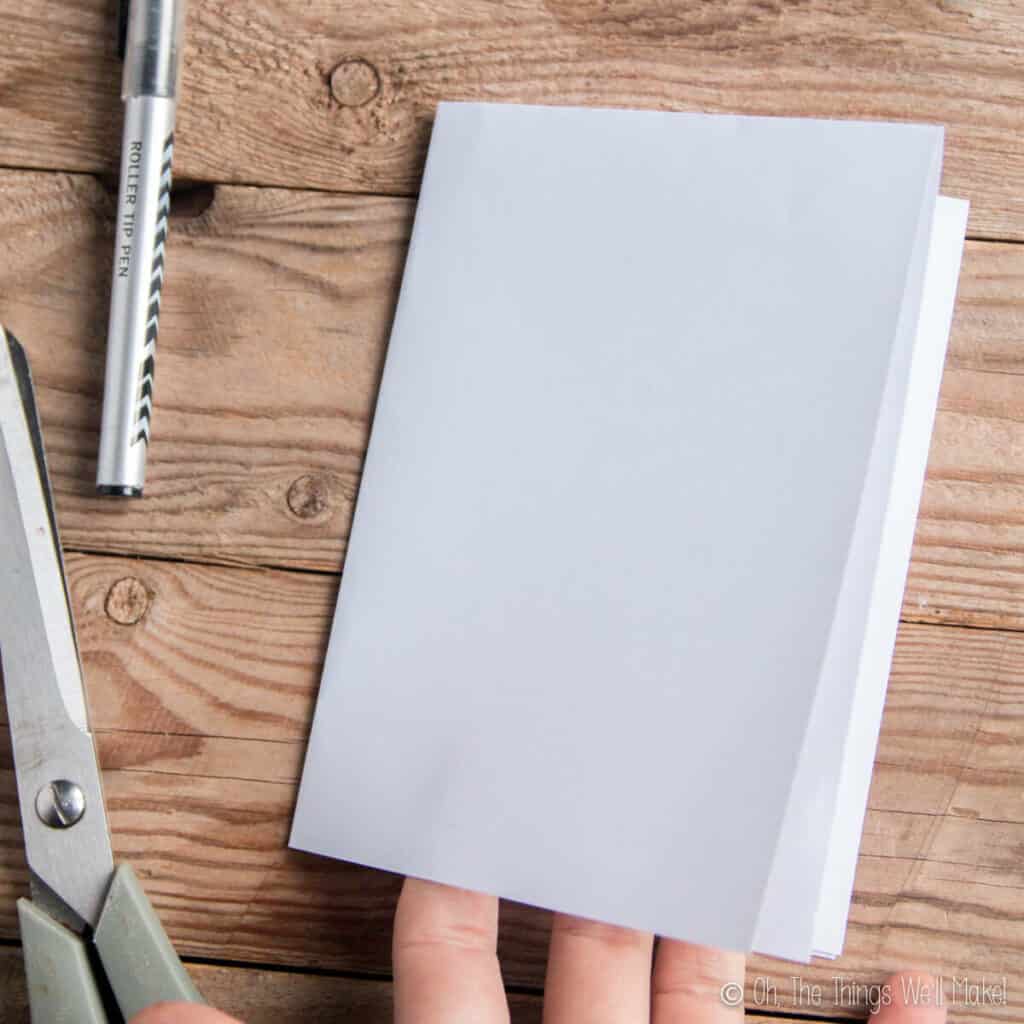
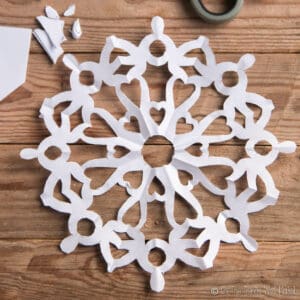
Make a paper “snowflake” (using freezer paper)
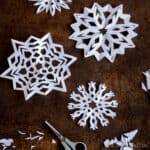
This project begins with making a paper snowflake. If you don’t know how to make a snowflake, check out my post on making paper snowflakes.
How to Make Paper Snowflakes
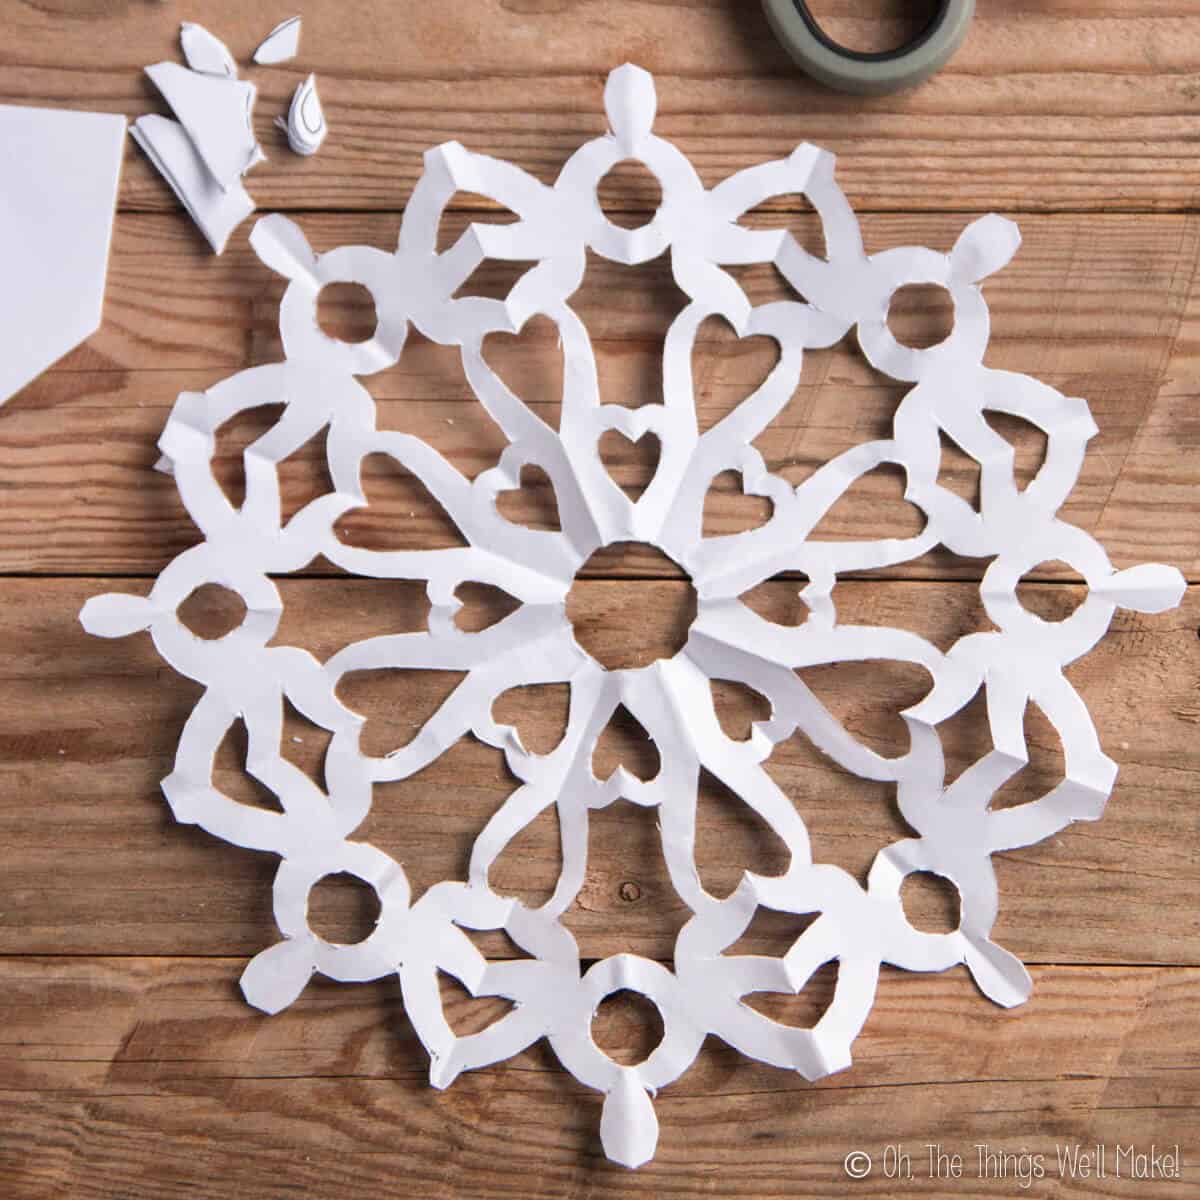
For the mandalas, I chose to make snowflakes with 8 points. (More about that in the post.)
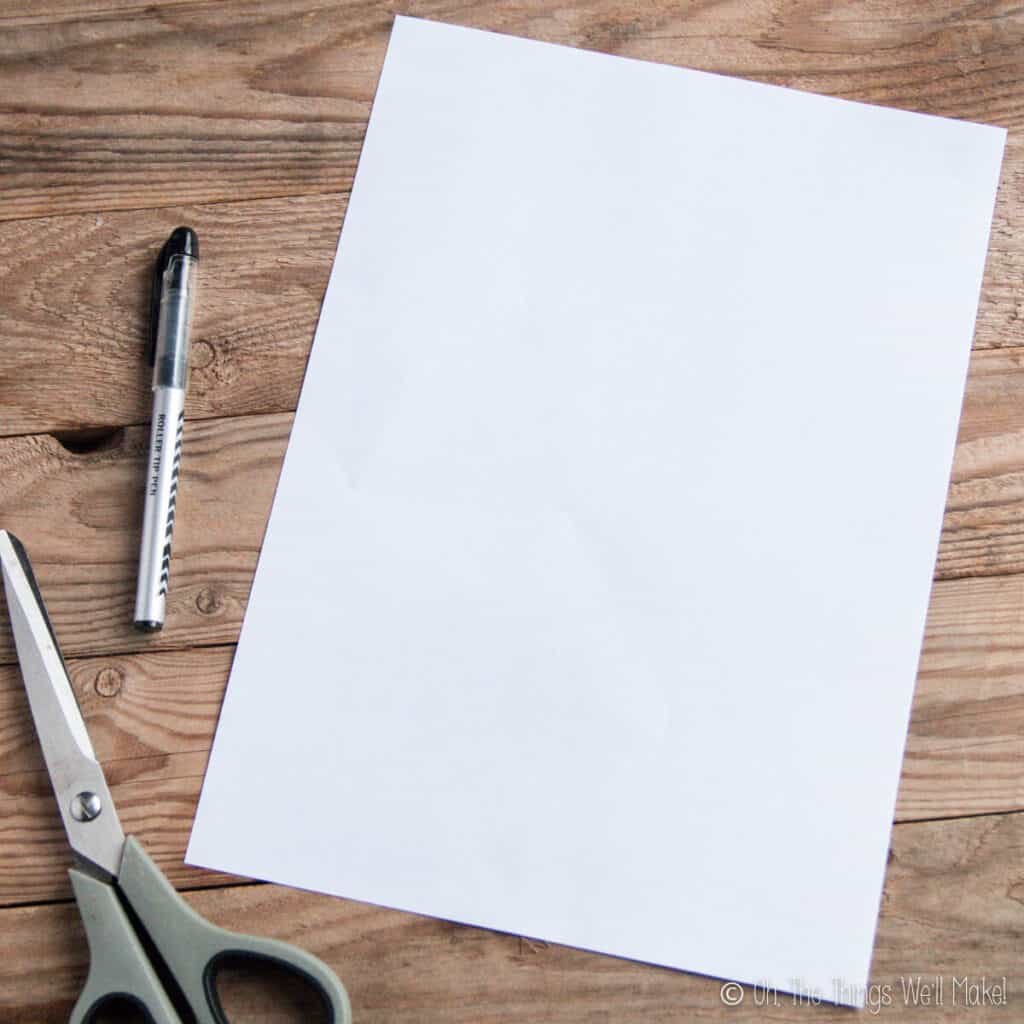
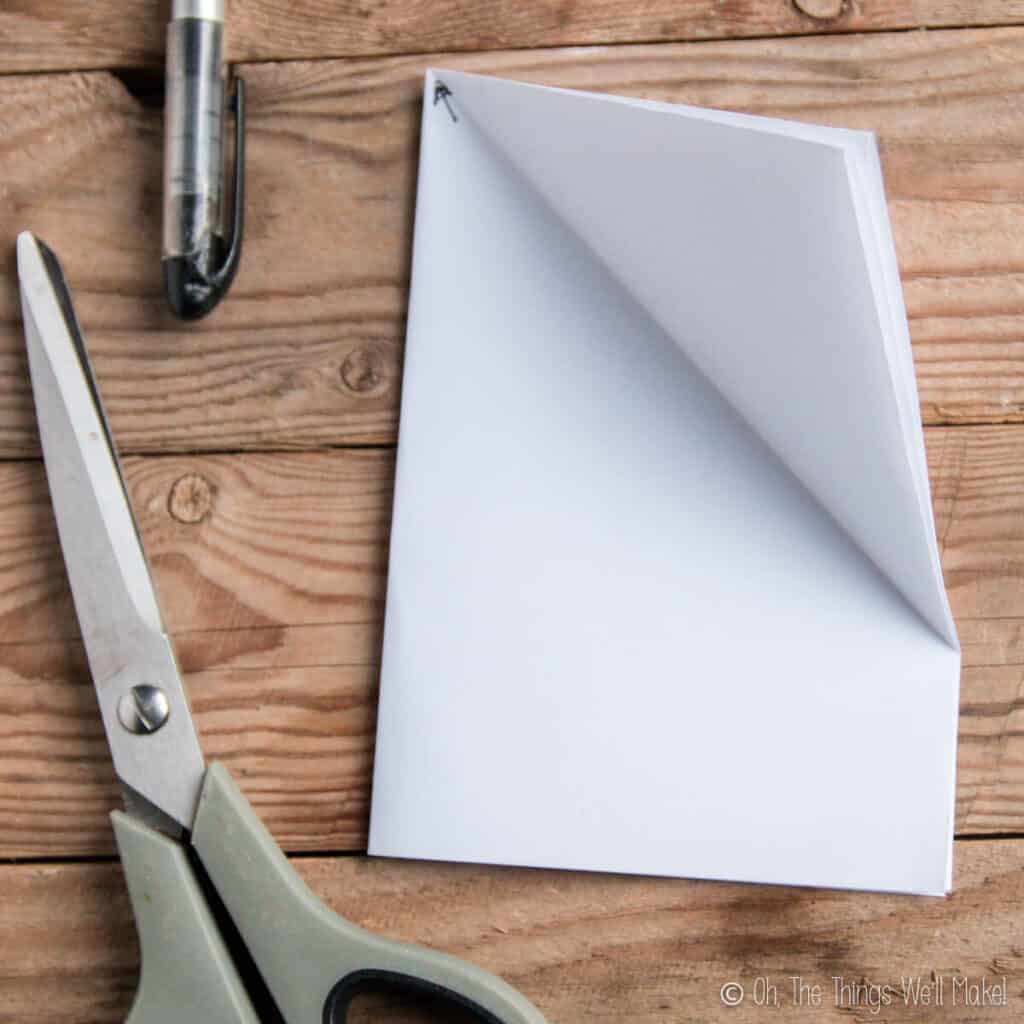
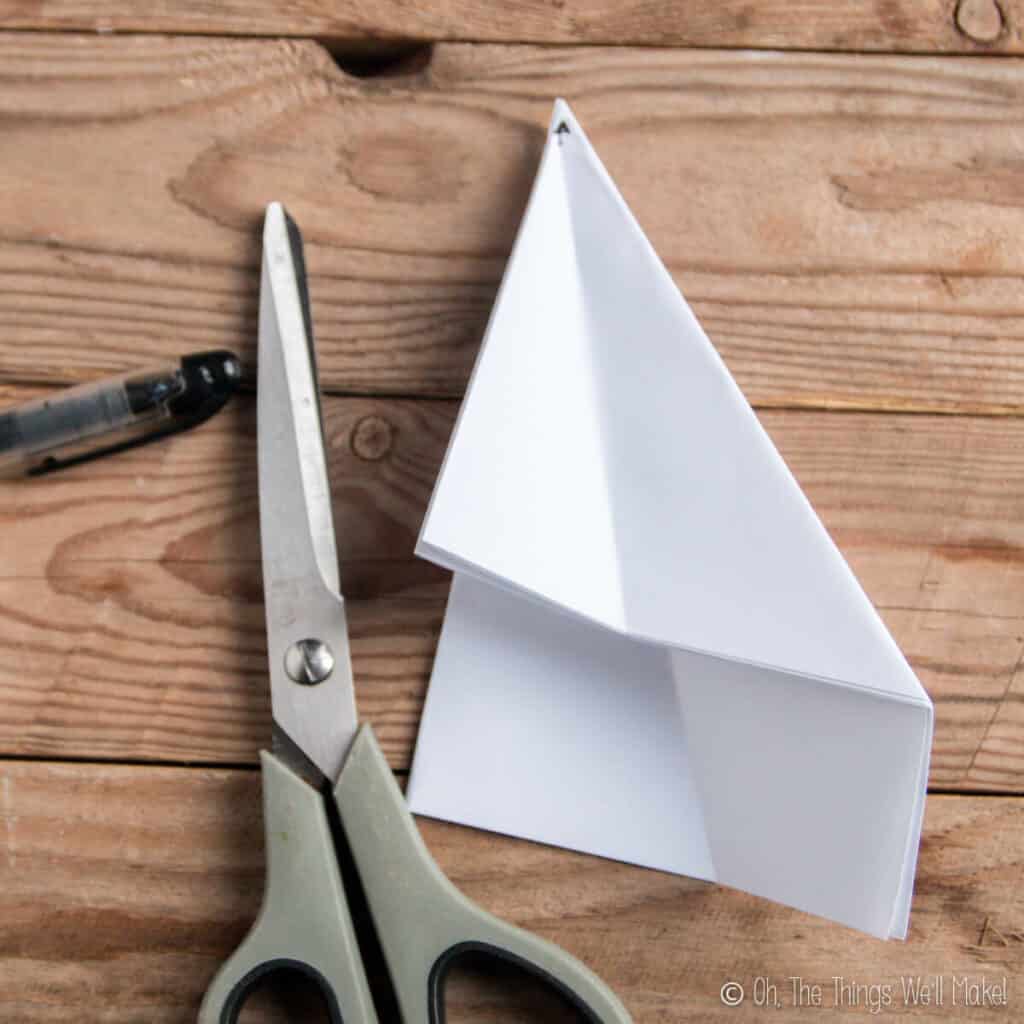
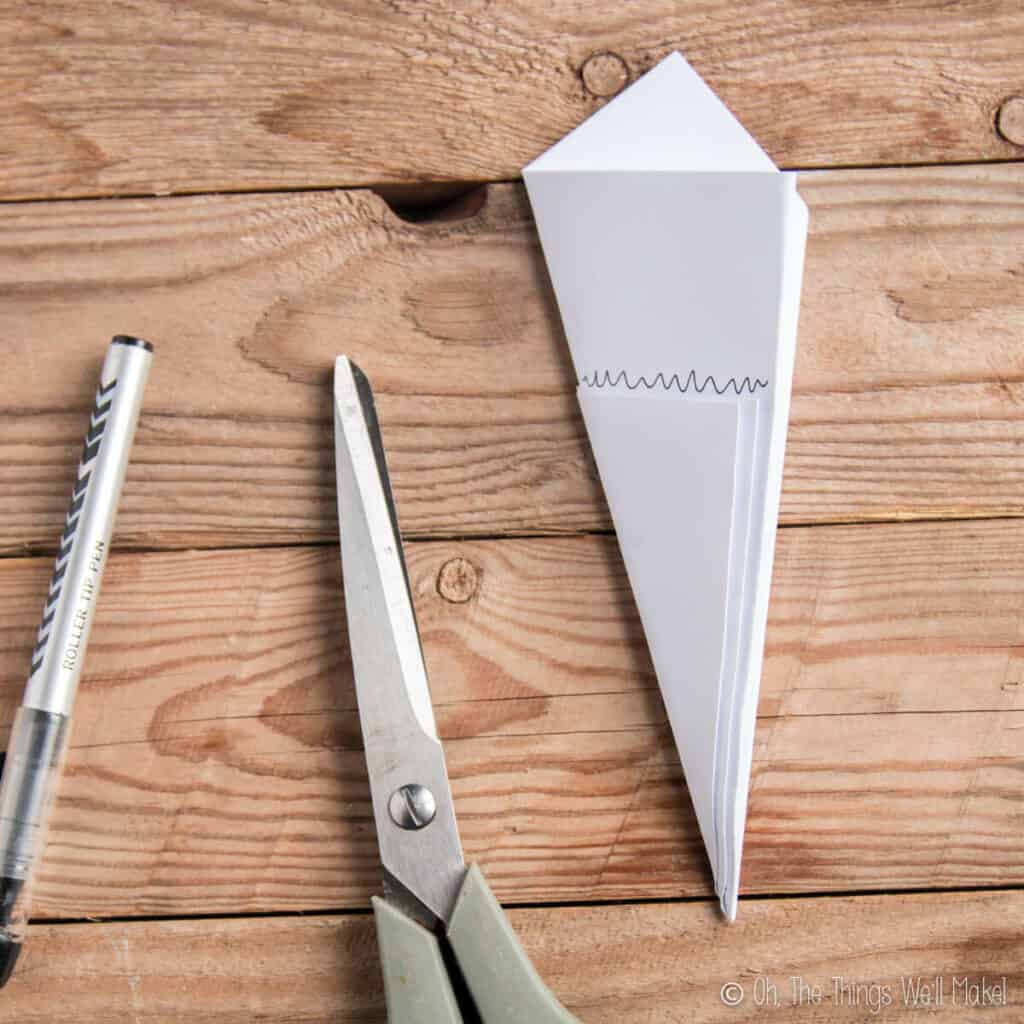
Once you have your paper folded with the excess paper cut off and removed, begin cutting your design.
I normally cut out random shapes at this point, but I decided to draw out some shapes to give you an idea of how to do it.
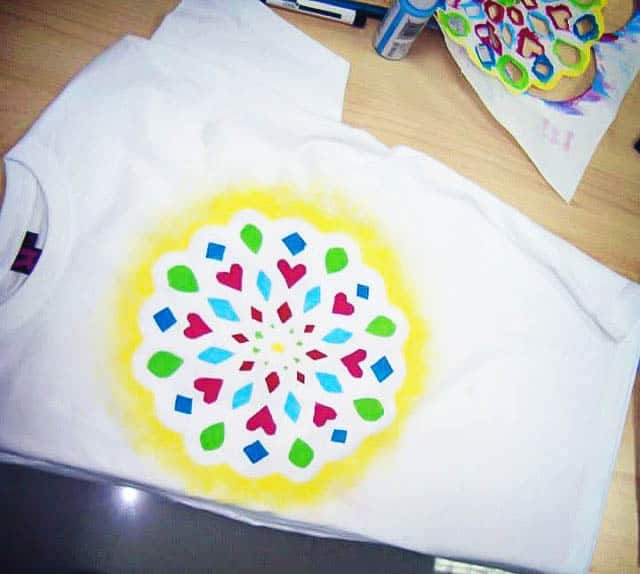
I wanted my snowflake to have scalloped edges, so I cut curves into the outer edge.
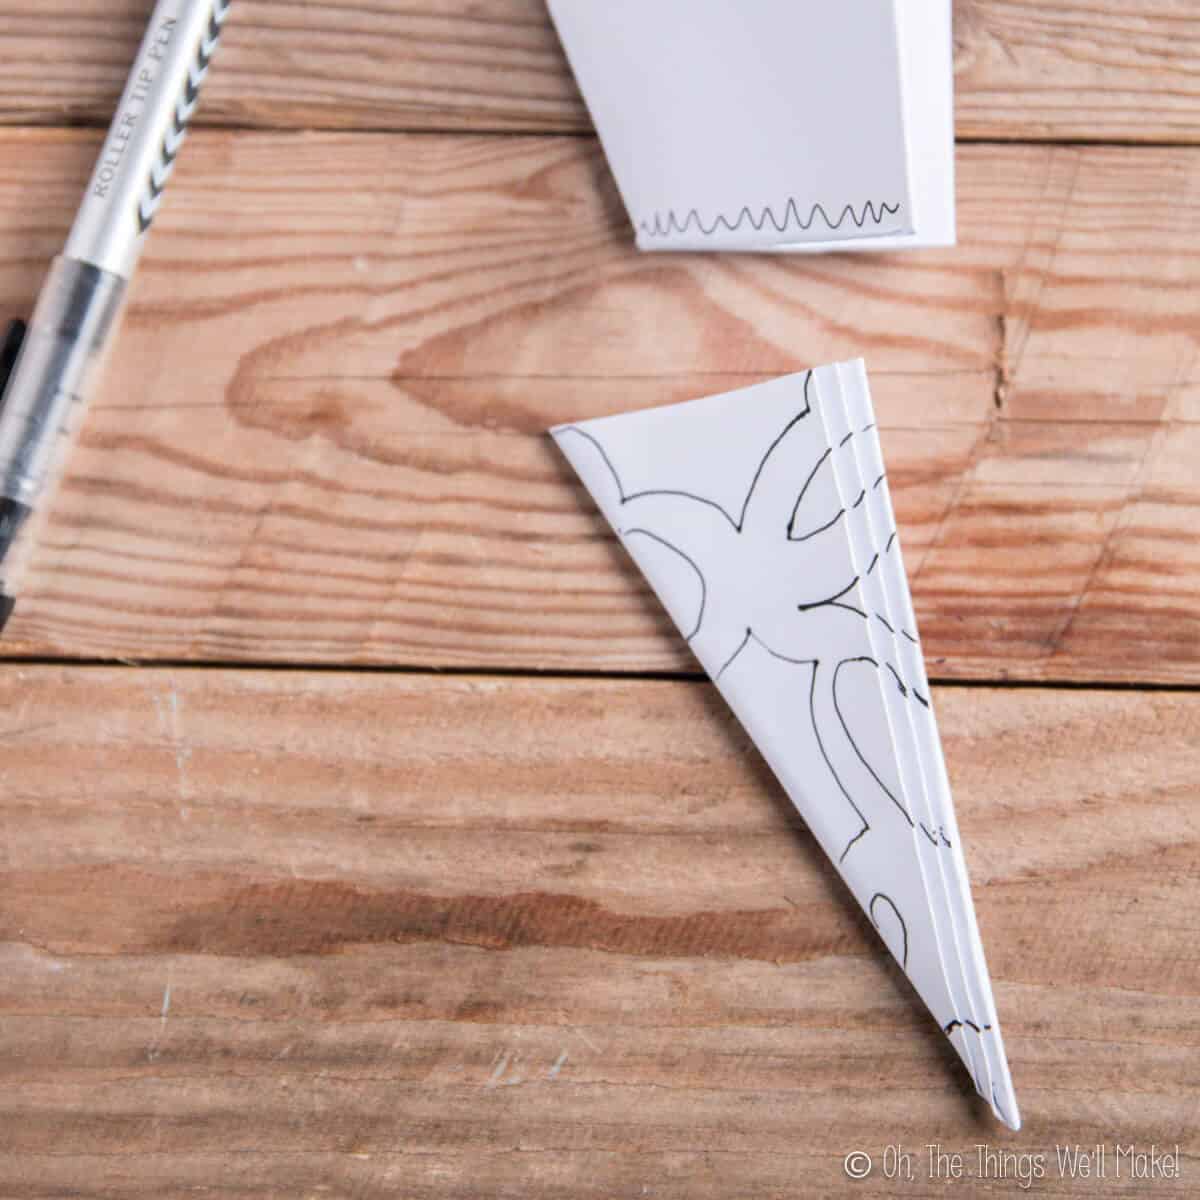
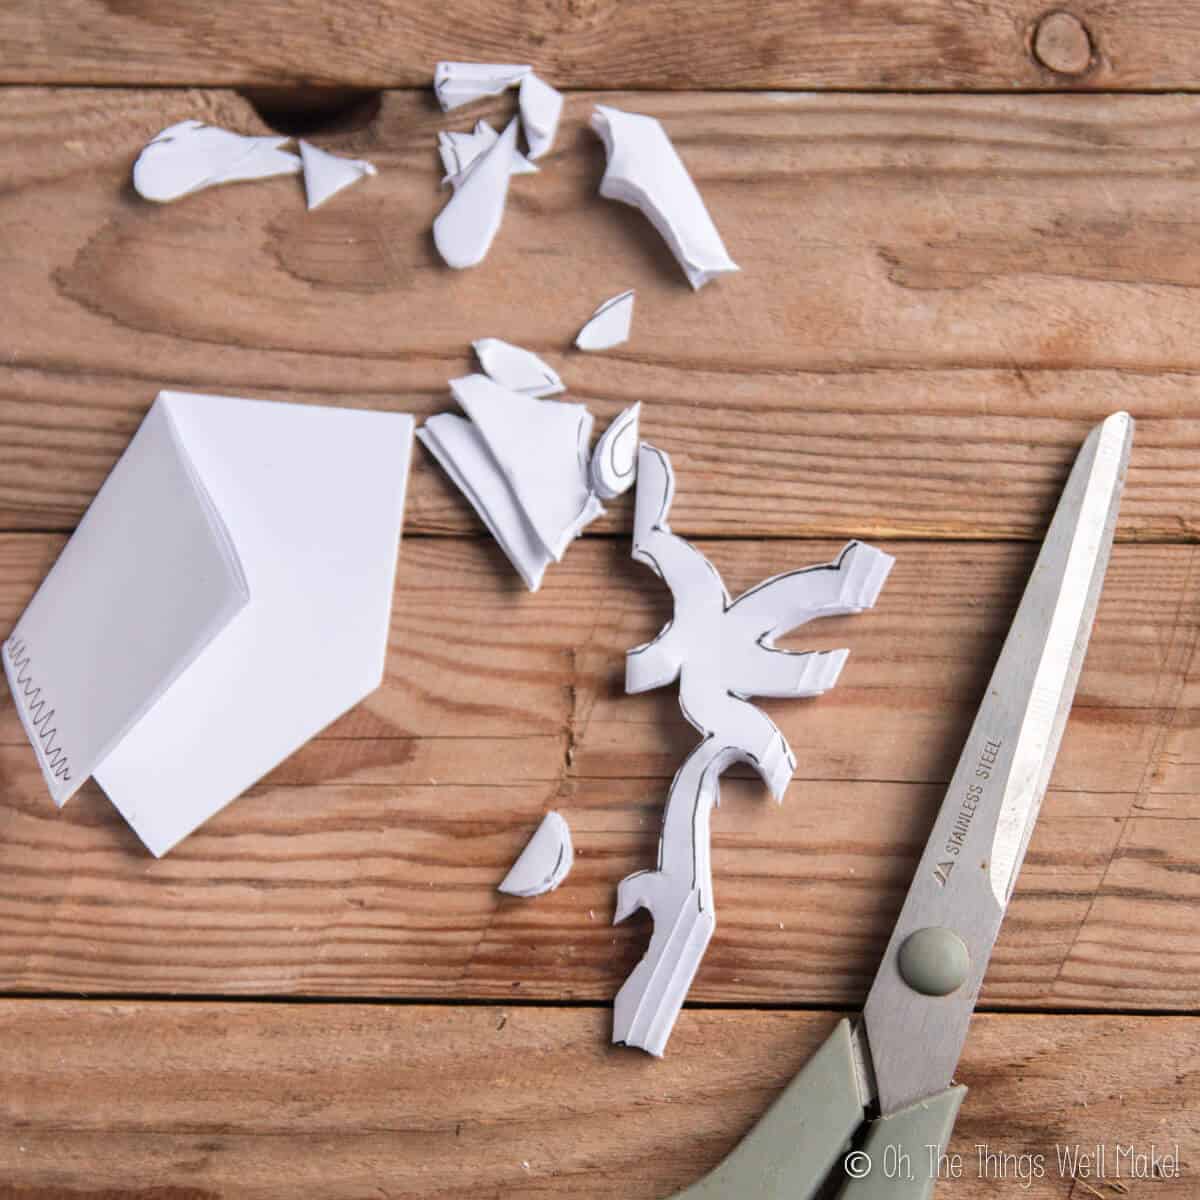
Once I drew out my shapes, I cut them out.
I made some half hearts along the edge because these girls loved hearts. The important thing is to not cut all the way across because wherever you cut completely across will end up being the outer border of your design. It is also important to leave little “bridges” of paper between your cuts along the edges so that the paper doesn’t fall apart.
Once you have your design cut out, unfold your snowflake.
Transfer your design to fabric
Again, for transferring to fabric, your paper snowflake needs to be made from freezer paper.
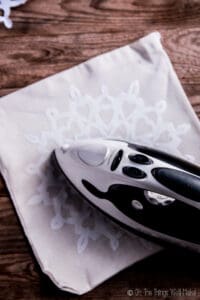
Adhere the paper snowflake to the fabric
Freezer paper has a shiny side with wax on it and a dull side like regular copy paper. The wax side can be adhered to the fabric using a hot iron.
Place the paper snowflake shiny side down over the fabric and run a hot iron over it until it is fused to the shirt.

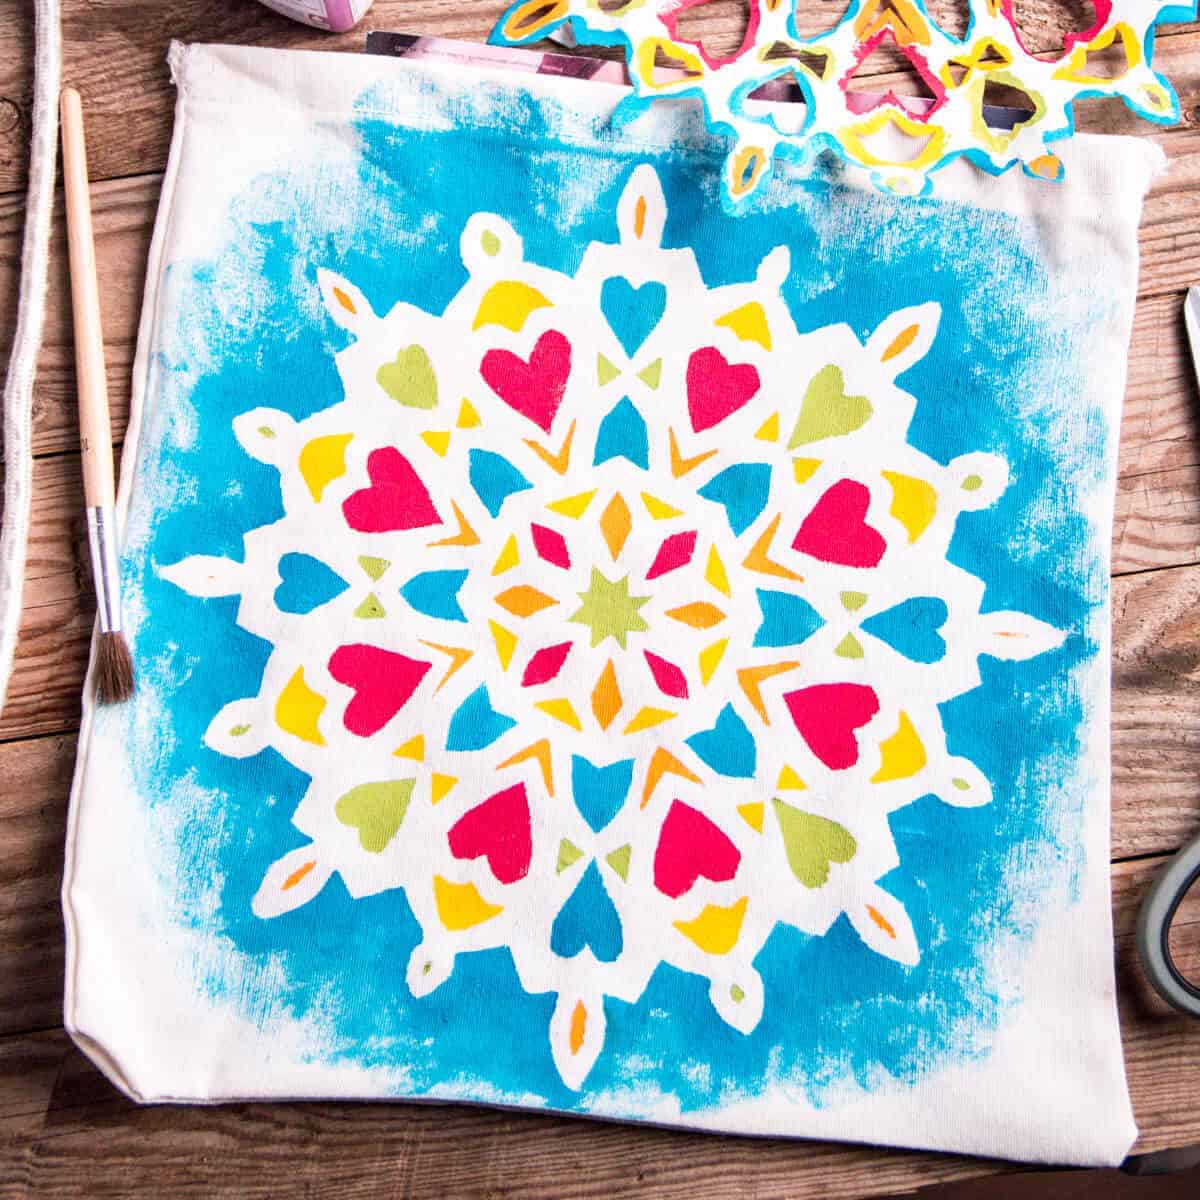
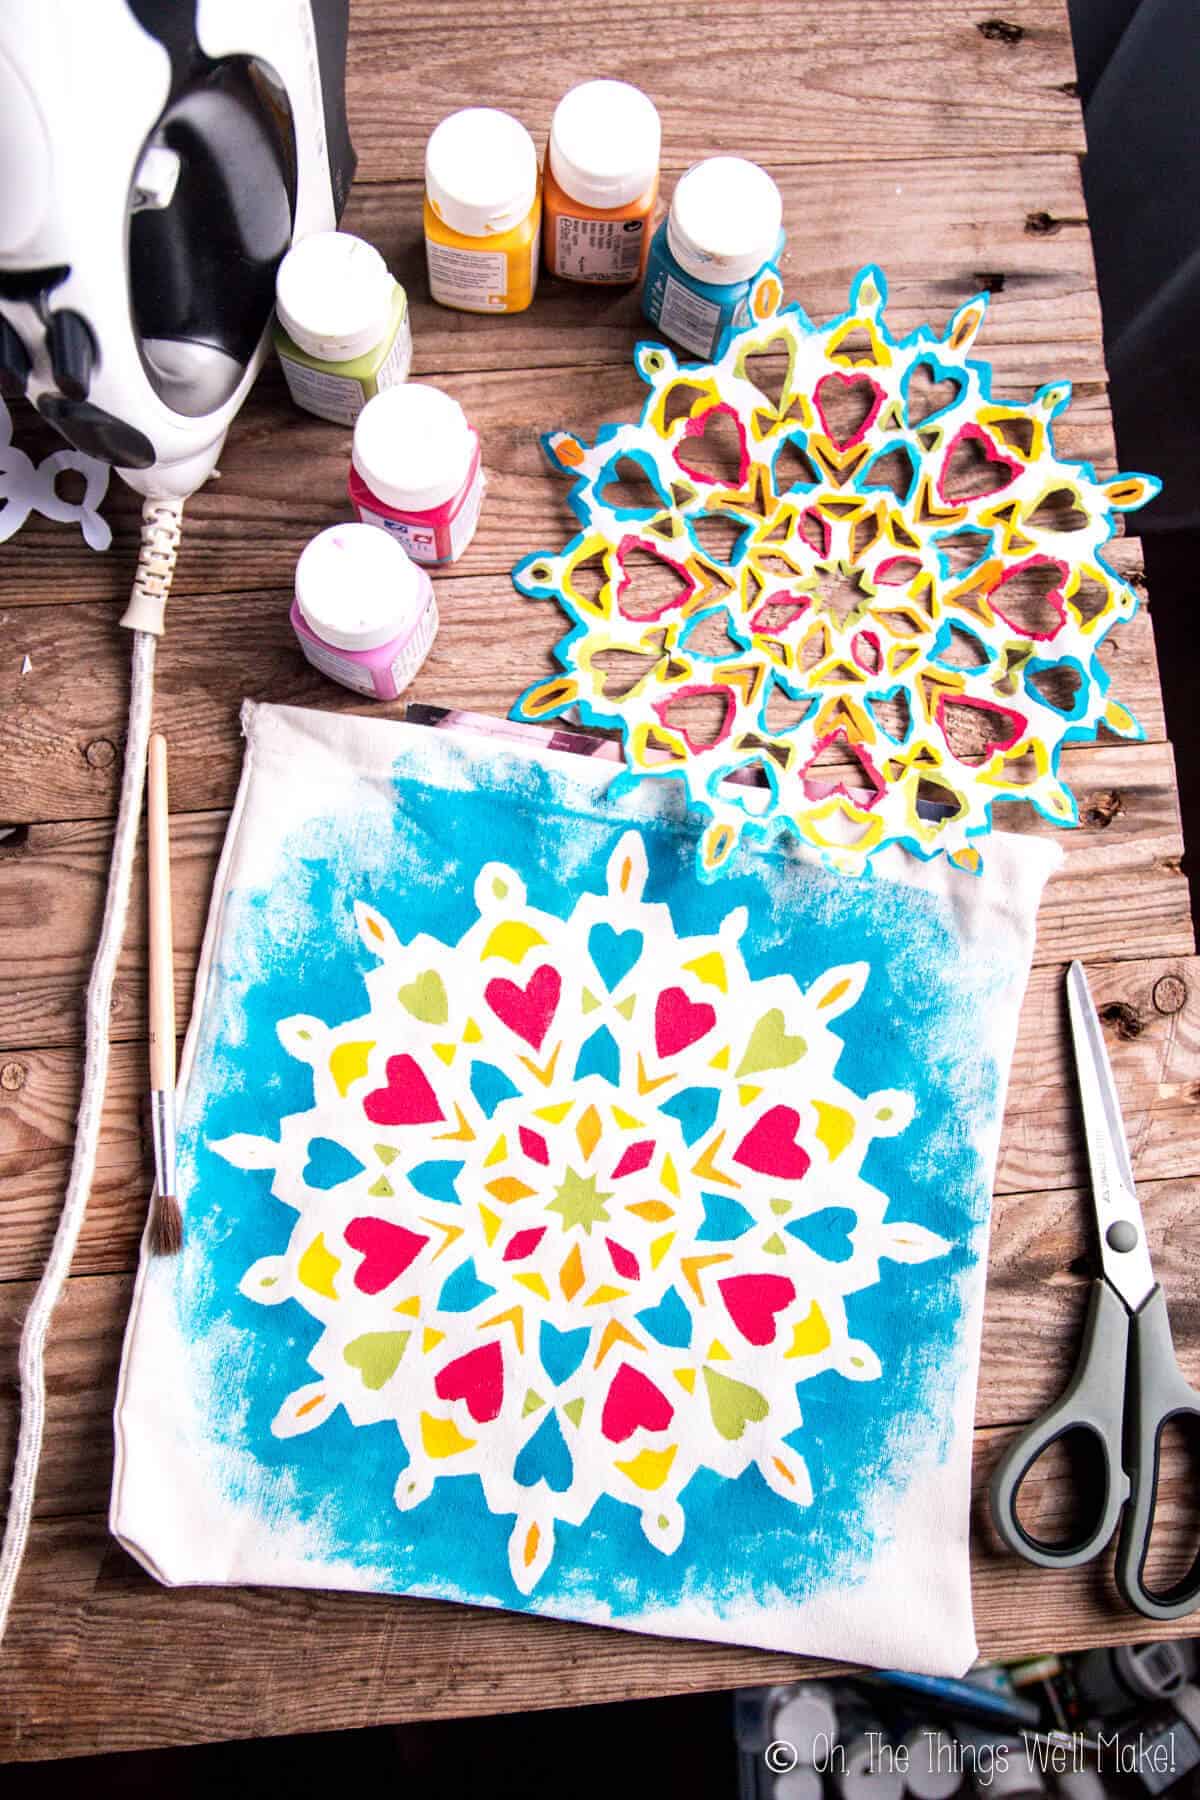
Paint the mandala design
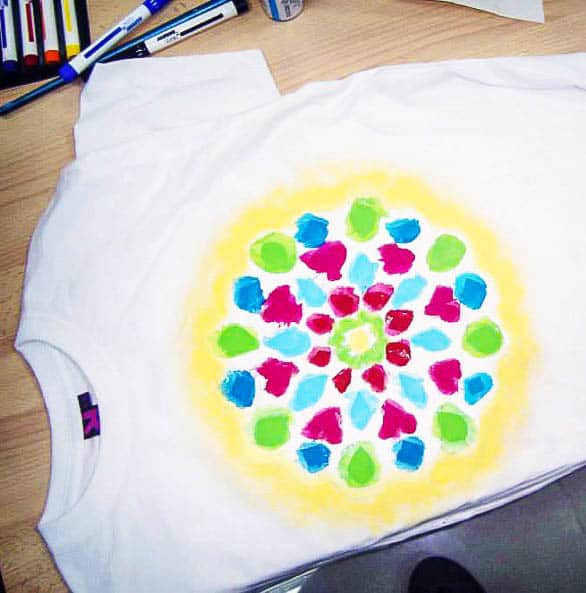
Paint the holes in the freezer paper with fabric paint, covering the edges carefully. Ideally, use a vertical motion when painting so as not to shove any paint under the edge of the freezer paper.
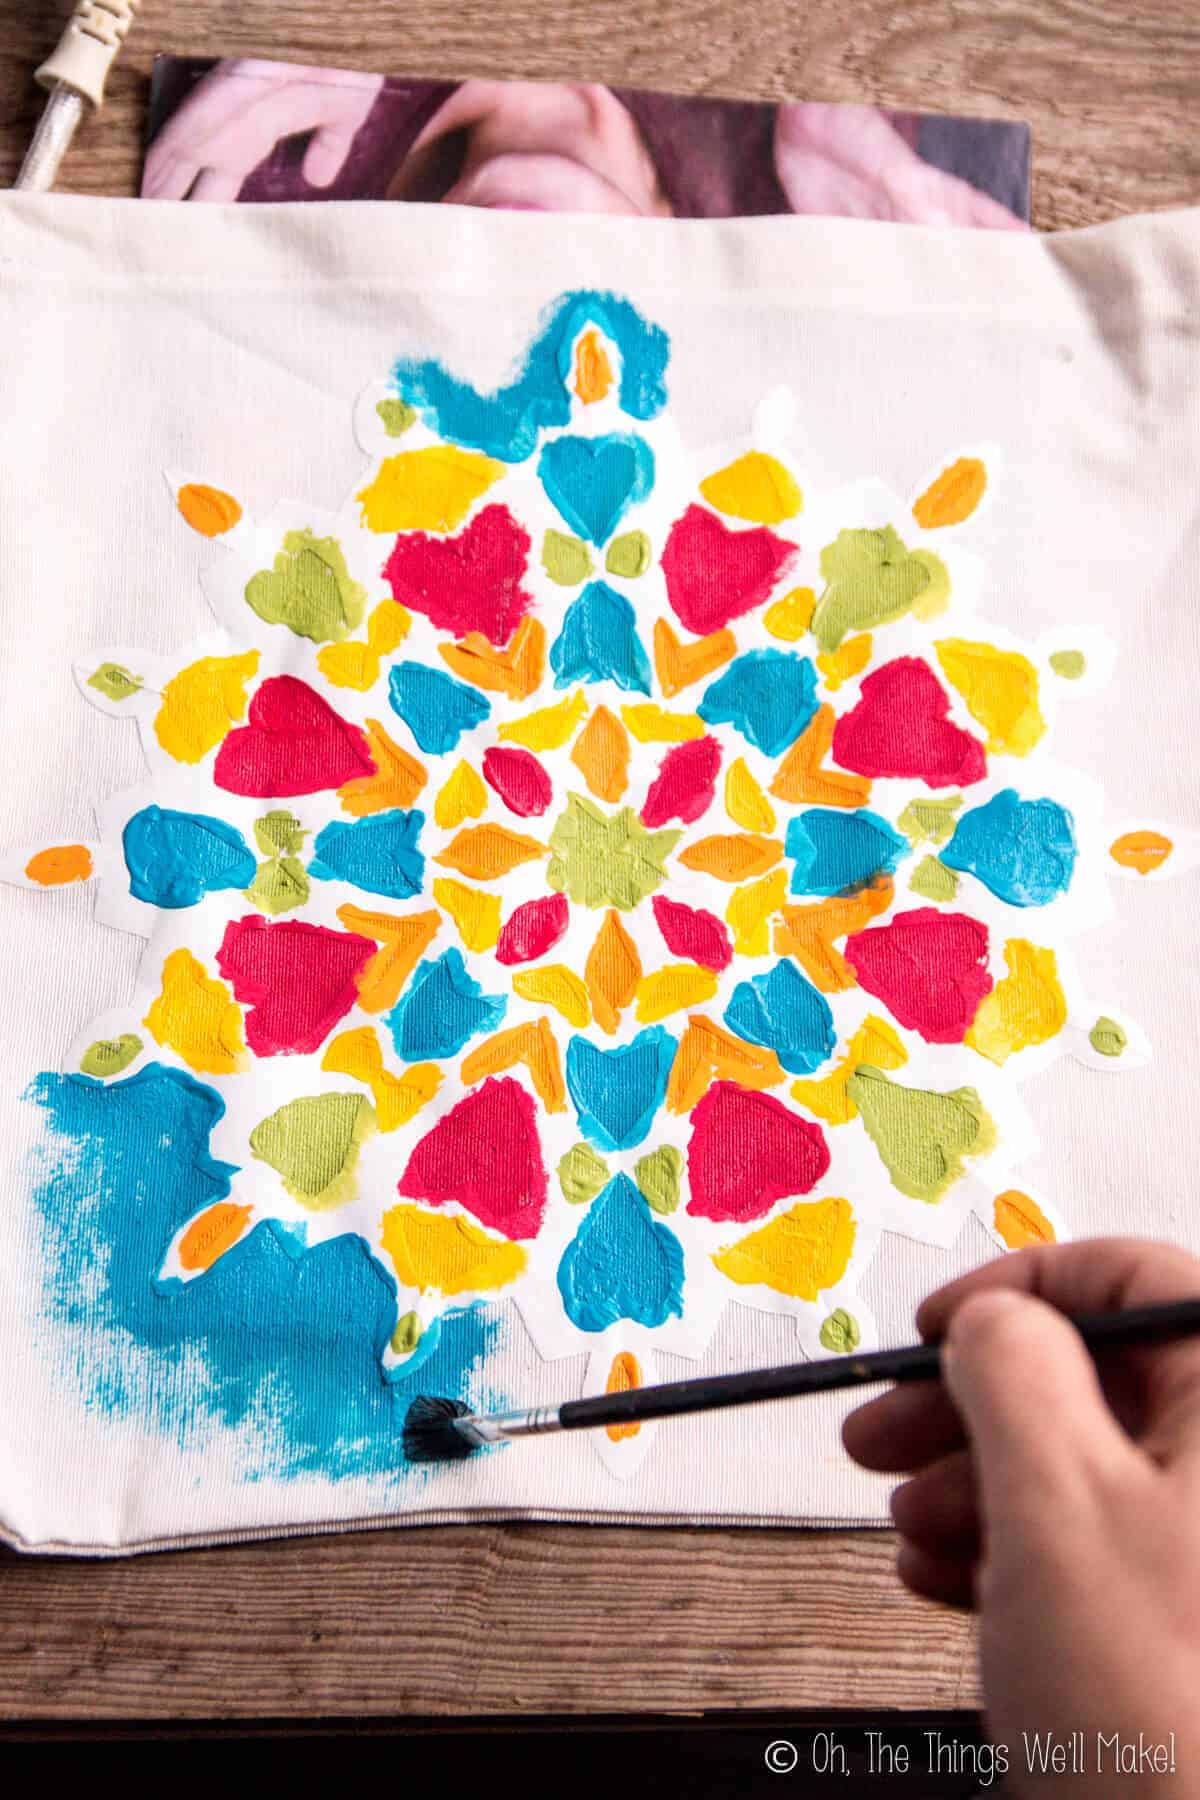
Along the outside edge, it looks nice to make the colors fade out little by little, using less paint as you go outwards.
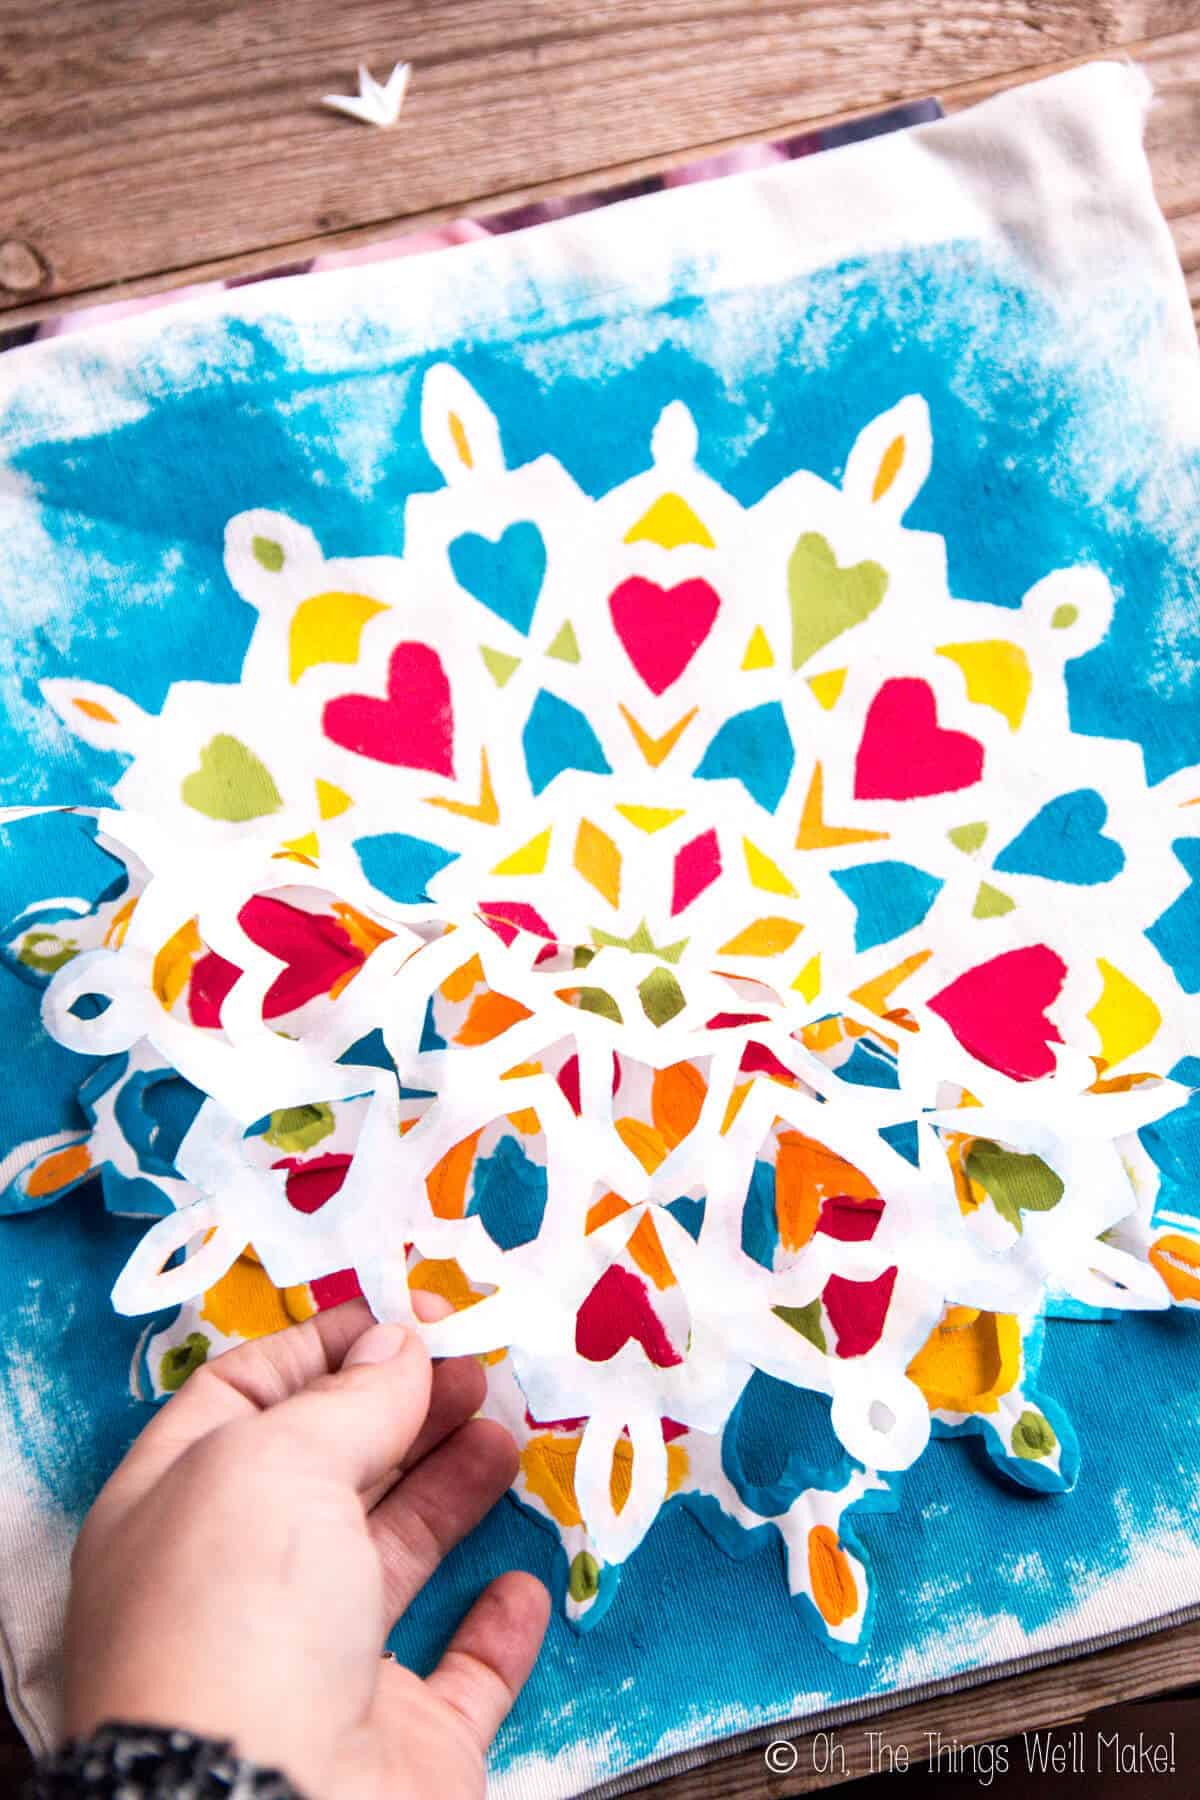
Once the paint is dry, pull off the freezer paper, and you can see your design!
Set the fabric paint
When painting on fabric, make sure to set it so that your design doesn’t disappear when you wash it. You’ll have to iron it according to the directions on your particular paint.

Beautiful Fabric Painted Mandalas
Equipment
Materials
- 1 sheet freezer paper
- fabric
- fabric paints
Instructions
- Make a paper snowflake, cutting your design from freezer paper.
- Place the paper snowflake, shiny side down, onto the fabric where you want your design to be. Carefully run a hot iron over the paper snowflake until the paper snowflake has adhered to the fabric. (Make sure no edges are loose.)
- Paint around the edges of the snowflake with fabric paint. You'll also want to paint any holes in the paper with paint. For a colorful geometric design, I suggest alternating colors, filling all of the similarly shaped holes with the same color all the way around the design.

- Once the paint has dried, carefully peel away the freezer paper.
- To set the design, follow the directions on your particular fabric paint. In most cases, you'll need to cover the design with parchment paper and iron over it for a minute or 2.
Notes
Similar Project Ideas
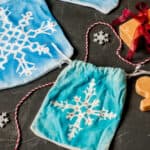
Snowflake gift pouches
During the holidays, you can use this idea to make some really cute snowflake themed gift pouches for holiday gift-giving. You can either use a store-bought cotton pouch or easily make a pouch (in around 5 minutes) by upcycling an old t-shirt sleeve. (The hem of the sleeve makes a perfect already-made drawstring enclosure.)
For mine, I painted the pouches a turquoise blue reminiscent of Elsa’s dress in the movie Frozen and embellished the pouches with heat-set rhinestones.
Painted snowflake pouches
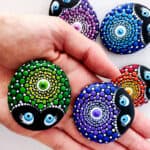
Mandala dot rock painting
If you love the colorful circular geometric designs as much as I do, you’ll probably also love this other easy project. Both are so much easier than they look and give really professional-looking results!
Easy Ladybug Dot Mandala Painted Rocks
Painting on other materials
If you would like to paint mandalas on something other than fabric, you’ll have to experiment to see if the freezer paper will adhere to the surface. If not, you can try cutting your snowflake design out of contact paper. The success of the technique really depends on the type of contact paper. Some allow for folding without the backing coming off more easily than others.
When using contact paper, once you have your snowflake “sticker” cut out, you can stick it directly on the surface you want to paint, and paint in the spaces as I showed above. Once the paint is dry you can remove your sticker and you’re done!
This post was originally published on December 13, 2013, but was rewritten in December of 2019 to give clearer instructions and add more project ideas.