How to Make Paper Snowflakes (and How to Use Them)

Decorate the house or make other fun projects with these simple paper snowflakes. Learn how easy it is to make this classic holiday project and how to use paper snowflakes in fun new ways.
Materials to Use
- Coffee filters
- Tissue Paper
- Newspaper
- Wrapping paper
- Copy Paper
- Freezer Paper
For perfectly white snowflakes, regular copy paper is probably the most obvious choice for making paper snowflakes, but there are times that you may prefer to use other types of paper instead.
Coffee filters and tissue paper are thinner than copy paper, making them easier to cut. The shape of coffee filters makes them perfect for making quick and easy snowflakes with younger children. On the other hand, tissue paper makes for more delicate snowflakes that may rip more easily.
Newspaper and wrapping paper come in a larger format meaning that you can make larger snowflakes when choosing them. Plus, it’s fun to recycle used newspapers and wrapping paper for a new project like this one.
Freezer paper has a wonderful property that not everybody is aware of. It can be ironed onto cloth and then easily peeled away later. That makes it great for using as a stencil for painting cloth. (More details on using freezer paper to paint snowflakes below)

Making an 8-Pointed Snowflake
When I was a kid, I used to make 8-pointed snowflakes. They are the easiest to fold because all you do is fold the paper in half several times. There is no calculation of trying to line things up.
On the other hand, the extra paper layers make for a thicker stack of papers to cut. That makes it slightly more difficult for kids to cut out 8-pointed snowflakes.
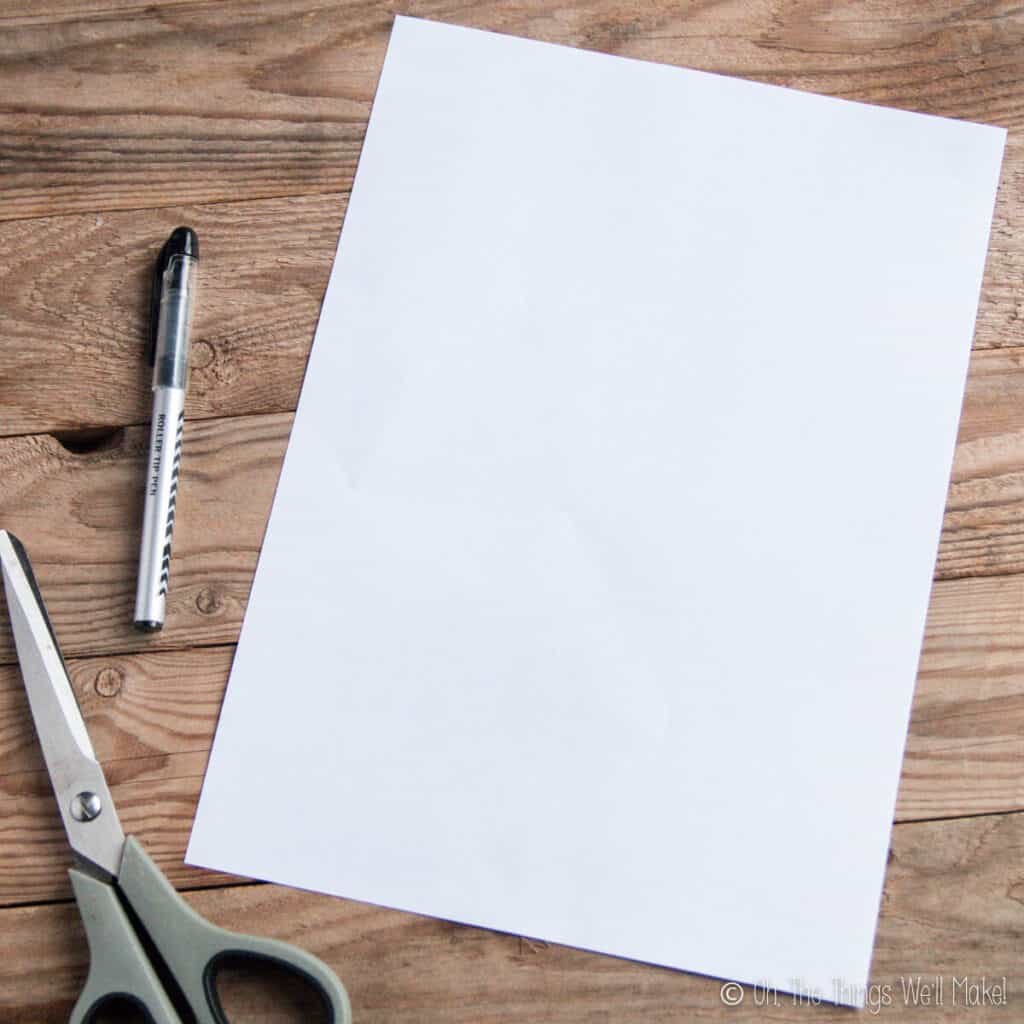
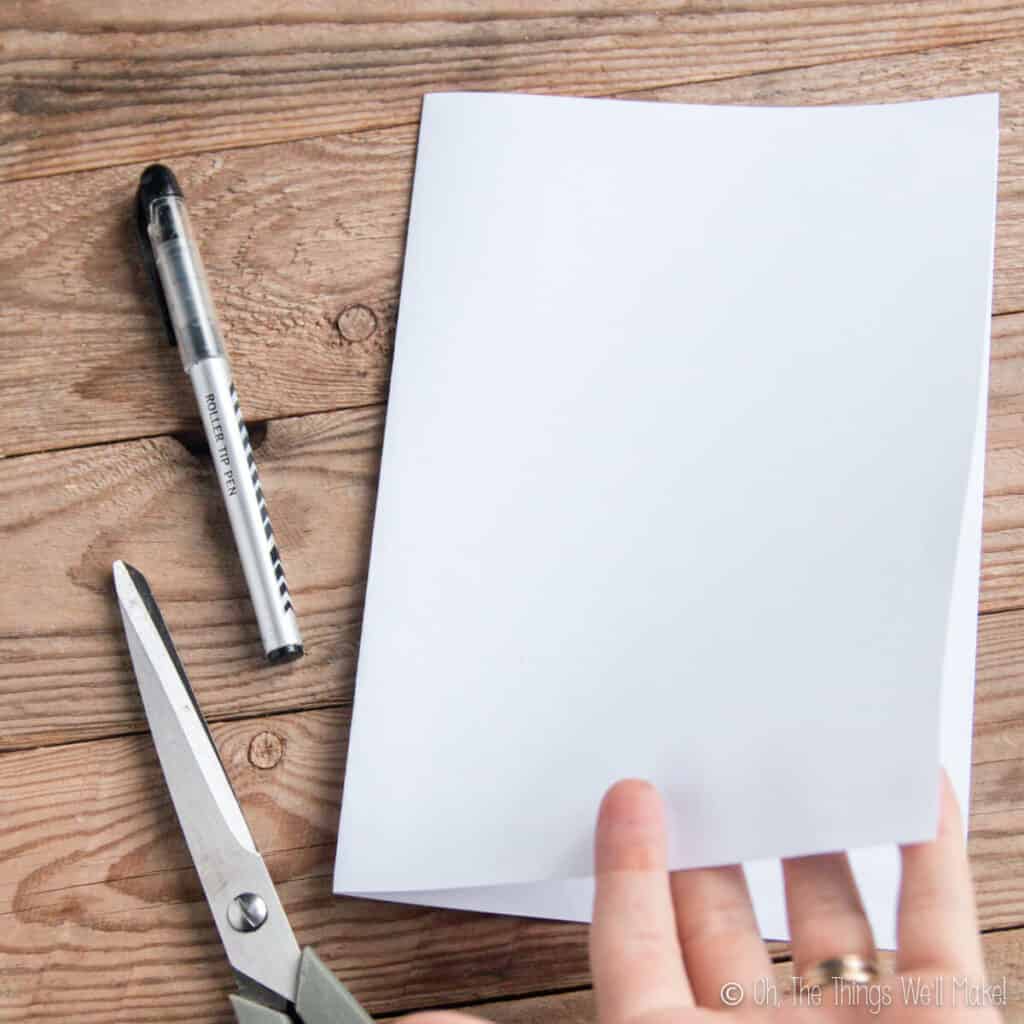
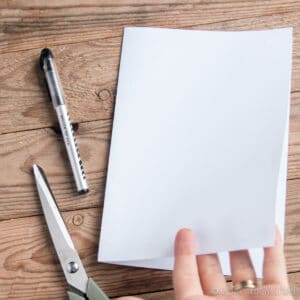
1. Take a piece of paper and fold it in half across the length of the paper. (Bring together the two sides of your rectangle that are furthest away from each other.)
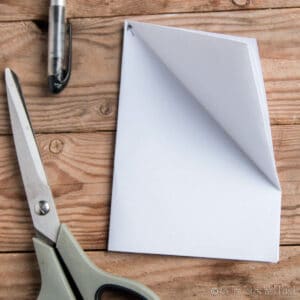
Fold that in half again, bringing the two sides of your rectangle that are furthest away from each other together just like you did the first time. (Turn clockwise and then fold across again in the same direction as before.)
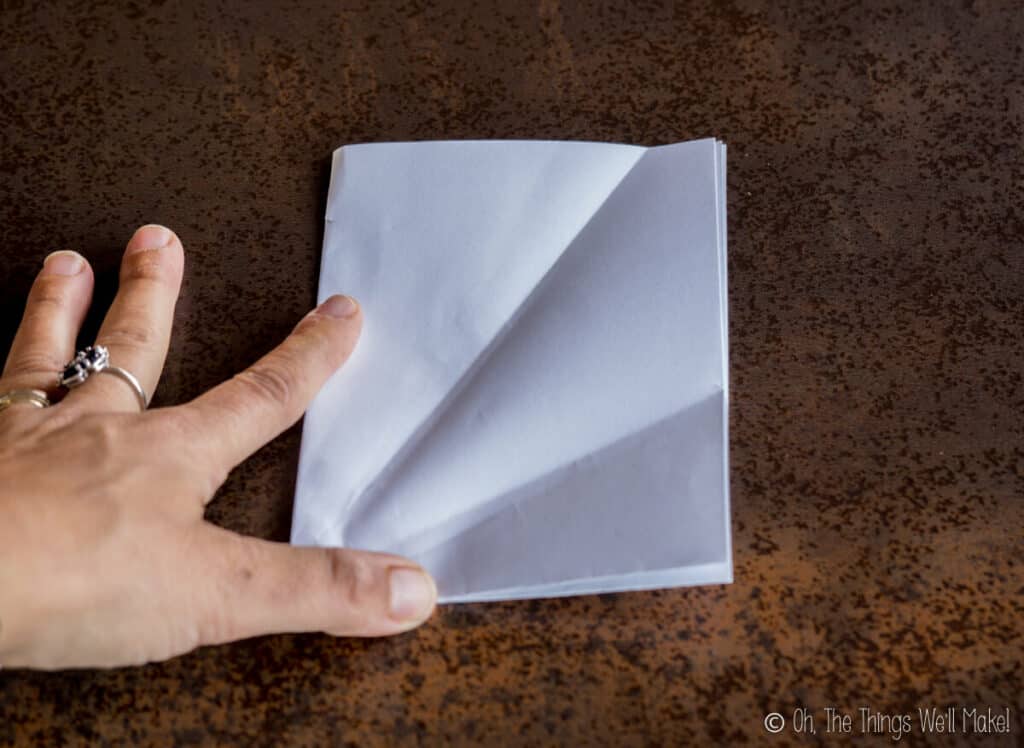
It should now look like this…

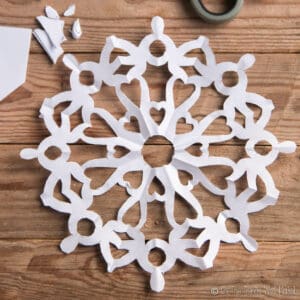
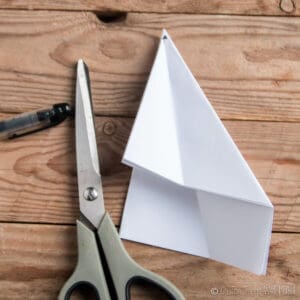
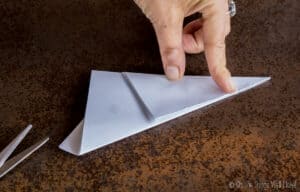
Keeping the center point of the paper as a reference (I marked it with an arrow), you are going to fold diagonally over the center point, lining up the folded edges of the paper.
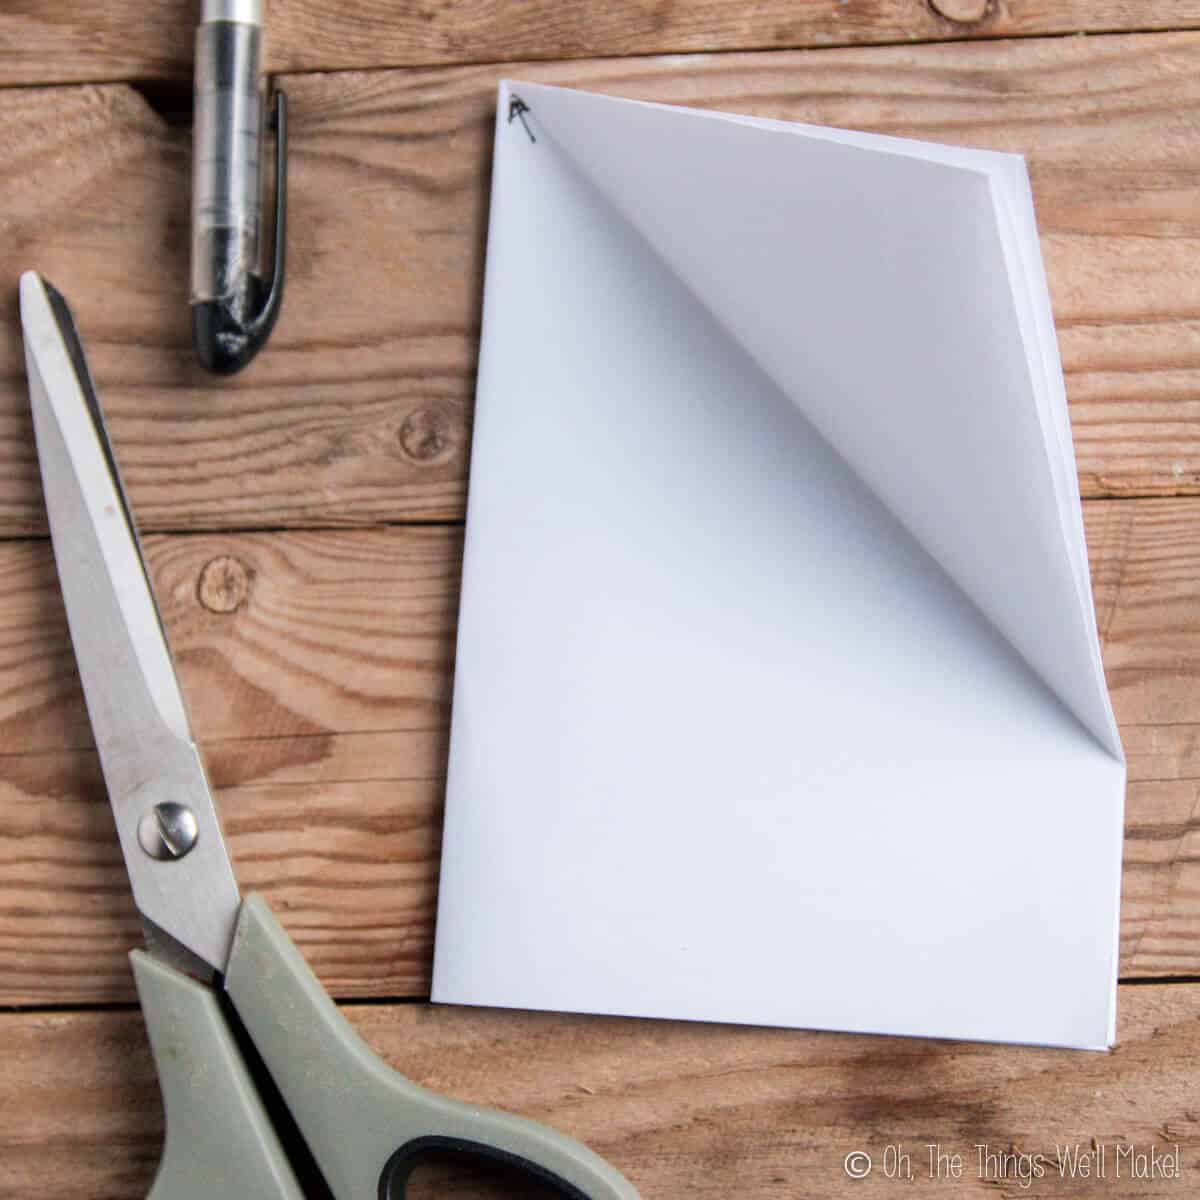
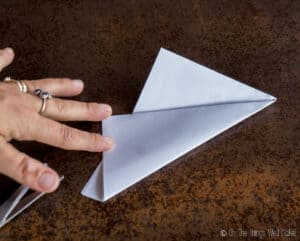
Now, you just need to make one more diagonal fold, once again over the center point (and lining up the edges). The center point, from which the folds emerge, will become the center of the snowflake.

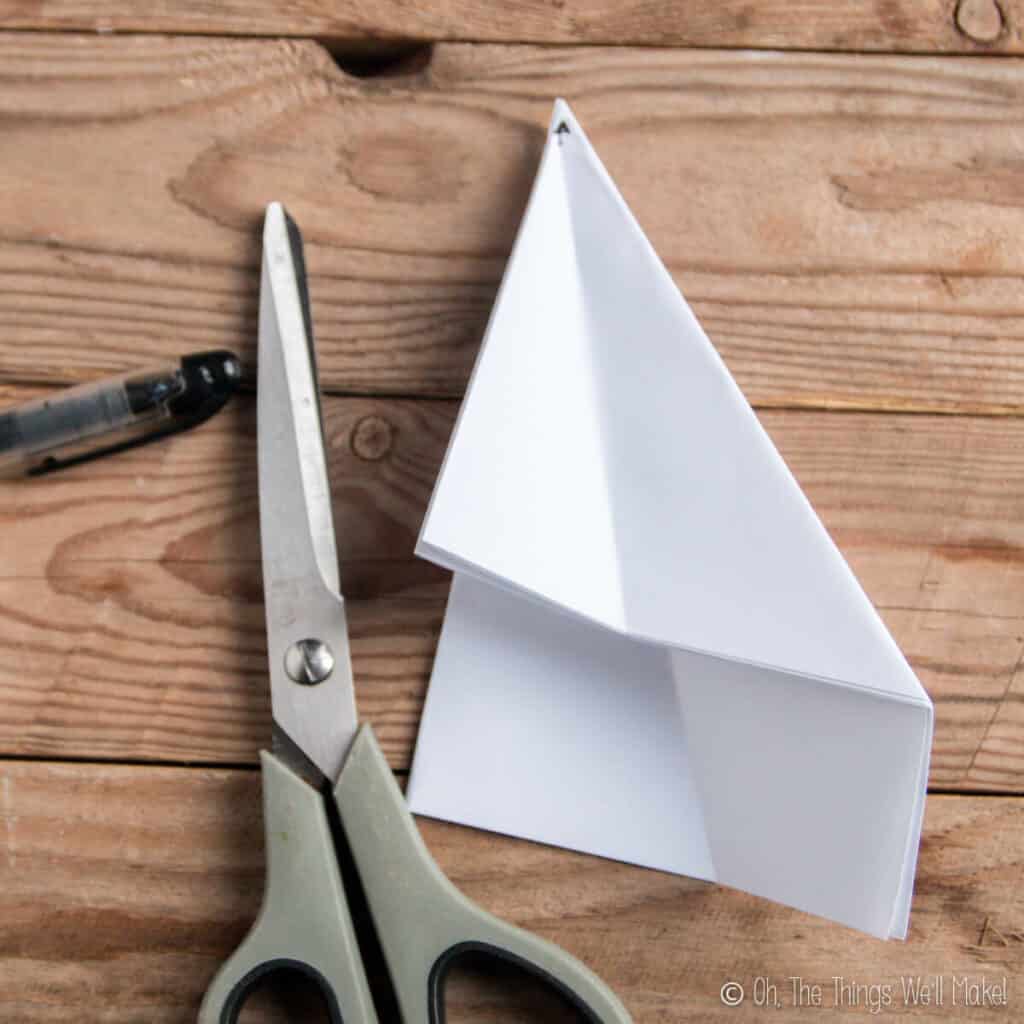
You will now have something that looks like this…
(I flipped the direction of the fold so that I could see the shorter layers on the outside of the paper.)
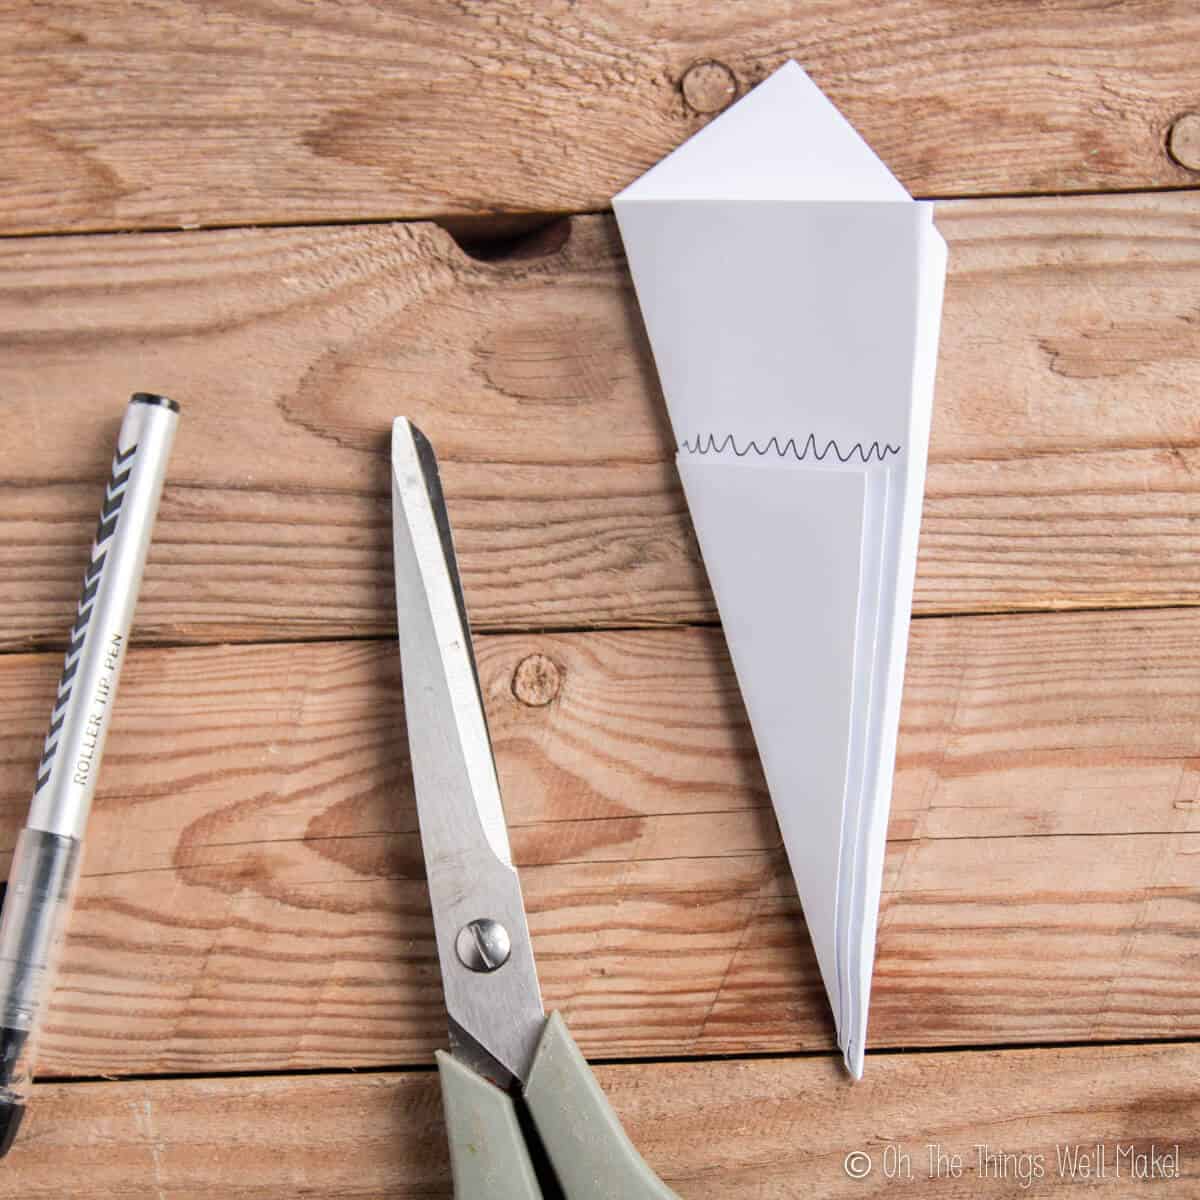
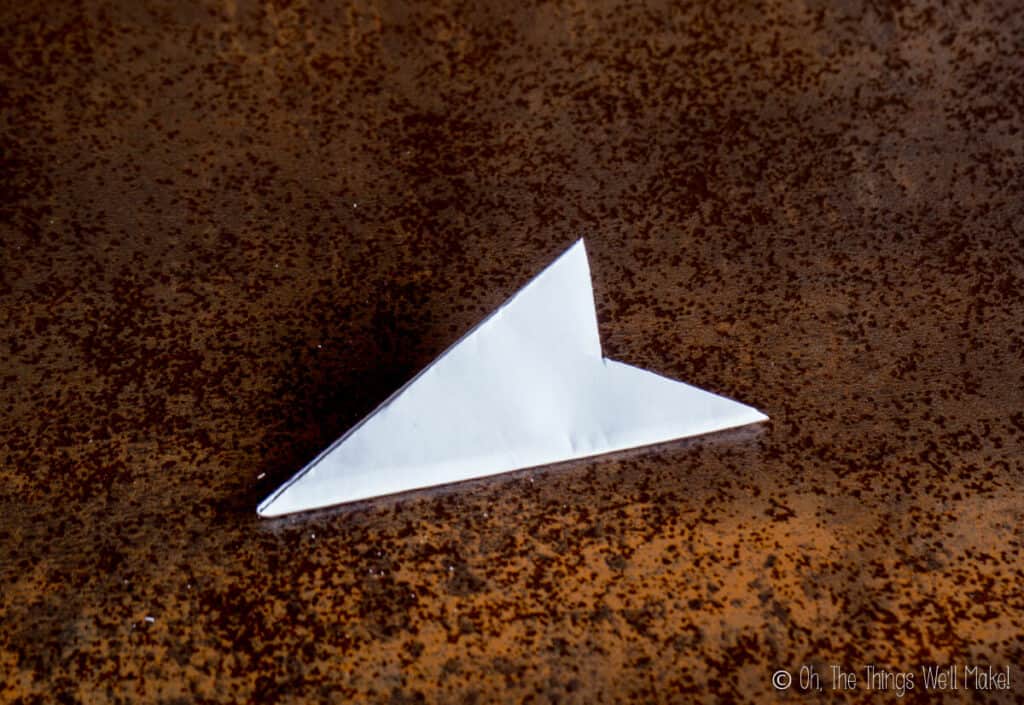
Cut across the side opposite the center point to even everything out. Doing this correctly will ensure that the paper snowflake is even on all sides.
To keep things completely symmetrical, make sure your cut includes ALL of the layers, otherwise, you’ll be left with some areas of the snowflake that are narrower than others.
In the photo, I marked across the shortest point of folded paper. I’ll be cutting across the edges of the paper right under the marked line, ending up with a basic triangle. Once you cut, the upper piece can be removed and is no longer needed.
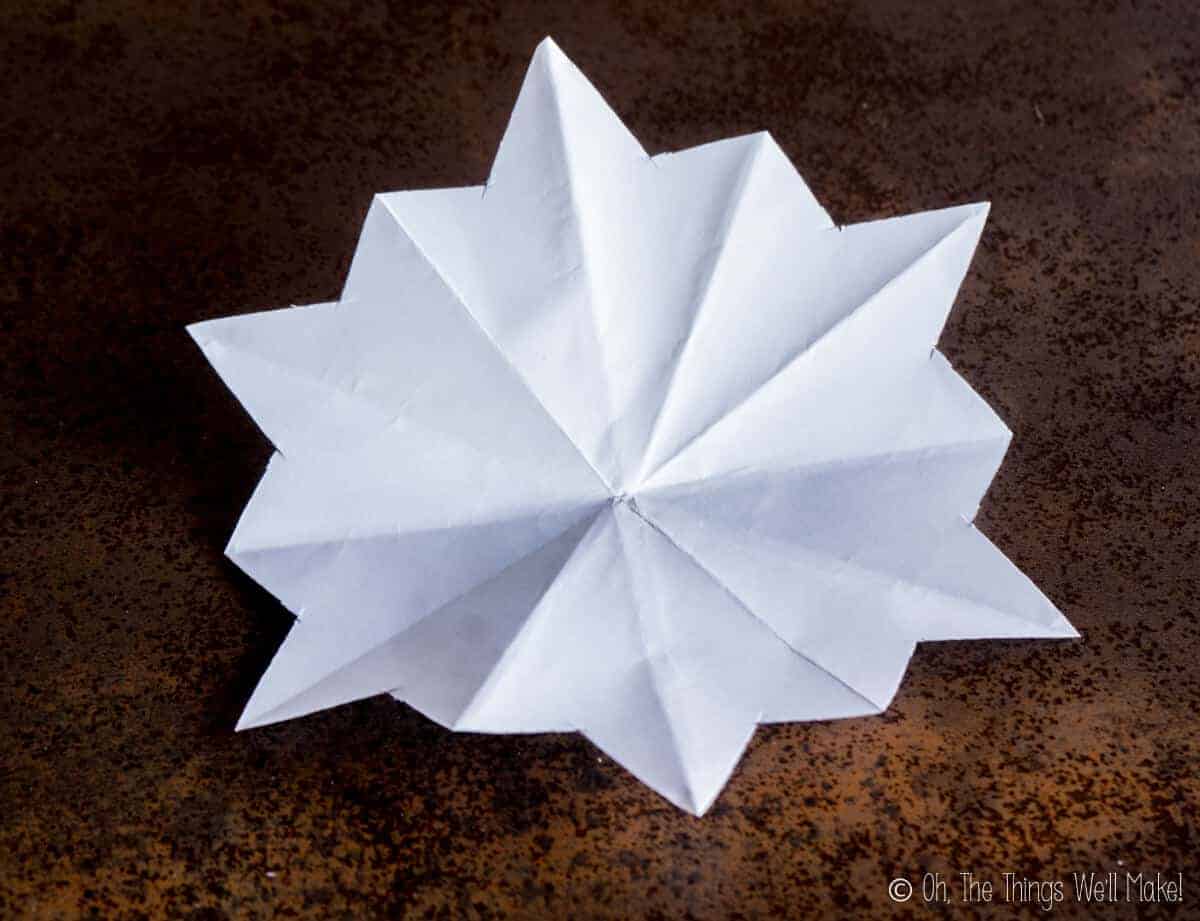
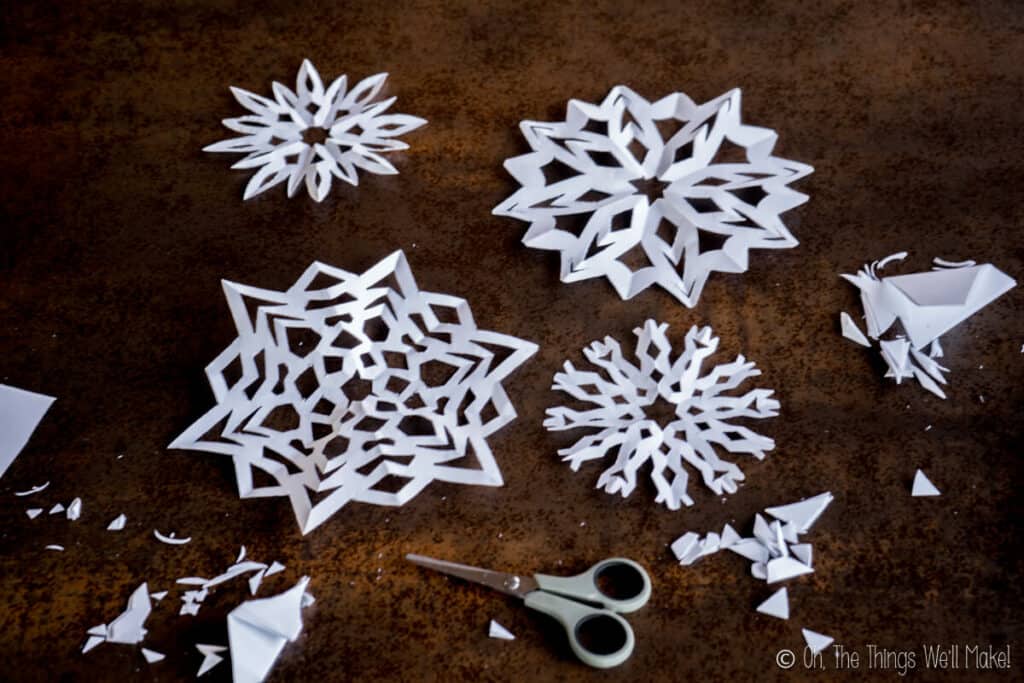
In the photos below, I cut a v-shape into the top. When unfolded, this is the general shape of the snowflake (before any other cuts have been made). Note that because of the v-cut, the shape has 8 main points and 8 smaller points. (A straight cut would have given a more rounded octagon with 8 main points.)

Making a 6-Pointed Snowflake
Purists prefer to make 6 pointed snowflakes because that is how snowflakes are seen in nature. While it may be slightly trickier to fold the paper to make 6-pointed snowflakes, once you’ve folded it, it’s easier to cut than the 8-point variety.
To make a 6 point snowflake, begin in the same way as you did before. Fold the paper in half lengthwise, turn, and then fold in half lengthwise again.
This time, though, rather than folding in half diagonally twice, we need to divide the rectangle into 3 equal parts. Think of this as a circular clock rather than a rectangle with the center point being the center of the clock.

Now think of the long edge being the line up to 12 o’clock and the short edge being the line to 3 o’clock. Ideally, we want to make folds along the imaginary lines leading to 1 and 2 o’clock.

The idea is to fold the paper in such a way that when folded along those lines, the edges of the paper will line up along the folds and edges perfectly. (Take a look at the photos below to better understand how it folds together in thirds.)
Like before, cut off the excess paper, making sure to not leave any stray edges shorter than the rest. If I had cut directly across the line, it would have 6 points. I ended up cutting a v-shape into the cut edge which resulted in 6 main points and 6 shorter ones between those.
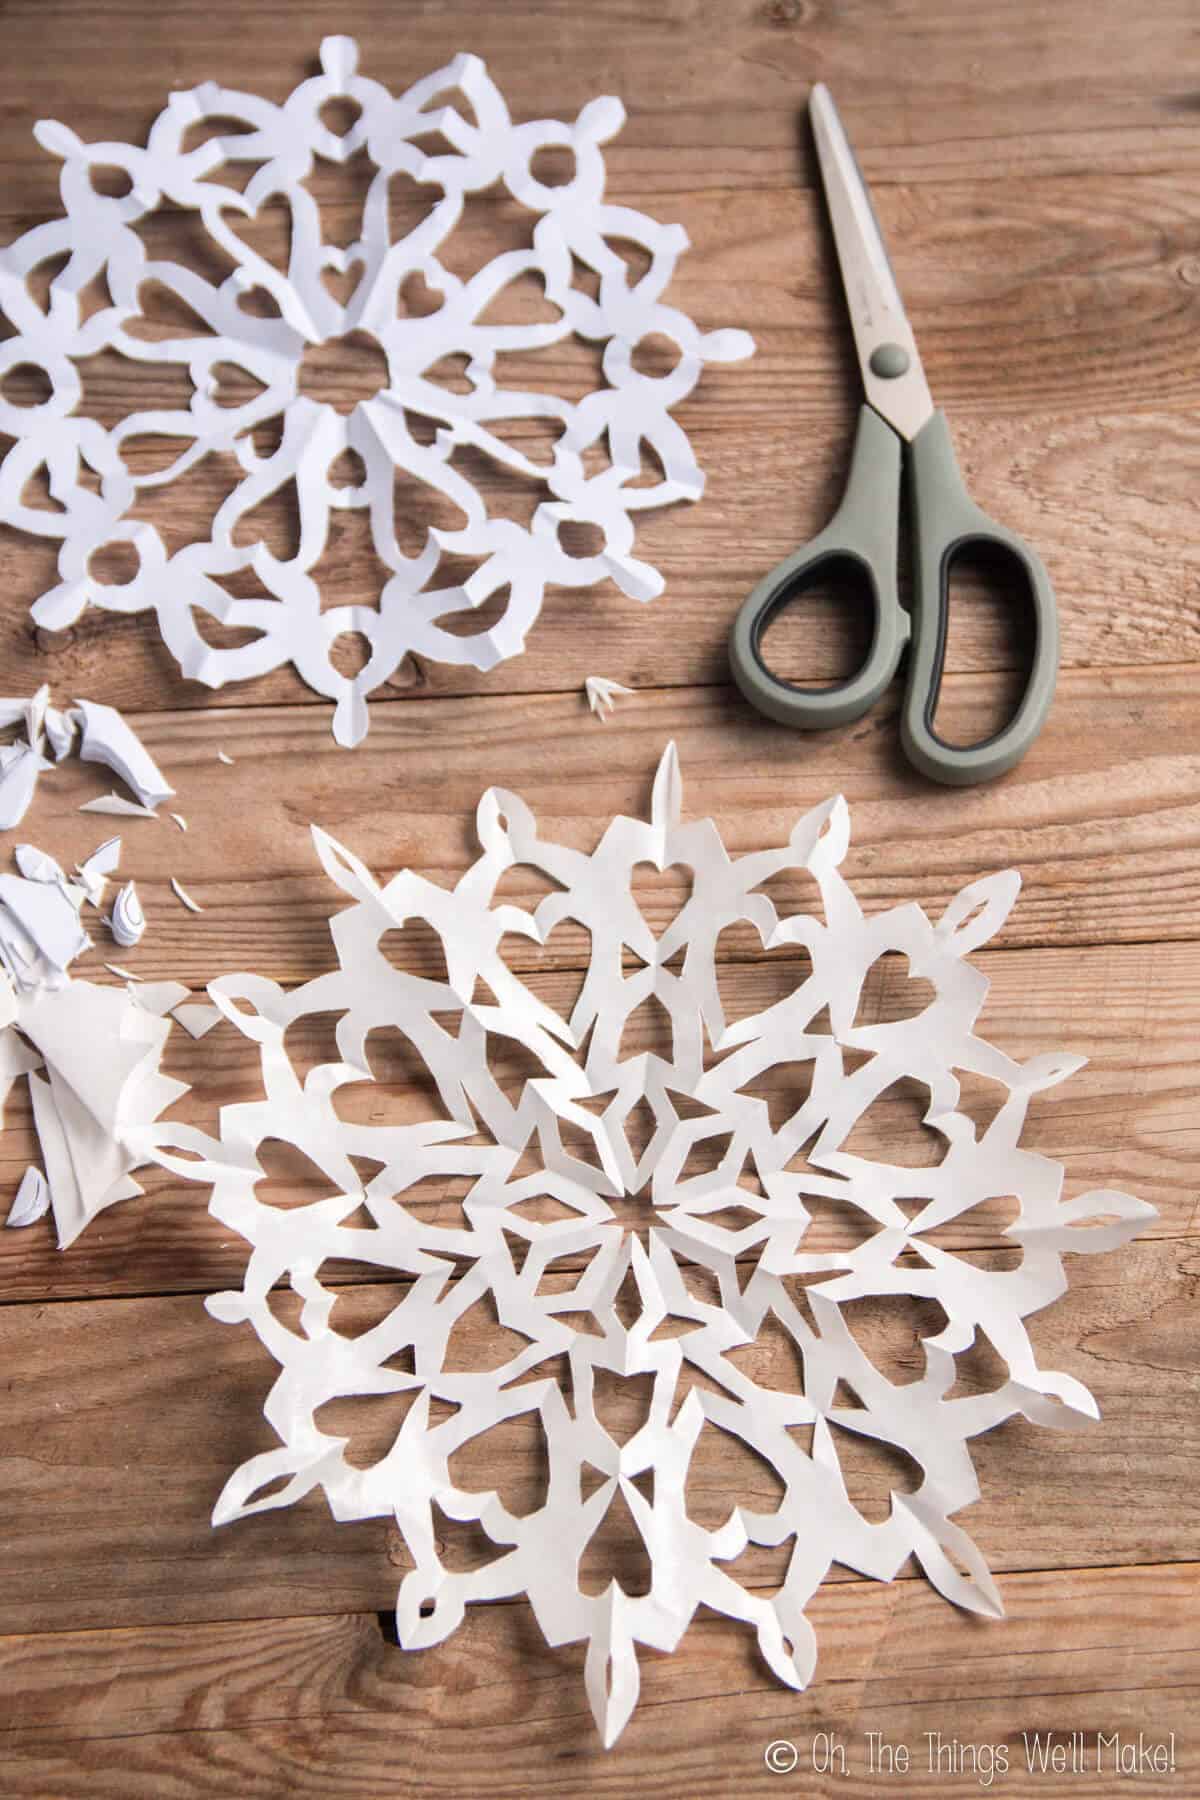
How to Cut the Paper Snowflakes
Once you’ve folded the paper and have cut off the excess, you can begin to cut a design into your paper snowflakes. You can cut random shapes, and the only real rule is that you have to leave little “bridges” of paper between your cuts along the edges so that the paper doesn’t fall apart.
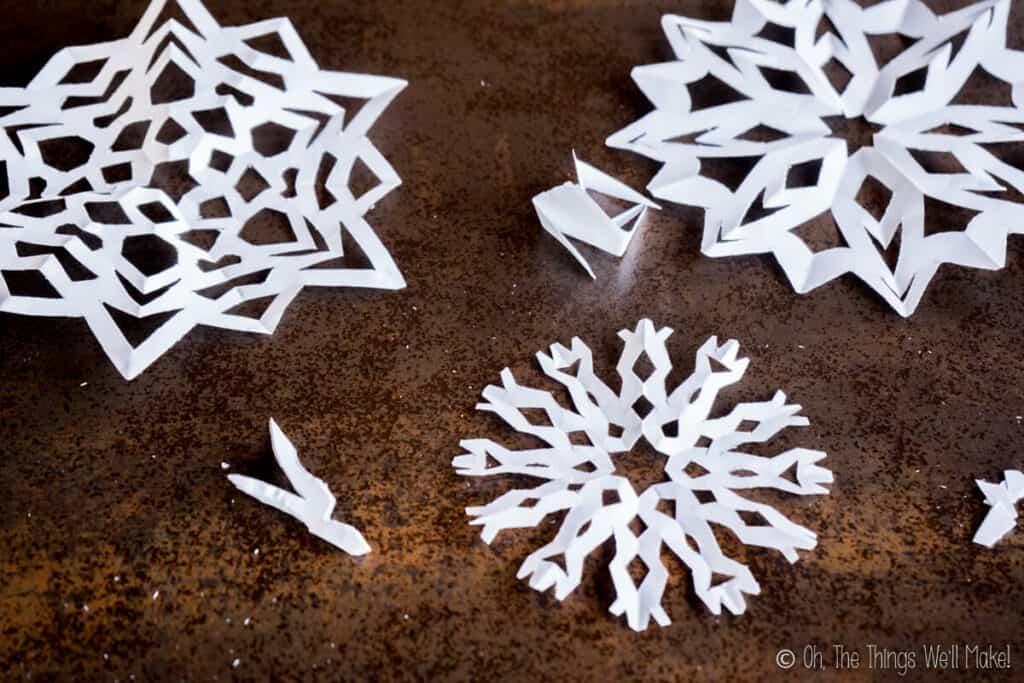
If you cut deep v-shapes into the middle top fo the triangle, you’ll end up with longer “legs” on your snowflake and will end up with twice as many of them.
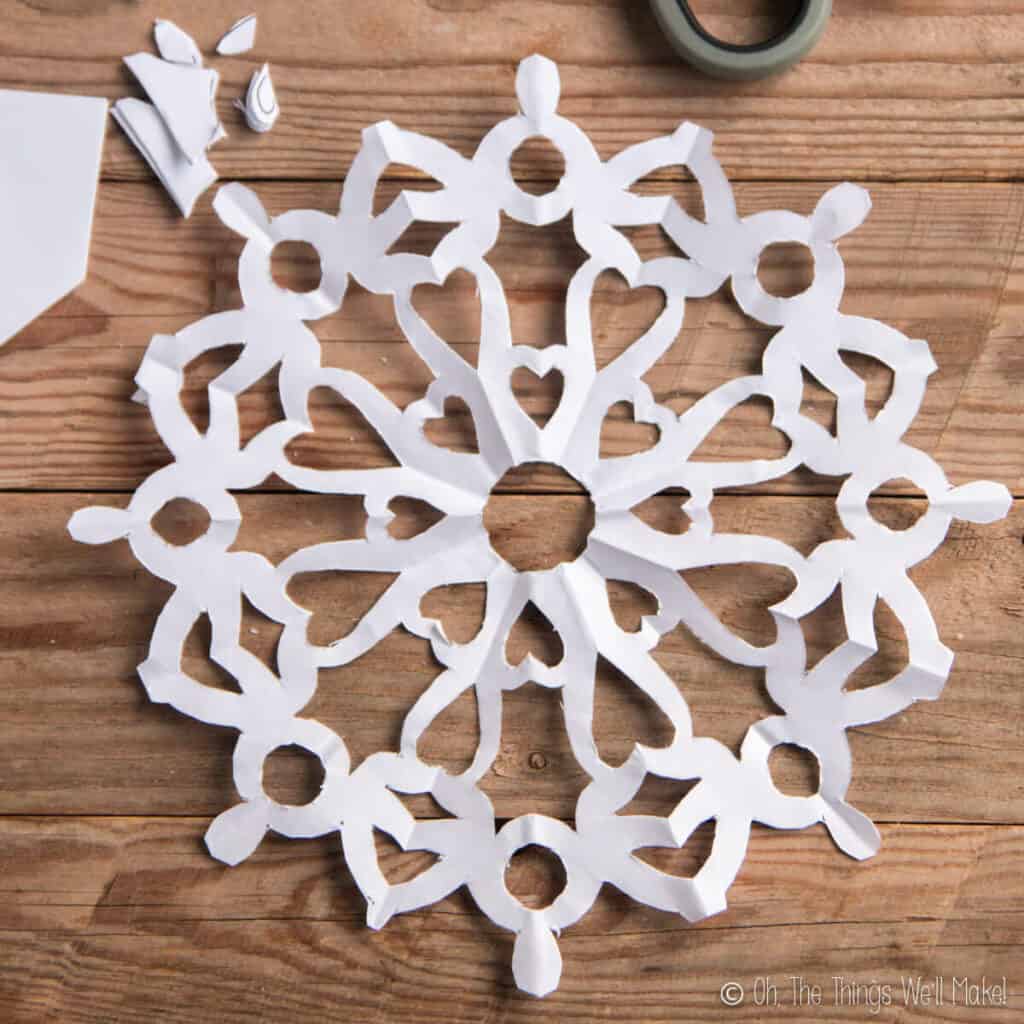
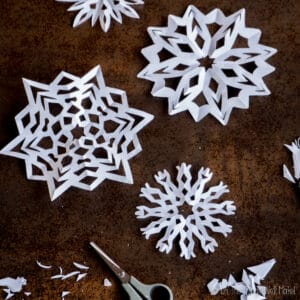
Here are some ideas of ways that you can cut your snowflake.
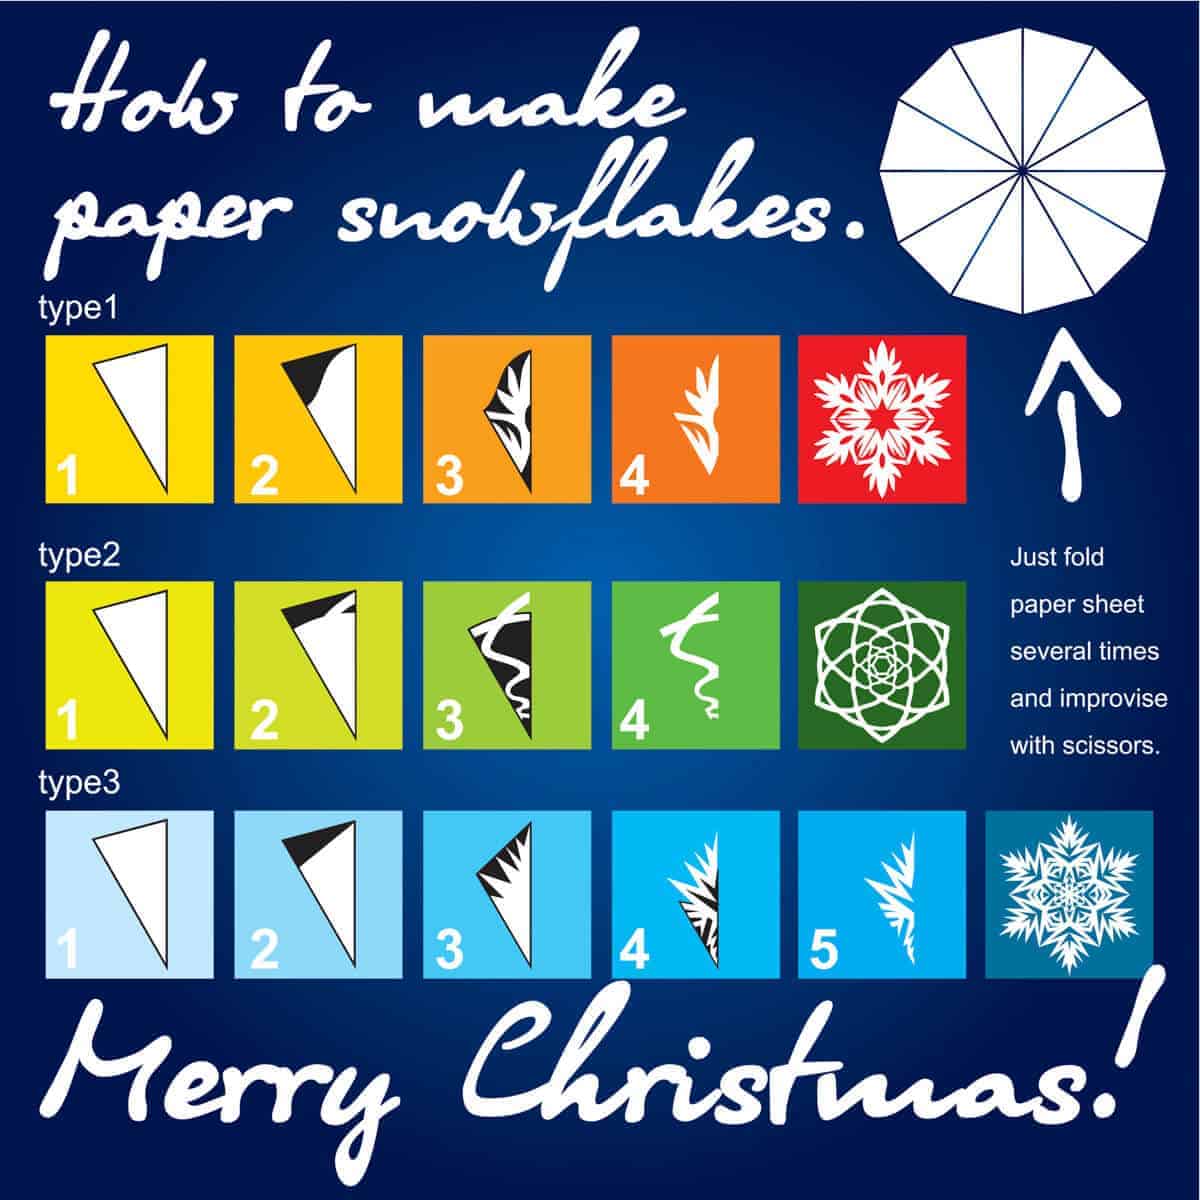
When cutting wedges of paper from the edges, try not to cut too far. You can pull up on the cut piece of paper and twist it off.
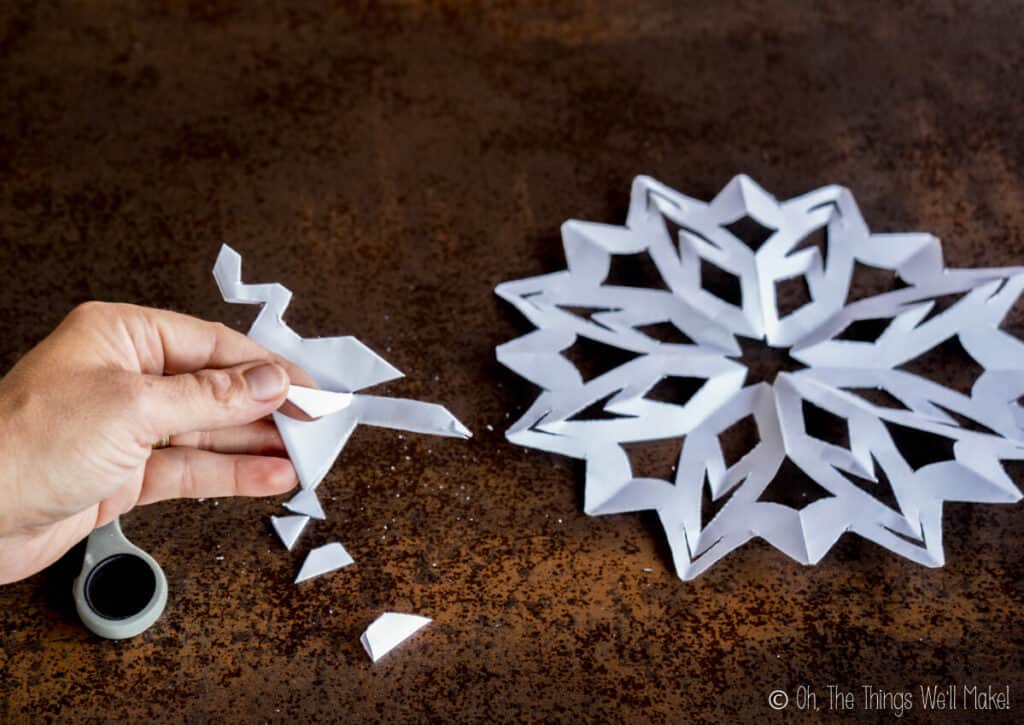
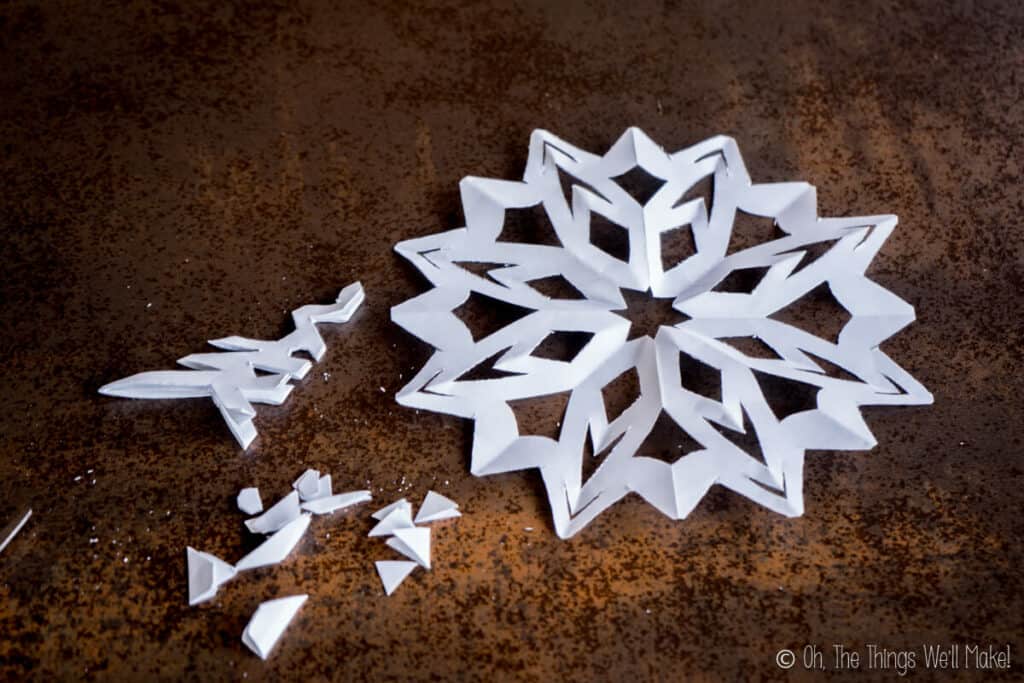
Once you have your design cut out, carefully unfold your snowflake.
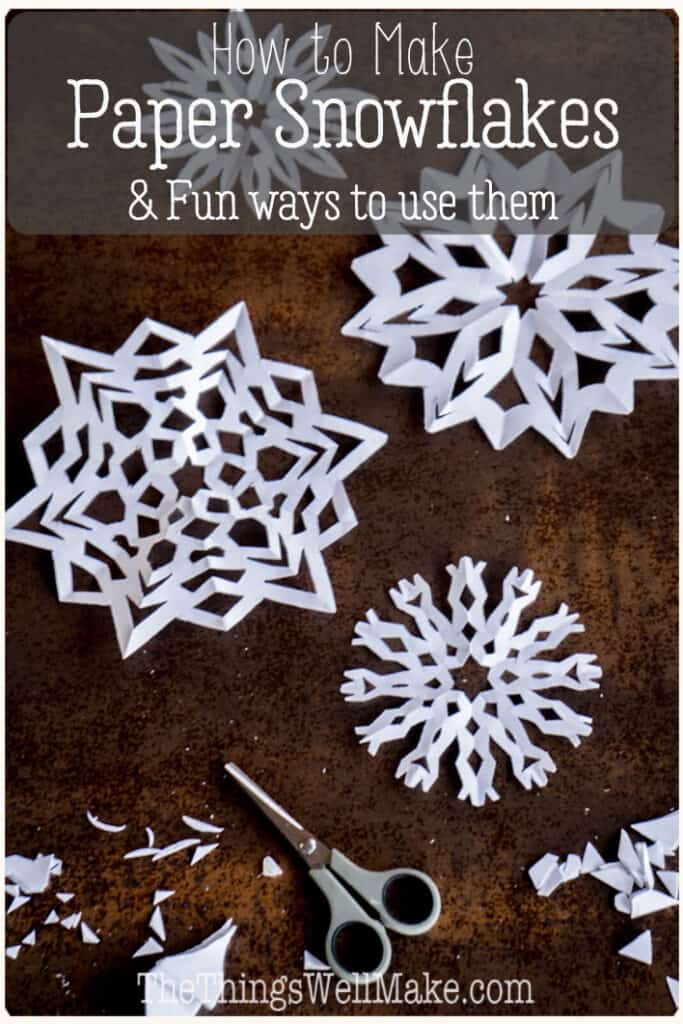
How to Use Paper Snowflakes
Decorating the House
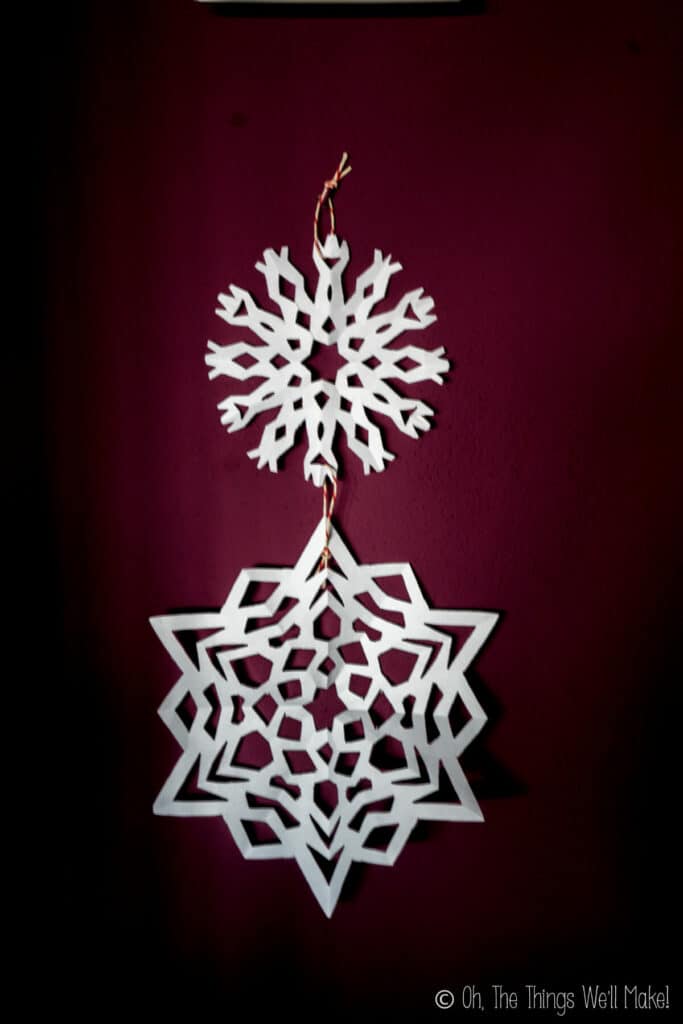
You don’t have to do anything too fancy with your paper snowflakes. They can be taped to windows and walls or can be hung to the tree using ribbons.
You can also consider stringing them together to make either garlands or mobiles.

If you want to fancy them up, try making glitter-covered snowflake ornaments with them.
Painting Snowflakes on Fabric
On the other hand, if you make your paper snowflakes out of freezer paper, there are several fun projects that you can make using them. Not only are these fun projects, but they can make even the least artistic person look like a crafting superstar.
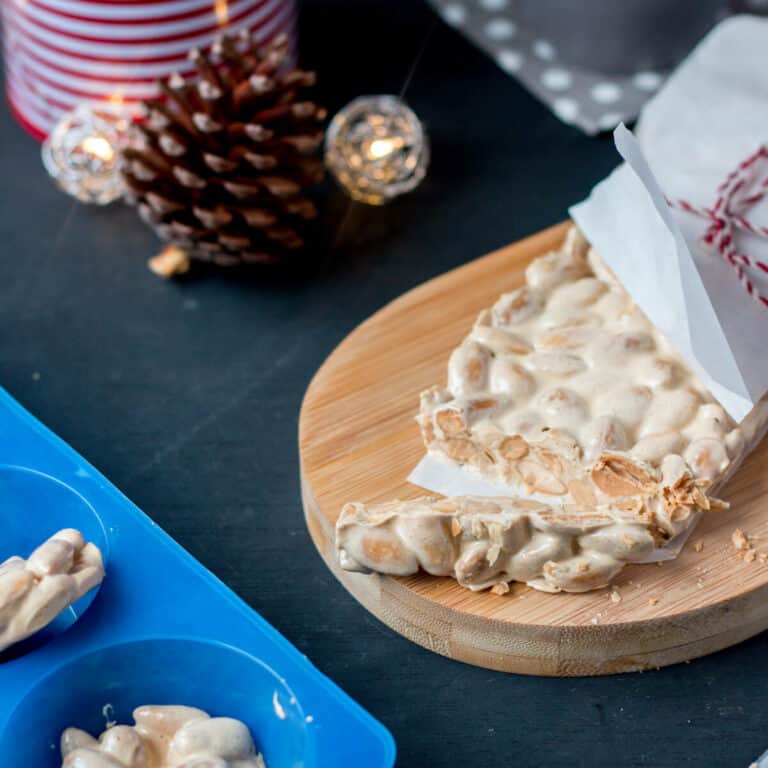
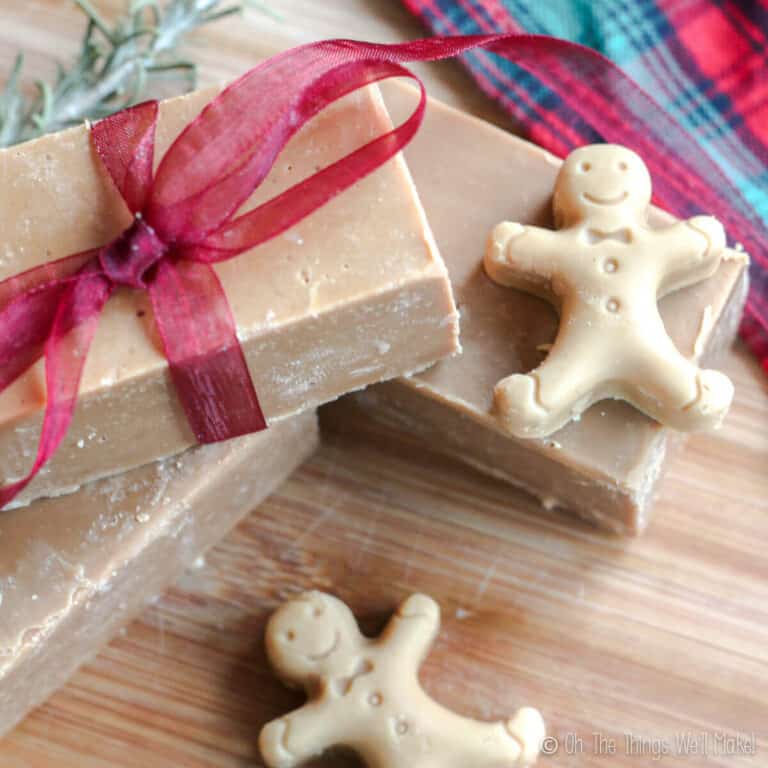
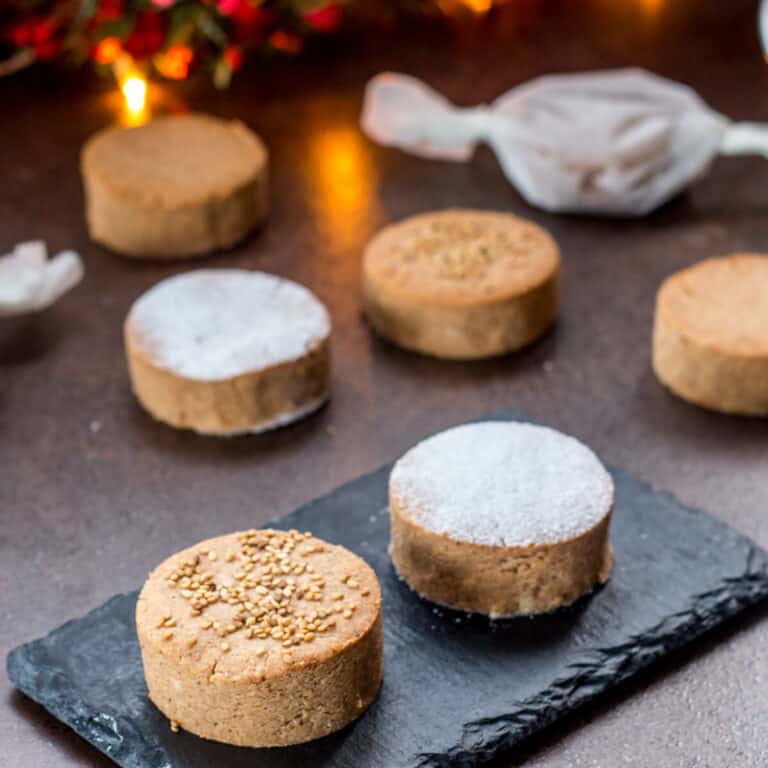
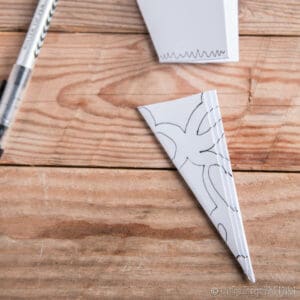
Snowflake Gift Pouches
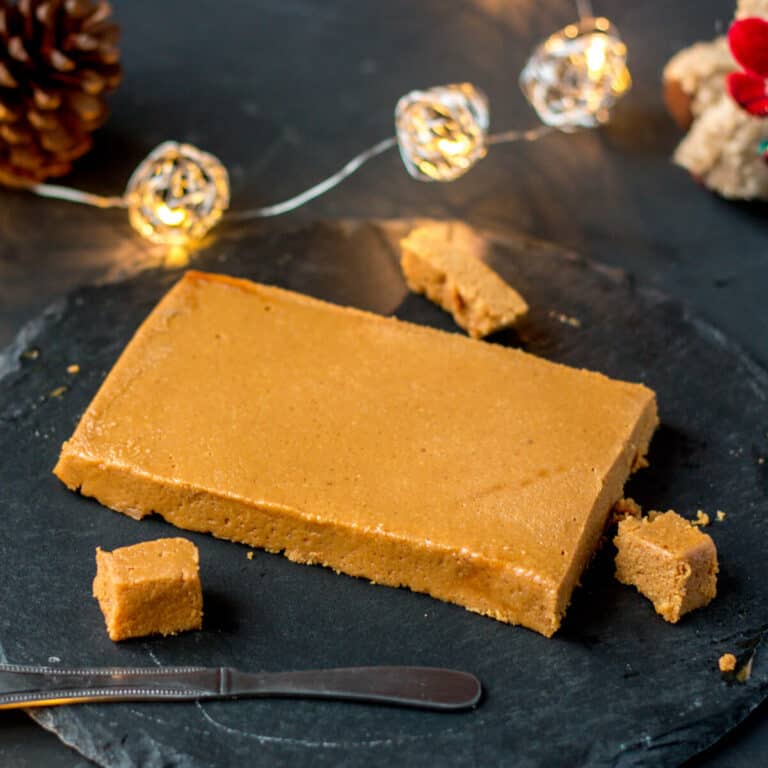
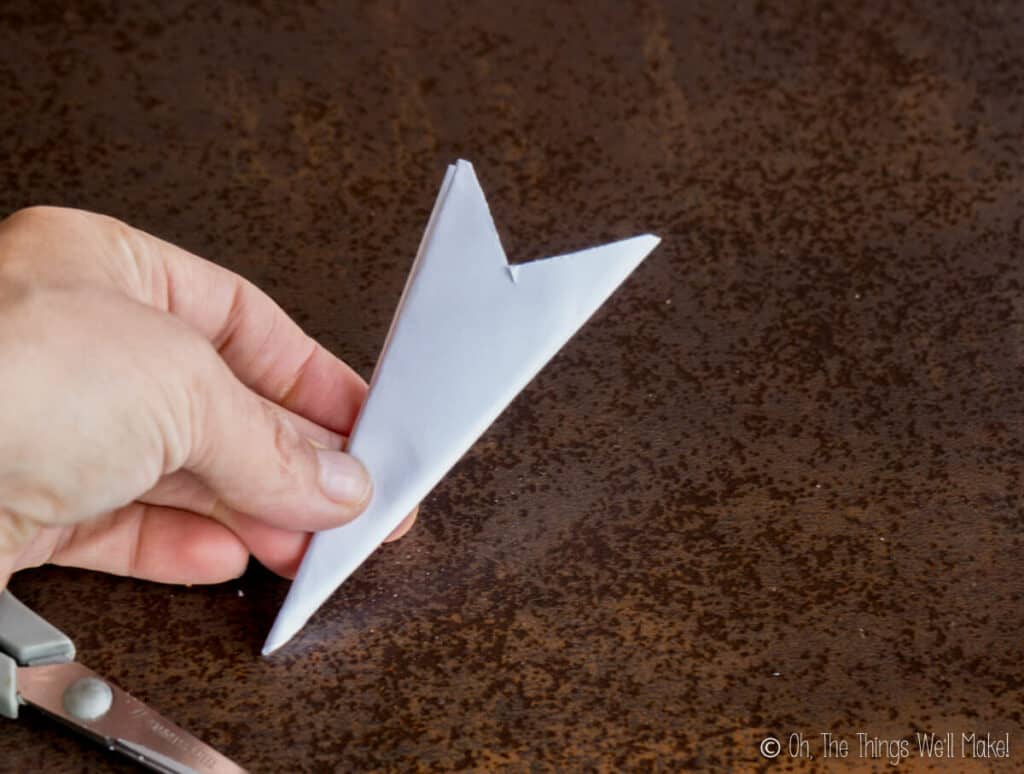
Great for giving away small gifts like homemade soap or homemade cinnamon ornaments, try making these beautiful gift pouches.
For the snowflakes seen below, I only folded across diagonally once, giving fewer points to the star. I then cut a heavy v-shape into the top of the triangle.
Painted snowflake pouches

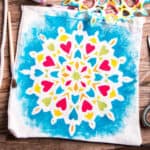
Painting Mandalas
When it’s no longer Christmas or cold outside, you can still use the concept of paper snowflakes to make a mandala design.
Beautiful Fabric Painted Mandalas
How to Make Paper Snowflakes
Equipment
Materials
- 1 piece paper
Instructions
- Take a piece of paper and fold it in half across the length of the paper. (Bring together the two sides of your rectangle that are furthest away from each other.)
- Fold that in half again. Just like before, bring the two sides of your rectangle that are furthest away from each other together when folding in half.
- Keeping the center point of the paper as a reference, fold diagonally over the center point, lining up the folded edges of the paper.
To Make an 8-Pointed Star
- Make one more diagonal fold, once again over the center point (and lining up the edges). The center point, from which the folds emerge, will become the center of the snowflake.
To Make a 6-Pointed Snowflake
- Rather than folding in half diagonally twice (as you would for the 8-pointed start), divide the rectangle into 3 equal parts. Think of it as a circular clock rather than a rectangle with the center point being the center of the clock.

- Now think of the long edge being the line up to 12 o’clock and the short edge being the line to 3 o’clock. Ideally, we want to make folds along the imaginary lines leading to 1 and 2 o’clock.
- The idea is to fold the paper in such a way that when folded along those lines, the edges of the paper will line up along the folds and edges perfectly. (Take a look at the photos below to better understand how it folds together in thirds.)
Cutting off the excess paper
- Cut across the side opposite the center point to even everything out. Doing this correctly will ensure that the paper snowflake is even on all sides. To keep things completely symmetrical, make sure your cut includes ALL of the layers, otherwise, you’ll be left with some areas of the snowflake that are narrower than others. Once you cut, the upper piece can be removed and is no longer needed.
How to Cut the Snowflakes
- Once you’ve folded the paper and have cut off the excess, you can begin to cut a design into your paper snowflakes. To do so, cut random shapes from the edges of the paper. When doing so, make sure NOT to cut all the way across. It's also important to leave little “bridges” of paper between your cuts along the edges so that the paper doesn’t fall apart.

- If you cut deep v-shapes into the middle top fo the triangle, you’ll end up with longer “legs” on your snowflake and will end up with twice as many of them.