Refresh, cleanse, and heal with this natural, homemade mouthwash that is alcohol-free, inexpensive, and super easy to make yourself!
If you’ve been reading my blog for a while, you might already know that I am a non-practicing dentist. While my blog covers a variety of topics, it would be remiss of me to leave out a subject that I have expertise in.
My whole reason for starting this blog was to share my knowledge and empower you to take control of what you eat and use.
In the interest of doing that, I have already shared a few dental care recipes. I’ve shown you how to make a homemade toothpaste, tooth powder, and toothpaste tablets.
But what about when you can’t brush? Or when you have a special healing need?
The purpose of mouthwash
Most people use mouthwash either in the hopes of eliminating bad breath or to help their mouths feel fresh and clean.
There are numerous types of mouthwash available that serve a variety of different purposes. Some claim to help fight cavities, others to help remove plaque, tartar, or gingivitis (aka. gum disease). Still, others claim to help whiten teeth.
When should you use it?
While most people don’t need to use mouthwash on a daily basis, there are times when it could come in handy. All of these reasons are valid reasons for wanting to use a mouthwash…
- Perhaps you want to freshen your breath before a date. Or maybe you can’t get a brushing in, and you’re looking for a way to clean your mouth and raise the pH after eating.
- You may have dental pain and want to soothe your mouth until your dentist is able to see you. Or maybe you’re trying to ease the pain of a canker sore or other small wound and help keep it from getting infected.
- Maybe you have a sore throat and want to gargle with something to help lessen the pain.
- Perhaps you have deep periodontal pockets or hard-to-reach areas in your mouth that you feel could benefit from a good rinse. Occasional rinses with mouthwash can help maintain good oral hygiene.
Why make it yourself?
If you feel like you’re a good candidate for mouthwash, why not make it yourself? By making your own homemade mouthwash, you control the ingredients.
You can choose what ingredients to use and what quality you want them to be. Choose whether to add ingredients like essential oils to your recipe and what flavor to use. Avoid the alcohol and unwanted chemicals in many commercial mouthwashes.
Not only that, but you can save yourself money.
This is a very inexpensive, super quick-and-easy DIY!
Is mouthwash effective?
Whether a mouthwash is effective depends on what that particular mouthwash is meant to do. Some are considered cosmetic, and others are considered therapeutic.
Cosmetic mouthwash
Cosmetic mouthwashes are meant to give a temporary feeling of freshness and may temporarily help with bad breath. Other than that, they don’t really do much. For many people, that may be enough.
Therapeutic mouthwash
Therapeutic mouthwashes have active ingredients meant to serve some sort of purpose. They may have added fluoride to try to help prevent cavities. Hydrogen peroxide may be added in the hopes of whitening teeth. Others add ingredients like chlorhexidine, an antimicrobial agent, meant to help fight gingivitis and periodontitis.
While certain therapeutic mouthwashes can be helpful in certain situations, they may have side effects that make them unsuitable for daily use.
Some studies do show that using mouthwash can help reduce plaque and gingivitis. (For example, mouthwash with essential oils does help reduce plaque and gingivitis.)
Best mouthwash ingredients
For my DIY mouthwash, I use a combination of the following ingredients:
Salt
Salt is a healing ingredient that has been used in medicine by many cultures since ancient times. It is, perhaps, the most important ingredient to use in a homemade mouthwash because of its healing properties. Saltwater rinses are often prescribed after dental surgeries because they can help soothe and promote healing by reducing inflammation and contracting the tissues.
Saltwater rinses may also help alkalize the mouth by helping to destroy the acid-forming bacteria that cause cavities and gingivitis. Using a natural salt, like Himalayan salt, could be helpful in providing essential trace minerals that may help in the remineralization of your teeth.
The addition of salt also helps preserve your homemade mouthwash.
Baking soda
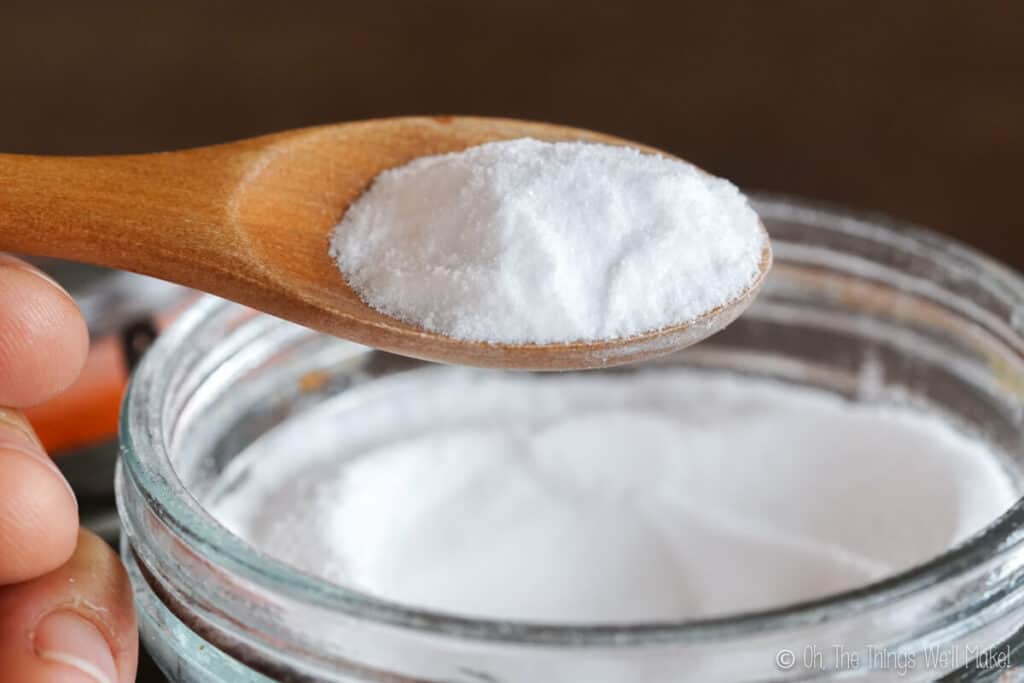
With a pH of around 9, baking soda is alkaline. Adding it to your homemade mouthwash can help alkalize the mouth, making it a less hospitable place for bacteria that cause cavities and gingivitis. It can also help balance your oral pH after having ingested acidic foods that can be damaging to your teeth.
Combining salt and baking soda when rinsing is not a new idea. The National Cancer Institute recommends using a rinse of water, baking soda, and salt to help reduce some of the oral side effects of chemotherapy (like mouth pain). It’s a natural, gentle, healing combination that is great for a variety of issues.
Xylitol
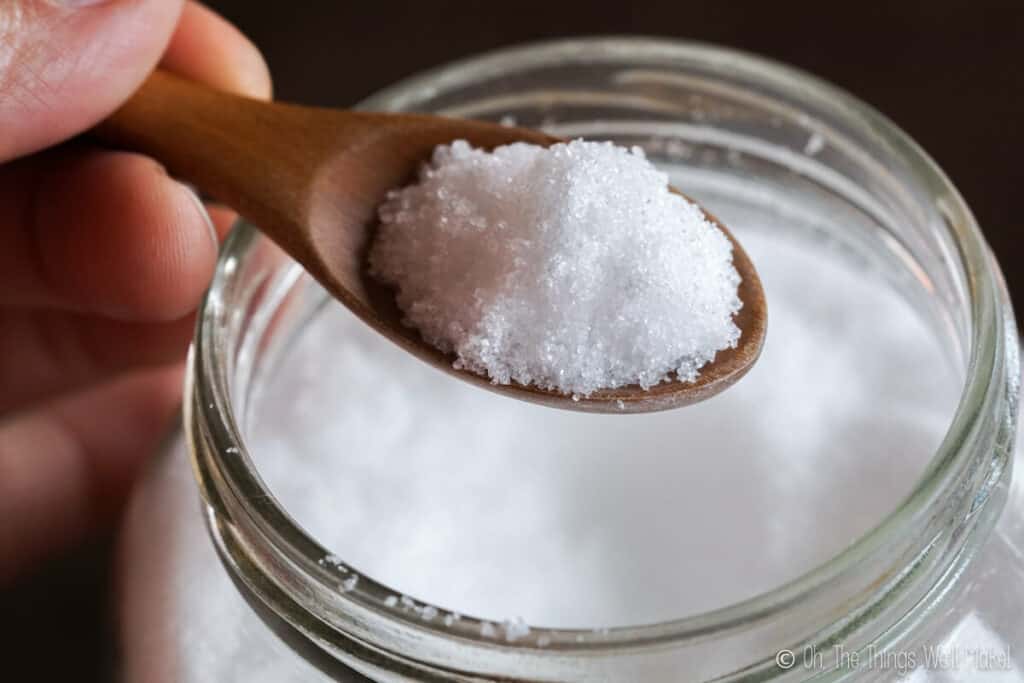
A sweetener that won’t damage your teeth, xylitol may even help prevent cavities. My main reason for adding it is to make the mouthwash more palatable by giving it a sweet flavor. It’s a totally optional ingredient, though, so if you are opposed to using it, don’t add it!
While xylitol is safe for humans to consume, it can be toxic to animals, especially dogs. So, don’t make oral care products for your animals with xylitol, and make sure you keep it out of their reach.
Mineral drops
Adding mineral drops, like Concentrace Trace Mineral Drops is also optional. I include these to surround the teeth with helpful minerals that can potentially contribute to the remineralization process of any areas that may have been demineralized by the harmful bacteria present in dental plaque.
These same mineral drops make a great addition to your homemade toothpaste, tooth powder, or even your drinking water. So, they’re great to have on hand for other purposes.
Essential oils
Essential oils add flavor to your mouthwash, but they are an active ingredient when used in a high enough concentration. The goal is to have the oils disrupt the bacterial cell wall of the bacteria in your plaque. If you kill the bacteria, it won’t form acid, which thereby helps avoid cavities, gingivitis, and periodontal disease.
You can use one of several popular essential oils, depending upon your flavor preference; or use a combination of different oils. Some great choices are clove, cinnamon oil, tea tree, spearmint, peppermint, and wintergreen. (I elaborate more below.)
If you plan on having children use this mouthwash, you can add peppermint extract instead of peppermint essential oil to flavor your mouthwash. (It won’t be completely alcohol-free, then, but the amount of alcohol added is almost negligible.)
Mouthwash ingredients to avoid
As much as I love making apple cider vinegar and kombucha, acidic ingredients should have no place in homemade mouthwash recipes. Acids released by the bacteria in dental plaque are what erode away the enamel, eventually leading to tooth decay. You don’t want to purposefully bathe your teeth in an acidic liquid.
I also prefer avoiding alcohol in mouthwash.
Why avoid alcohol-based mouthwash?
One of the best dental school instructors I had was a periodontist who advised us that if you brush and floss your teeth correctly, using mouthwash is usually unnecessary for healthy people. He pointed out that most of the popular mouthwashes have alcohol in them, and the use of alcohol in a mouthwash could be drying to the mucosa.
Using an alcohol-based mouthwash can leave your mouth feeling cleansed. They have a cooling effect that feels refreshing. With continued use, though, they could potentially lead to a dry mouth.
Dry mouth
Having a dry mouth makes you more susceptible to getting cavities. If your main goal in using mouthwash is to prevent cavities, using an alcohol-based mouthwash may actually be doing more harm than good.
You could choose a fluoride-based rinse instead, but that takes us back to the debate about if you should be using fluoride or not. (I touched on that in my clay-based homemade toothpaste post.)
Effect on plastic fillings
I found one study that looked at the solubility of composite resins (tooth-colored fillings) in different solutions, including an alcohol-based mouthwash. They concluded that it may be best for people with a lot of composite restorations to avoid using alcohol-based mouthwash.
Does it cause cancer?
Some people believe that mouthwash with alcohol may give you an increased chance of developing oral cancer. The studies don’t really show a connection. The ADA has taken the stance that mouthwashes with alcohol in them are safe.
I’ll leave you to be the judge of whether you want to use an alcohol-based mouthwash or not.
Best essential oils for mouthwash
Many commercial brands of mouthwash use combinations of several essential oils to give their product good flavor and to leave your mouth feeling fresh. Listerine uses a combination of thymol (found in thyme oil), menthol (found in peppermint oil), eucalyptol (found in salvia and eucalyptus), and methyl salicylate (wintergreen).
If you feel that your child is likely to ingest the mouthwash, rather than spit it out, it’s probably best to leave the oils out altogether or not use mouthwash at all.
The ADA doesn’t recommend the use of mouthwash in children under 6 anyway as swallowing reflexes may not be well-developed yet in young children.
Clove oil
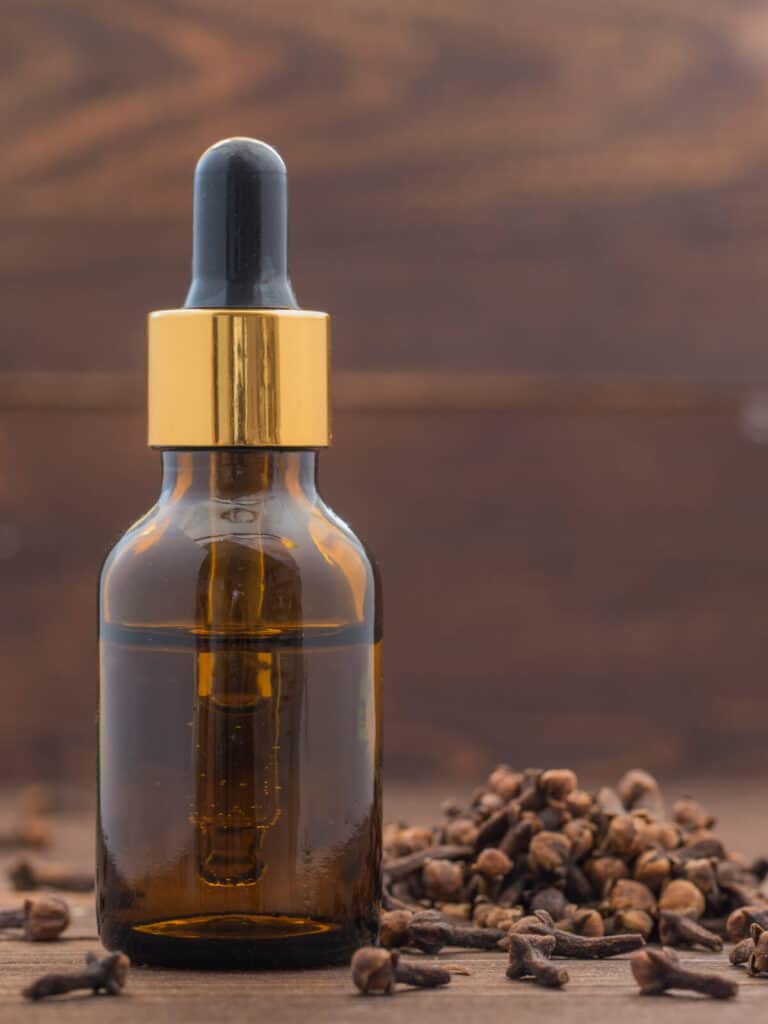
Clove oil is a great oil to use in homemade mouthwash because of its anti-inflammatory and analgesic properties. Gargling with a mouthwash made with clove oil may help soothe a sore throat, and it may also help relieve other pain from toothaches or ulcers in the mouth.
The eugenol component of clove oil is no stranger to dentistry. Zinc oxide-eugenol cement is commonly used as a temporary filling material.
Clove oil is generally safe to use with children over age 2, but I don’t suggest using a mouthwash with any oil on a child that young.
Clove oil 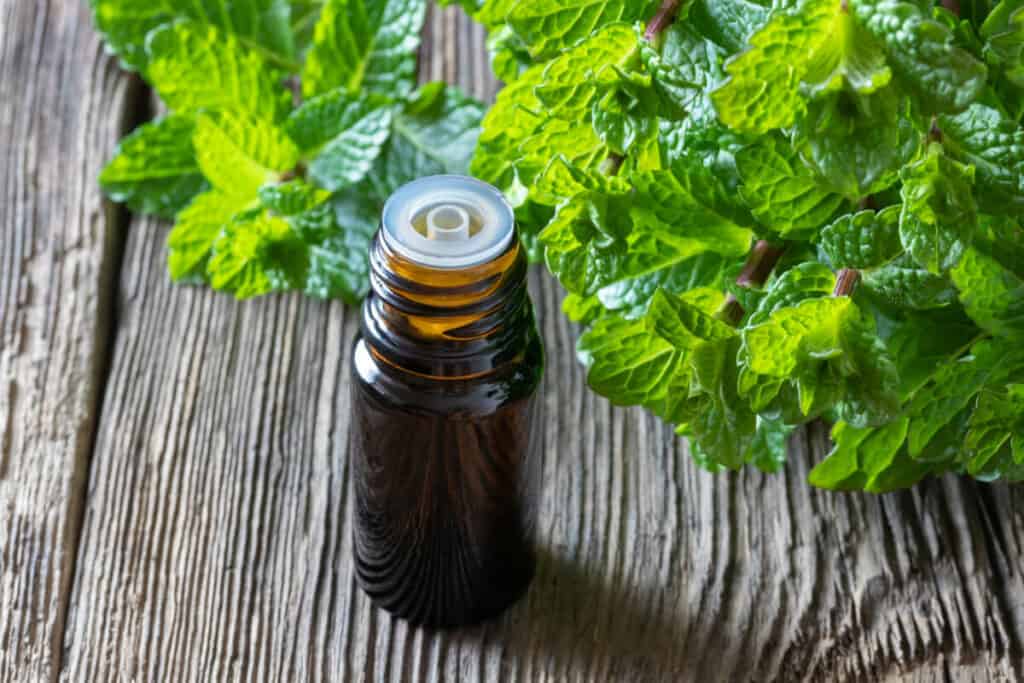
Peppermint oil 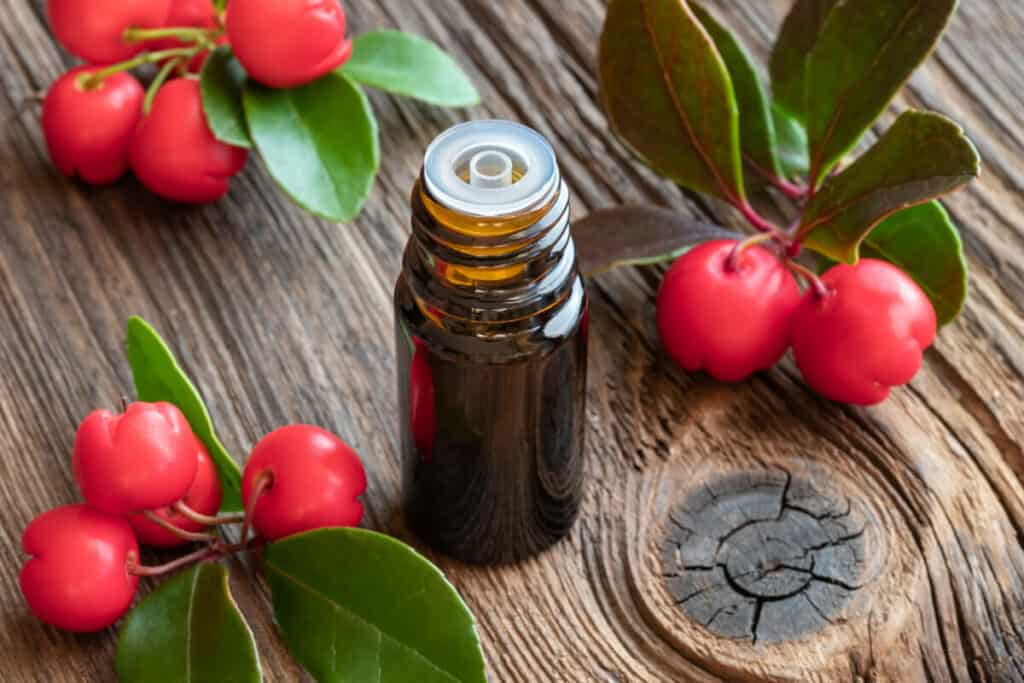
Wintergreen oil
Tea tree oil
Tea tree oil isn’t the most pleasant tasting of the oils, but some people choose it for its antimicrobial properties. It may help in cases of oral candidiasis and may also help with gingivitis.
As this oil isn’t generally taken orally, you want to be especially sure to spit this one out. I don’t suggest using it with children.
Wintergreen oil
Wintergreen oil tastes great and can help with the inflammation and pain from infections. It’s thought to help naturally reduce bad breath. As it can be toxic in high concentrations, such as those found in essential oils, this is another one you want to make sure to spit out.
Wintergreen can lead to the development of Reye’s syndrome when used by children under the age of 10.
Peppermint oil
My favorite oil for a homemade natural mouthwash is peppermint. It’s easy to find, great for a number of other uses, and it gives your mouth a fresh, clean feeling. There’s no need to use alcohol in your mouthwash when you can get that same fresh kick from a few drops of peppermint oil.
Peppermint is generally safe for children over the age of 6, but can sometimes (very rarely) lead to respiratory issues in younger children.
Is it bad to use essential oils in mouthwash?
Some people are worried about using essential oils in homemade mouthwash and toothpaste because of their antimicrobial properties. The idea is that essential oils may have a similar effect on the balance of bacteria in the mouth as antibiotics do on the gut. In other words, they could kill both good and bad bacteria, upsetting the delicate balance of oral microorganisms.
Though essential oils do possess antimicrobial properties, I don’t believe they are potent enough to disturb the natural harmony of your mouth. You would need to use a ridiculously high concentration to cause issues.
Anybody who has made homemade natural products like homemade lotion or a homemade hair conditioner knows that essential oils can NOT be used as preservatives. If you don’t use a proper preservative in your products, even if you add essential oils, they will quickly develop bacteria and mold.
For more information about effective preservatives and why essential oils are not true preservatives, see my guide to natural preservatives.
Are essential oils effective at combating gingivitis and plaque?
There is a study that helps support the idea of using a mouthwash with essential oils to help reduce plaque and gingivitis. The patients with gingivitis who used a mouthwash containing essential oils along with brushing and flossing had less gingivitis and plaque than those who didn’t use mouthwash or used one without essential oils.
If you are still concerned, you can leave the essential oils out. Or, just save them for moments when you are dealing with dental pain, gingivitis, or inflammation of any other type.
How to use
Mouthwash can be used before or after brushing your teeth. It can also be used between brushings, when you aren’t able to conveniently brush your teeth during the day.
It’s especially helpful to rinse your teeth with mouthwash after flossing, to help remove any debris that you may have pulled out from between your teeth.
- Pour a small amount of mouthwash from the bottle into a small cup. About half an ounce (15ml) is enough.
- Swish the mouthwash around in your mouth for around half a minute.
- Finish by gargling some of the mouthwash to help clean the back of the tongue and throat area. This is especially helpful if you are dealing with a sore throat.
Make smaller batches rather than try to keep larger batches for longer periods of time. While the mouthwash should safely keep for longer, it may degrade with time. Ideally, mix up what you think you’ll use in a week. (Remember- this is quick and easy to make!
Storage
Store in an airtight bottle in a cool, dry place for up to a week.
Make smaller batches rather than try to keep larger batches for longer periods of time. While the mouthwash should safely keep for longer, it may degrade with time. Ideally, mix up what you think you’ll use in a week. (Remember: this is quick and easy to make!)
Video tutorial
Homemade Natural Mouthwash
Materials
- 1 tsp. salt
- 1 tsp. baking soda
- 1 tsp. xylitol
- 8 drops peppermint essential oil or other oil(s), optional
- 20 drops mineral drops
- 1 cup distilled water
Instructions
- Add all of the ingredients to a storage bottle and mix thoroughly.
- Shake before each use to help disperse the oils and any baking soda or traces of salt that may have settled to the bottom of the bottle.
Notes
Other oral hygiene-related posts
This post was originally published on Jan. 2, 2018. It was updated and republished in June 2023 with new information and full tutorial video.
 Español

 DIY Toothpaste Tablets Recipe
trendytickr
I stumbled upon this homemade mouthwash recipe, and I couldn’t be more thrilled! As someone who values natural alternatives and believes in the power of DIY, this mouthwash ticks all the right boxes.
Maria Benedetti
This is the recipe I have been praying for. But there are no measurements in your recipe. Is it all just intuitive? Or do you measure your ingredients? GRACIAS from Puerto Rico.
Tracy Ariza, DDS
Hi Maria,
You must have overlooked the recipe card. Scroll down to the very bottom of the most and you’ll find the recipe card with all of the measurements!
Naomi Rydelle
Not all essential oils are meant to be ingested and just because you are spitting the solution out, that is not enough. Mucous membranes absorb some of whatever touches them. Putting oils meant for topical use only in your mouth is an extremely bad idea.
Tracy Ariza, DDS
In Spain, it is common for most essential oils to be accompanied by internal dosage instructions. In the United States, most companies warn against using essential oils internally because they are concerned about litigation there. You should always use high quality oils, preferably food-safe, for all cosmetics. The oils I mentioned are generally considered safe for this use as long as you are using distilled or pressed, high quality oils that haven’t been extracted with chemicals.
Your skin will also absorb the oils just as the mucosa would. If you’re worried about your body absorbing a small amount of oil when you swirl it in your mouth, I wouldn’t recommend using that oil on your skin either.
Stephanie
Love this. What an easy homemade product.
Tracy Ariza, DDS
Thanks!
Katrina
Is this recipe good for destroying unwanted bacteria that contribute to decay? Would calcium carbonate be good to add to this to help rebuild enamel?
Tracy Ariza, DDS
Hi Katrina,
While some of the ingredients do have antimicrobial properties, its main purpose isn’t really to fight bacteria. It’s more of a freshening agent that can help promote healing.
You can definitely add calcium carbonate if you like, for added minerals.
Alicia
You mentioned Peroxide as a whitening agent in the article but not your thoughts as to its efficacy or safety. A friend says she brushes with baking soda mixed with hydrogen peroxide. What are your thoughts on that?
Tracy Ariza, DDS
In my opinion, it’s relatively harmless but may cause some irritation to the gums in some people. It may also eventually cause tooth sensitivity in some people if used too much.
I would suspect, though, that it will depend a lot on each person and some people will be more susceptible to irritation that others.
Tooth-whitening products are usually concentrated versions of carbamide peroxide, which is similar to hydrogen peroxide. They are much more concentrated than the normal hydrogen peroxide that you buy at the pharmacy or supermarket. Some people get much more sensitivity that others when using those products.
My advice is to stop at signs of irritation and switch to something else for at least a while until the teeth/gums recover.
Desiree
What kind of container do you suggest?
Tracy Ariza, DDS
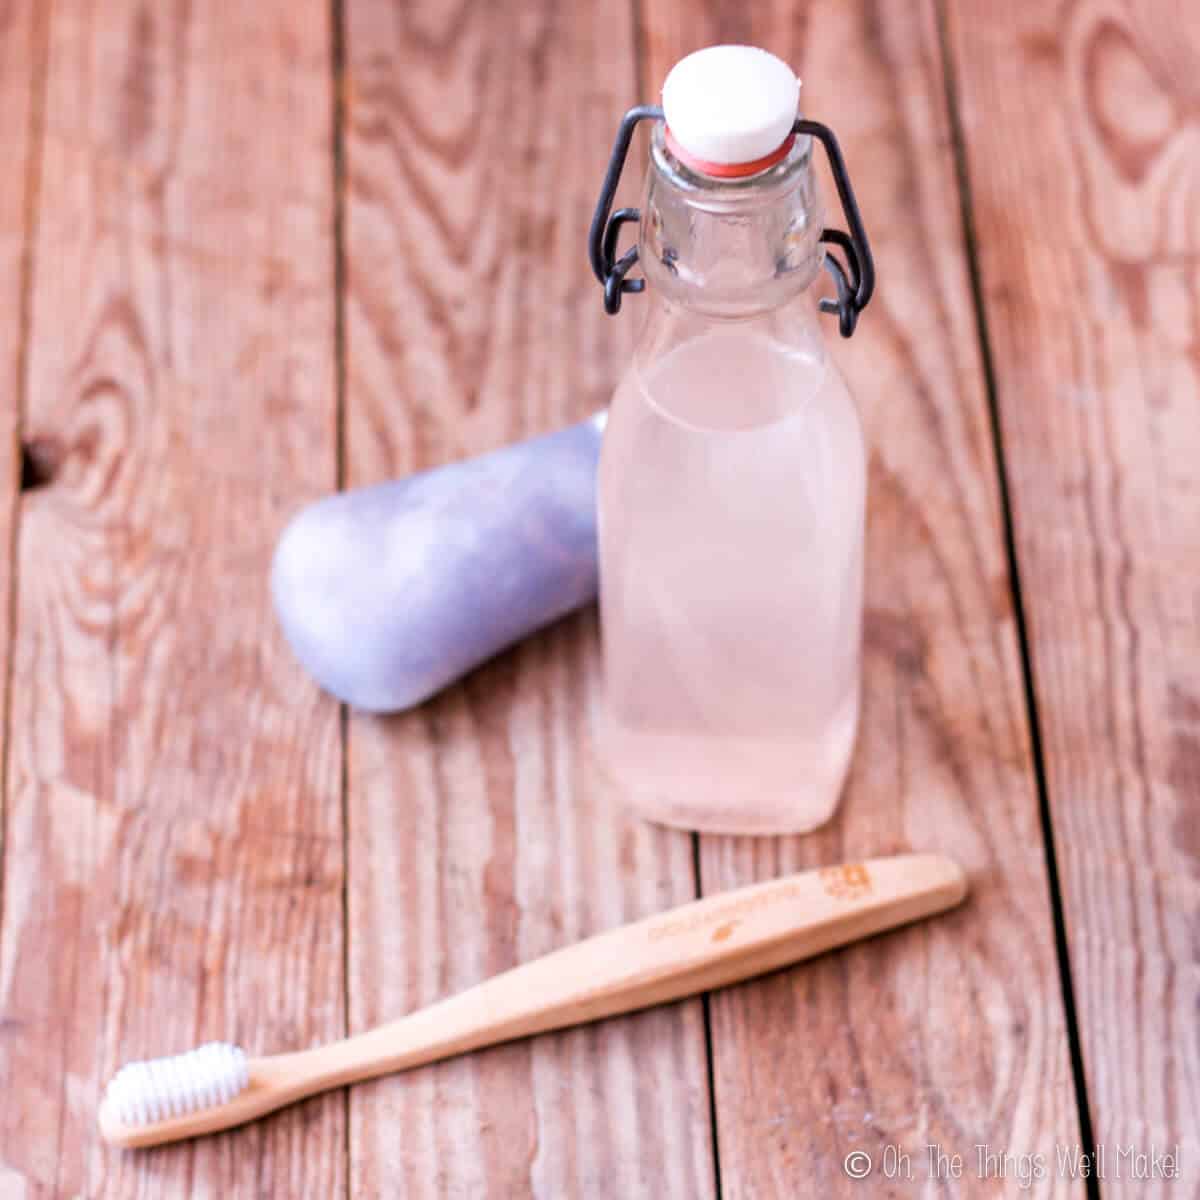
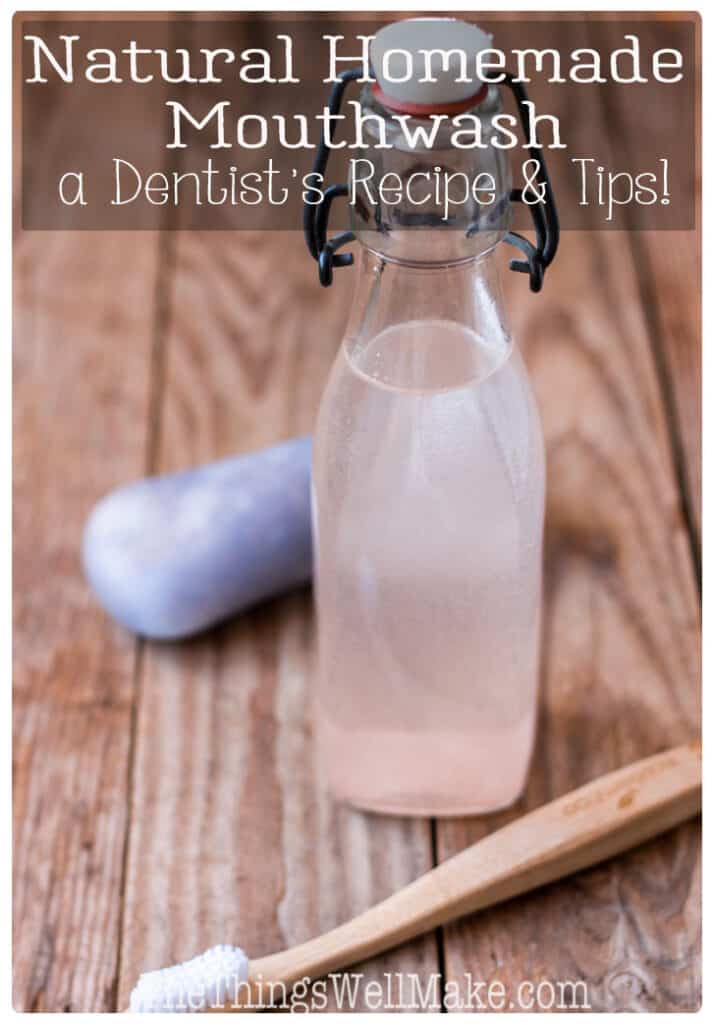
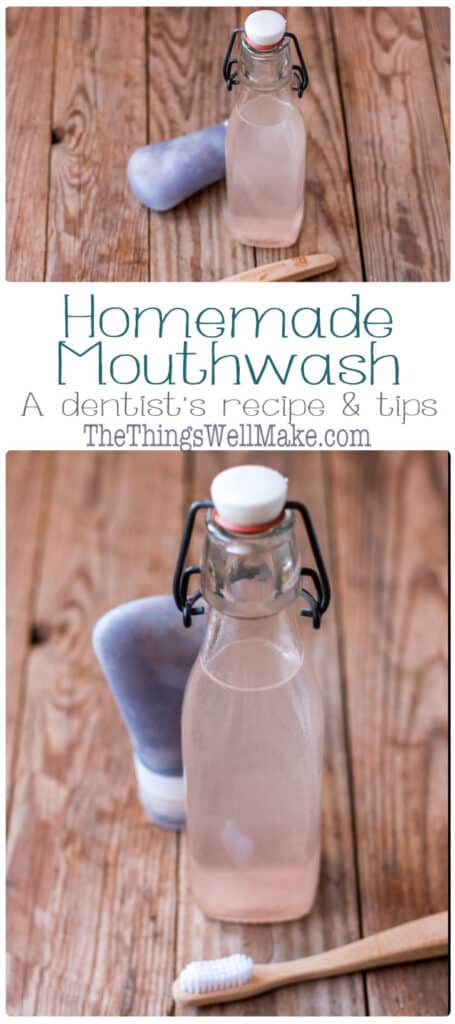
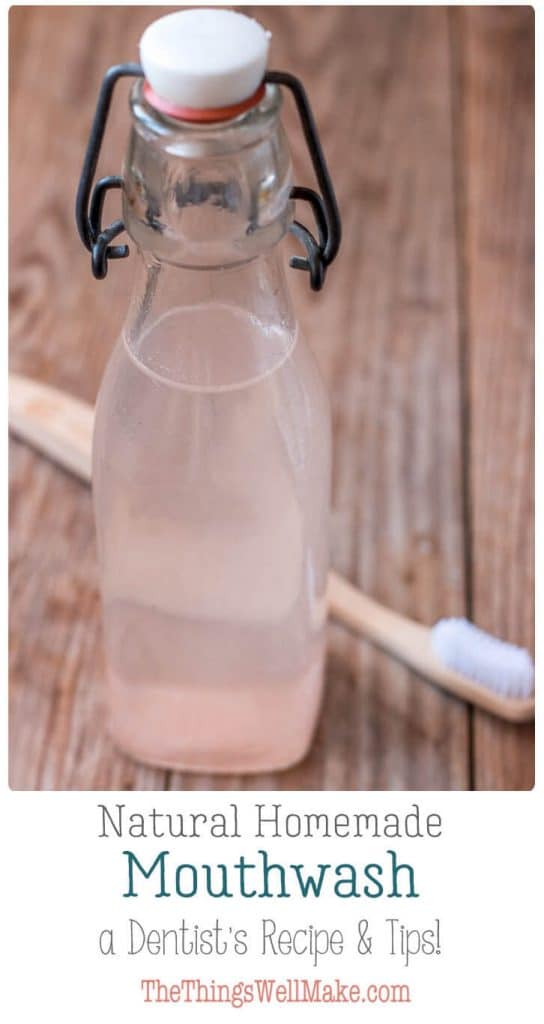
I generally just use a glass bottle like the one in the photo. If you leave it too long in there, though, it can leave marks that are difficult to remove.