How to Make Paneer
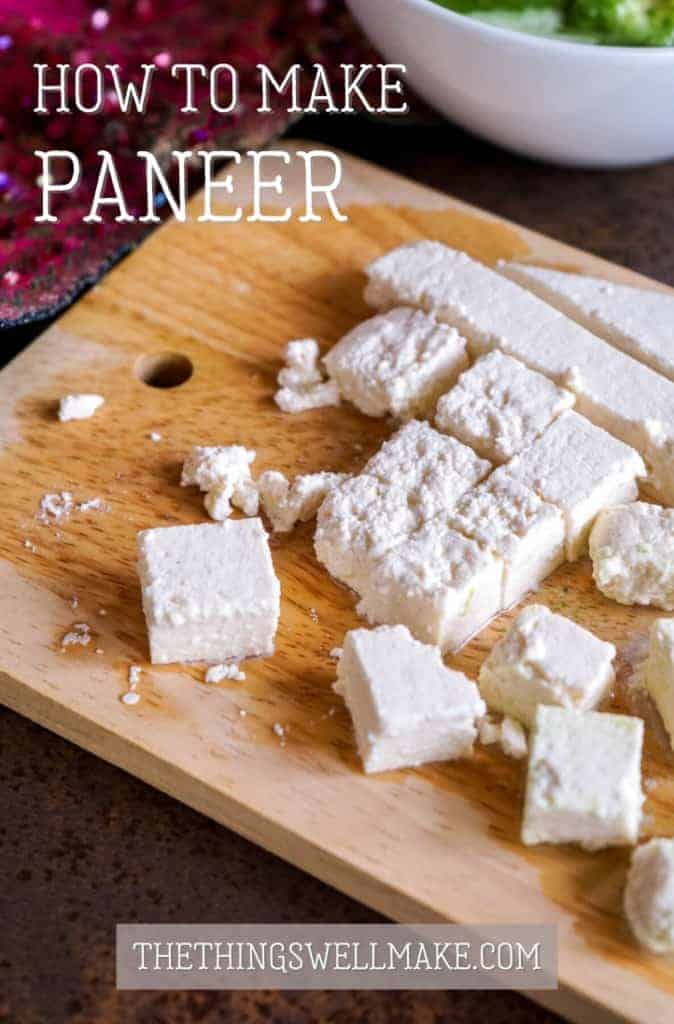

Soft and mild, paneer is a delicious fresh Indian cheese that is easily made at home with just a couple of simple ingredients that you probably already have in your kitchen.
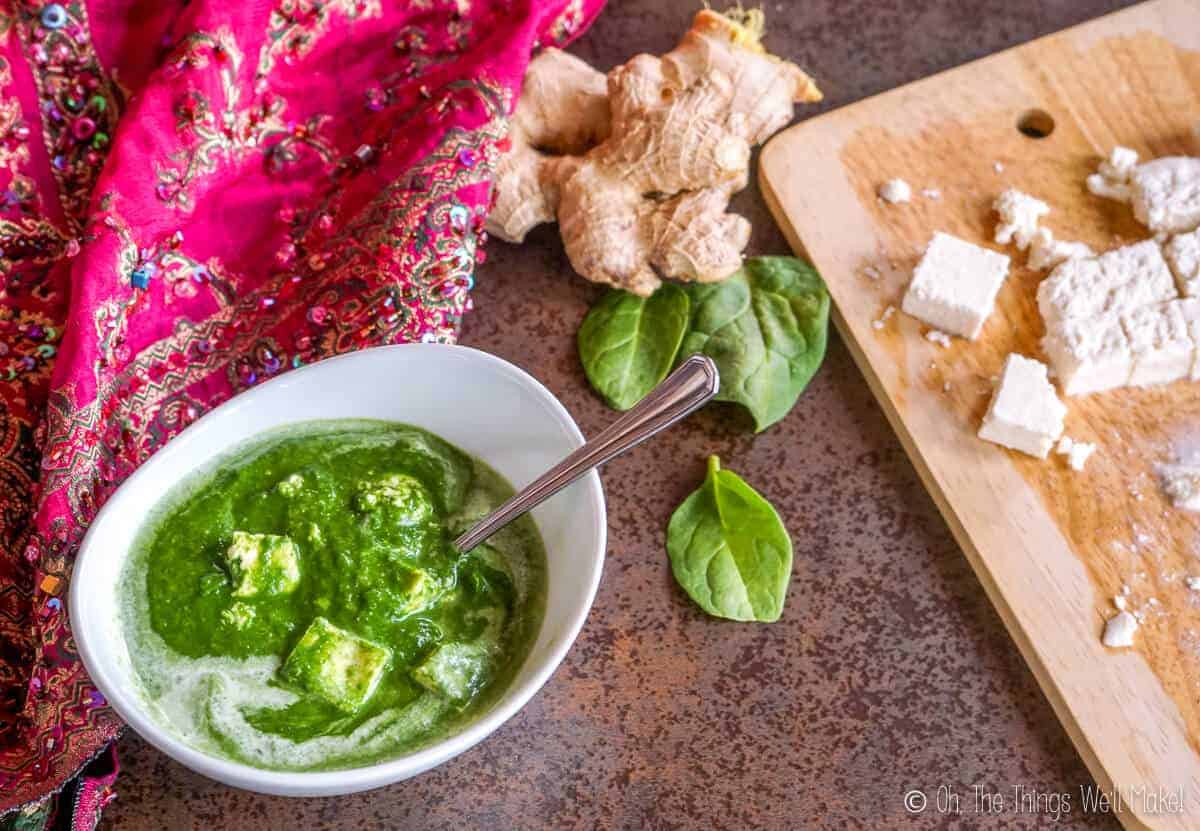
Last week, a fellow blogger asked me if she could share a recipe with my readers. She sent over a recipe for palak paneer, an Indian dish made with spinach, a delicious spice blend, and, of course, paneer cheese. As I don’t like sharing recipes here that I haven’t personally taste-tested, I decided to make it right away to see if I wanted to share it here or not.
Paneer isn’t something that is easy to find here in Spain. Luckily, though, it’s very easy to make at home. There is no need for special cheese cultures or specialized equipment.
So, I made some paneer. Then I used it to make some palak paneer. Since both were delicious, I figured I may as well share both recipes with you!
What is paneer?
Paneer is a soft Indian fresh cheese that has a mild flavor. It is made by curdling milk with an acid, straining out the curds, and then pressing them into a flat, solid cheese.
What does it taste like?
Paneer’s flavor when raw resembles cottage cheese, but the texture is different because it is pressed into a solid, flat shape. It’s a bit like an unsalted ricotta cheese or even like a soft, raw halloumi, especially when it has been cooked.
Some people will describe it as bland in flavor, mainly because it is generally unsalted. Its mild, milky flavor allows it to adapt to a variety of recipes, though.
How is it used?
Paneer is much more versatile than many people would imagine. It can be served raw, but it also holds up well to cooking. In fact, it tends to hold its shape much better when cooked. You can boil it in water with a bit of salt to give it a bit more of a creamy texture. Doing so makes it much more like feta cheese. It can also be pan-fried like halloumi.
Paneer is generally cut into small cubes before serving it. Because of its presentation and mild flavor, it is often used like tofu. Cubes of paneer are used in vegetarian dishes like palak paneer. With its mild flavor, it allows the other ingredients to really stand out.
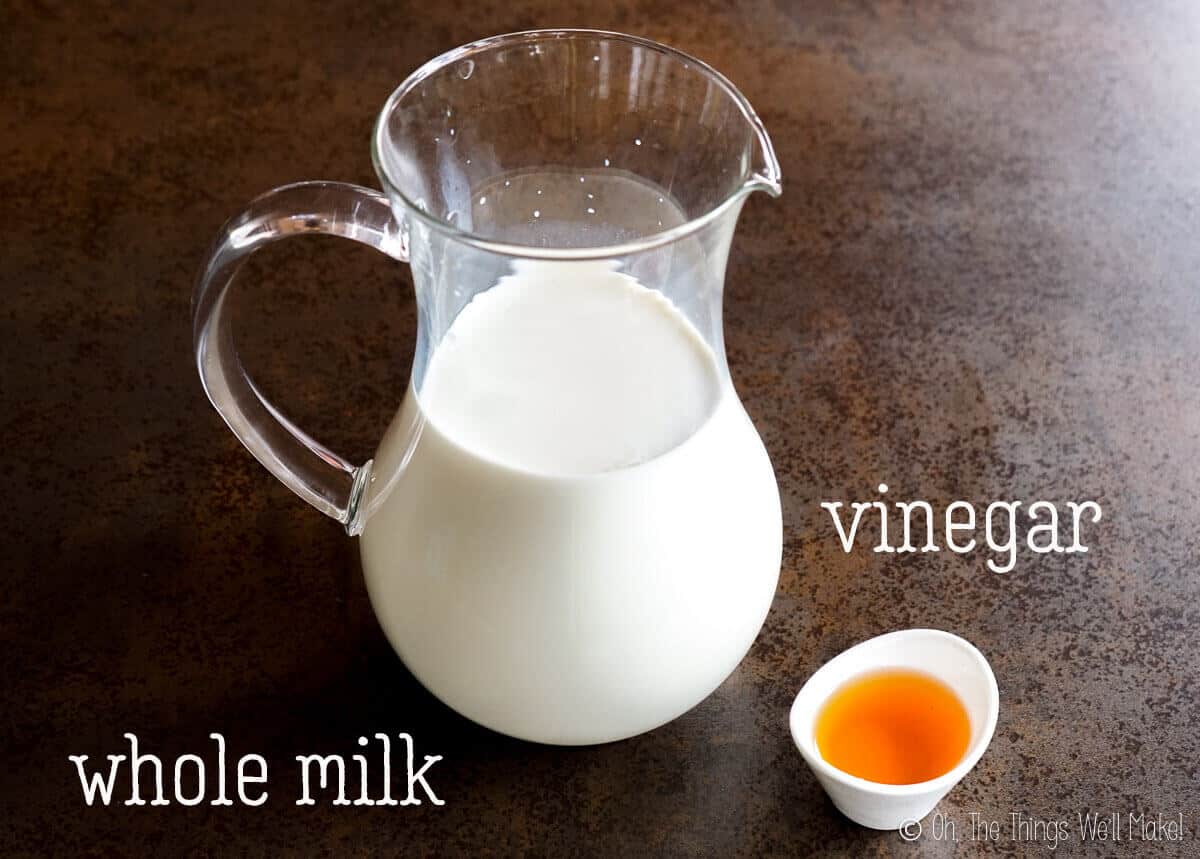
Ingredients
This simple recipe uses only a couple of simple ingredients. The main ingredient, of course, is fresh milk.
Can you make paneer with skim milk?
While you can make paneer with either skim milk or lowfat, I (greatly) prefer the texture of paneer made with whole milk. Whole milk also makes more paneer than skim milk!
One day, I made paneer with 1 liter of skim milk and 1 liter of whole milk to compare them. I chose the same brand of milk just to make sure that the only real difference was in the fat content of the milk. In the picture below, you can see that I made almost twice as much cheese with the whole milk as I did with the skim milk.
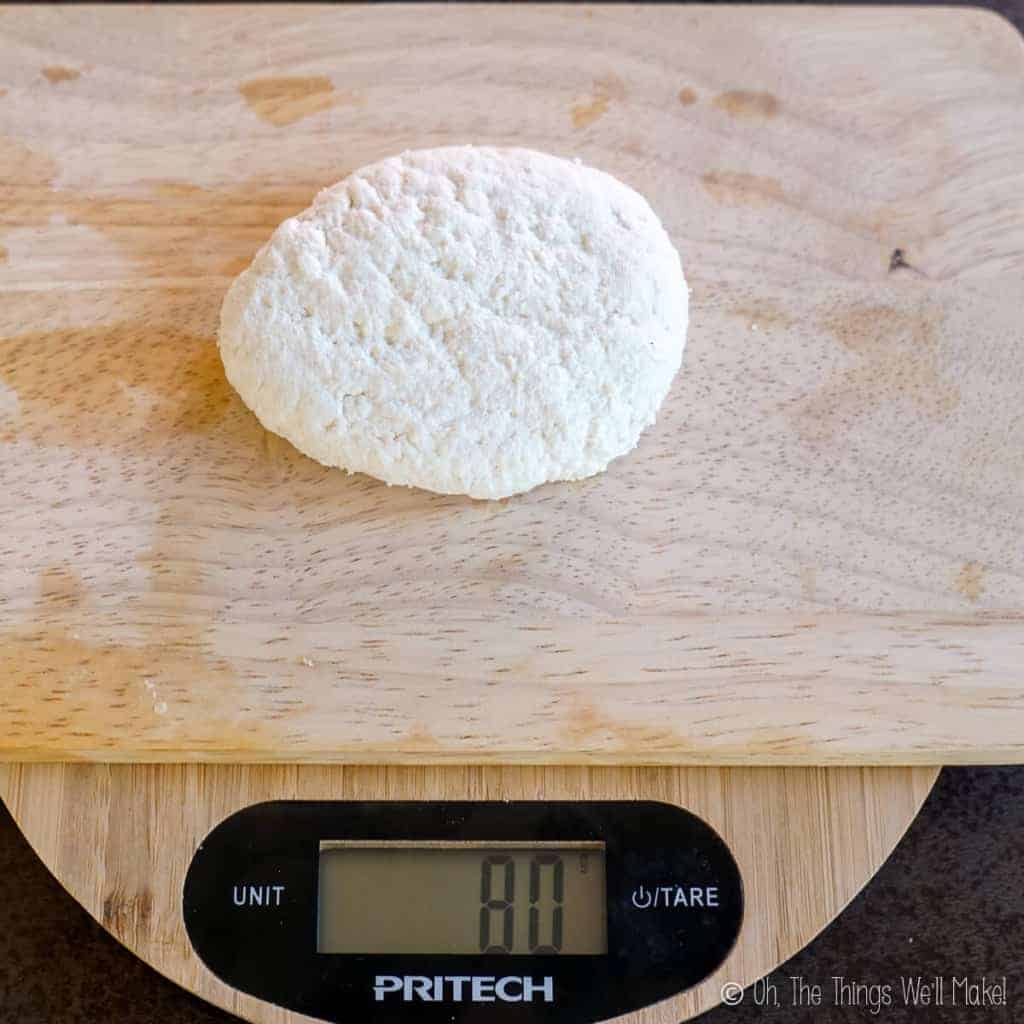
made with 1 liter of skim milk 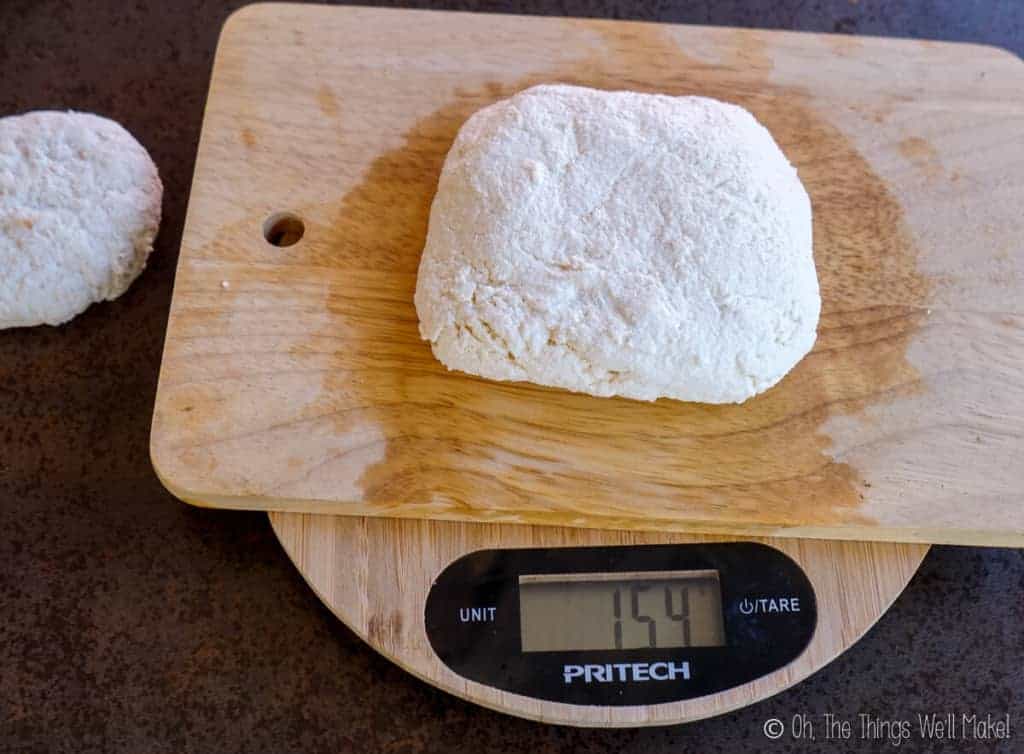
made with 1 liter of whole milk 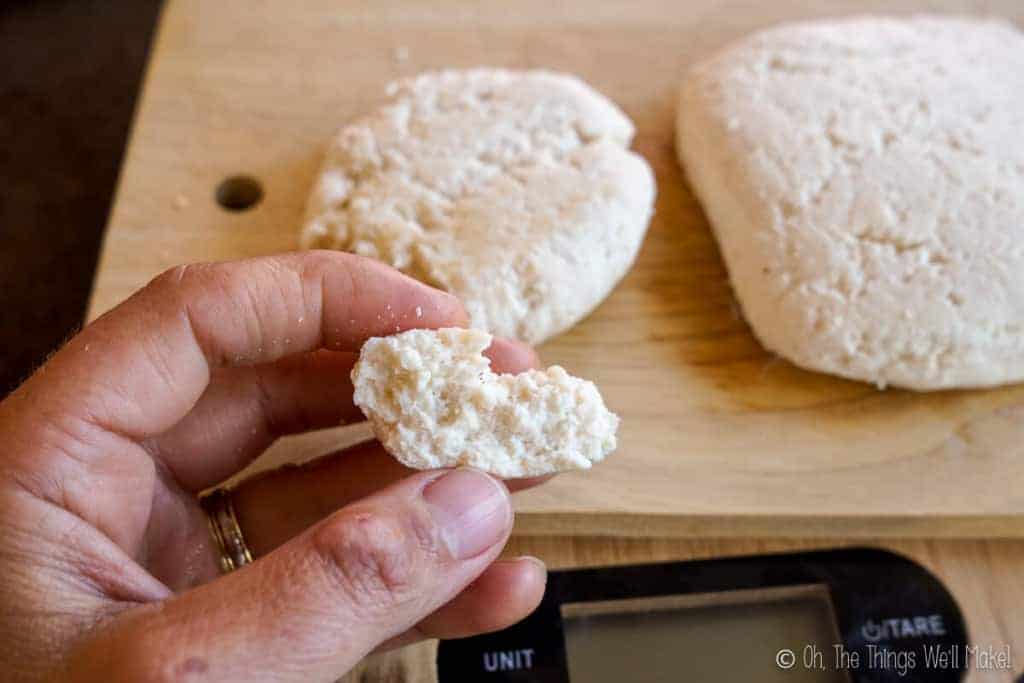
skim milk makes a rubbery cheese 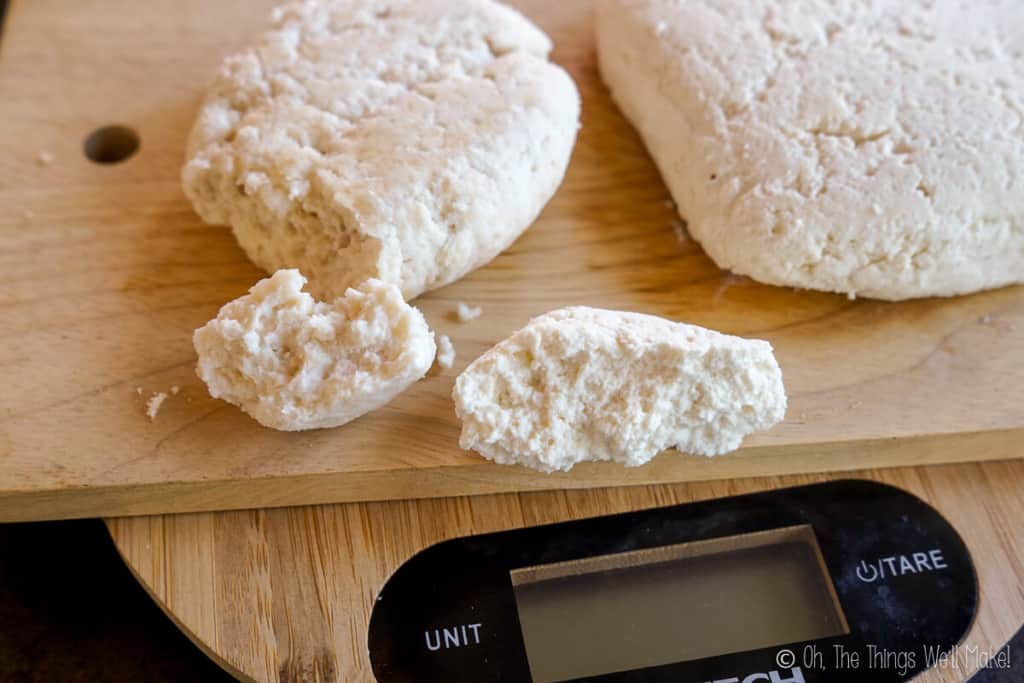
skim milk cheese (left) vs. Whole milk cheese (right)
The liter of skim milk only made 80 grams of paneer while the same amount of whole milk made 154g of cheese. That wasn’t the only downside of using skim milk, though.
The other issue with the skim milk paneer was that it was quite rubbery in texture. As a plus, it was quite easy to make. It curdled right away, and there was a lot of whey that was easy to strain out. The resulting cheese was very solid and kept its shape immediately.
Unfortunately, that ease in making the cheese came at a price. The paneer held its shape well because it was hard and rubbery. It didn’t have that nice soft, creamy texture that I loved in the whole milk paneer. In fact, I’ll have to admit that I didn’t finish cheese made with skim milk. My hens didn’t seem to mind it, though. 😉
Which acid is best?
Apart from the milk, you’ll need some form of acid to curdle it. I’ve made paneer with both lemon juice and vinegar in the past, but generally use apple cider vinegar these days. (And, yes, I’ve even tried it with homemade apple cider vinegar!)
While I like the flavor of lemon juice better than that of vinegar, when making paneer, you rinse away most of the acid from the curds anyway. So, there isn’t a huge difference in flavor in the finished cheese either way. In the end, it ends up being cheaper and simpler for me to use vinegar. Either works well, though.
While I have never personally tried it, I’ve also heard that yogurt can be used in place of the vinegar or lemon juice. Perhaps some day I’ll give it a shot. If you’ve tried it, I’d love to hear how it went!
Procedure
Making paneer is a very simple process. The hardest part is being patient enough to boil the milk without turning up the heat so much that the milk burns at the bottom of the pan. (Yes, I may be guilty of having had that happen once.)
Curdle the milk
All that’s really involved is to gently heat the milk to just boiling. Once you’ve removed it from the heat source, add in the acid to curdle the milk. This is what separates it into curds (our cheese) and whey (the pale yellow liquid that separates out).
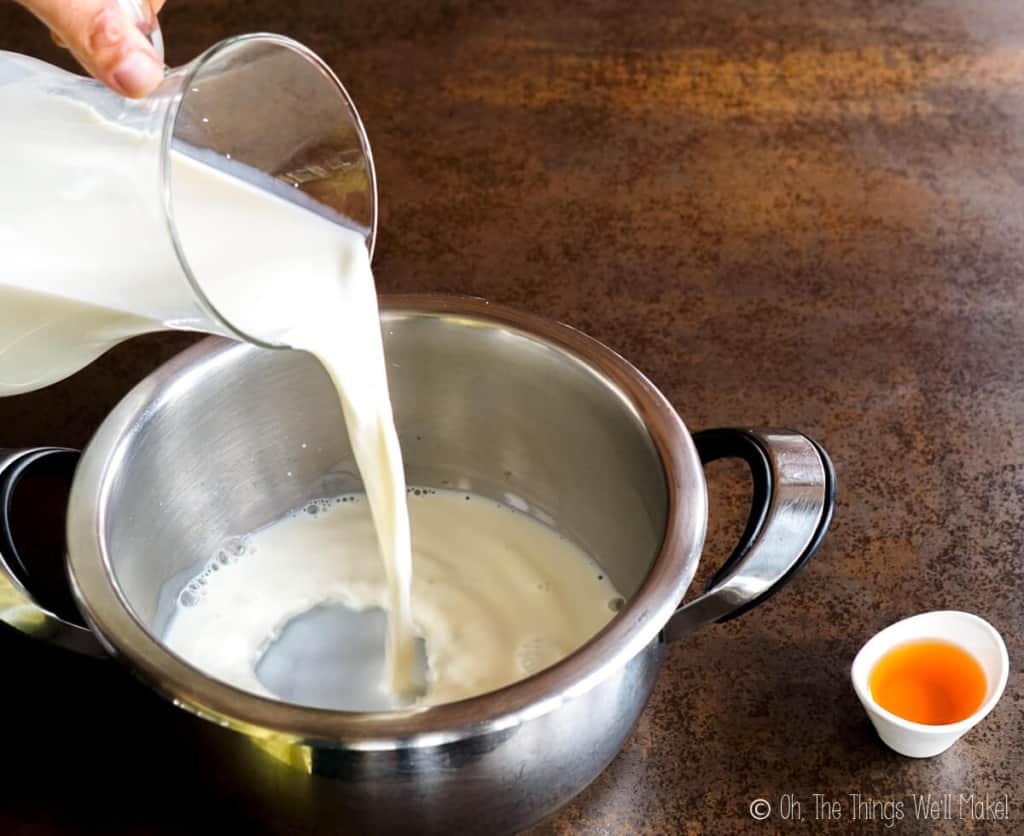
Heat the milk to boiling. 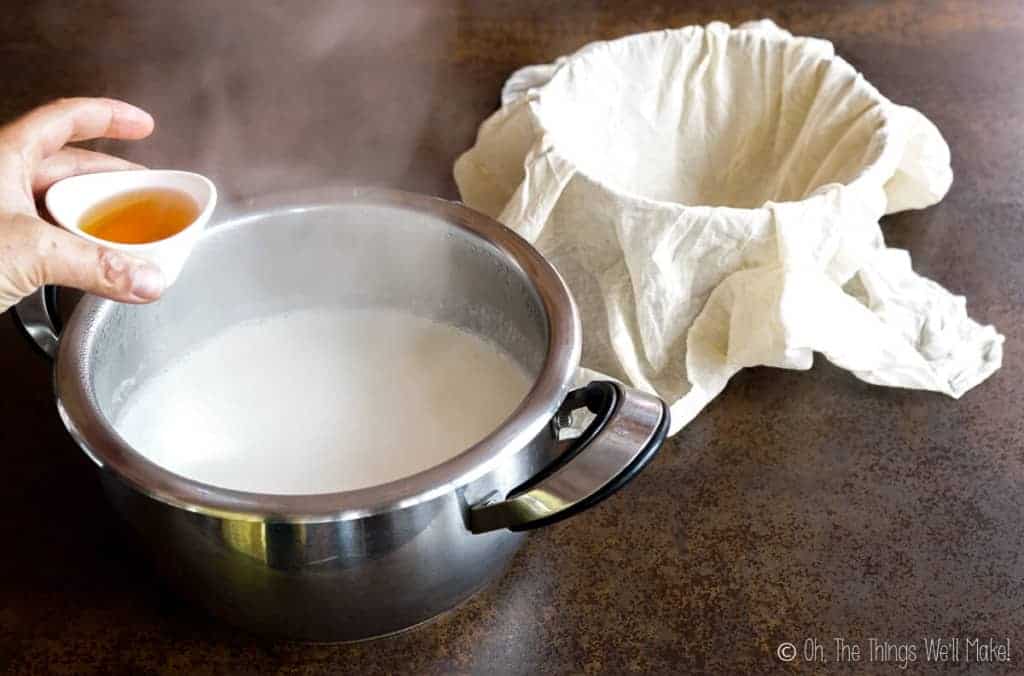
Add vinegar to the hot milk. 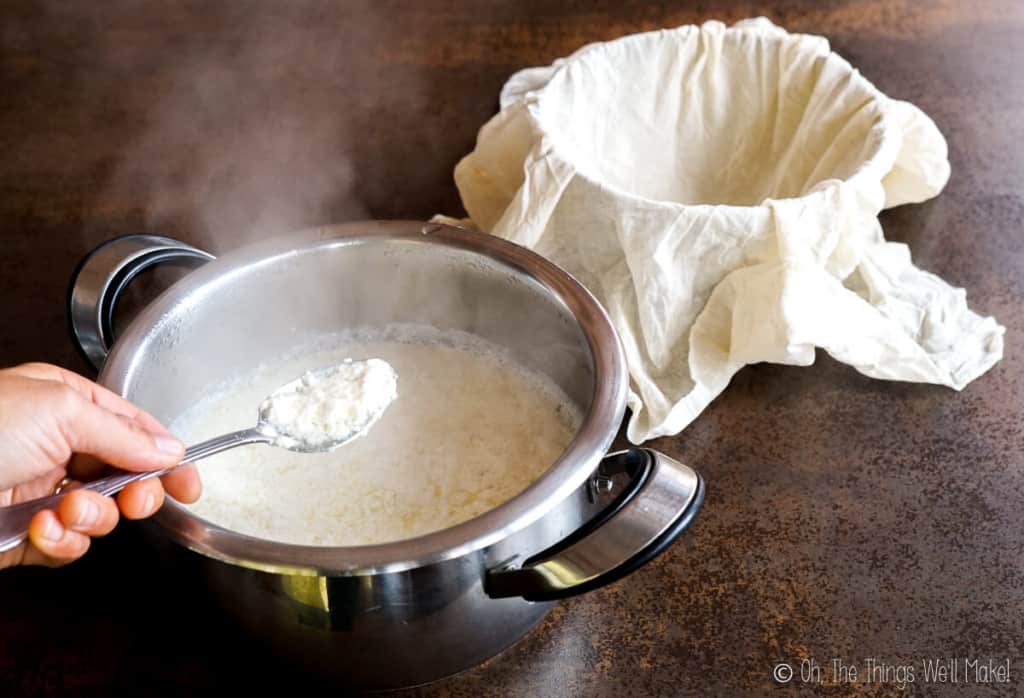
The hot milk will separate into curds and whey.
While you could stop there and invite little Miss Muffet over for brunch, with just a little more effort you make make an impressive looking solid cheese.
Strain out the curds
To stop the cooking process, I like to add some ice cubes to the curdled milk. You can also add some cold water instead. The added water will also help reduce the added sourness of whatever acid you used.
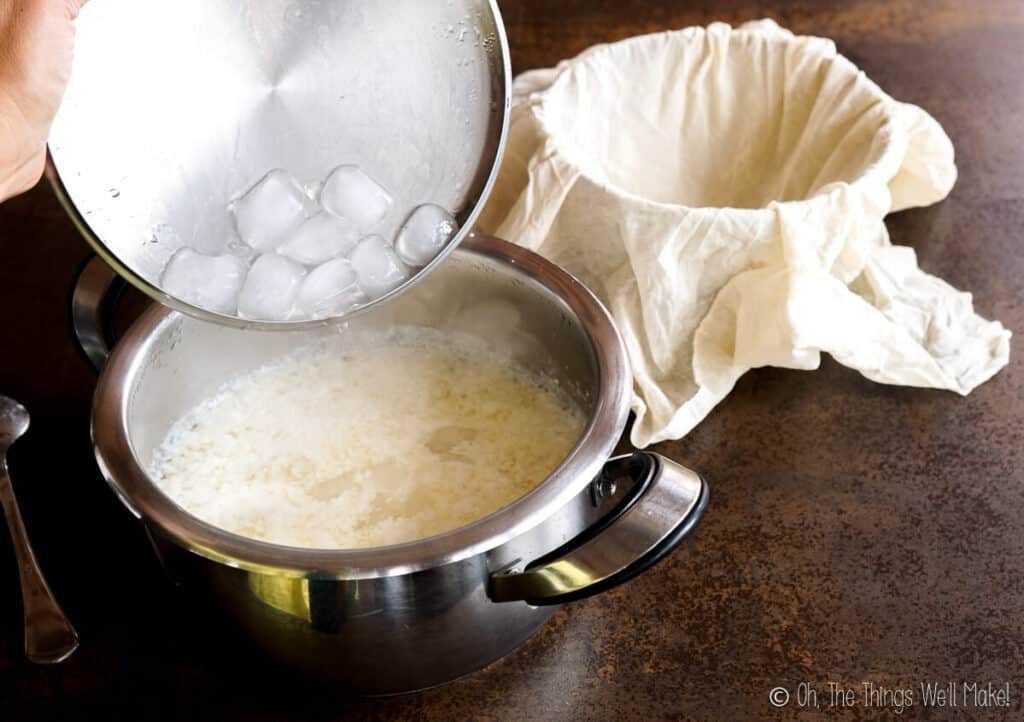
Adding ice to the curdled milk. 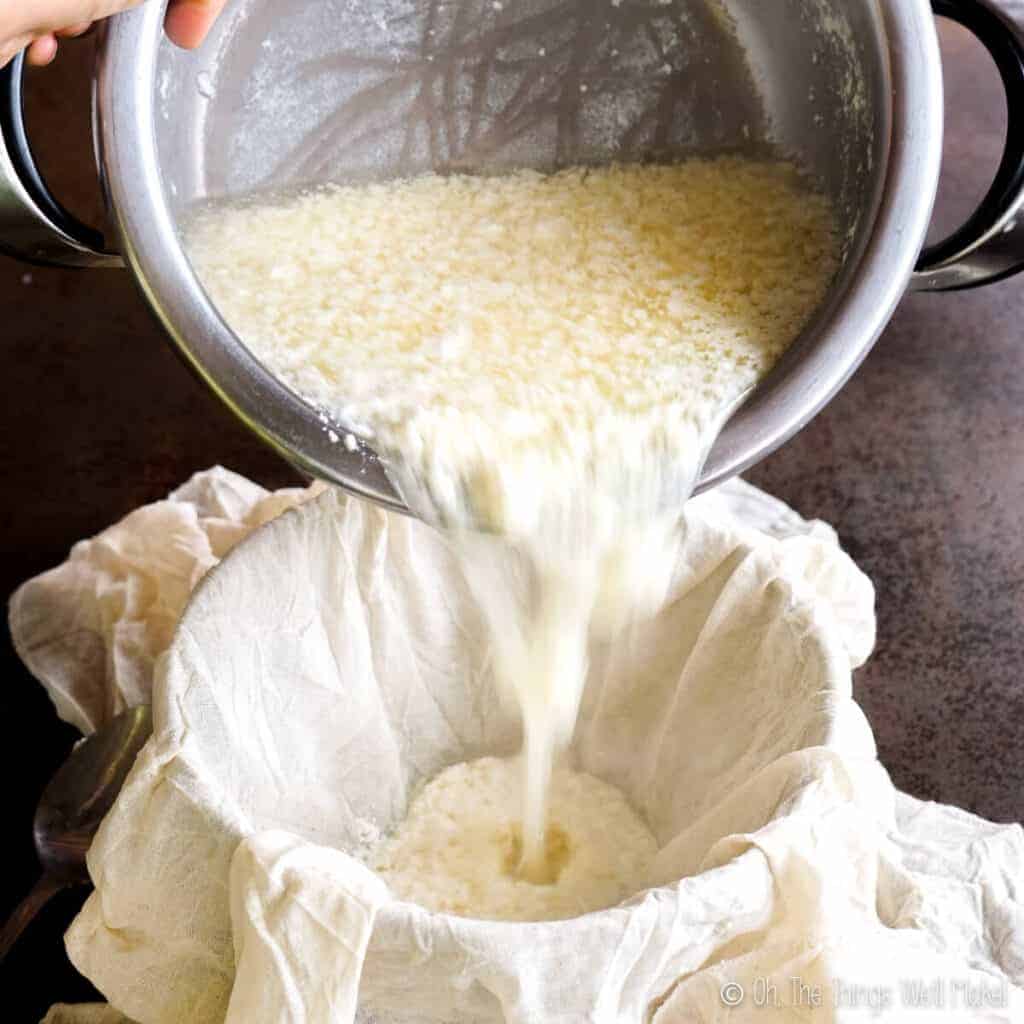
Pouring the curdled milk into a bowl lined with cheesecloth. 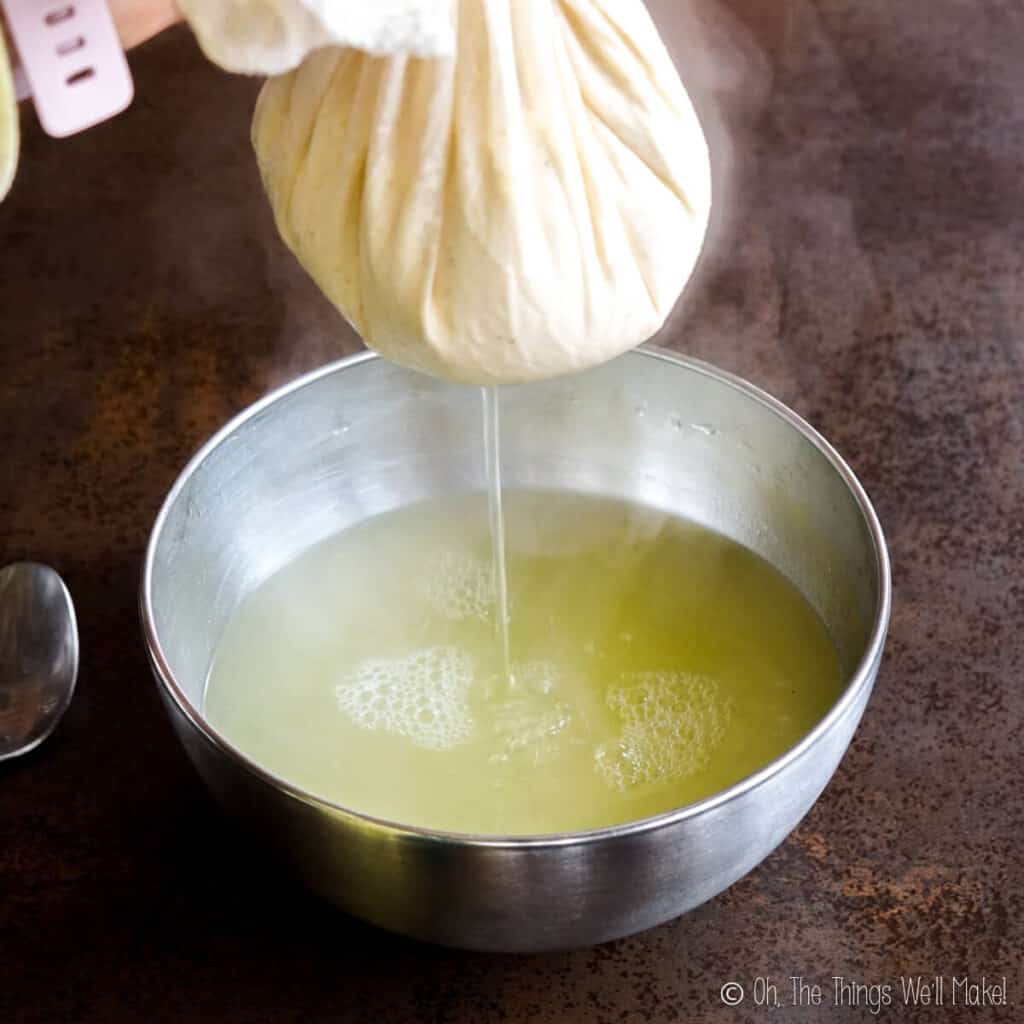
Straining out the whey.
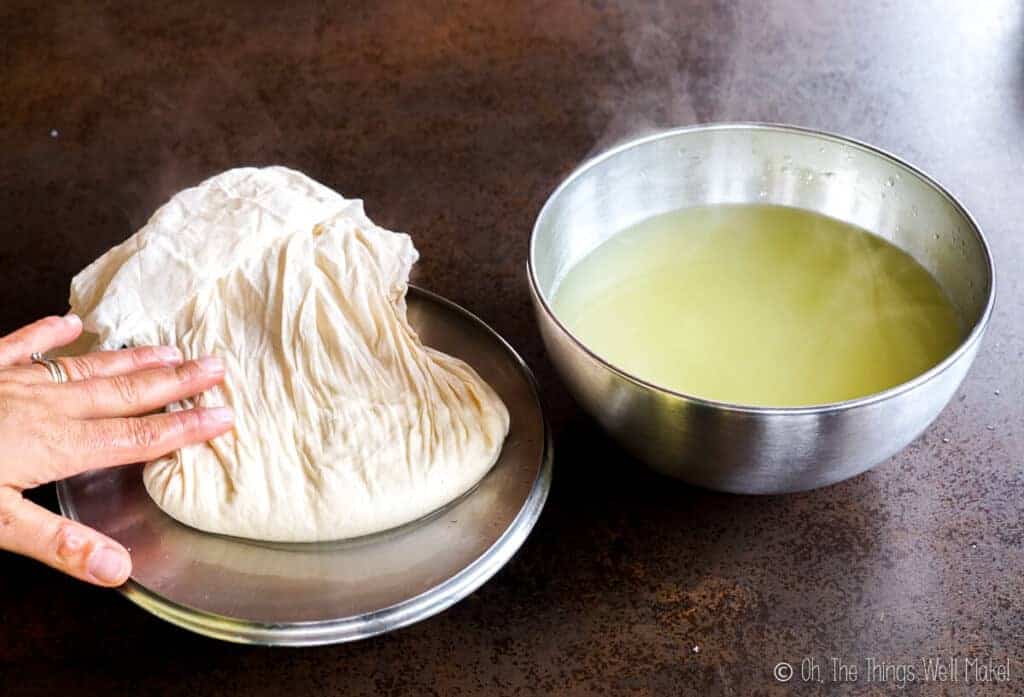
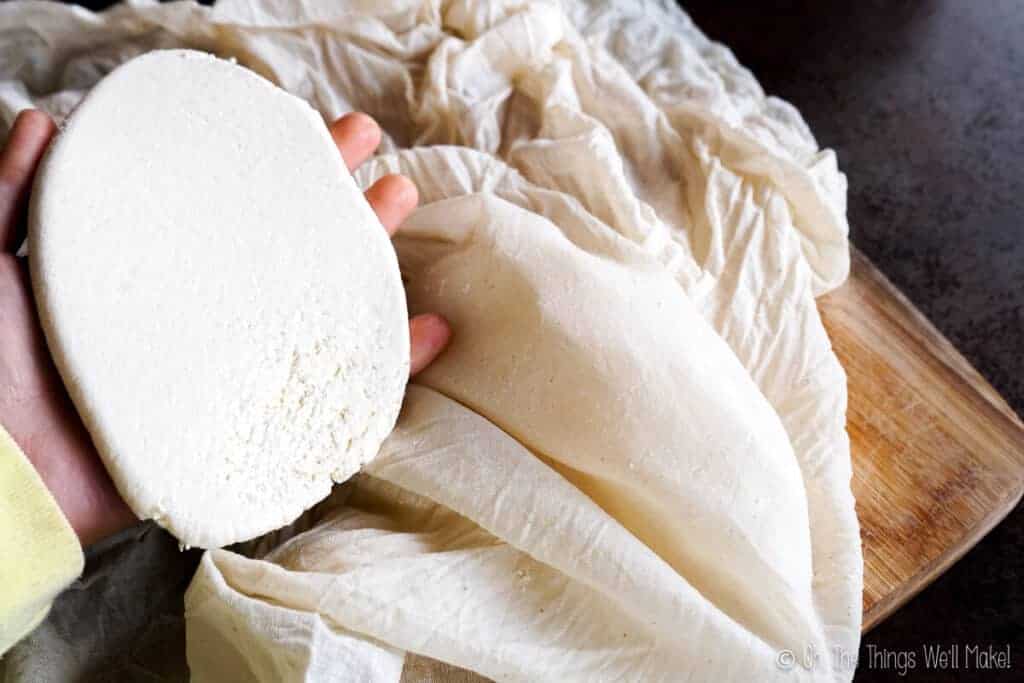
Once you’ve cooled the mixture, it’s time to strain out the whey. This can be done by pouring the mixture into a cheesecloth lined bowl and wringing out the pale yellow liquid. The white, opaque cheese will remain inside the cheesecloth.
If you don’t have cheesecloth, you can use a clean, tightly woven cotton cloth.
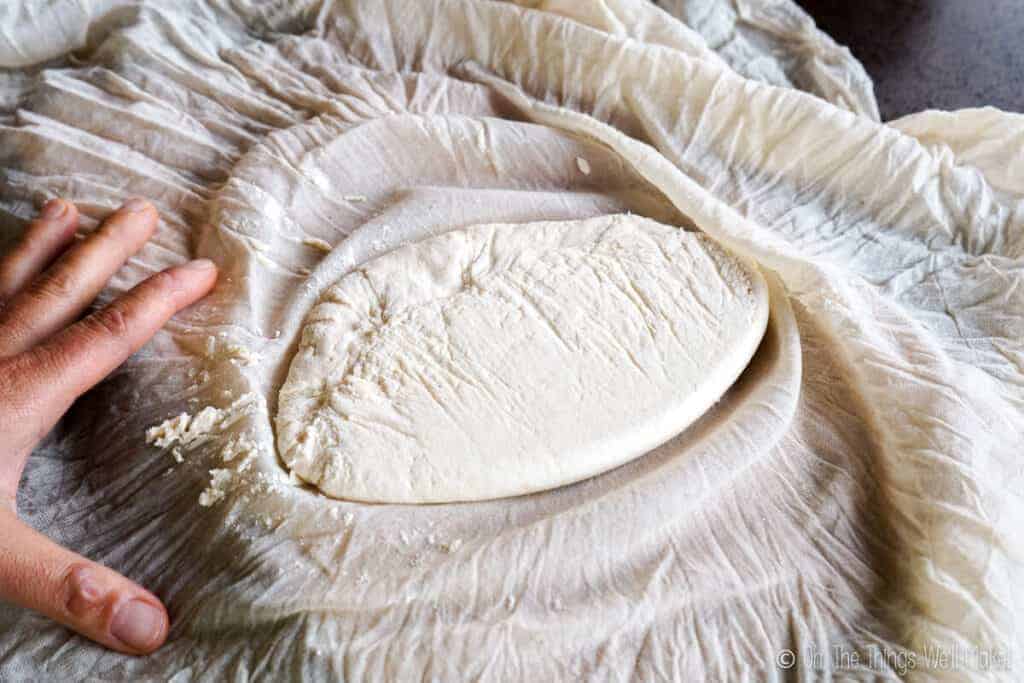
Pressing the cheese into shape
To get a cheese that can be cut into cubes, you’ll want to press the curds into a flat cheese.
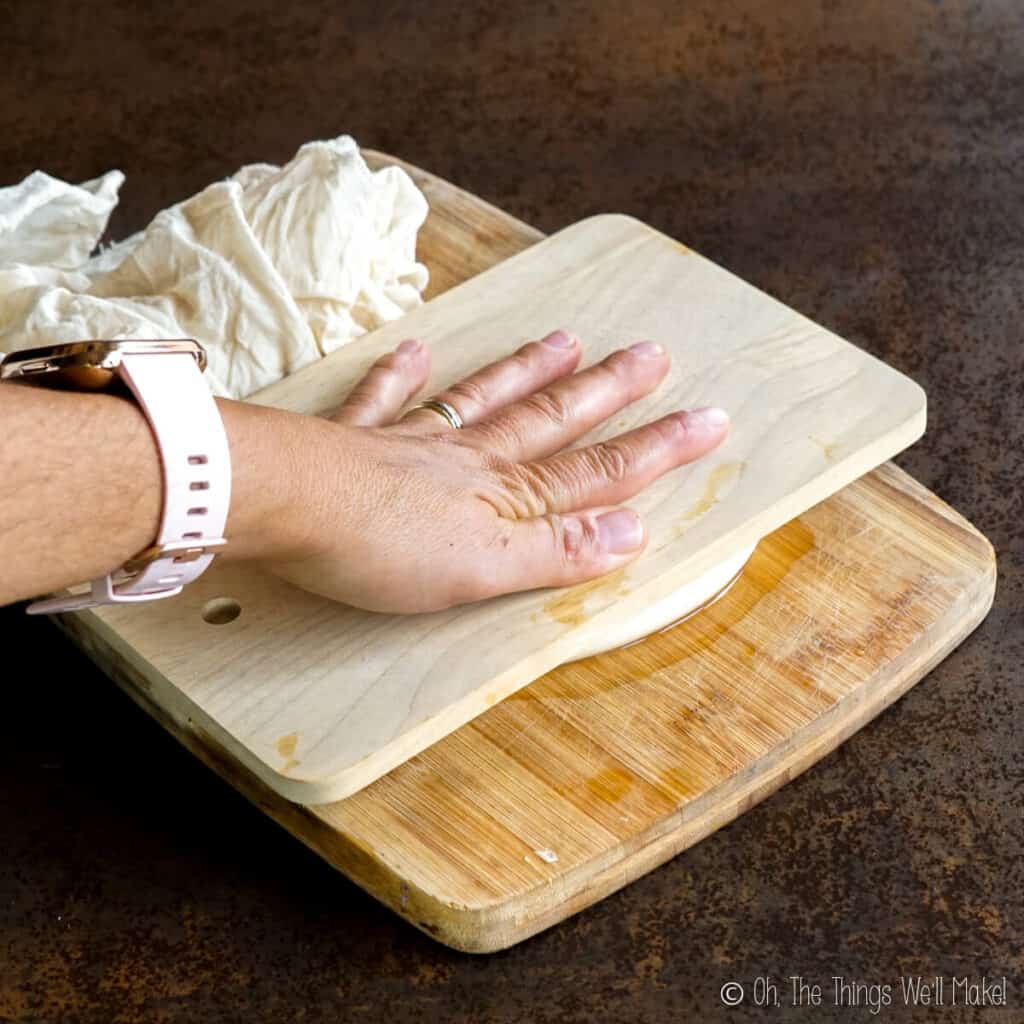
I like to smooth out the top of the cloth over the curds and then press the mixture between two wooden cutting boards. I’ve found that if you press out most of the liquid, you can remove the solid cheese almost immediately without any issues. Some people like to leave the cheese under something heavy and place it in the fridge for several hours to finish pressing out any remaining whey and press the cheese into shape.
While that does help solidify the cheese, don’t leave it for more than 2-3 hours, or the cheese may start to dry out and get to be too hard in texture.
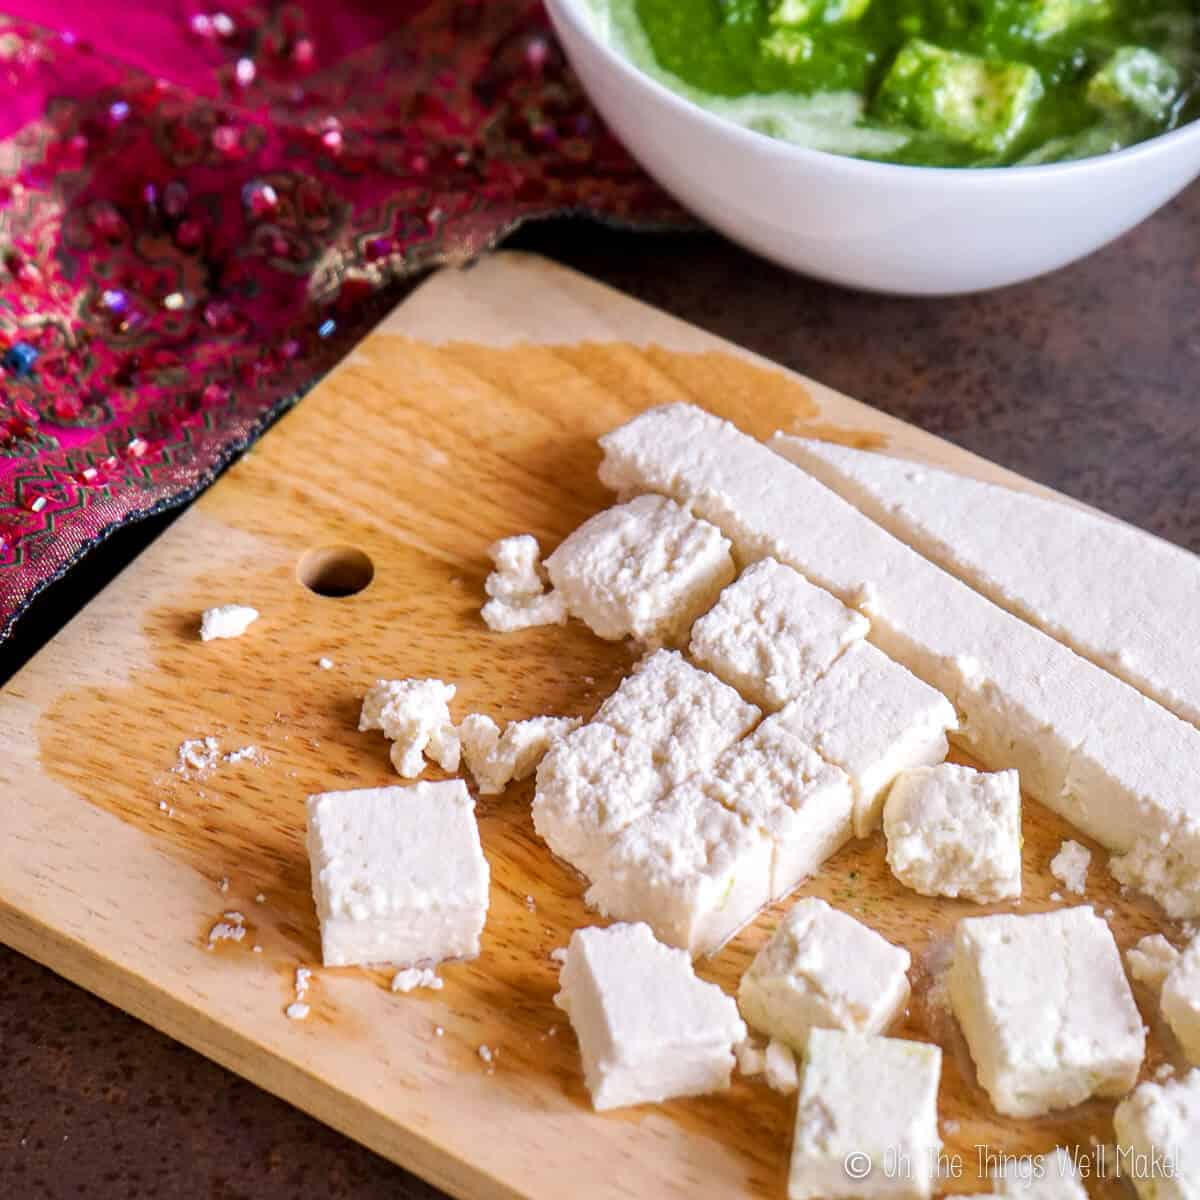
Serving paneer
Once you’ve pressed the cheese into shape, it can be cut into cubes or crumbled and served immediately. Served uncooked, it can be added to salads or curries (like palak paneer) or, if you prefer, you can cook if before adding it to the same sorts of recipes.
Because it is mild in flavor, it is often marinated before cooking or serving. This mild flavor also helps offset the spicy flavor in many curries that include paneer.
Uncooked paneer is softer and smoother in texture. Cooking it gives a firmer texture that holds its shape well.
Paneer can be grilled, or pan-fried in oil until crispy on the outside. It can also be boiled in water to keep it softer in texture. If you plan on boiling it in water, I’d suggest adding some salt to the water to give the cheese some flavor.
Cooked paneer can even be skewered and served in kebabs with veggies.
Recipes using paneer
Paneer is a delicious addition to a variety of dishes when cut into cubes and thrown into curries or stir-fries. I recently made it to use in palak paneer, a delicious spinach-based curry style dish. (photo above)
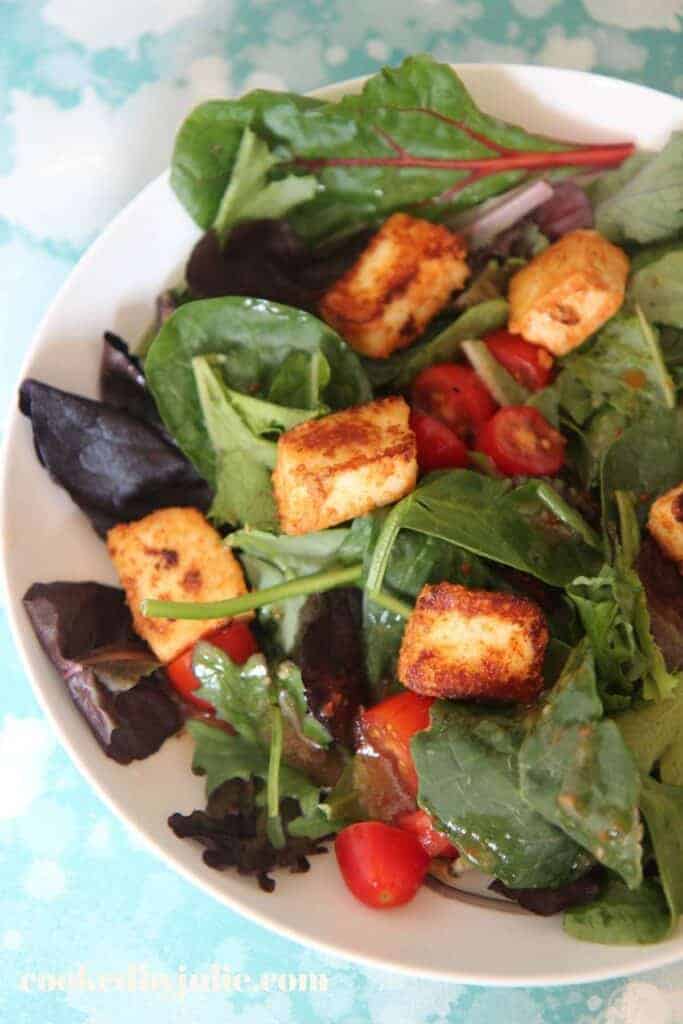
1. Paneer salad 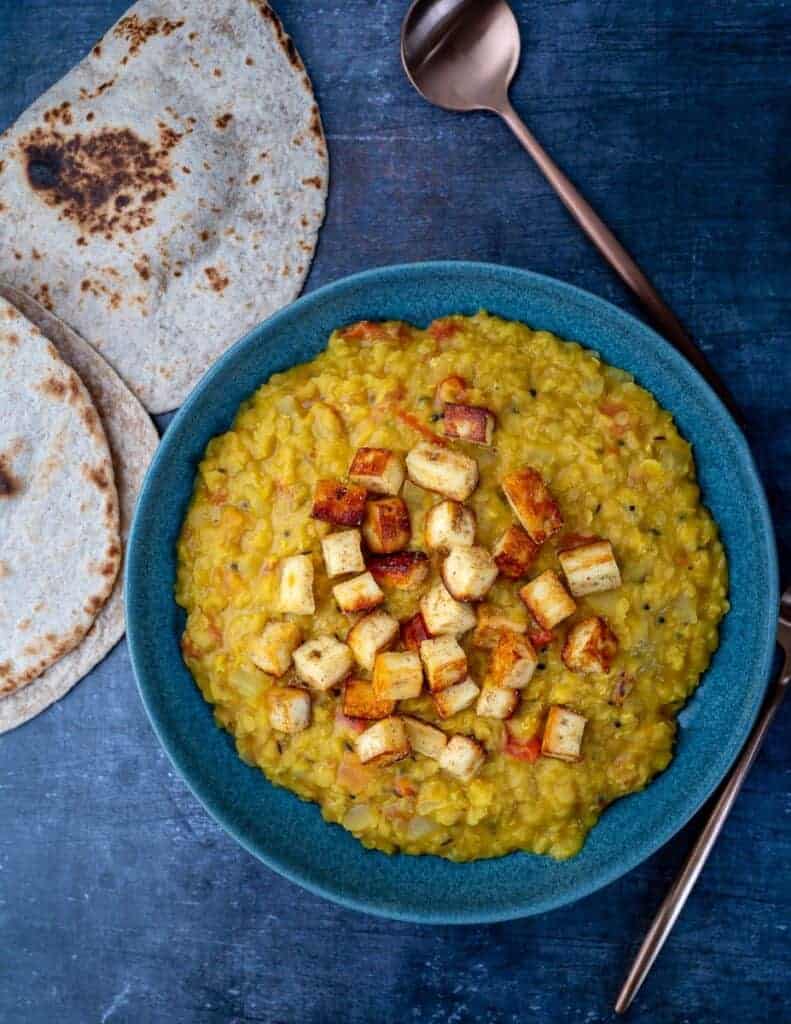
2. Red Lentil Coconut Dahl with Spicy Paneer 
3. Paneer Bhurji 
4. Cilantro Paneer Paratha 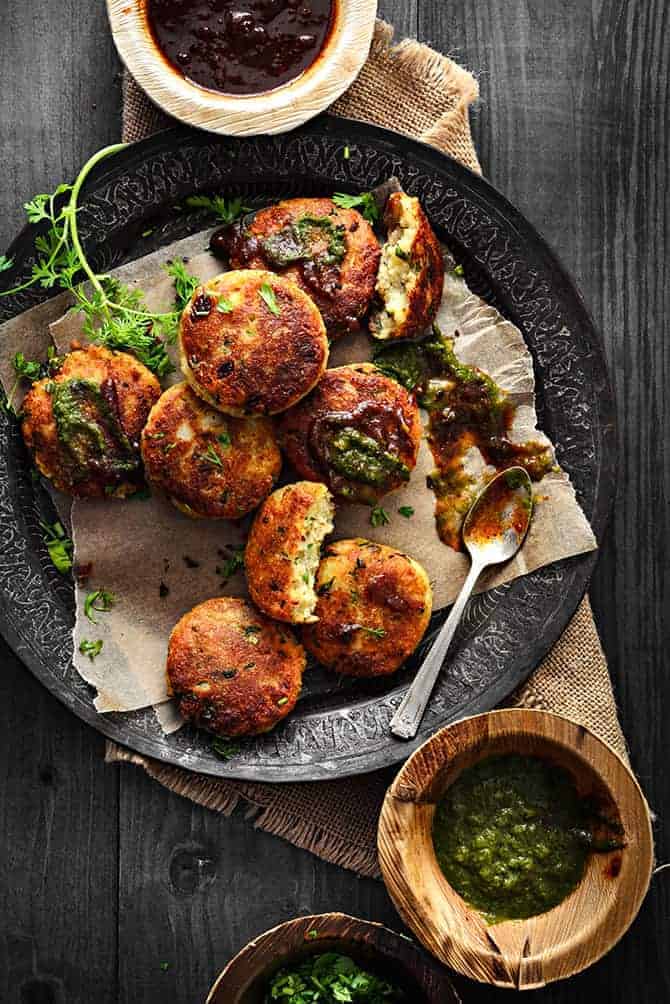
5. Paneer Kakab 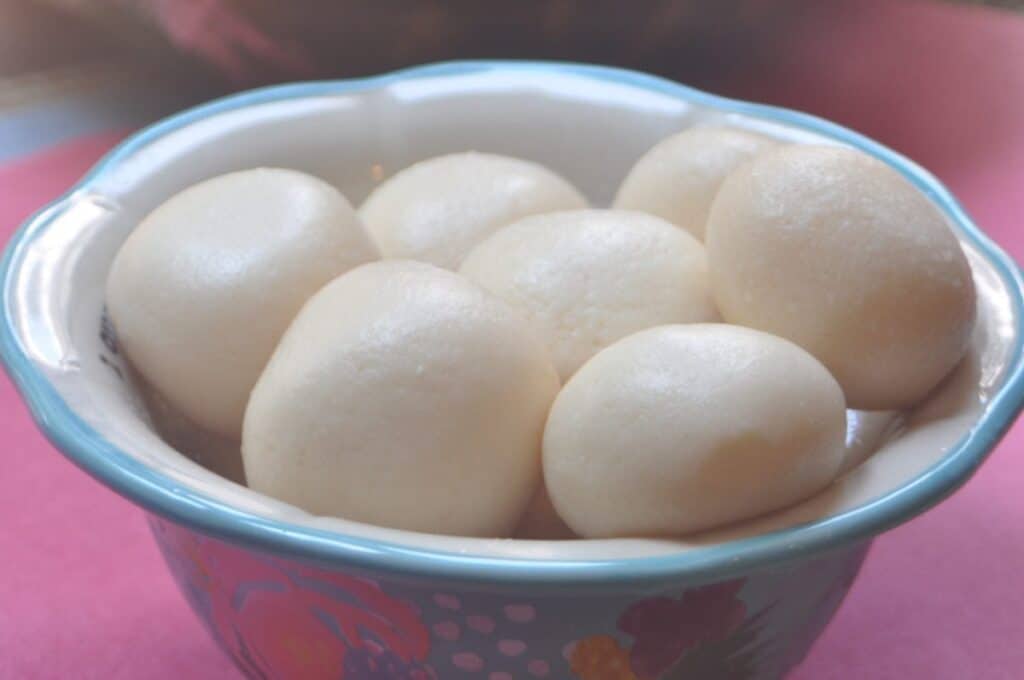
6. Rasgulla
Paneer isn’t only for curries, though. I asked some fellow bloggers about the sorts of recipes they made with paneer, and I was excited to find quite a variety of dishes.
- I love serving broiled goat cheese on my salads, which is why I assume that grilled or fried paneer has to be delicious on salads. The recipe for the Paneer Salad pictured above can be found on Cooked By Julie.
- Just as the cooked cubes of paneer can be served atop a salad, they can also garnish other dishes like the Red Lentil Coconut Dahl recipe by Alice of the Skinny Spatula.
- When crumbled rather than cubed, it can be used in a number of ways. I loved the idea of scrambling the soft cheese with veggies and spices. You can find Farrukh’s delicious recipe for Paneer Bhurji on her blog, Cubes N Juliennes.
- Paneer isn’t only for garnishing, though. It can also be incorporated into doughs and other mixtures to make delicious breads and croquette-type snacks. I especially liked the look of Rupali’s Cilantro Paneer Paratha which can be found on her blog, Enhance Your Palate. It’s a flatbread that incorporates paneer into the dough.
- Also delicious-looking is Farrukh’s Paneer Kabab recipe. This snack looks impressive, but she says it’s quick and easy to make!
- For those with a sweet tooth, why not try a dessert made with homemade paneer? Rasgulla, featured by Alpa on her blog, CulinaryShades, look really interesting. I think I’m going to have to give the recipe a try.
How to store it
To keep paneer soft and spongy, it’s best stored covered in water or whey and kept in the fridge.
To be honest, the first few times I made paneer, I stored it in water because all of the information I found online about how to store it suggested storing it that way. Keeping the cheese completely submerged in water helps keep it moist and fresh. To extend the shelf life, you should ideally change the water every other day.
My gut told me, though, that storing the cheese covered in whey would actually be a better option. Even after searching specifically for information about it, I couldn’t find anybody suggesting to store the cheese in its whey. So, I decided to experiment and give it a try myself!
I made some paneer and stored part in water and part in the whey that I strained from the cheese. When storing in the whey, I didn’t change out the liquid, and I even left if untouched in the fridge for almost a week before I remembered to check on it. In the end, the cheese stored in whey kept very well. Even after a week, the flavor and smell were fresh. The paneer stored in water had begun to slightly sour (but, of course, I had forgotten to change the water out, so that could make a difference.)
I’ll probably try repeating the experiment, but, for now, I was very happy with the results of storing the paneer in its whey. It also made me happy to find a great use for part of the leftover whey.
How long does it keep?
In my experience, if it is kept in the fridge covered in whey, it can keep well for at least around 7-10 days. Storing it submerged in water that is changed out every other day can also extend the life of the cheese to just over a week too.
Once it starts to smell and/or taste sour, it’s probably best to discard it and make a new batch.
What else can be done with the whey?
Whey is a good source of protein that is pretty easily absorbed and digested by most people. Leftover whey can be drunk, added to soups or smoothies, or used in all sorts of recipes in place of other liquids.
It can also be used to help jump-start ferments like this homemade fermented ketchup. (By fermenting sauces, you can greatly extend their shelf life while you add beneficial microorganisms
Video

How to Make Paneer
Ingredients
- 1 liter whole milk (Can be made with lower fat milk)
- 2 Tablespoons vinegar (Or lemon juice)
Instructions
- Pour the milk into a pan, and heat over low to medium heat until just boiling.
- Remove the milk from the heat source and stir in the vinegar.
- Once the milk has curdled, add some ice or cold water to help cool off the mixture. This prevents the cheese from cooking further and also helps water down and remove some of the acid from the final cheese.
- Line a medium sized bowl with cheesecloth or a clean, fine woven cotton cloth. Pour the curdled milk mixture into the lined bowl.
- Raise up all of the sides of the cloth and pull it up over the bowl, allowing the whey to strain out from the curds inside the cloth.
- Wring the cloth to press out as much of the liquid whey as possible. Then smooth out the cloth over the top of the cheese and press it flat. You can use two wooden cutting boards or similar smooth surfaces.
- Press out as much liquid as possible, and then unwrap and check on the cheese. If it holds its shape well, you can remove the cheese from the cloth and use it immediately.If not, you can place a heavy object over the cloth-wrapped cheese to help further press it into shape and remove the remaining excess liquid.