

How to Make Yogurt at Home in Your Oven (Without a Yogurt Maker)

It’s easy to make yogurt in your oven without a yogurt maker. Once you learn how to make yogurt at home, you may not want to buy it ever again.
I’ve been making yogurt at home for quite some time now. When I first started it was because my husband had inherited an old yogurt maker from his family. They weren’t using it, so I decided to give making yogurt a try rather than let them get rid of it. At the time, I made yogurt mostly for fun and tried making up new flavors. Back then, I was more concerned about fat than I was about artificial flavors and sweeteners. In fact, to end up with a decent yogurt consistency using fat-free milk, I had to add in extra powdered milk.
Things have changed a lot since then. Now that I have changed my thought about processed foods, I only buy whole milk anyway, so my homemade yogurt automatically turns out the perfect consistency.
Making yogurt for a baby
I started making yogurt at home again when my son was around 6 months old. I wanted to start to introduce new foods to him, but the yogurts actually marketed as being “baby’s first yogurt” were surprisingly filled with a lot of sugar and other unnecessary ingredients. Finding a full-fat unsweetened yogurt in the supermarket was not an easy task. So, I decided that it would be best to just make my own.

My son has always been slightly obsessed with dairy products. He loves milk and cheese, and would go through whatever my homemade yogurt I had made pretty quickly. He loved it either plain or also mixed with bananas and/or avocados. The tiny amount that could be made in a yogurt maker just wasn’t going to cut it.
Making large batches of yogurt easily
It turns out that making yogurt in large batches was much easier than I had imagined. Instead of using the yogurt maker, I tried making the yogurt in my oven. Depending on your oven, in most cases leaving the light on is all that is needed to keep the yogurt at the perfect temperature for making yogurt. Using this method, it’s very simple and cost-effective to make large batches of yogurt.


Ingredients
- 1/2 cup starter culture I used one container of full fat unsweetened greek yogurt.
- 1 liter whole milk
Instructions
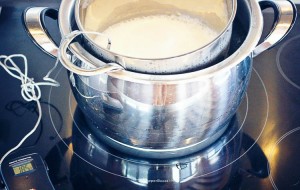
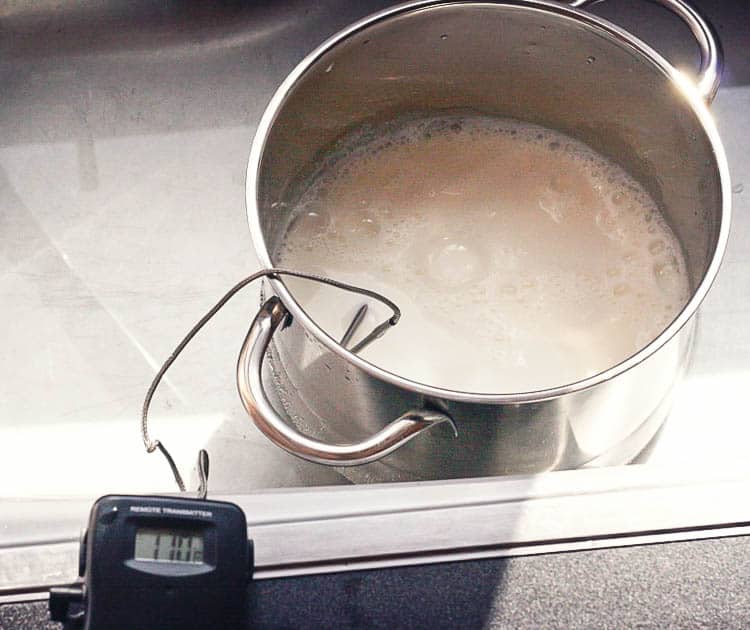
- Heat the milk in a double boiler to 185ºF/85ºC . Heat it up slowly to prevent the milk from curdling which would result in lumps in your yogurt. If you heat the milk slowly, you should end up with a nice, smooth yogurt .
- Cool the milk to 110ºF/43ºC. I usually speed up the process by putting the pot into cold water in my kitchen sink. While it cools, set your oven to its lowest temperature and let it heat up for a few minutes.

- Once the milk cools to 110ºF/43ºC, stir in the yogurt culture.
- Turn the oven heat off, but leave the light on.
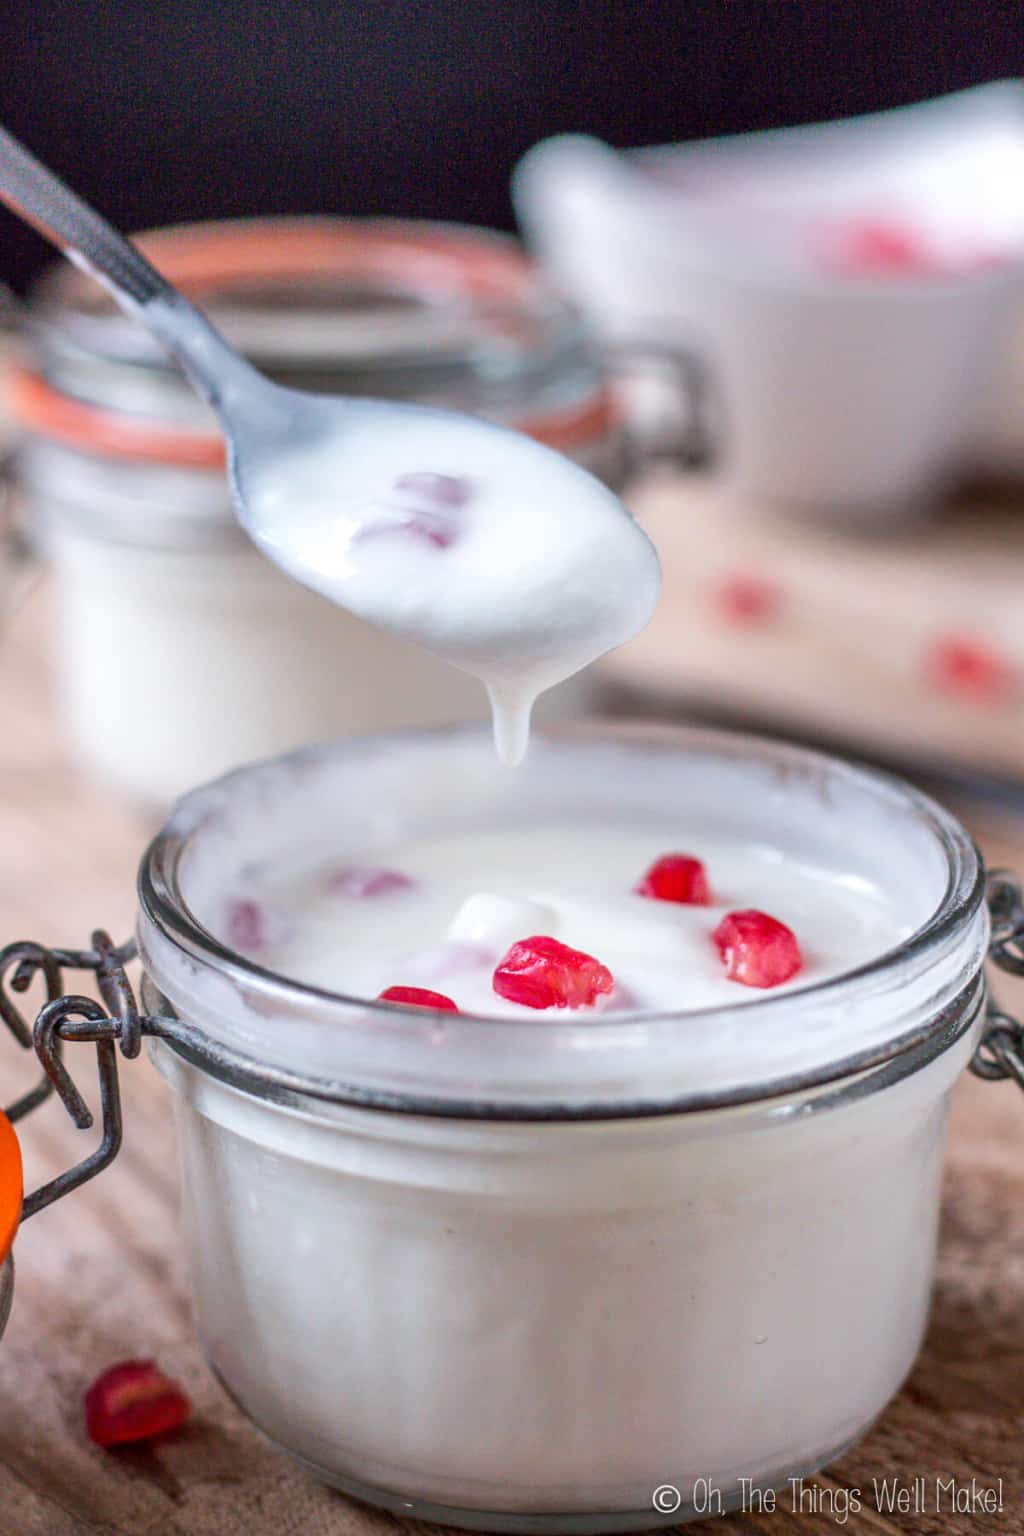
- Strain and pour the yogurt mixture into storage containers. I use recycled glass jars for storing my yogurt. By passing the mixture through a strainer first, you’ll help keep out any lumps and remove any skin that has formed on the heated milk solution.
- Place the storage jars into your oven, and keep the light on. Leave the yogurt incubating in the lit oven for around 7 hours.
- Once the 7 hours is up, remove the yogurt from the oven and let the jars cool. Once cooled, store the jars in the refrigerator until you are ready to eat the yogurt.
- Save some of your homemade yogurt to use as the starter culture of your next batch! (No more buying yogurt at the store!)
It really is that easy to make your own homemade yogurt without any extra additives or sugar.
Thickening homemade yogurt
Yogurt made at home with whole milk turns out pretty thick on its own, but if you want the yogurt to be even thicker, you can either strain it with a very tight weaved cloth or you can add in a little gelatin to the mixture while you are heating it in the double boiler. Once it cools it will thicken up even more.
If you are using a low-fat milk, another option for thickening the yogurt is to add in some powdered milk to the mixture before pouring it into the jars. You’ll have to experiment to find how much powdered milk you should add.
My son still loves eating natural, unsweetened yogurt, despite having been introduced to the flavored, sweetened varieties. I hate the sweetened varieties myself, not only because I know how bad they are for me, but also because I find them way too sweet! Homemade yogurt is superior in taste, texture, and quality, and I love it!
Now that you know how to make yogurt at home easily without a yogurt maker, I hope you give it a try and love it as much as I do!


I make yogurt in my Breville Smart Oven. I use non fat milk and a natural non fat yogurt as a starter. I can set the temperature to 110°F which is ideal for yogurt. It does take about 8 hours. As the yogurt sets a clear liquid floats on top. I skim this off without disturbing the yogurt and find that gives me a nice consistency. To check the temperature of your cooled milk – if you can just hold your little finger in it and count to five it’s the right temperature (make sure your hand is clean!).
Hi Jill,
Thanks for your tips. They may help someone else.
I’ll try to add more tips to the main part of the article when I update it!
Any way to do this without an oven light? My oven does not have a see-through door, therefore no oven light.
Hi Adriane,
I’m not sure about making it in an oven without a light. How low in temperature can you set your oven? (Most ovens have their lowest temperature too high for making yogurt.)
You could try setting the oven to the lowest temperature and then put the yogurt, after well insulating it with towels or something, in after you’ve turned the oven off. Most ovens will retain some heat for quite a while afterward. It will probably depend on the temperature of your kitchen.
I’ve also seen people use othe rmethods- like using a slow cooker, but I’ve personally never tried it. I think mine, even on the “keep warm” setting, may be too hot for making yogurt.
You seem to imply skim milk is a processed product. While most things in the grocery store go through something, full fat milk and skim milk are both completely natural ingredients. Skim milk is what’s left over after skimming the butterfat off unhomogenized milk when producing heavy cream and/or butter (Hence, why it’s called skim). Feel free to buy skim milk without it being any less natural than whole milk. (Other than, whole milk tasting much better lol). The only further processing they do is pasteurization and maybe fortification, which you can avoid if you can shop at a rural farmers market (Same applies to full fat though)
Though, if you get truly natural skim milk from a farmers market, it might not be as similar to milk as desired. Add a roux or homemade powdered milk to help it out. (Dry at 130F for 10 hrs and blend, which is another technique to make milk powder since you seemed to be adverse to store bought milk powder).
Thanks for your posts!
Hi Nicolas,
Yes, I agree with you. I wrote this years ago, and was quite picky about what I would buy and use. I’m a bit more laid back these days, but I do still avoid as much processed food as possible and I prefer whole foods. My main issue with skim milk isn’t really that it’s processed, but, I guess, that I don’t agree with the idea that we should follow a low-fat diet, especially when it means removing fat from something that naturally has that fat in it. In many cases, fat is removed from foods and sugar is added instead to make up for the loss of flavor. I’d prefer to eat foods in their entirety. I think it fills us up better, and, as you said, tastes better. In the case of homemade yogurt, I think it’s just so much better overall.
Thanks for your tip, though.
I’m not fully opposed to milk powder. I do have some goat milk powder that I use for soap making. Ha! But, yes, again, I always prefer fresh and unaltered over the other alternatives.
When I had a gas stove, I could make yoghurt without a light just the heat from the pilot light… unfortunately modern gas stoves don’t have pilot lights… would a safe utility candle in a glass jar stay lit in the oven or would it use up the oxygen… don’t know… would have to test candle first.
Living in Spain, I didn’t even consider gas stoves, despite the fact that its what I always had growing up.
I don’t know about the candle. I’d think it would eventually go out, unless you were to leave the door slightly ajar, but then, you’d probably lose the warmth. I am curious about how it goes if you try it!
I made a version of this recipe or used the incubation method with a gallon of whole mile and a quart of cream and just so I had enough culture I used 2 single serve fage 2% fat for starter. I didn’t care for the consistency at all after 7 hours so I reheated to about 100F and incubated again.. I used cheese cloth to strain the first time but it was not yellowish clear but milky. I normally just make it with 2% but I wanted the get the texture and taste of the fage 5% (rarely any fage of any kind in my grocery store). Did I mess up by using 2% instead of non fat? The consistency was like a kafir drink or thick soup rather than fage yogurt. I cant find gelatin other than jello in my grocery store. Also, the yogurt clings to the cheese cloth which isnt normal. Probably made a type of sour cream rather than yogurt. Any ideas?
Hi Angie,
I normally use whole milk, but I think I’ve tried with lowfat milks before and didn’t really see much of a difference. I’m not quite sure what the issue was as mine usually turns out pretty solid to begin with. Once you stir it up, it does get a bit thinner, but definitely not as thin as a kefir. To thicken it up to a greek yogurt consistency, then, yes, you’d have to either remove some of the liquid with a cheesecloth or thicken with gelatin (usually in the baking section here in Spain) or agar (in health food stores, but the texture isn’t really the same.)
So- my thoughts would be that there is something else going on…
Does your yogurt say it has live cultures? (I looked up what Fage was because I had never heard of it- and saw it was a brand of yogurt. One of the Fage yogurts I saw online did have live cultures, but I’m not sure if all do?)
I wonder if it could be an issue with the temperature that your oven is reaching. If it gets too hot, I imagine it would kill of some of the beneficial bacteria. That’s why you want to make sure not to add the yogurt too quickly. If it gets too cold, it may take too long to get the reaction going and may allow for the growth of other bacteria.
Did yours feel lukewarm when removed from the oven?
These are the types of questions I’d ask myself to see if I could pinpoint the problem.
It works perfectly in my oven, but if your oven light doesn’t give off heat or if it’s not as well insulated or if you left it on or if… well, you get where I’m going here…
A lot of things could influence the outcome. If you have access to an oven thermometer, I’d try using one to get an idea of what temperature your yogurt is incubating at.
Oh, and, yes, the yogurt will probably cling to the cheesecloth at first if there is a high water content. As it filters the water out, it should start to cling less and when it gets to the consistency of a cream cheese, where it will separate from the cloth on its own. At least that’s been my experience when straining yogurts and kefir.
Did yours at least smell and/or taste like yogurt?
I think I’ll start making yogurt again this was a joy to read how to make it again thanks a lot
Thanks, Patricia!
Enjoy your yogurt! 🙂
I love making my own yogurt! It’s so easy and SO much cheaper than buying it. Thank you so much for sharing it, Tracy! 🙂
Thanks Raia!
I needed the reminder. I’ll try to remember to stop by again. I love seeing what people have to contribute. 🙂
So just to clarify…I would set the oven on the lowest temp, then cut it all the way off? So basically, it’s just going to keep the yogurt warm right? By the end of the 7 hours would it even be warm anymore? Also, would you put a lid on the yogurt before putting in the oven?
Thanks! I’m very interested to try this!
Hi Corey,
Yes, you pretty much have it right. You turn the oven off, but leave the light on. The light alone without heating the oven should be pretty warm. I needed to incubate something at around 80ºF once, and I was able to get that temperature with the light of my oven and the door slightly ajar.
In this case, you start with a low setting in the oven which helps make sure you reach a good starting temperature. My oven’s lowest temperature is 50ºC which is about 120ºF.
Good suggested temperatures for incubating the yogurt are around 110º-115ºF which is lower than my oven’s lowest setting. By keeping the light on, though, and the door closed, the temperature ends up staying pretty close to that range.
This, of course, could vary by oven, but I’ve been successful with this method in several ovens without any problems, and have read of others who have successfully used the same method.
You could always use a thermometer to keep track of the temperature if you’re concerned/curious.
As for the lid, I usually do cover it. It makes it easier that way for direct storing too.
I hope it works well for you! I love homemade yogurt and find that this is the easiest way of making a bunch at a time.
What kind of thermometer are you using?
This is the exact thermometer that I have, and I am happy with it… (Affiliate link), but I bought mine years ago and there are now many types of digital probe thermometers available, with a variety of prices.
I’ve been considering looking into buying an infrared thermometer, though, so as not to have to actually touch the food with the thermometer. (This is an example, so you know what I’m talking about, but I haven’t researched this particular thermometer).
Any type of thermometer should be fine, though.
I hope that helps.
Thanks for answering.
I have a question, the culture is the full fat greek yogurt?
Yes, that’s what I used for the first culture. Once you have your batch of homemade yogurt made, though, you can save some of it to use as a culture for your next batch!
Thanks for answer my question. So basically I just keep re-using the homemade yogurt? Sorry this would be my first time ever attempting something like that. Probably I need to read the directions one more time.
This is a great tutorial. I love your tip on not heating the milk too quickly – I did not know that. I think sometimes people that know how take for granted that others automatically know these things. I am pinning for future use.
I am trying to remove all processed food.
Thanks for your comment!! I sometimes forget and heat it too quickly and the top layer of each container ends up being a bit grainy. It’s not a big deal (still edible), but it’s so much nicer when you heat it slowly and get a nice texture throughout your yogurt.
I also love to use non-processed foods when possible. I’m not perfect, but I try. 😉
Let me know how it works out for you!