

Pemmican: The Ultimate Snack and Survival Bars
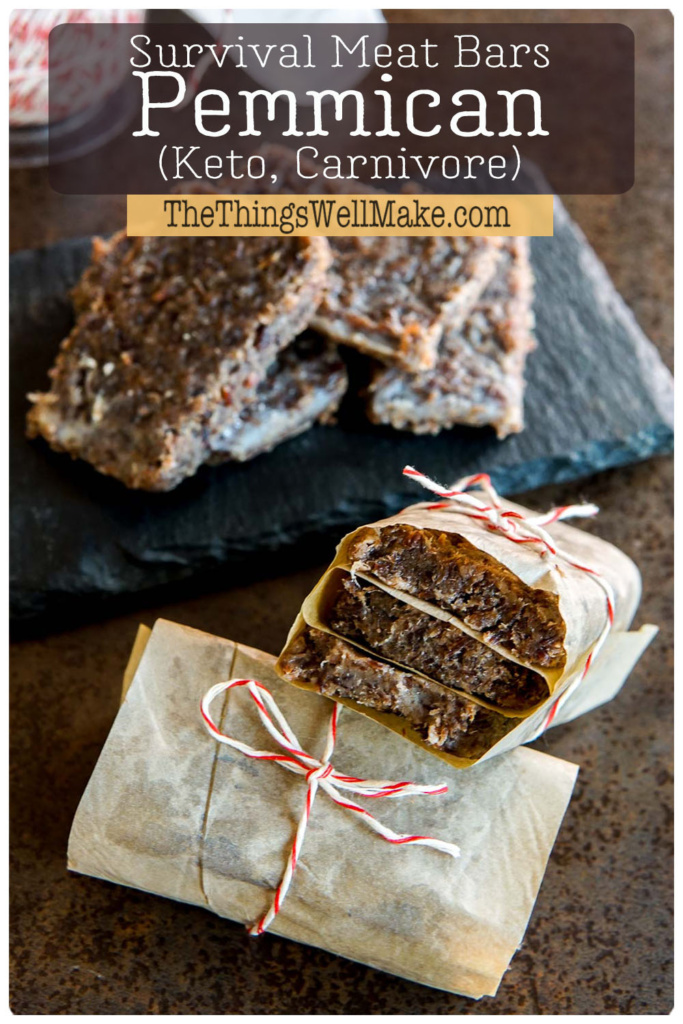
Need a high-energy snack that lasts? Try pemmican, the ultimate snack and survival bar. Learn about its origins, nutritional value, and why it’s a must-have for outdoor enthusiasts.
A traditional Native American food that has been around for centuries, pemmican is a high-energy, nutrient-dense food. It’s perfect for outdoor enthusiasts, hikers, and anyone looking for a quick and easy meal on the go.
I first learned about pemmican when the news was predicting supply problems in the supermarkets and possible electricity shortages. I began looking at survival books and preparing long-lasting foods that don’t require refrigeration or cooking.
Interestingly enough, making pemmican was what brought me to try the carnivore diet. My thought was, “Wouldn’t it be nice if we could survive only on meat and water?” After a bit of investigation, I realized that not only is it possible, but some people really thrive on a carnivore diet.
What is pemmican? (The history of pemmican)
For centuries, Native American tribes have created pemmican as a source of nutrition. Before the invention of refrigerators, people relied on other preservation methods. Pemmican is a clever mix of dried meat and rendered fats that preserves remarkably well. It was not only a portable, lightweight, and convenient snack but it also provided them with lots of energy for their journeys.
The name “pemmican” comes from the Cree word “pimikan,” which means “manufactured grease.” The rendered fat not only provides essential calories and nutrition for energy and survival, but it also forms a protective seal around the meat, shielding it from bacterial growth.
Traditionally, pemmican was made using buffalo meat and other game meats like venison or elk. The meat was first dried, either by air-drying or smoking, until hard and brittle. It was then pounded into small pieces and mixed with melted fat, usually from the same animal, but sometimes from other sources. They often added berries, such as dried cranberries or blueberries, for flavor and nutrition. Finally, they formed it into balls or bars for eating.
Pemmican was important for Indigenous people as it was a high-energy food that was easy to carry and could be stored for a long time. It was also used as a trading commodity and was highly valued by explorers and fur traders.
Why is it the ultimate snack and survival bar?
Pemmican is an excellent snack and survival food because it’s a rich energy source that is easy to prepare and keeps very well. In fact, I’ve seen people who claim to have successfully stored it in a cool cellar for over 10 years!
Nutritionally, it’s a great source of protein and fat (and non-starchy carbohydrates, if adding berries). This makes it an ideal source of sustained energy.
At home, it’s easy to prepare and can be made with minimal equipment and ingredients. The Indians had to rely on sunlight and pounding the meat to make their pemmican. In modern times, though, it’s especially simple to make if you have a dehydrator and a food processor.
What really sets pemmican apart, though, is its long shelf life. It’s dried for longer than jerky and the high fat content helps preserve it. That means it can keep for many years without refrigeration, making it ideal for outdoor activities and emergencies.
Ingredients
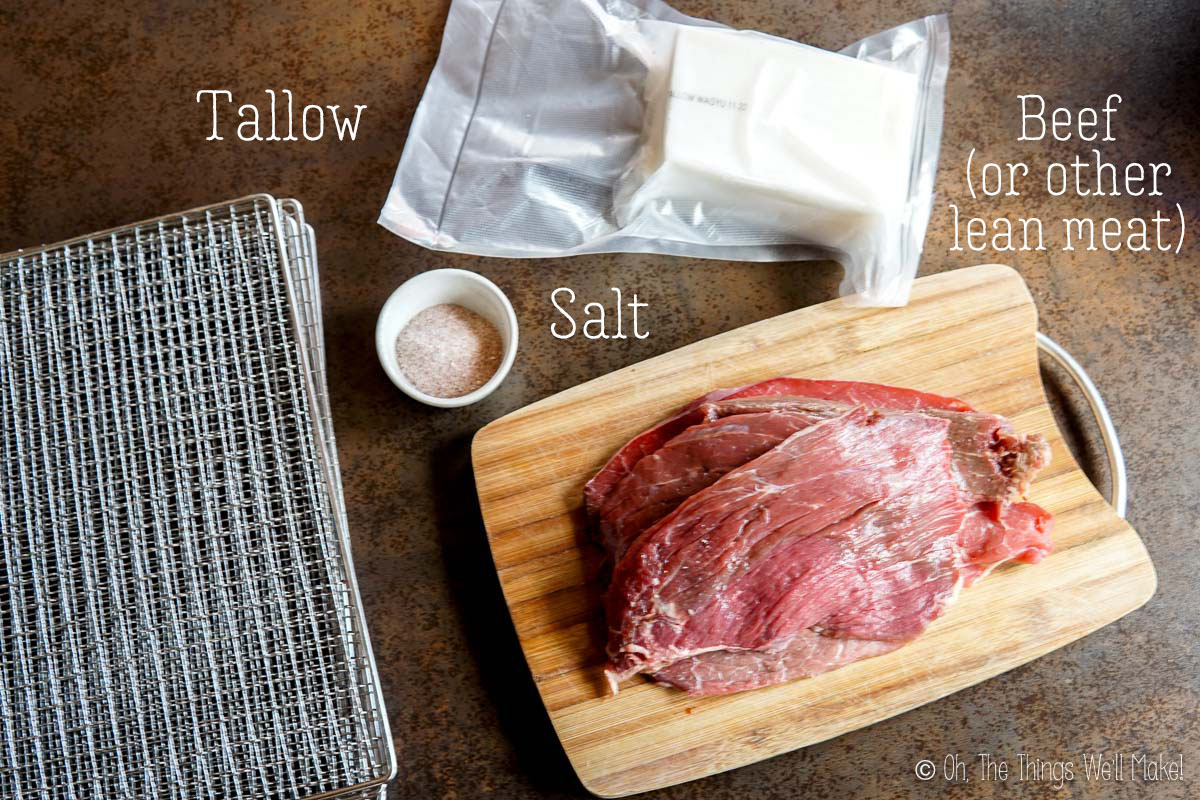
Making pemmican may seem difficult, but it is actually quite simple. The traditional recipe calls for only two ingredients: lean meat and fat. Modern variations often include additional ingredients such as dried fruits, nuts, and spices. I add salt to mine for flavor and to help with preservation.
What meats?
When selecting the meat, choose lean cuts with little to no visible fat that can be easily dried and preserved. While they used to make pemmican with buffalo meat and other game meats, nowadays, beef is probably the most popular choice. Not only is it readily available, but it’s relatively inexpensive and stores very well.
Why choose lean meats?
When drying fatty meats, the fat on the meat is partly cooked, but isn’t fully rendered. Using non-rendered fat can go rancid and cause the pemmican to spoil more quickly. Don’t worry about the bars not having enough fat, though, as we’ll be adding plenty of fully rendered fat later to hold the meat together.
What fats?
To bind the meat bars together, choose high-quality animal fat. If you want a bar that will last the longest, then fully rendered tallow is your best choice. That said, some people prefer using lard, or even bacon fat, because they prefer the flavor. Avoid using vegetable oils or hydrogenated fats, as these can spoil quickly and affect the taste of the pemmican.
What I use?
I make a simple pemmican using only beef fillets, salt, and homemade tallow. (Check out how I make beef tallow.) I have tried using dried berry powder in the past, but I didn’t like it. Now that I’m following a mostly carnivore diet, I no longer believe that the berries would add more nutrition to the bars. I really prefer to keep things simple.
How to make pemmican
To make pemmican, first, gather your ingredients. You will need lean meat, such as beef or venison, animal fat, and salt.
Prepare the Meat
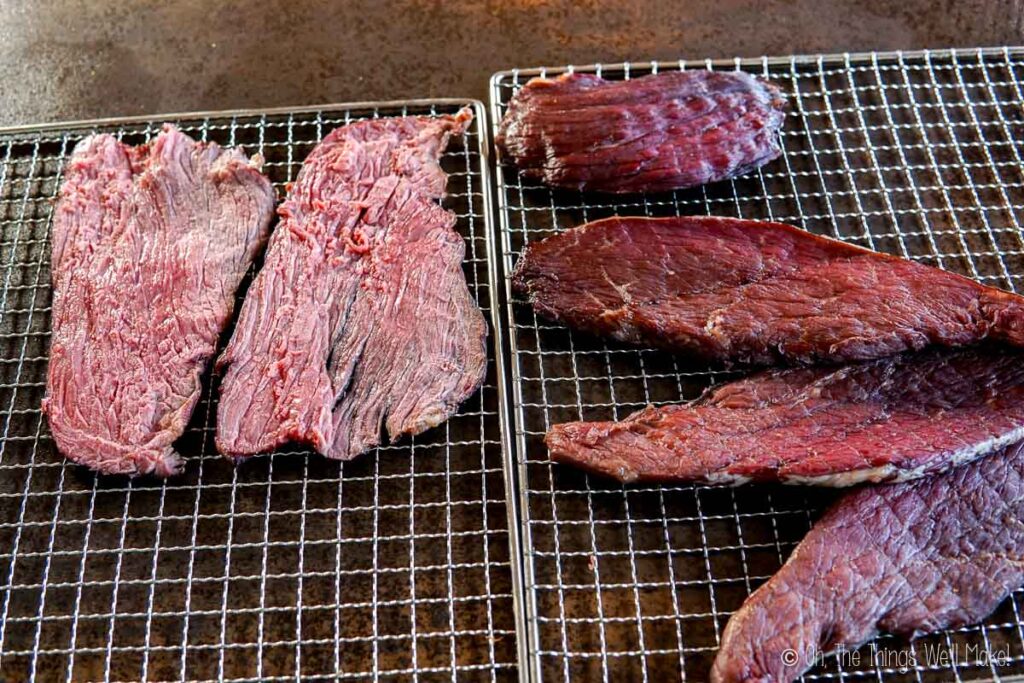
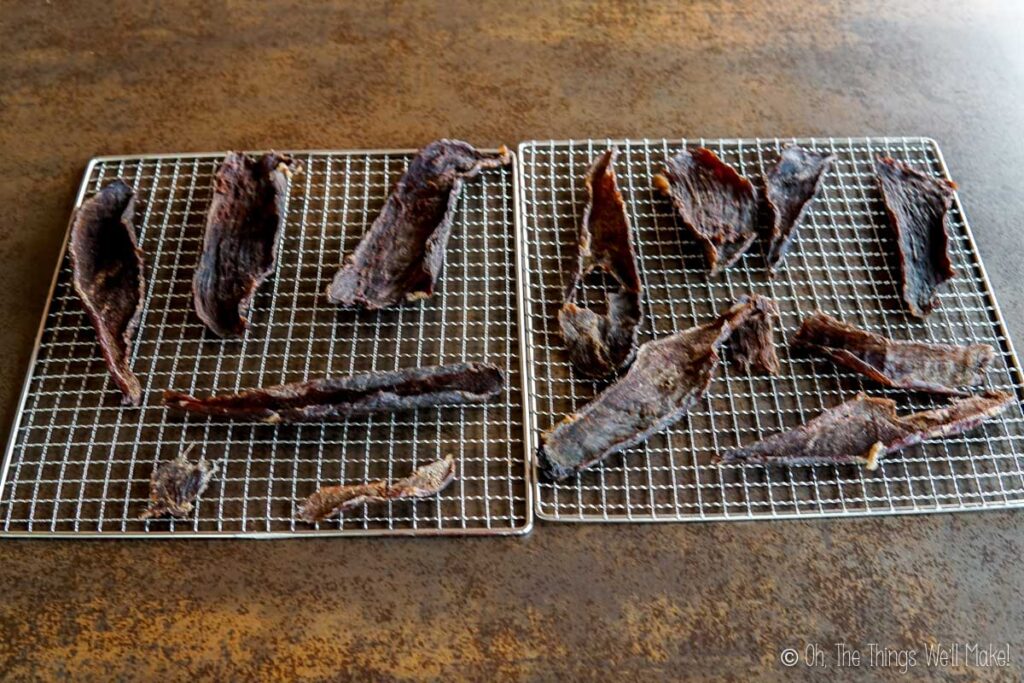
Start by cutting the lean meat into thin slices or pounding it thinly. This will allow it to dry more quickly. A trick for slicing the meat is to dry the meat for a short time, and once the outside is dry and the inside is still soft, carefully slice across the fillet of meat. Then, continue to dry it.
You can use a dehydrator, an oven, or even air-drying to remove the moisture from the meat. The goal is to make it dry and brittle. I use my dehydrator at 70ºC/160ºF for several hours.
Render the Fat
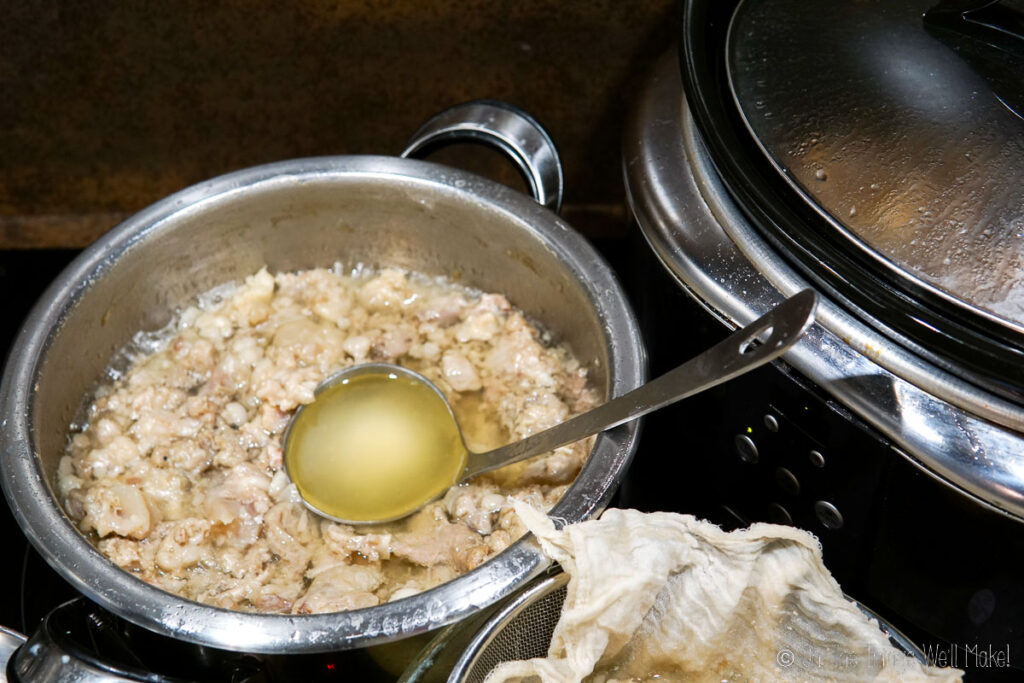
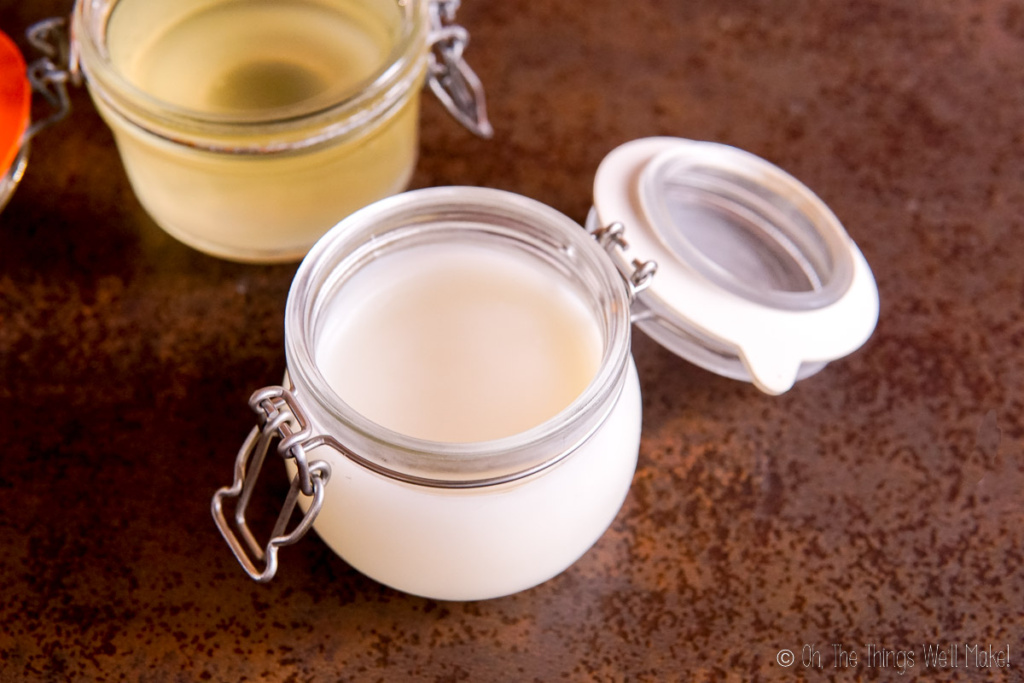
While the meat is dehydrating, you can render the animal fat by melting it in a pan over low heat. (Or you can buy already made tallow or lard.) Make sure to remove any impurities or solids from the fat.
The rendered fat will act as a binder and provide the necessary calories for a survival situation. For more details on how to render fat, check out my posts on how to make lard and how to make beef tallow.
Grind the Dried Meat
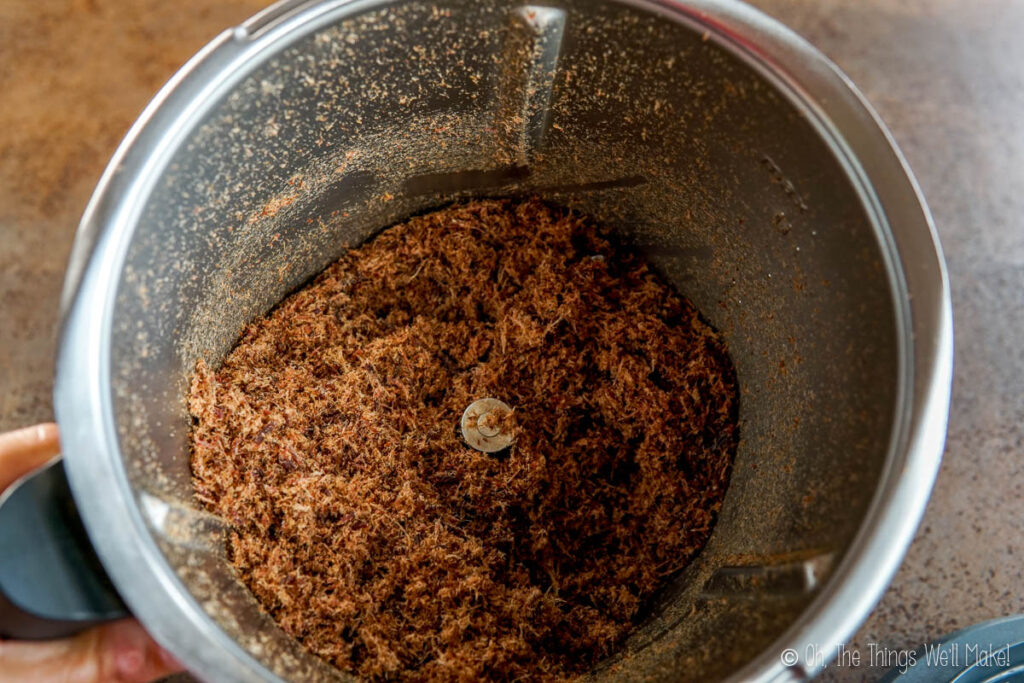
Once the meat is fully dried, grind it into a fine powder using a food processor or blender. This will make it easier to mix with the fat. In an emergency without electricity, you can use stones or a mortar and pestle, but it will take longer and be more difficult.
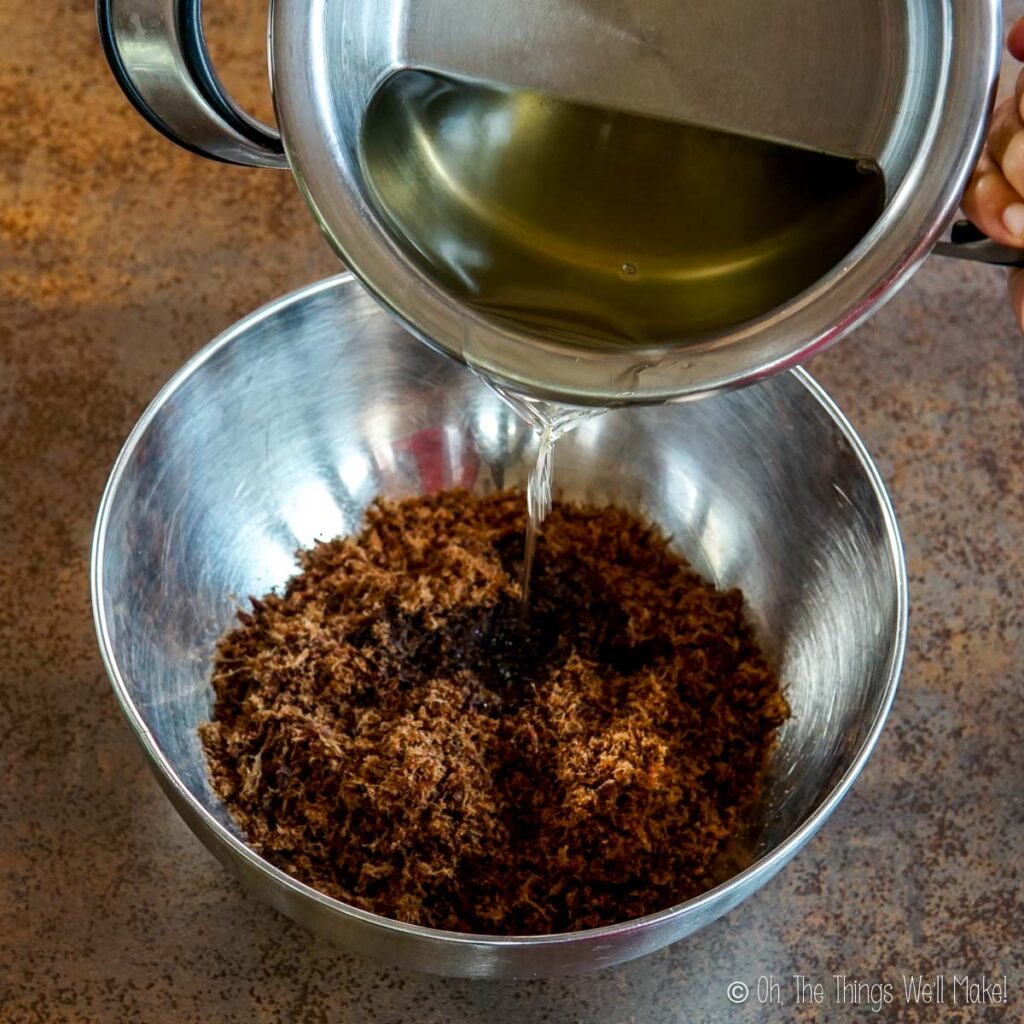
Combine the Ingredients
In a large bowl, combine the ground meat and rendered fat. If desired, add dried berries at this stage. Mix everything thoroughly until well combined. Add salt, if desired, to taste.
Shape and allow to cool.
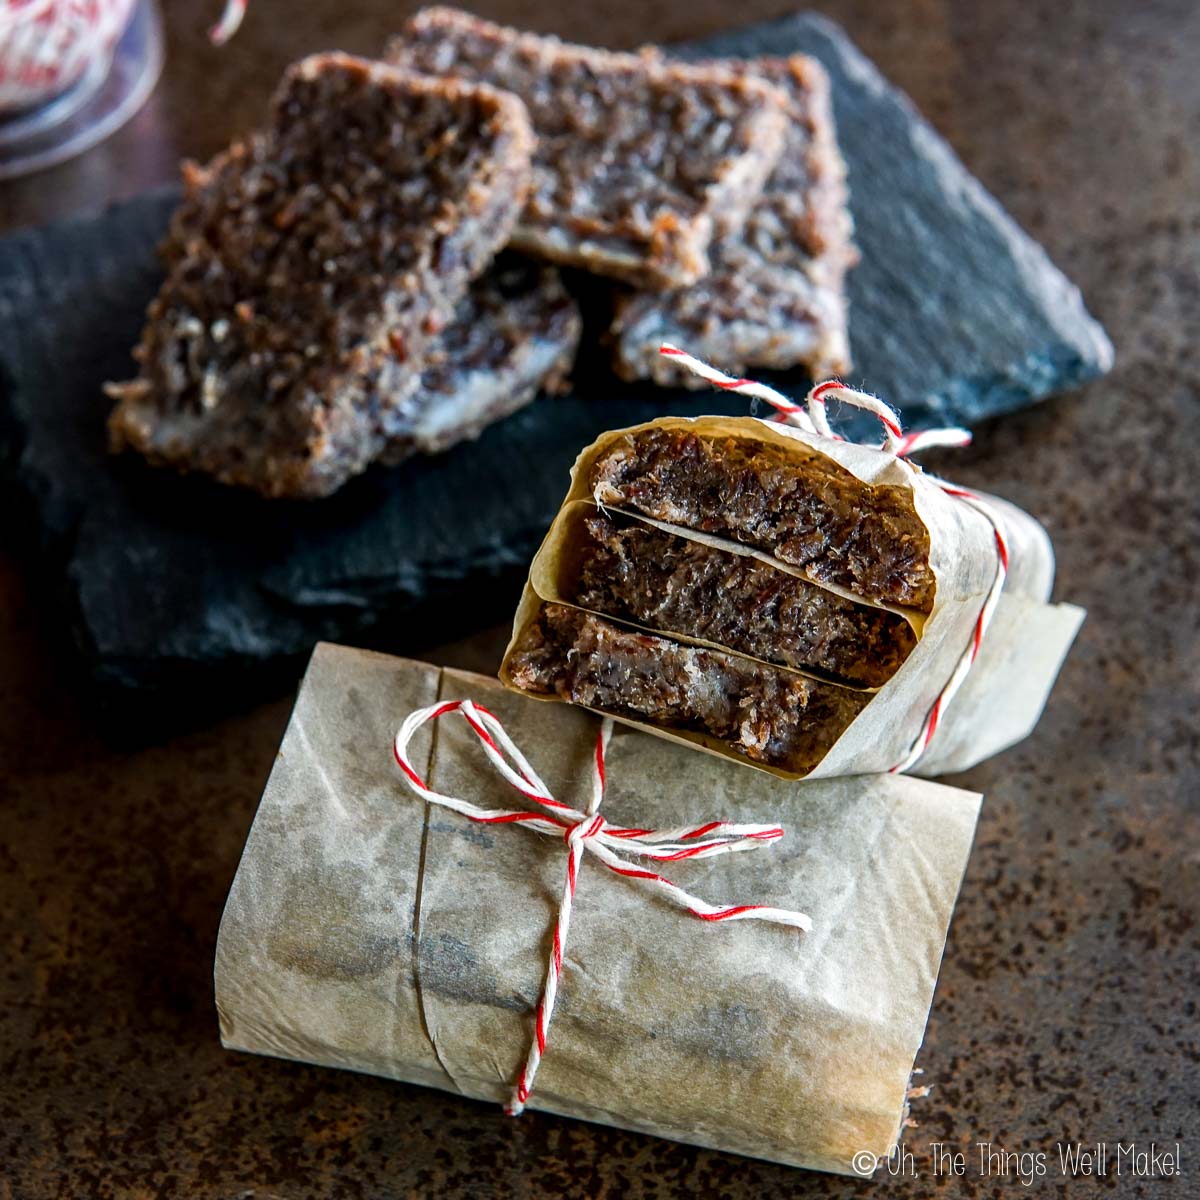
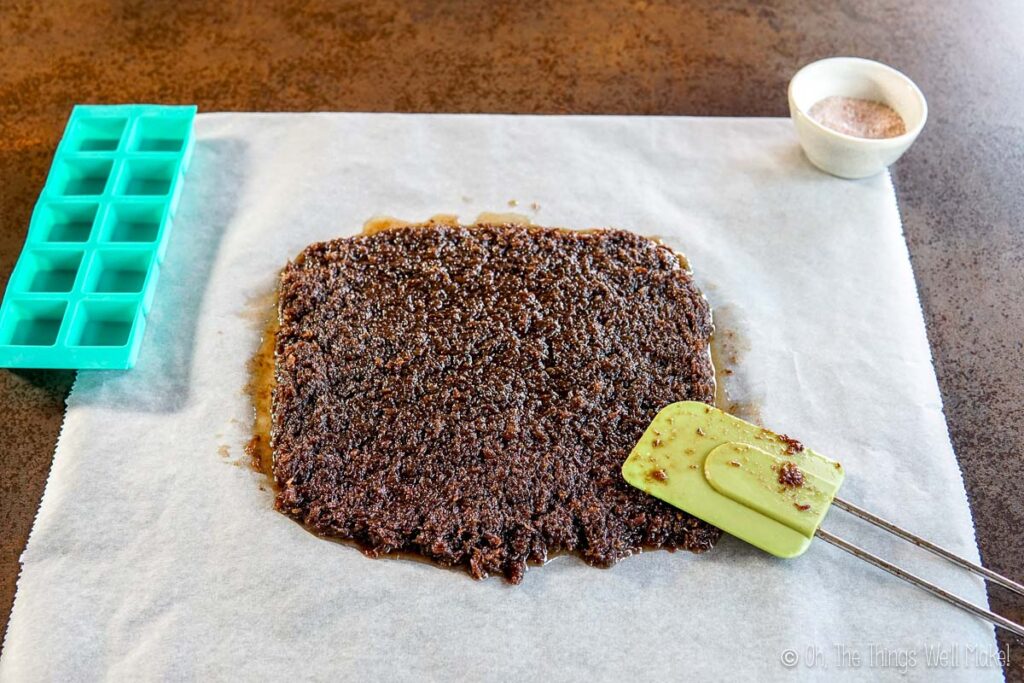
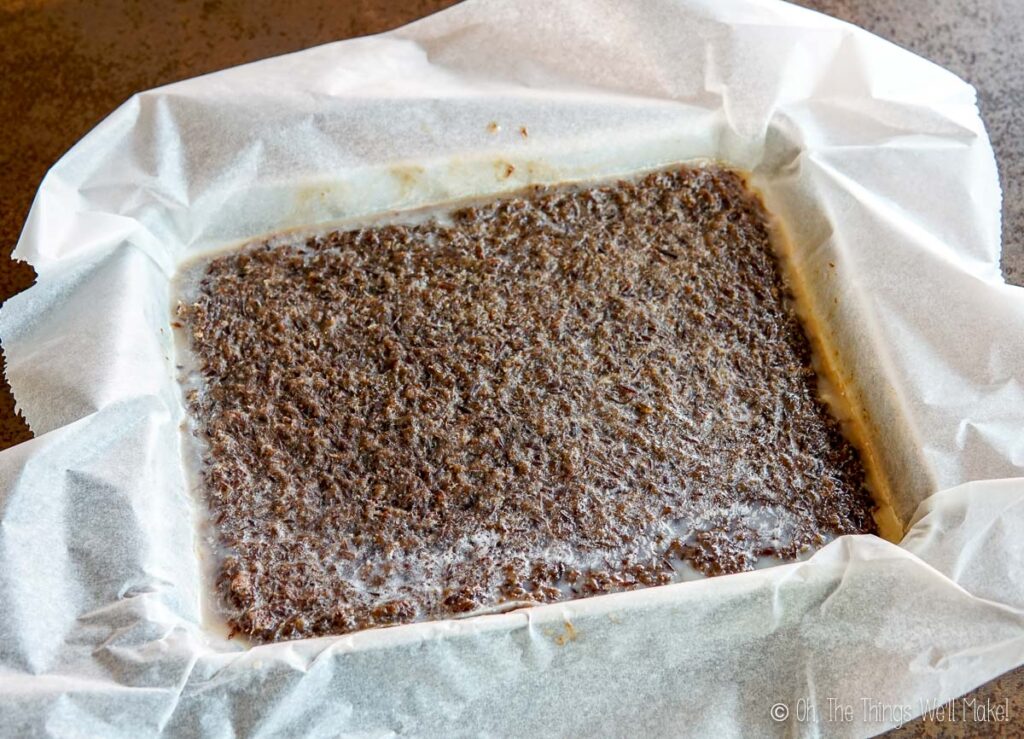
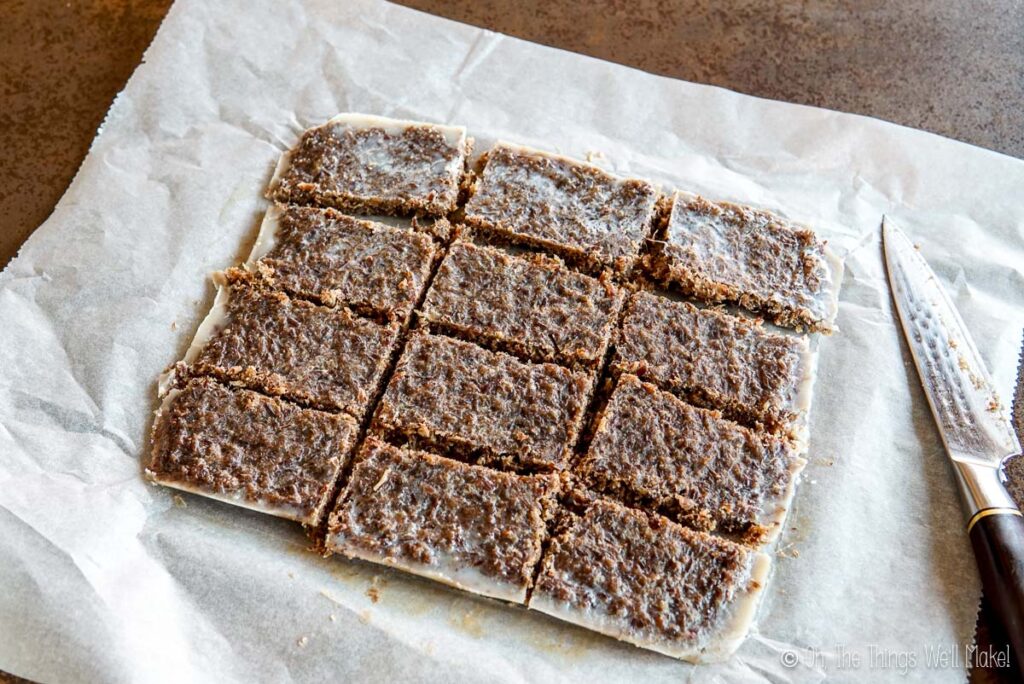
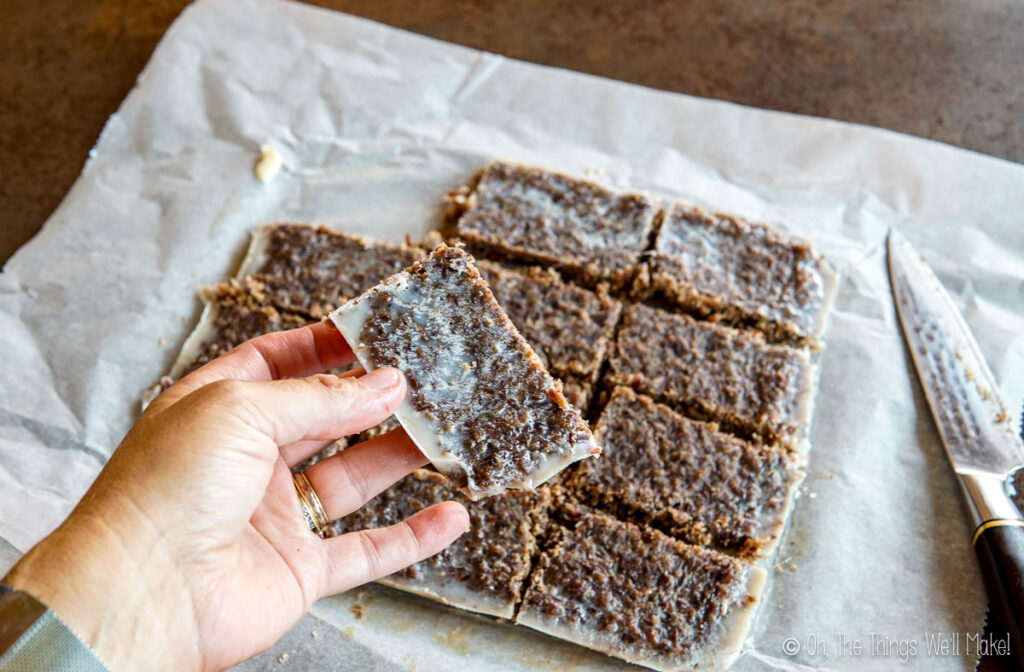
Take the mixture and press it firmly into silicone molds. Or, spread it out over baking paper in a thin layer to make bars. Smooth the surface with a spatula or the back of a spoon. Allow it to cool and set at room temperature or in the refrigerator. Once it has hardened, cut it into bars or bite-sized pieces.

Store for Longevity
To ensure the pemmican lasts for a long time, store it in airtight containers or vacuum-sealed bags. Keep it in a cool, dry place away from direct sunlight. Properly stored pemmican can last for months or even years. For the longest storage, vacuum seal the pemmican and store in the freezer.
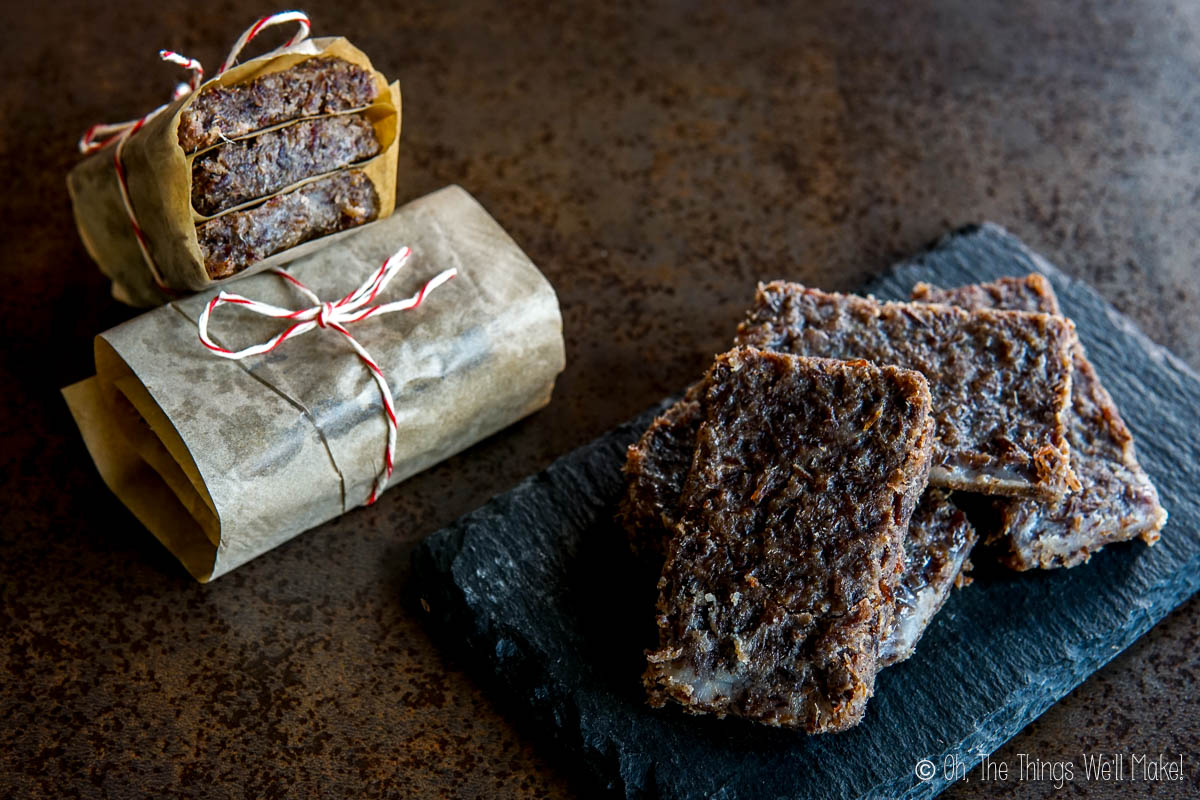
I like to use silicone loaf bars to make large blocks of pemmican that I can vacuum seal and store for later. The large blocks can then be cut into smaller bars or blocks as needed.
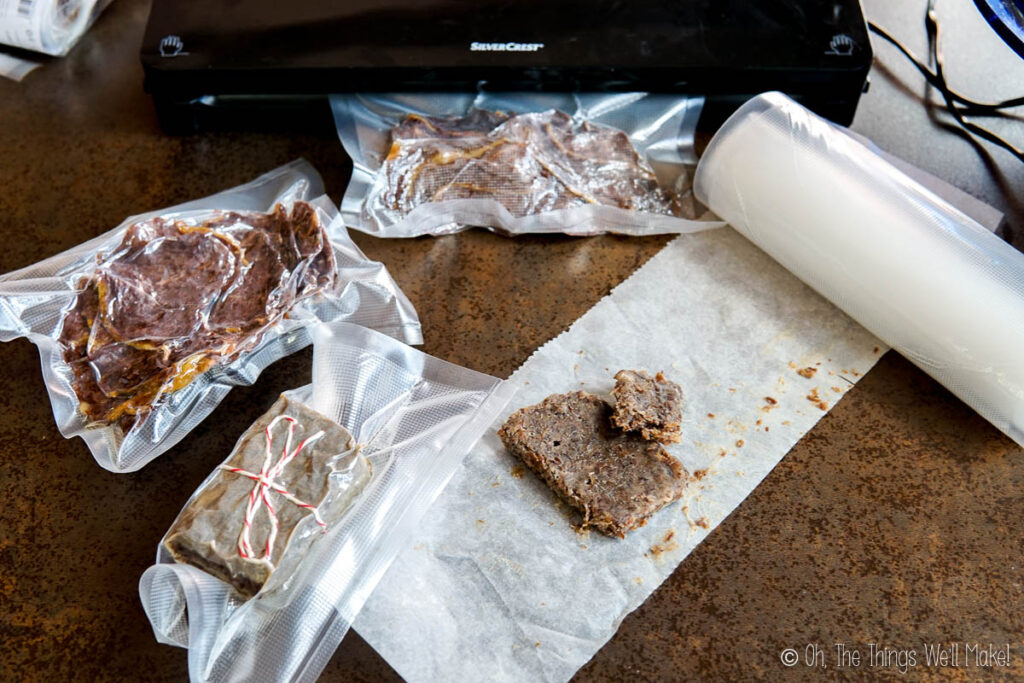
Travel tips
To make traveling with pemmican easier, I recommend cutting or molding it into bars. Then, vacuum seal the small amounts so you can open them as needed.
How to serve pemmican
Due to its long shelf life and dense nutritional content, pemmican has become a popular choice among hikers, campers, and adventurers as a high-energy food source for outdoor activities. Pemmican can be eaten as is, by simply taking small bites or pieces of it. While I absolutely love eating pemmican as-is as a type of meat bar snack, some people prefer eating pemmican in other ways.
Pemmican can be crumbled and sprinkled over salads or other dishes. It can also be rehydrated by adding water or broth and mixed into soups or stews. Some people also enjoy spreading pemmican on bread or crackers.
Yield
For every kilogram (35 oz.) of fresh beef, you’ll end up with around 300g (10.6oz.) of dried meat. Generally, you’ll want to use a 1:1 ratio by weight of dried meat and tallow. This means you’ll want 300g (10.6oz.) of tallow for every kilogram of fresh meat.
When I started with 750g of fresh beef, I used 220g of tallow. This gave me enough pemmican to fill an air-fryer tray (26x20cm or 18x10in.). This allowed me to make 12 small bars of pemmican.
Video

Pemmican Bars
Equipment
- Food Processor
Ingredients
Instructions
- Cut the lean meat into thin strips or pound it thinly. This will increase the surface area and allow it to dry more quickly.
- Dry the meat. You can use a food dehydrator (70ºC/160ºF) or an oven set to its lowest temperature to dry the meat thoroughly. In an emergency situation, it can also be sun-dried.
- Once the meat is dry and brittle (not flexible), break it up into pieces and grind it in a food processor until you've obtained a thin powder.
- Melt the tallow and mix it with the meat powder. The mixture should have the consistency of wet sand. Add the salt, to taste, and any other optional ingredients like dried berries. Mix everything together until well combined.
- Spread the pemmican out onto a sheet of baking paper. If you prefer, you can also use molds to create fun shapes.
- Once the pemmican is shaped, let it cool completely.
- Cut the pemmican into bars or unmold it before storing it in an airtight container.
- It can be eaten immediately as a snack, or served in soups or stews.
Could you add a few teaspoons of honey?
Hi Ron,
Yes, you can add a little honey if you’d like. Some traditional versions of pemmican also included dried berries for flavor, so there has always been some variation in how it’s made.
Just keep in mind that ingredients like honey or berries can add sugar and a bit of moisture, which may shorten the shelf life compared with versions made only with dried meat and rendered fat. If you add honey, it’s best to keep the pemmican refrigerated and use it within a shorter time.
Thanks for information
thank you for posting this!
Thank you! 🙂
Nice information
Very useful recipe.