

Hyaluronic Acid Serum Recipe

Restore humidity to the skin, making it look plumper and more radiant, all while reducing fine lines by using a DIY hyaluronic acid serum that is super simple to make and is great for every skin type.
This is one of those recipes that I wish I had started making years ago.
Ironically, I already had the ingredients for making it, having bought some hyaluronic acid without really knowing what to do with it, but I kept putting it off. I’m not really sure why. Maybe it’s like making soap for the first time, it seemed more intimidating than what it really should have been.
I knew what hyaluronic acid was, or kind of, I guess. I just didn’t know what it would do for me, nor did I know if it would be difficult to make a serum with it.
Once I made this hyaluronic acid serum, though, I was hooked. I doubt I’ll ever be without it again!
What is hyaluronic acid?
Hyaluronic acid is a gel-like substance that is naturally found in the body in places like our cartilage or our synovial fluid. It is also a component of our skin that helps with tissue repair.
Why use hyaluronic acid serum?
Used externally, hyaluronic acid works in a number of ways.
First, it’s a humectant, meaning that it binds to moisture in the air and then holds onto it. This helps bring that moisture into your skin, hydrating it. Hydrated skin is normally plumper and smoother, so any wrinkles present are less noticeable.
Hyaluronic acid applied topically may also reduce redness and dermatitis.
So, basically, long story short, when you apply hyaluronic acid externally, you can help keep it hydrated and make it look smoother. It may also help fight some skin conditions.
Is hyaluronic acid comedogenic?
Luckily, for those with problems with acne, hyaluronic acid is not comedogenic. That said, some people may find that they get a bit of a breakout when they first start using it.
When I began using this homemade hyaluronic acid serum, I found that some areas of my skin started to clear up immediately. Other areas that were covered with small blemishes began to show larger, redder pimples surfacing with its use. I was worried that my skin wasn’t reacting well to the serum, so I looked it up online and found that other people had similar reactions when they used hyaluronic acid: they got more red pimples. Some chose to stop using it for that reason.
Because I had some areas that were actually improving (even during the part of my menstrual cycle when my skin is usually getting worse), I decided to stick with it and see what would happen. Everything I read pointed to hyaluronic acid being non-comedogenic. I was hoping that maybe things needed to get worse before they got better.
As luck would have it, with time, the areas with the red pimples cleared up, and I found that the smaller, less noticeable pimples that had been in those areas actually disappeared, leaving me with clearer skin than before! It seems to me that the serum helped bring those smaller pimples to a head, and eventually helped them disappear completely.
Now that I’m using the serum daily, I can’t claim to have perfect skin, but my skin is much, much clearer than it was a few months ago before I started.
Does hyaluronic acid dry out your skin?
Because it is a product that is meant to help hydrate your skin, some people are surprised to find that hyaluronic acid serums may make their skin feel drier.
This is usually due to the way that it is applied.
Hyaluronic acid, as a humectant, can absorb more than 1,000 times its weight in water!
If you apply this serum to dry skin, especially in a dry environment, the hyaluronic acid can start to draw some of the moisture from your skin and pull it into itself. That leaves you with the sensation of drier skin rather than more hydrated skin.
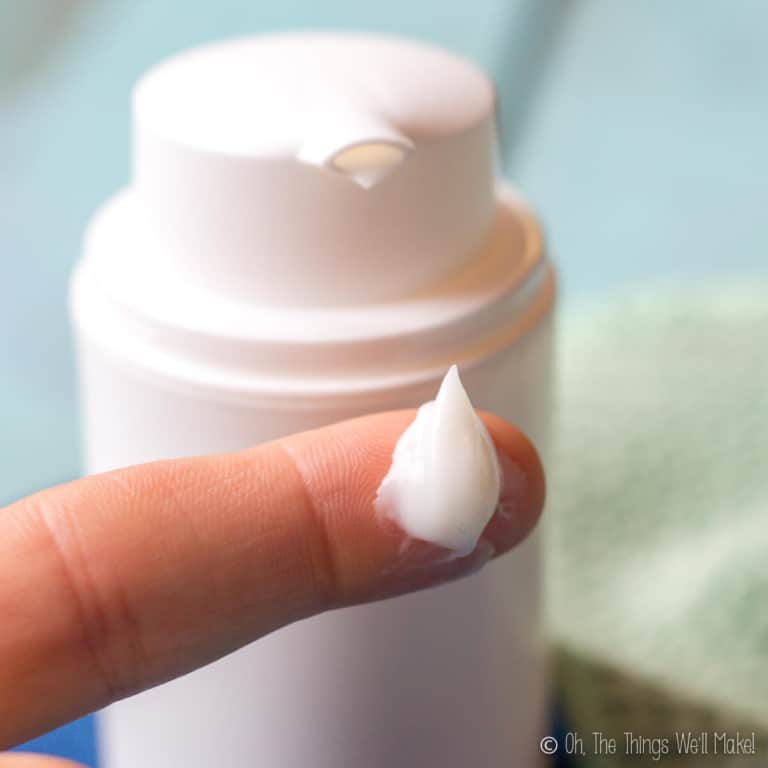
To prevent this from happening, you can either apply this to wet skin, right after having washed your face or right after spritzing on a toner. Another option is to apply it in combination with a lotion like a homemade facial moisturizer. (You can either apply this underneath the moisturizer or mix them together and apply as a lotion.)
When should you use this hyaluronic acid serum?
I’ve been using this serum twice daily for the last few months. I put it on right after washing my face at night and then again right after washing my face again, first thing in the morning. To keep it from drying out my skin, I apply it while my skin is still damp.
Low molecular weight vs. high molecular weight hyaluronic acid
When buying hyaluronic acid for your homemade serum, you’ll likely find that there are several types available. Most commonly, you’ll see these types referred to as low molecular weight vs. high molecular weight hyaluronic acid. This is based on the size of the molecules within that particular product.
In formulating my homemade serum, I chose to use both types of hyaluronic acid to benefit from the best properties of each of them. Each type will act on a different layer of our skin, and only one of them allows us to easily make a serum-like consistency.
Skin penetration
Low molecular weight hyaluronic acid penetrates the skin better, meaning that it may hydrate the skin more deeply. High molecular weight HA tends to stay closer to the surface of the skin, locking water in those superficial layers.
Making a gel-like serum
High molecular weight hyaluronic acid is a fun product to work with. When you mix it with water, it forms a nice gel, one that is perfect for making a serum. When you use high molecular weight HA for making your serum, you don’t normally need to add any thickeners like xanthan gum to your mixture, which is great because those gums can leave your skin with a sticky feeling.
Low molecular weight hyaluronic acid is that which is below 800 kDa. will not gel like the high molecular weight one.
Do you need a preservative in a homemade hyaluronic acid serum?
Yes!
Because this is a water based product, it is very important that you use a preservative to protect it from microbial growth.
While it’s quite easy to see mold forming in a homemade product, bacterial growth is normally invisible to the eye. I have seen pictures of skin reactions to creams that have been contaminated with bacteria, and it is not a pretty sight.
These days you can easily find many natural preservatives that are acceptable for use in organic and natural skincare products and that will ensure that you are making a safe product. (I’ll be writing a post about choosing a natural preservative soon.)
If you don’t use a preservative, you will need to keep this in the refrigerator and toss any remaining serum after a few days (definitely no longer than a week). With a more expensive ingredient like hyaluronic acid, though, do you really want to be wasting the excess? Do you really have the extra time to be making all of your products every couple of days?
Are you really willing to risk microbial contamination?
How long will this keep?
When using a preservative, this will depend on the preservative you use and how likely your product is to be contaminated with bacteria when making and using it. This can also be affected by how clean you keep things when making and packaging your serum, and on how you store it. (I prefer using a pump bottle to a dropper for long-term storage to keep contamination to a minimum.)
Because this is a homemade product, and most of us aren’t willing to spend the money on doing microbial testing to see how long this product will truly keep free of undesirable microbial growth, I like to err on the side of caution and only make enough for up to 3 months. In most cases, the product will keep longer, but because we can’t actually see bacterial growth, I think it’s important to make smaller batches and make new product several times a year.
Watch how simple it is to make this serum
How to Make a Homemade Hyaluronic Acid Serum

Hyaluronic Acid Serum
Materials
- .3 g glycerin
- .02 g hyaluronic acid- low molecular weight (below 800 kDa)
- .02 g hyaluronic acid- high molecular weight
- .16 g d-panthenol
- .1 g sharomix or other natural preservative
- 1 g collagen
- 8.4 g distilled water
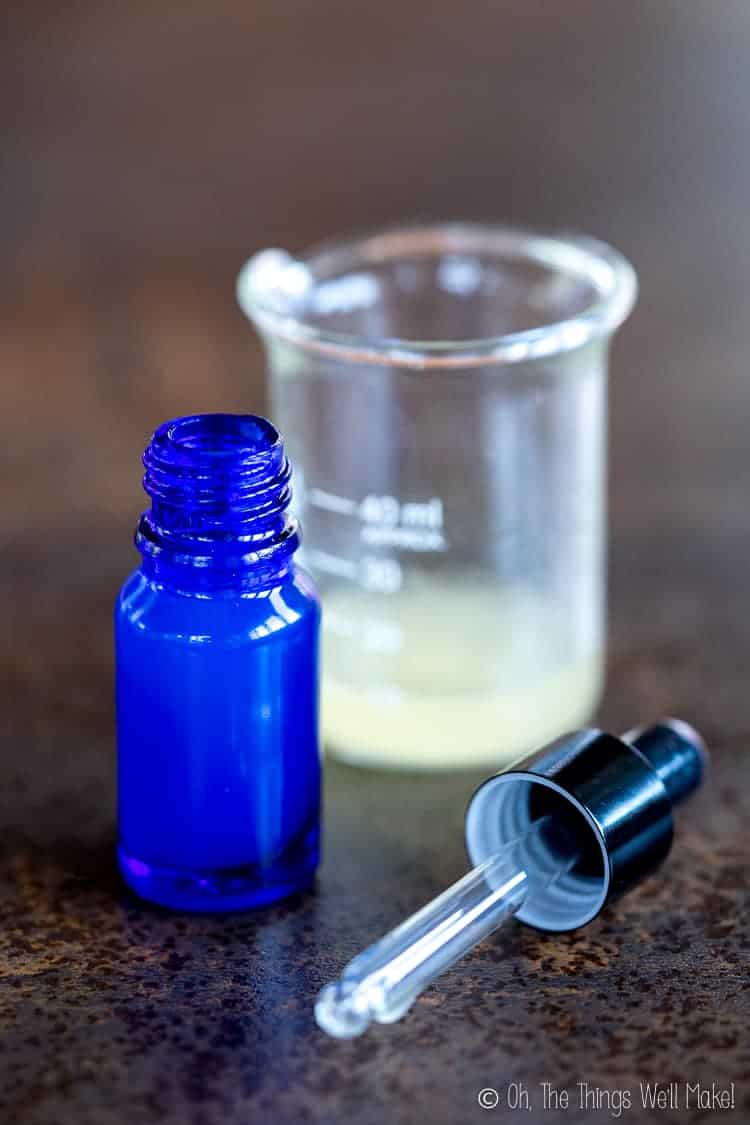
Instructions
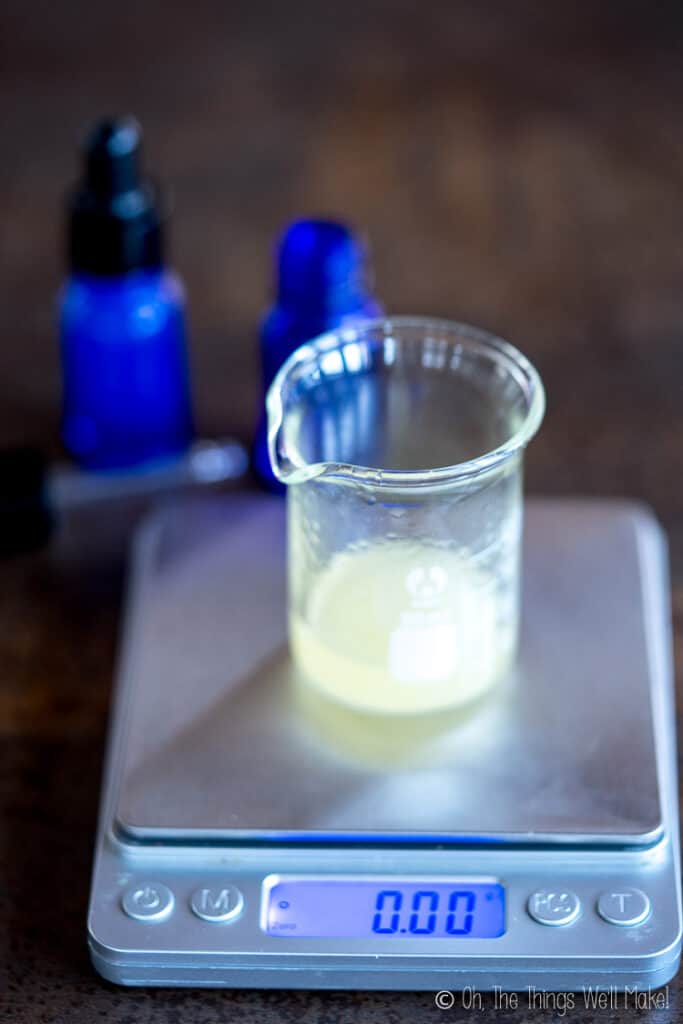
- Weigh out the glycerin in a small glass beaker.
- Tare the scale and add the hyaluronic acid powders. Mix the powders into the glycerin.
Hyaluronic acid powders can take a while to incorporate into the water and other aqueous ingredients. By mixing it with glycerine first, it is much easier to combine all of the ingredients quickly.
If you don’t want to use glycerin (another humectant), you should allow the hyaluronic acid powders to slowly absorb the water overnight and then you can thoroughly mix together the ingredients. - Tare the scale between each addition of your other ingredients. I’ve used d-panthenol and collagen, but those are optional ingredients. They can be substituted for more water.

- To customize your serum, and add a lovely scent, you can also substitute floral water or a hydrosol for part of the distilled water in the recipe.
- Because this product has water-based ingredients, you will need to use some sort of preservative to prevent microbial growth. You should use it at an adequate amount for your particular preservative. (Most natural preservatives are used at around 1% of the product, but some, like Leucidal, need to be used at higher percentages to be effective. Leucidal, for example, is normally used at around 3-4% of most recipes.)
- If using a different preservative, you’ll want to check the pH of the serum to make sure the pH is in the effective range for your particular preservative!
- Thoroughly mix together all of your ingredients until you get a smooth serum. If you find that you have small clumps of HA powder in the serum, you’ll want to leave it alone and allow the powder to absorb more of the liquid. After several hours of resting, you should be able to easily blend together the ingredients to get a smooth serum. (Using a small electric mixer can also help.)
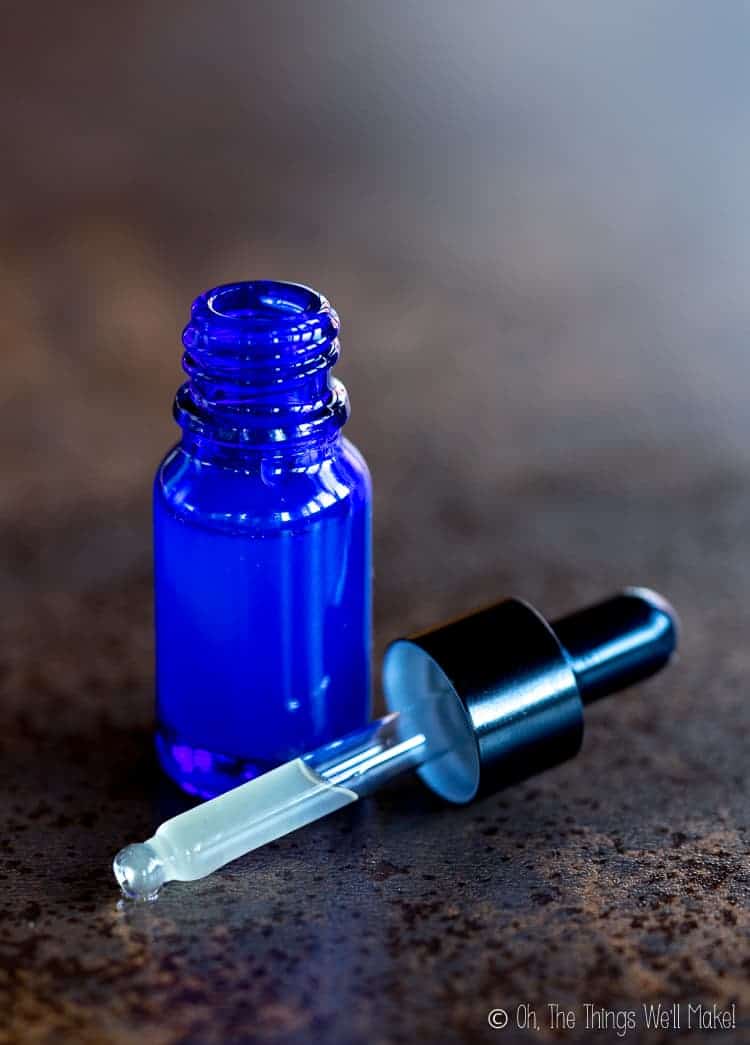
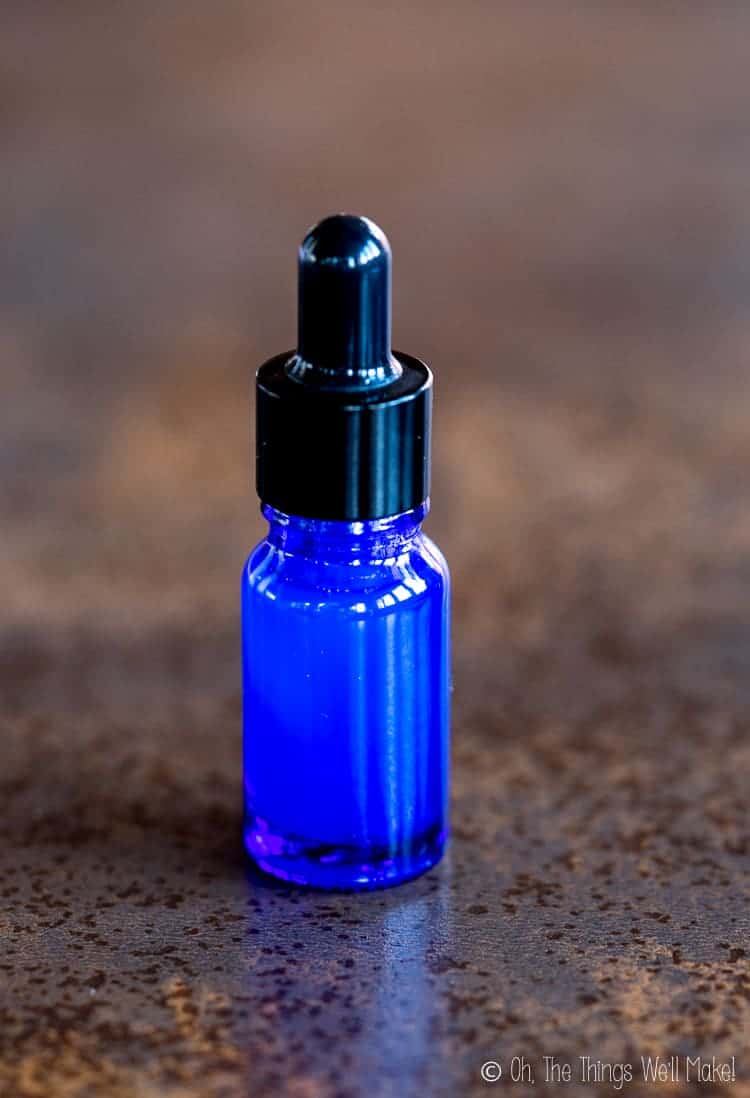
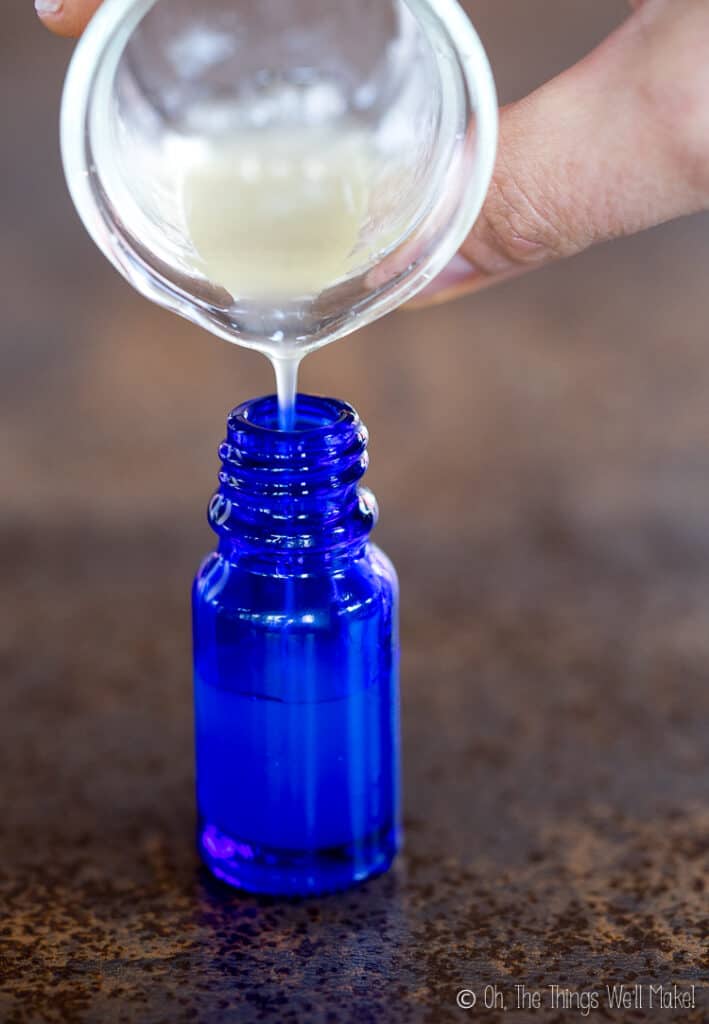
- Pour the serum into bottles for storing and easy use. I often use small 10ml dropper bottles.
For larger amounts, I usually use a pump dispenser to avoid the bacterial contamination that can happen when using a dropper. (See the end of the video. I often touch the dropper to my skin.)
With very small quantities, you shouldn’t have issues when using a preservative, but it’s always best to err on the side of caution with homemade cosmetics. 😉


Not sure you are allowed to send links to where you buy your products for this recipe?
If so would you please send that. Thanks for your tutorial!
Hi Reena,
I have no problem sharing, but I live in Spain and buy locally. So, that isn’t very helpful for most of my readers. (while they do send internationally, I doubt it would be worth the extra expense and hassle of international shipping and customs.
I buy many (most?) of my cosmetics supplies from a place called cremascaseras.es . (There are a few other places I buy from, but that’s where I bought my HA supplies.)
Hi Tracy,
Love your website! I live in Spain too. I know cremascaseras but I would be interested to know where else you get your ingredients.
Thanks, Gaynor
Hi Gaynor,
Thank you!
It really depends. I find myself ordering from them most, but have also ordered from Naturitas, Planeta Huerta, La Despensa del jabón, Jabonarium Shop, etc., depending on what I’ve needed. (Sometimes CremasCaseras doesn’t have the product I’m searching for.)
Where do you get your hyaluronic acid powder from?
Hi Greg,
I usually buy cosmetic ingredients like hyaluronic acid from online suppliers that specialize in DIY skincare or soapmaking ingredients. I don’t often mention specific suppliers because I live in Spain and many of my readers are in other countries, so the best options can vary depending on where you live. If you search for cosmetic ingredient suppliers or DIY skincare ingredients, you should be able to find several options that ship to your area.
Where do you find all of these ingredients? I would love to try this but I am stumped as to where to purchase everything. Thanks!
Hi Catherine,
Most of these ingredients can be found at online shops that sell soapmaking or cosmetic formulation supplies. I don’t usually list specific suppliers because I live in Spain and many readers are in other countries, so the best places to buy ingredients can vary a lot depending on location. Searching for cosmetic ingredient suppliers or DIY skincare ingredients should help you find stores that ship to you.
Where I live I cannot get distilled water,what should I do?
I prefer distilled water as it is purer and ensures that you aren’t adding unwanted ingredients or microbes to your serum. There are several options, though. Are you sure it isn’t available where you live? It’s often sold in the cleaning/ironing section as most irons want you to use distilled water for ironing to avoid mineral deposits that can ruin your iron and stain your clothes!
If you plan on making a lot of homemade cosmetics, you could also invest in a water distiller like I have. (I wouldn’t suggest it, though, if you rarely plan to use it.)
If you really can’t find any, and you’re set on trying the recipe, I’d at least use pre-boiled water to ensure that all microbes are killed off. I can’t promise that your water won’t have extra minerals that could react strangely with certain ingredients. In most cases, you’ll be fine, but it really depends on the quality of the water where you live. (If it’s been filtered first, all the better!)
Could you make this with all hydrosol or floral water instead of the distilled water to eliminate the need for the preservative? Thank you!
Hi Mallory,
Unfortunately, using hydrosols or floral waters instead of distilled water wouldn’t eliminate the need for a preservative. Hydrosols are still water-based ingredients, so they can support microbial growth just like distilled water can. If you want to avoid preservatives, the only option would really be to make very small batches and keep them refrigerated for just a few days.
would it be possible to use food grade supplement hyaluronic acid with MSM in this serum?
To be honest, I’m not really sure what you’d end up with. Without knowing exactly what’s in it and what molecular size it is, it’s really imposible to know. I don’t see the MSM being an issue.
I doubt you’d end up with the same sort of gel-like serum consistency, but if that’s not a problem for you, it’s not a big deal.
You could always try it out and see how you like it.