Perfect for the holidays, baklava is a sweet, flaky and impressive looking dessert that is actually simple to make and sure to please your guests. Learn how to make baklava with this Greek baklava recipe.
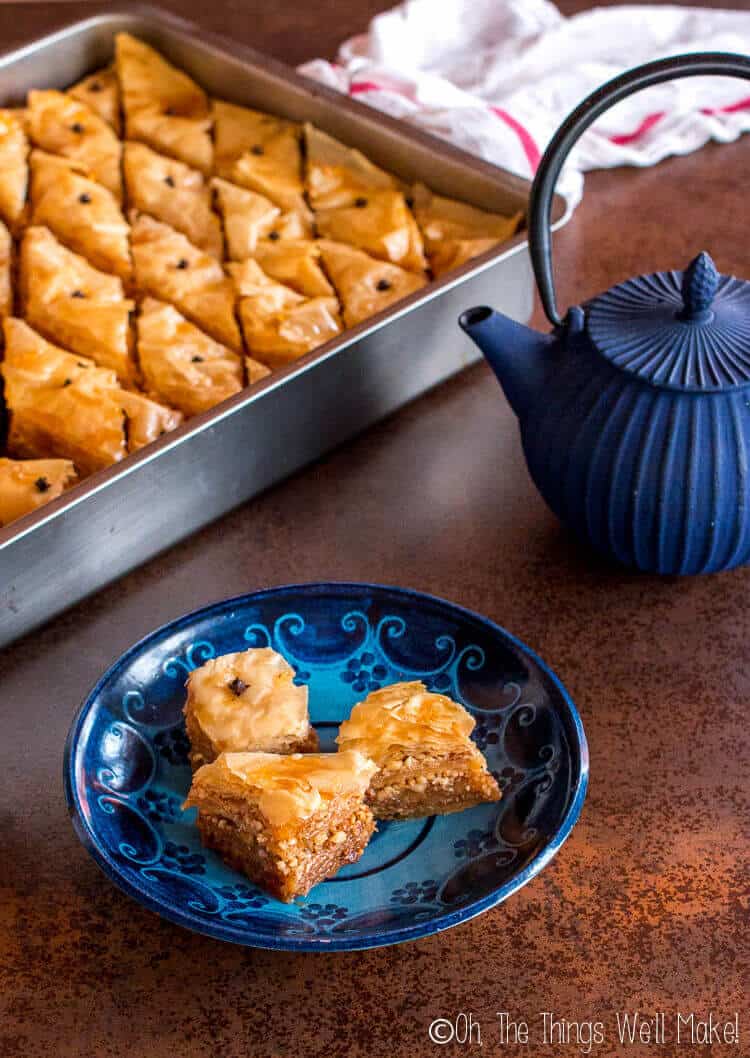
Way back when, when I was still living in Michigan, we had Greek neighbors in the house next door. At Christmas time, Crissa, our next door neighbor, used to give my mom a small plate of homemade baklava each year. I ended up usually being the one to eat it all because it was one of my favorite desserts. And it wasn’t easy to find anywhere.
What is baklava?
Baklava is a layered Middle Eastern dessert that alternates layers of crispy filo dough with layers of ground nuts and sugar. The whole thing is held together by a sweet, tangy syrup.
The people of many countries claim baklava as their own. It may have originated in either Greece or Turkey, or perhaps long ago in Assyria which is now part of Turkey, Iran, Iraq, and Syria. Because people have been making this dessert for so many years, nobody really knows its true history. I have read that they probably began to make baklava as we know it now in Instanbul, Turkey. That said, that recipe was probably a variation of a traditional Greek recipe that may have included cheese.
Regardless of where it came from, baklava is a popular dessert in many parts of the Middle East and the surrounding regions. I’ve seen lots of different variations in the shape and presentation, and also of different mixtures of nuts and other fillings between the filo layers.
No matter how it’s made, though, it’s delicious!
Once my neighbor learned how much I loved it, she offered to show me how to make baklava so that I could eat it whenever I liked.
One year at Christmas time, I found myself in her kitchen with all of the ingredients to make my own batch of baklava at her side as she made hers.
She had worked ahead, and had made a huge batch of sugar syrup for both of us before I got there.
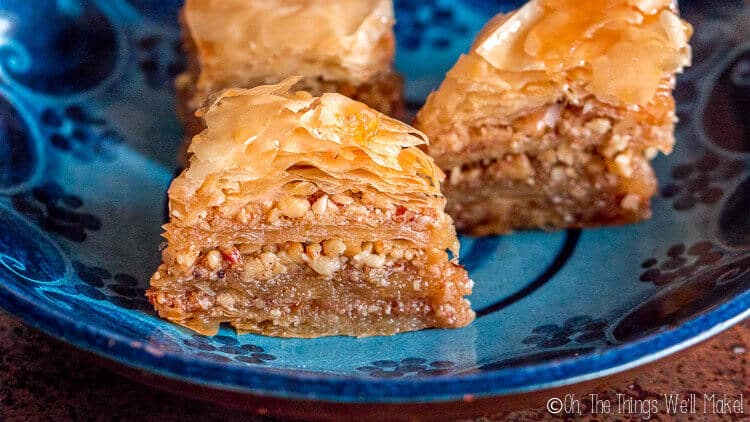
How to make crispy baklava
According to her, the syrup has to be cool when poured on the still hot pastry in order to keep the pastry crisp. I’ve since heard that you can also do it the other way around, meaning you pour the hot syrup over the cool pastry, but I’ve never personally tried it. Most people say that you’re supposed to avoid having both be cold or hot. I did read a comment from someone who claimed that the shops in Instanbul pour hot syrup on hot baklava as the method of choice, but I’ve never heard that elsewhere nor have I tried that either. I’ve always followed the general consensus and prefer to not risk ruining a nice pan of baklava testing it out. (I am curious to hear comments from those that have tried, though.)
Another trick to making a crispy baklava is to make sure that you lightly butter each sheet of filo pastry. You want it completely covered, but don’t want to add so much butter that you’re bathing each sheet in it.
More importantly, though, is to make sure you are using a clarified butter. I use homemade ghee when making baklava. (See how to make ghee from butter.) You only want to be using the fat component of the butter. If you just melt the butter without clarifying it, you’ll also be spreading the liquid component of the butter on the filo sheets, and that will make for a soggy baklava.
Greek baklava recipes
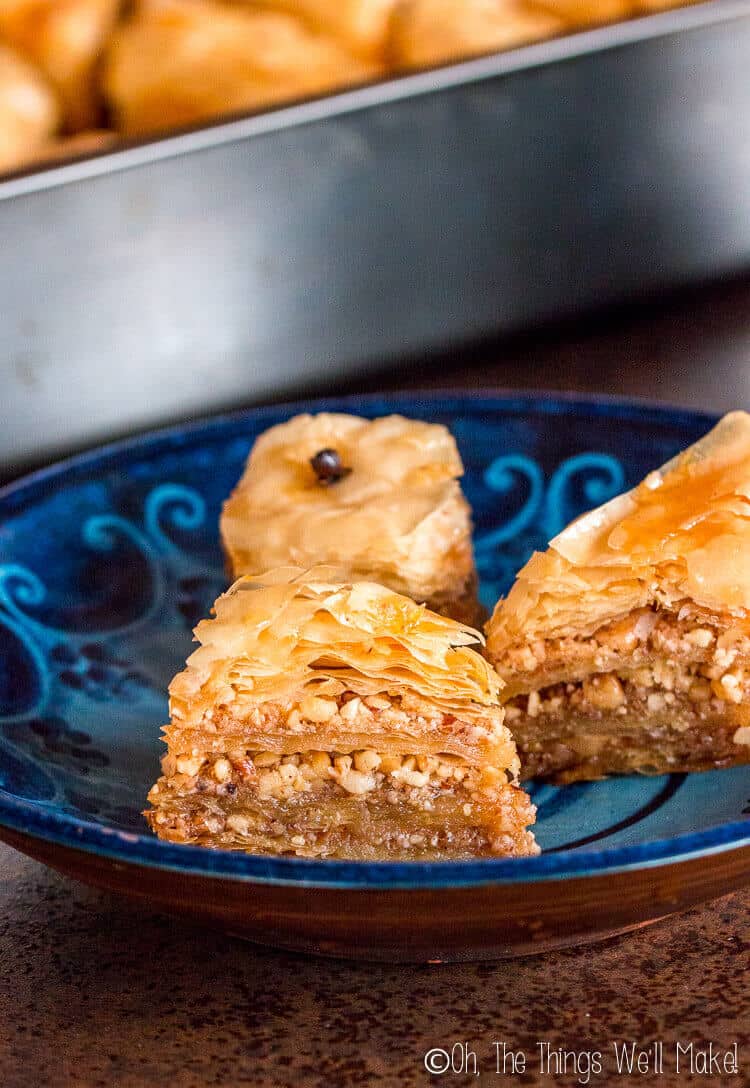
I’ve since read more about Greek baklava, and its different presentations. For example, I read on Wikipedia, that according to the book, The Real Greek at Home, Greek baklava is supposed to have 33 layers, symbolizing the years of Christ’s life. On the other hand, our neighbor used around 40 sheets of filo in her recipe, and despite being a strong Christian, she never made mention of that symbolism.
I’ve also read that in Greece, many people use olive oil between the layers of filo, but my neighbor’s recipe used clarified butter. I stuck with her recipe this year for Christmas, but may try making baklava someday with olive oil out of curiosity.
While this is a Greek family baklava recipe, I’m sure there are many variations of this sweet treat all over the country. I’d love to hear the input of people either from Greece or living there as to what is most commonly seen nowadays.
Why am I sharing a recipe that isn’t gluten free?
While I know many of you follow this blog because I normally share gluten free, grain free, or even paleo recipes, others look to me for traditional recipes and pantry basics. I almost never posted my attempt at making Turkish delight on the blog, because I didn’t feel like it fit in with the sorts of recipes that you expect from me, but it has grown to be one of my more popular posts.
I don’t make these sorts of recipes often, but this was a special recipe that I’ve held onto over the years, and thought it deserved being shared.
Plus, I have been experimenting with adding small amounts of gluten back into my diet occasionally. Christmas was the perfect time to do that sort of experimentation because I reserve these sorts of recipes for special occasions. While baklava is actually quite simple to make, it is a bit time consuming. Plus, while delicious, this isn’t the sort of food I want to be eating every day. 😉
Watch me make baklava
How to make Baklava
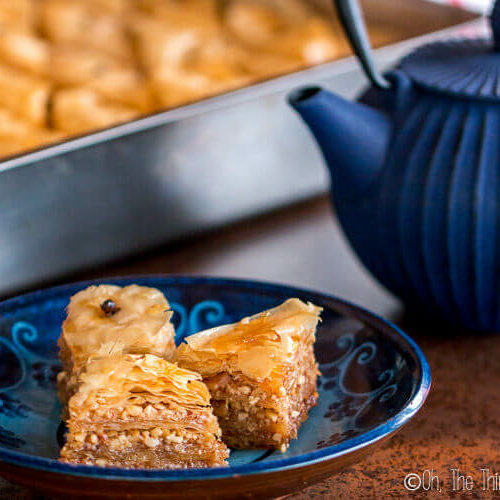
Greek Baklava Recipe
Ingredients
For the Syrup
- 3 c. water
- 3 c. sugar
- 1 c. honey
- 1 lemon
- 2 cinnamon sticks
For the baklava
- 2 lbs. filo pastry (around 40 sheets)
- 1 lb. clarified butter (1.5 lbs. butter) or ghee
- 4 cups ground walnuts
- 2 cups ground pecans
- 2 cups ground almonds
- 2/3 cups sugar
- 2 tsp. cinnamon
- .5 tsp. nutmeg
- .5 tsp. ground cloves
- whole cloves optional, for decoration
Instructions
Make the baklava syrup
- Cut the lemon in half, and add the juice of the lemon to a medium sized pan, along with the rest of the lemon. You will be making a candied lemon in the syrup, which you can use for other desserts. At the same time, the lemon rind will add a slightly bitter flavor to the syrup reminiscent of a bitter orange marmalade. I was worried about that the first time, but liked the final flavor in the baklava. If you want to avoid it, though, you can choose to add just the juice and the yellow zest of the lemon to the syrup instead.
- Add the sugar, honey, cinnamon sticks, and water to the pan, and simmer over the stove for around an hour. My neighbor used 4 cups sugar, but said you could use 3 cups sugar and 1 cup honey instead, which is what I used this year. After cooking the syrup for an hour, the lemon will become caramelized, and the syrup will thicken. Strain out the lemon and cinnamon sticks and allow the syrup to cool while you make the baklava pastry.
Make the baklava pastry
- Preheat the oven to 350ºF/177ºC.
- Mix together the ground nuts with the sugar and spices. (You want to reach 8 cups total of ground nuts, but you can switch up the nuts used to suit your preference. Walnuts, pecans, almonds, and pistachios are good choices.)
- If using butter, you want to clarify it to ensure a crispy baklava. You do this by melting the butter and skimming off any foam that forms on top. You also want to avoid using milk solids on the bottom. You only want to use the golden butterfat component.
I usually use homemade ghee for this recipe because I always have some on hand, and it's simple to use because you only need to melt it and use it directly. It works really well in this recipe. - Using a pastry brush, grease a 12x17 inch pan with melted, clarified butter or ghee.
- Cover the pan with one sheet of filo dough, and paint the entire sheet of pastry with a thin layer of melted clarified butter or ghee. You may need to cut the filo to fit your pan. I had to cut off around a centimeter of each side for mine. You can either use a knife or kitchen scissors.
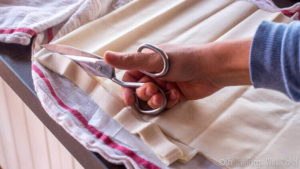
- Cover the first sheet of filo with another sheet of pastry, and once again cover it with butter. Continue to add layers of filo pastry, covering each sheet with a thin layer of clarified butter, until you have added 10 layers to your pan.
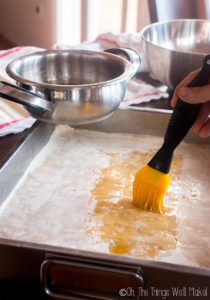
- Cover the first group of 10 layers of filo with 1/3 of the nut mixture. Make sure to spread the nuts evenly over the pastry.
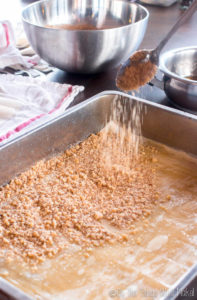
- Cover the nut mixture with another 10 layers of filo, doing as before, painting each layer with a thin layer of clarified butter.
I like to paint both sides of the first layer with butter to help keep it in place on top of the layer of nuts. - Sprinkle half of the remaining nut mixture evenly over the filo. (You should still have 1/3 of the original mixture reserved for the final layer.)
- Once again cover the nut mixture with another 10 layers of buttered filo, and cover those 10 layers with the rest of the nut mixture.
- Add the final 10 layers of buttered filo to your pan. You want to finish with a sheet of buttered filo.
- Carefully cut the baklava into pieces (before baking the baklava). You can choose to cut it however you like, but my neighbor always chose a diamond pattern. You can cut a diamond pattern by making diagonal cuts all across the pan, followed by horizontal cuts all the way across.
I made mine a bit too large this year, and ended up later cutting each diamond piece in half to have more reasonable sized pieces.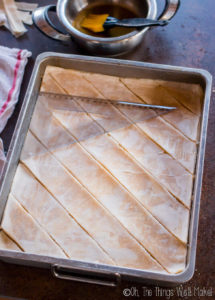
- Optionally push a whole clove into the center of each piece of baklava as decoration.
- Bake the baklava for around 1 hour, until it starts to turn a golden brown.
- Remove the baklava from the oven, and pour the cool syrup over the hot baklava.
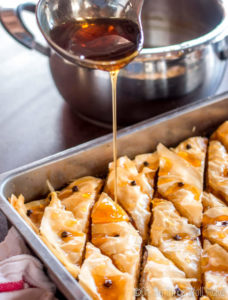
- Allow the baklava to cool. Once cooled, the syrup will help hold the baklava together.
Notes
 Español
 Instant Pot Chicken recipe: Citrus Herb Basque Chicken
Sylvia K
Hi Tracy,
Thanks for sharing this recipe!
And congrats for using homemade ghee! Learning about clarifying butter at home was a wake-up call to me. It’s
stable for cooking, and is so delicious! (not to mention, healthy, an actual superfood!) As far as I know, as it’s free of all the milk solids inherent to classic butter, properly clarified ghee might even be appropriate for lactose-intolerent people.
I’d stay away from olive oil in making baklava, because I’m left with the impression that it has a slightly more expressed flavor (?) than e.g. sunflower oil (that’s why I use the latter’s high-oleic variety for cooking when ghee is not an option).
And by the way, what do you think about heating honey at high temperature? My logic is, if I’m thus losing its health properties and I’m left with a mere sweetener, why not just use plain sugar… Although it might be attributing with a specific flavor…? Also, I’ve noticed that sugar adds moisture/stickiness to the consistency of baked desserts…
Greetings!
Sylvia
Yvette
What a beautiful story, and description of my favorite Dessert, as well! Funny, I just made my version, yesterday, and was “going” to share it with my Neighbors, but decided that I will probably make it again before Christmas!
I actually used the same nuts as you do, where normally I stay with walnuts, love the different flavors! You’re right about the clarified butter, plus I end up using much more, the other way. I may vary with recipes, and love your Greek version, but I usually stick with my roots, which is the Lebanese way of making “Baklawa,” that uses a Rose and/or Orange blossom water, based syrup, and no spices.
God bless you and thank you for your beautiful blog! I love the 33 layer idea, symbolizing Jesus’ life!
Tracy Ariza, DDS
Thanks, Yvette!
The rose and/or orange blossom water sound delicious!
S. Stewart
What temperature did you bake the Baklava? 300 – 325 – 350? Thanks
Tracy Ariza
Oh my! I guess that would be helpful information!
It’s at 350ºF/177ºC.
I’m surprised that nobody alerted me to the fact that I forgot to add that information- especially as it appears that people have already made it themselves!
Thank you for alerting me to the problem. I’m fixing it now…
Steph
What temp do you cook??
Tracy Ariza
Hi Steph,
Sorry about that (and sorry I overlooked your comment before)- I have now updated the recipe with the proper temperature.
Susie Stewart
Tracy, At what temperature is the baklava baked? 300* 350*?? Can you please let me know?? Much thanks Susie
Tracy Ariza
Hi Susie,
The recipe has since been updated (350). Sorry for the delay in responding. I just found a bunch of comments that got hidden away with the spam and am now going through and answering them all!