

DIY Conditioner Bar
Sustainable and travel-friendly, a conditioner bar is a convenient way to keep your hair healthy, conditioned, and tangle-free. Learn how and why to make your own conditioner bar.
Over the last months, I’ve been a bit absent and busy with summertime activities. Between having my son home from school, the town fiestas, and a family vacation, I feel like I’ve left you all a bit abandoned. I’m now home and finished with most of it, and ready to share some of what I’ve been making lately.
One of the handy products that I made was a homemade conditioner bar.
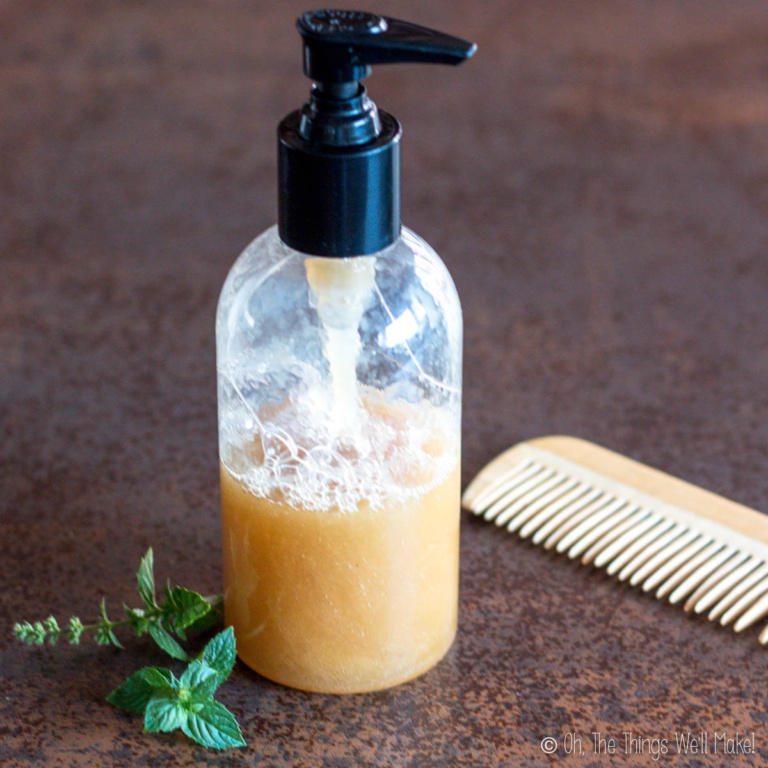
Let me begin by admitting that I wasn’t even sure I would like using a solid conditioner. I really like the slip and feel of how easy it is to use my “normal” homemade conditioner. It glides easily and I can effortlessly comb through to spread it evenly throughout my hair.
Over the last year or two, though, shampoo and conditioner bars have gained a lot of popularity.
Why make a conditioner bar?
There are a few great reasons to consider making a solid conditioner.
A conditioner bar is a sustainable option
For those who are trying to go “no waste” or who wish to contribute as little waste as possible, making your own shampoo bars and conditioner bars is about as no waste as you can get. I can’t promise you’ll have zero waste unless you can get your hands upon a supplier that allows you to recycle packaging or will fill containers you bring to them, but the products that you are making themselves don’t need any sort of packaging.
Because you aren’t using any packaging for your homemade conditioner bar, you don’t have to worry about if the packaging that you are using is safe or not. (Are toxins from plastic packaging leaching into your products?) You also save yourself the hassle of having to properly clean and sanitize your containers before using them.
Conditioner bars are travel-friendly
With all of the new regulations regarding liquids that can be taken aboard airplanes, having a solid option means less hassle when traveling. You don’t have to worry about separating your shampoo and conditioner in a plastic baggy when passing through security nor will you have to worry about a TSA agent taking your homemade conditioner away from you for not following regulations regarding liquids.
Even if you aren’t flying, there are advantages to traveling with shampoo and conditioner bars versus their liquid counterparts. You don’t have to worry about your homemade shampoo and conditioner spilling all over your other luggage, potentially ruining your clothes and your trip.
Concerned about preservatives?
Just as with the shampoo bar, I recommend that you use a preservative when making your conditioner bar. This product is going to be stored in a humid environment and will be used with water often. It is very possible for mold or other microbes to form on the exterior of your bars, especially if you aren’t careful about drying the product properly between uses.
That said, if you are set against using a preservative, this is the safest way to go.
I personally don’t recommend making a liquid conditioner and keeping it in the fridge. Some people try doing that to avoid using a preservative. Even in the fridge, though, you should really only keep homemade emulsions for around the same amount of time as you would keep homemade food-based emulsions like homemade dressing or mayonnaise. (Seven to ten days is the absolute maximum amount of time that I would recommend.)
Conditioner bars, on the other hand, technically don’t need a preservative themselves. They don’t use any water-based ingredients, so there is no need to preserve the bars themselves. You are really only using them because of the way the bars are used. These bars have fats and are quite solid which keeps them more protected from water than the shampoo bars. They tend to repel water quite well. So, if you are careful about getting them dry between uses, yes, you could probably be fine not-using a true preservative. (Yes, I still recommend it.)
Very frugal!
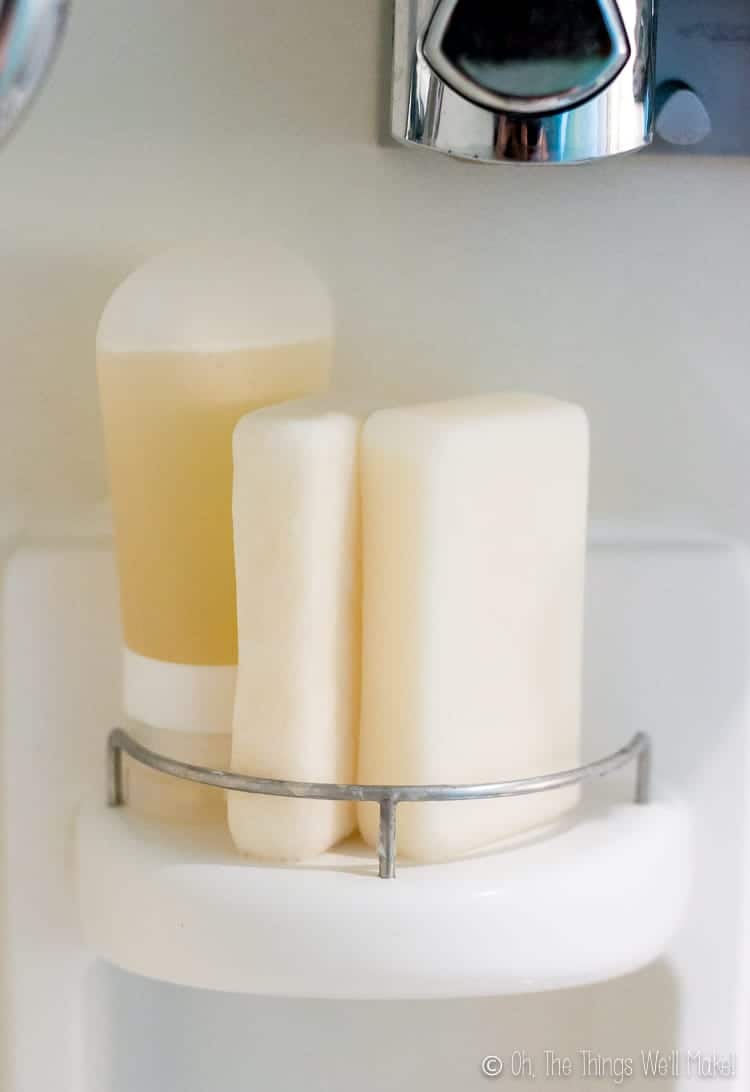
With conditioner bars, you use a lot less product on your hair than what you would use when using a liquid conditioner. So, not only are you wasting less, which is, again, more environmentally friendly, but they are also great for saving money. I’ve been using the same conditioner bar for months now, and I’m not sure I can appreciate much of a difference in size from when I first started using it!
Watch how to make a homemade conditioner bar

How well do conditioner bars work?
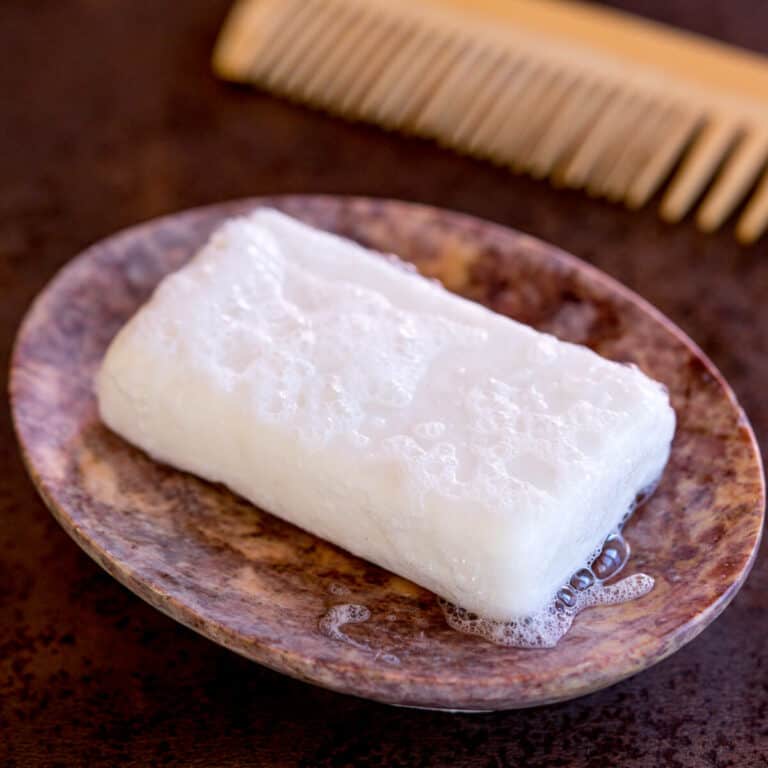
If you’re used to applying a large amount of conditioner to your hair, you may find it frustrating to adapt to a conditioner bar at first. The hard, solid quality of the conditioner bar needs to glide over your hair. It rubs off and onto the hair as you rub the bar against it.
With shampoo bars, you can tell that something is happening immediately. You get a lot of lather when you rub water over them, and you can use the abundant lather on your hair with or without the bar in hand. When you run water over the conditioner bar, though, nothing appears to happen. In fact, the water will be repelled by it. You have to patiently run the bar over your hair.
I’m not an especially patient person. I can be patient with people and with formulating weird DIY experiments, but have little patience for slow technology and don’t like wasting my time on certain tasks that I think should be quick. That’s why I didn’t expect to like using a conditioner bar (and why the first time I used it, I wasn’t completely convinced). In the end, though, the conditioner bar has definitely grown on me.
With either type of conditioner, I use my comb to spread the product through my hair. For those who are having a hard time using a conditioner bar, just that small tip may make all the difference for you. With the conditioner bar, not much product is needed. You just need enough to easily get your hair untangled. I run the bar over my hair, comb through, and then rub the bar again over the areas where my comb appears to stick.
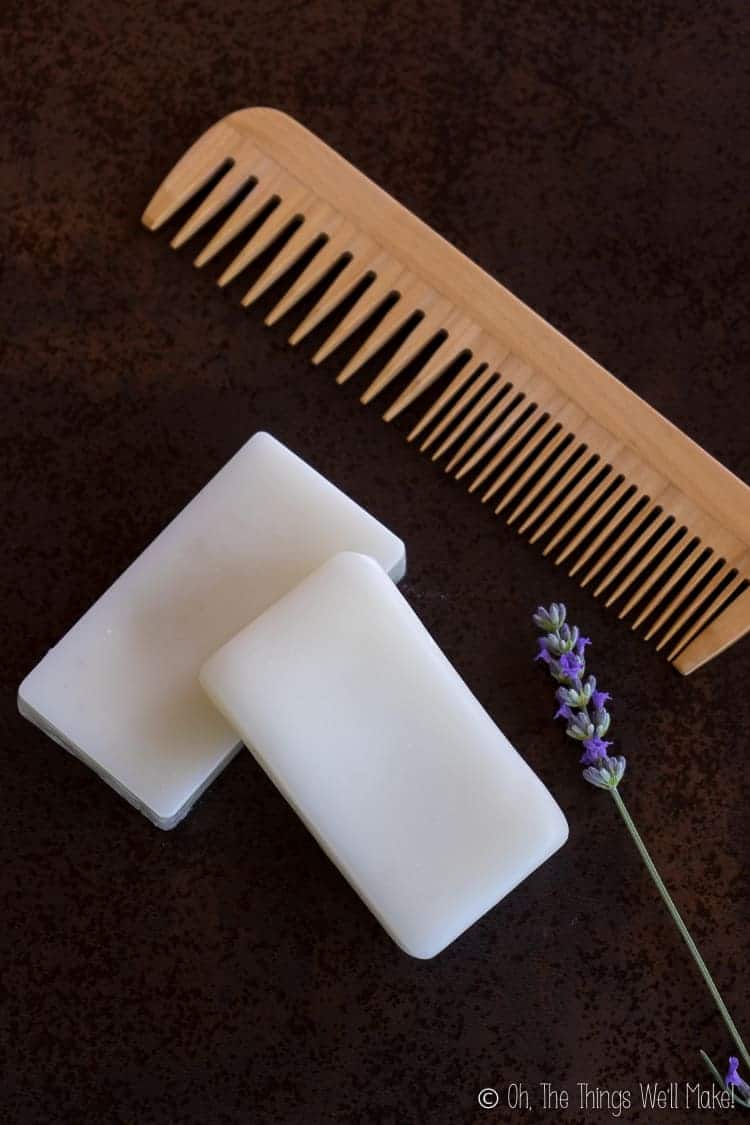
DIY Conditioner Bar Recipe
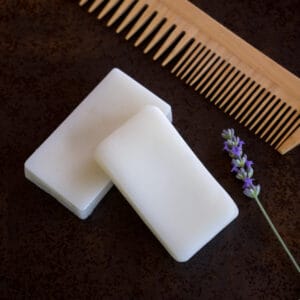
Homemade conditioner bar
Materials
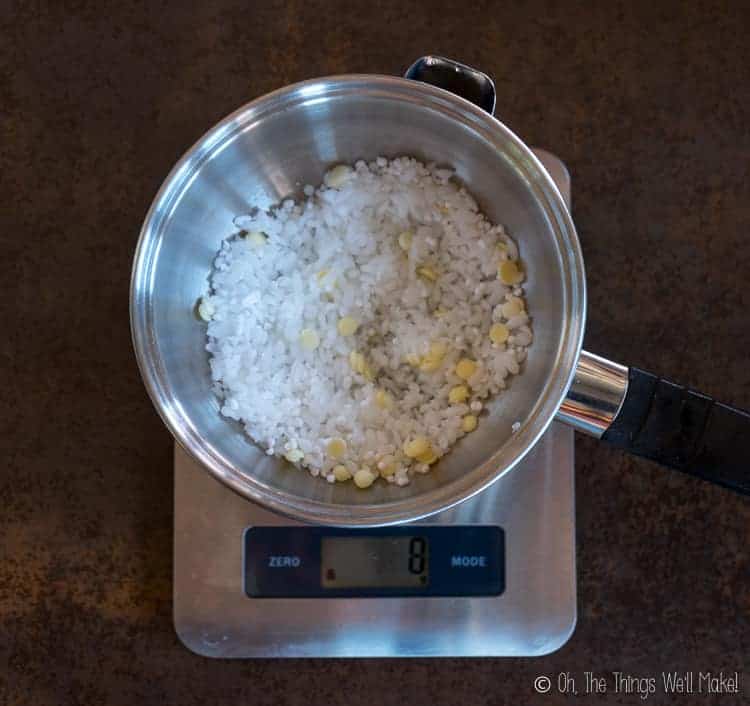
- 70 g BTMS
- 10 g cetyl alcohol
- 5 g cocoa butter
- 5 g coconut oil
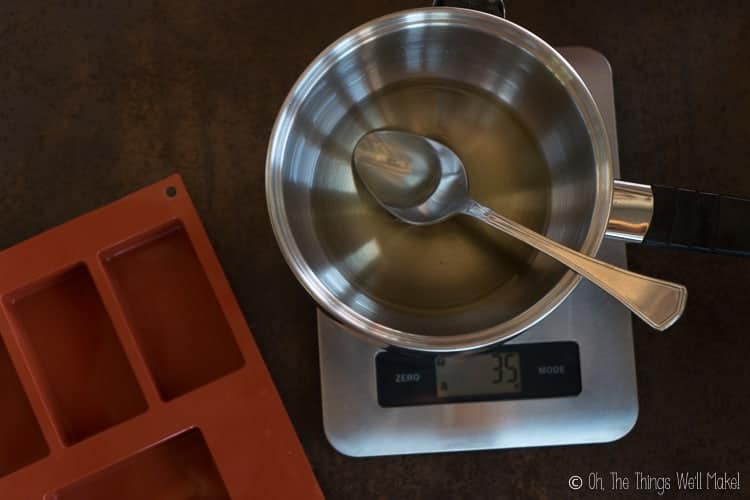
- 2 g d-panthenol
- 2 g lavender essential oil or other essential oils or a combination of oils
- 1 g Sharomix or another natural preservative at the correct percentage for the recipe
- .5 g vitamin E
Instructions
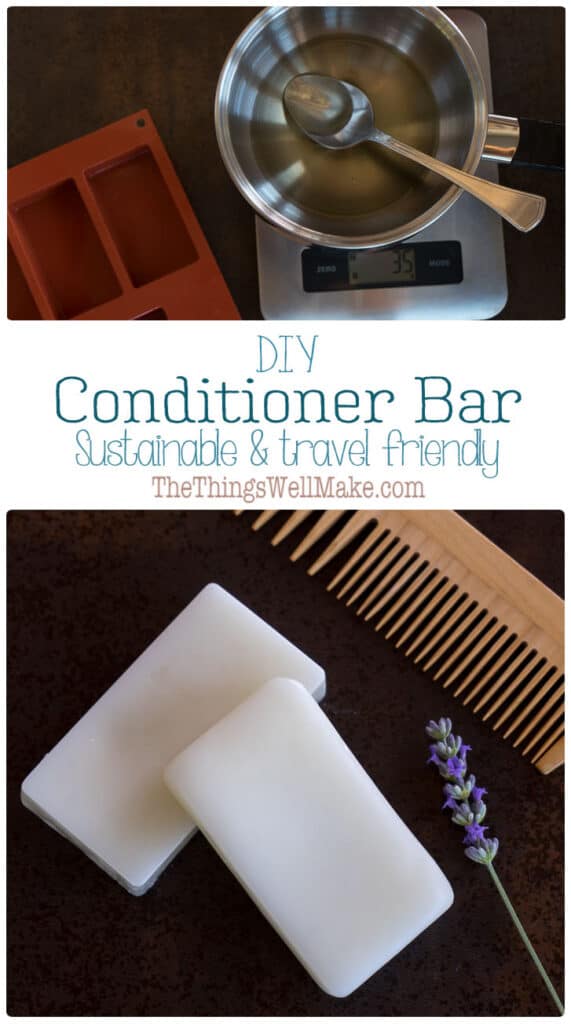
- Weigh out the BTMS, cetyl alcohol, cocoa butter, and coconut oil in a double boiler insert or a stainless steel bowl that can be used over a pan of water.

- Gently heat (over a double boiler) until all of the ingredients have melted. Stir them well to combine them.
- Remove the pan from the heat source.
- Weigh out the other ingredients (preservative, essential oils, etc.) and add them to the melted oil-phase ingredients. Mix together all ingredients.
- Immediately pour into bar sized mold. (I used a silicone mold meant for soaps or mini loaf-shaped muffins.) You can find something similar here: https://amzn.to/2SAxYMj

- Allow the bar(s) to cool completely.
- Remove the conditioner bars from the molds.
- You can now immediately use your homemade conditioner bar.


Can’t wait to try this recipe! For me, the links to Amazon aren’t working. Can you tell me what percentage BTMS I should purchase? And where can I find Sharomix? Does it have another name? Thanks for your help!
Hi Jean!
I generally use BTMS 25- you can read more about it in my liquid conditioner post.
As for my sourcing…
I live in Spain, so the places I buy from won’t be the ideal for most of my readers. I buy from cremas-caseras.es. While they do ship internationally, I’m not sure about the cost.
Look for preservatives available nearby and check if they are suitable for your purpose. (A bit more about that in my guide to preservatives.)
I’ve used Soft EQ 65 instead of BTMS and it does not work at all, they are way to hard, don’t slide at all. Its like a very hard wax that does not melt in the hair or soften It at all. Have I done something wrong or is it not possible to substitute ? I’ve tried remelting it again and added more coconut oil and even ricinus oil to soften but It still doesn’t work.
Hi Mette,
The bars are quite hard and won’t melt in the hair, but should leave behind the conditioner. I haven’t tried it with the soft EQ 65 in this recipe, but I have used several of the more natural alternatives to BTMS in a cream conditioner and have found that they just don’t have the same slip or conditioning feeling, so that may be the problem. I was going to say to try with more oil and skip the cocoa butter, but since you’ve already tried more oil, it may just be the emulsifier. BTMS is quite special with its slip and conditioning feel.
I’d like to try this recipe. I would be my first conditioner bar. However, the link for BTMS no longer works, so I have a few questions about the details for that ingredient. All I see for purchasing is 25% or 50% BTMS, where cetearyl alcohol is the other 75% or 50%. Are either of these workable? Or do you have a supplier for 100% BTMS?
Thanks!
Hi Heidi,
Sorry about that. I usually use BTMS 25. Either should work, though. I cover it more in my post or the liquid conditioner. I’ll have to update this post to make it clearer too!
Hello, Im writing to ask if I could use germall plus instead of sharomix. If so what would the amount be for this recipe??
Yes, that should be fine!
I normally formulate to 100g, but it looks like this recipe is close to 95g…
Anyway, it looks like a recommended dosage for germall plus is between 0.1 and 0.5% of the recipe…
I’d suggest going towards the higher end when making at home because we aren’t making this in super clean, sanitized lab.
I’d suggest, then using somewhere around 0.4g or a bit higher!
Hi, i am wanting to make this recipe but i am having trouble finding the sharomix. Is there a different product that i can replace it with?
Hi Allison,
I have a post dedicated to natural preservatives that might help you find something you can use!
Hi! The BTMS in the list, is it BTMS-25 or 50? Thanks in advance.
I used BTMS 25, but either should work.
I cover it better in my liquid conditioner recipe post (and need to update this one to make it clearer!)
Hey there, I am feeling overwhelmed with making conditioning bars, lotion bars etc. I have found Rita BTMS 225 Condition Agent and wondering if this is the same as what your recipe calls for? I also cannot find this preservative, but I found Geogard ECT, Geogard Ultra, Germall II and Germall Plus.. I’m not sure what to get!
Hi Shayna,
Yes, I’m petty sure that BTMS 225 is the same as the BTMS 25 that I used.
Any of those preservatives should be fine in this recipe. I’d suggest using what you can find easiest and cheapest.
Hi there – I’m about to make this. I’m wondering – do you add preservatives to all your soaps? I make soaps and shampoo bars and do not use preservatives and have never had an issue, but is this a different situation?
Thanks!
I don’t use a preservative in true soaps because their pH is too high to have problems with microbial growth. In this case, the pH is favorable for it…
Is it necessary? No, if you are careful about allowing it to dry between uses, etc.
It’s generally recommended, especially if you are going to sell them, because people will store them in wet places- and then you could have some microbial growth. In a bar like this one, though, it would generally stay on the outside of the bar probably, so it’s something that could probably be remedied with a thorough cleansing. The problem is that mold can be seen, but not bacteria and some people are very sensitive to any growth, so it could lead to irritation of the scalp/skin if used when contaminated. (Or worse, it could get into the eyes.)
Where can I get Sharomix™ 705?
Hello,
I live in Spain and it’s easily available locally for cheap, so I use it a lot. I buy from cremas-caseras.es and while they do send internationally, I’d suggest using preservatives that you can find locally easily.
Hi Tracy
Would I be able to add a small amount of silicone to this conditioner bar? If so, how much would you recommend?
Thanks.
That should be fine, but I’m not sure as I don’t use silicone and prefer to use natural ingredients. I would look at the dosage on the silicone you buy or ask your supplier- and add the percentage by weight.
Thank you so much for this recipe! If I’m using Varisoft EQ 65 instead of BTMS, should I add something else (besides the ingredients on your list) to improve the results?
It’s not really necessary. I like the feel of the BTMS better in the hair, but have tried both and both work.