

DIY Comfortable Breathable Face Masks
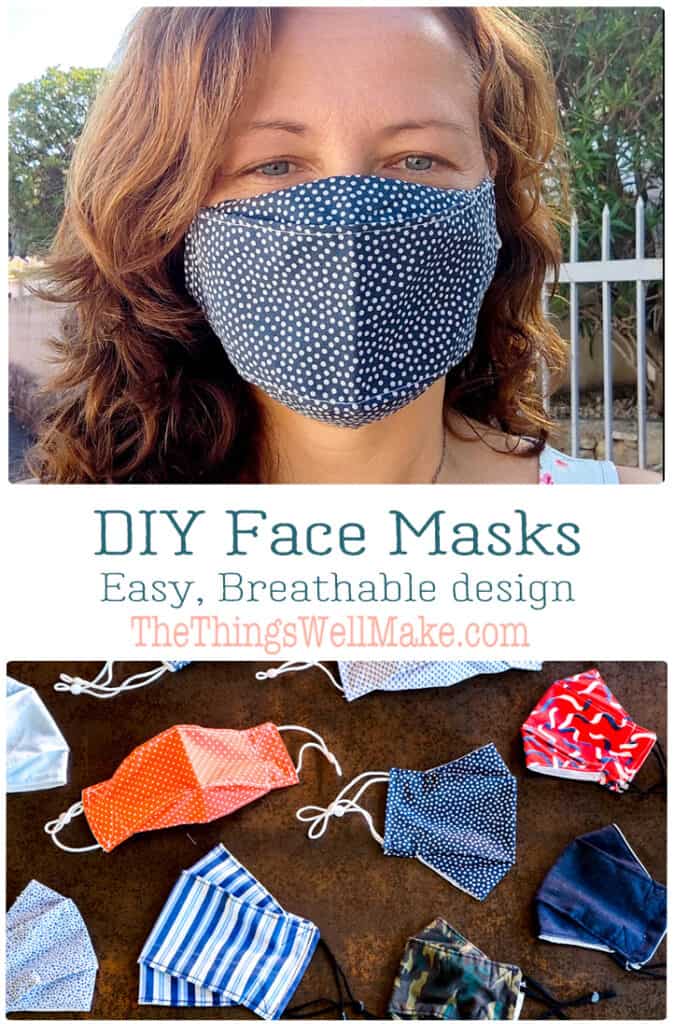
Forced to wear a mask? Most face masks are uncomfortable and make it difficult to breathe. These are the most comfortable, breathable mask patterns that I have found after testing out many models.

Let’s face it. Wearing a mask is not comfortable. There is a lot of contravery over whether or not they are actually providing any benefit. That said, many people don’t have a choice and need to find the most comfortable mask that they can wear for their job or for returning to school.
Disposable masks are contributing to plastic waste. Making your own reusable cloth face masks allows you to follow local mandates in a more sustainable way.
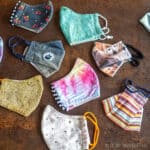
(If you want to make your mask more fun, check out my post on fun and creative face masks! It gives you ideas for making and decorating masks that are cuter than most.)
Choosing a comfortable mask
Here in Spain, we don’t have a homeschool option, and they have forced all children over 6 to go back to school with face masks on. All. Day. Long.
I could give my opinion about the decision, but, in the end, it doesn’t really matter. It would only take away from my goal today to find everybody the most comfortable, breathable mask for times when one either chooses to or is forced to wear one.
Because I was worried about my son needing to wear a mask for hours on end, I tested out numerous models on the internet looking for those that are easiest to wear.
This is what we found…
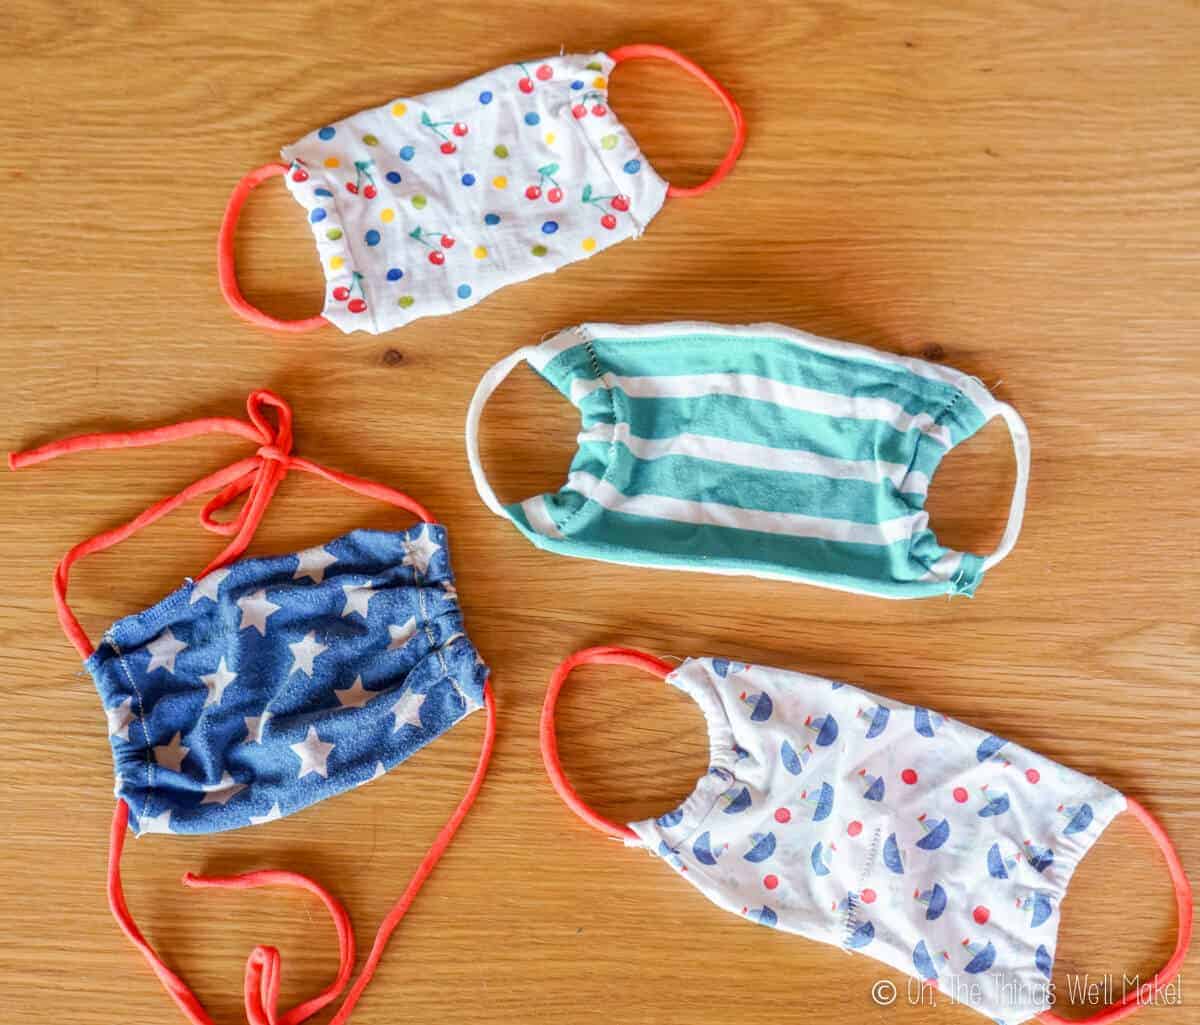
Straight jersey mask
At first, I made a simple mask using jersey fabric. I figured that a thin layer of cloth would be more comfortable than other models, but I was, surprisingly, wrong. Wrapping jersey fabric across your nose and mouth actually ends up pressing too tightly against your face, making it harder to breathe.
I wore one of those masks for several hours at IKEA one day, and had to lie down for several hours afterward because I was lightheaded and dizzy!
In the end, that first mask wasn’t a great idea anyway. If inspected, it was likely that someone would object to a mask made with only one thin layer of fabric.
What did I learn from this?
While jersey fabric is soft, stretchy and comfortable, it needs to be used in a way that allows you some breathing space.
Ideally, you want some air space between your nose and mouth and the cloth. That makes it easier to breathe.
The simple fitted mask
I decided to try making a new type of mask using a thicker fabric that I had at home. Surprisingly, it ended up being more comfortable to wear than the simple jersey mask. When using a stiffer fabric, the shape of the mask allowed for a space between the face and the mask.
I made many of these masks, in various sizes. The small child’s size was best for my son. I made the teenager/woman’s size for me and the largest size for my husband. For all of us, I chose the normal version without the top wire.
One thing I found, though, if you choose to make this mask…
Not only was it quicker to make them without topstitching down the center, but I liked the final result better too.
I did make a few of these from jersey fabric. While they were relatively comfortable, they tended to sit closer to the face than those made with a stiffer, less stretchy fabric.
I found these masks pretty comfortable, as did my husband, but my son didn’t like the way that it rubbed against his chin. He wanted a pattern that touched his face as little as possible.
The round 3-d mask pattern
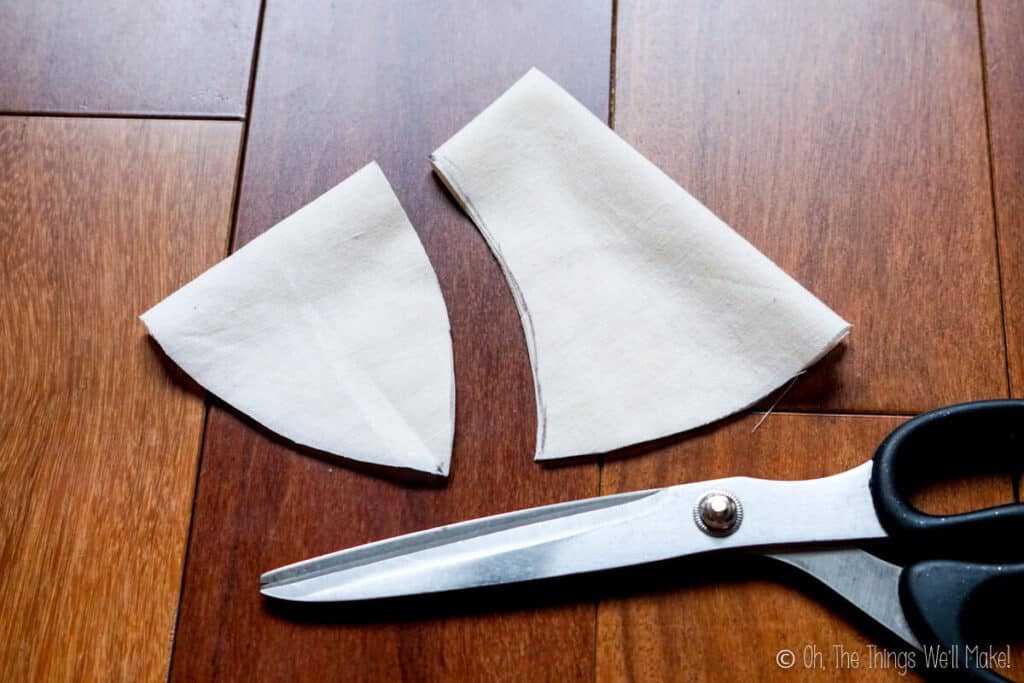
Because the other pattern was actually fitted too close to my son’s face, I decided to try out some 3-d models. The first one I tried was a 3-d mask whose pattern uses a round plate for the main pattern piece.
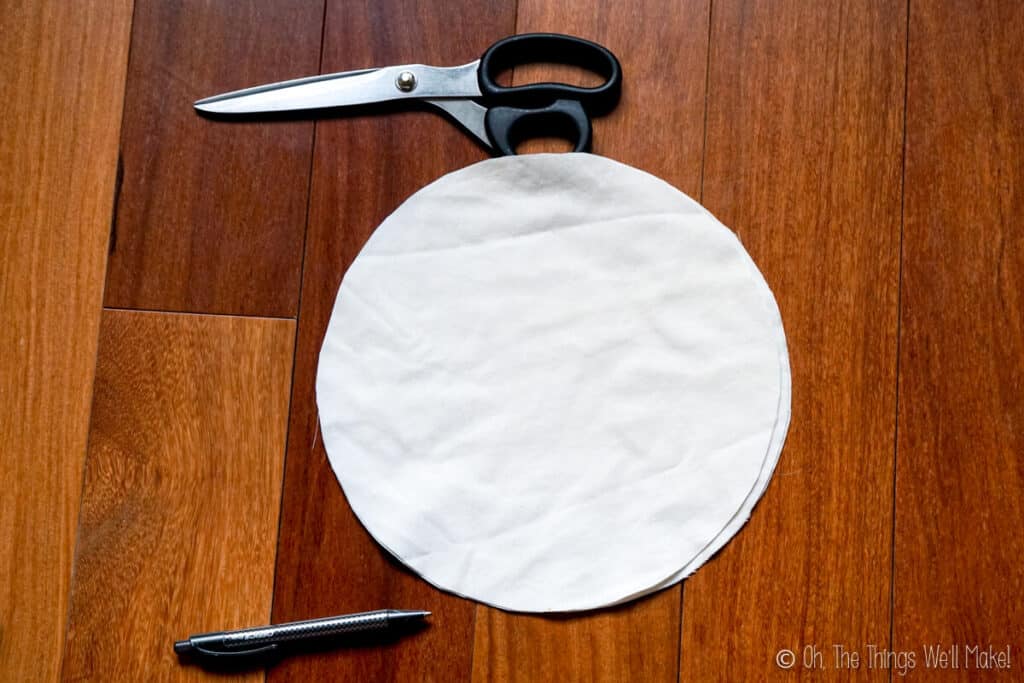
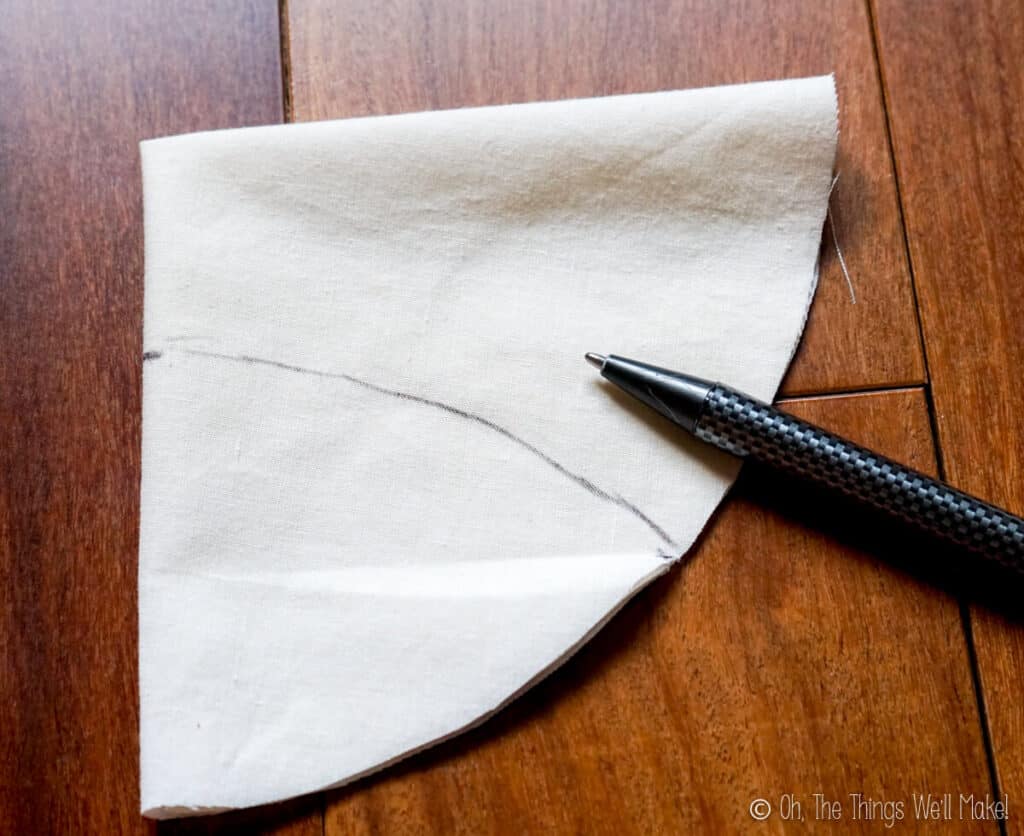
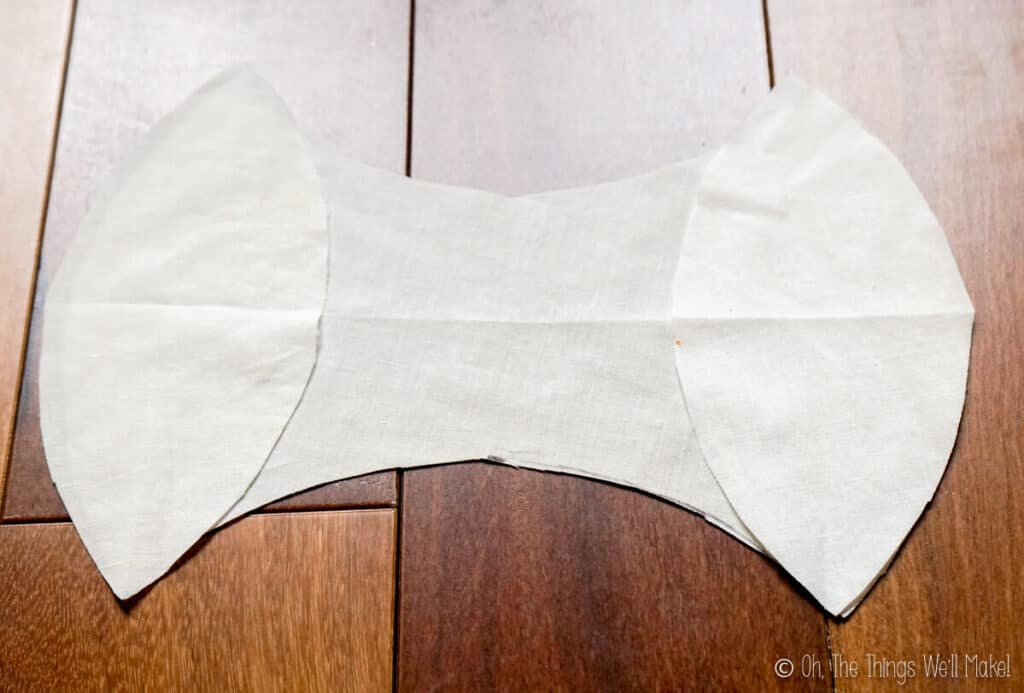
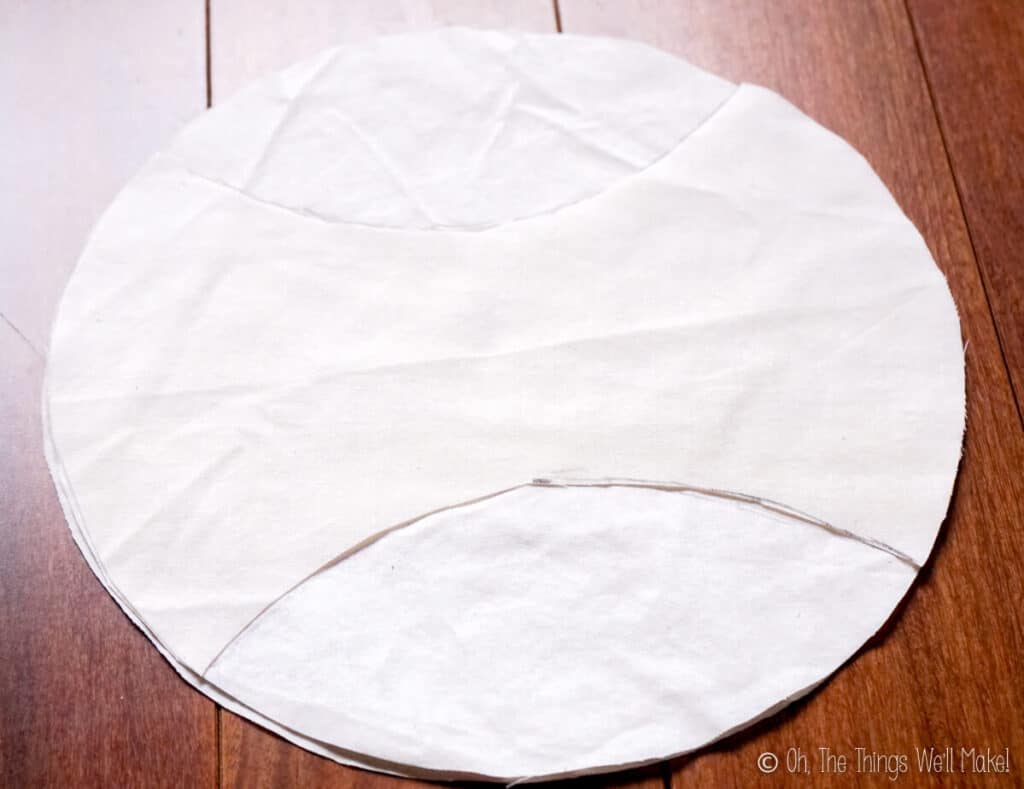
The design itself is quite simple and it does a wonderful job of keeping the cloth away from your nose and mouth. On the other hand, the mask looks a bit like a dog snout when worn.

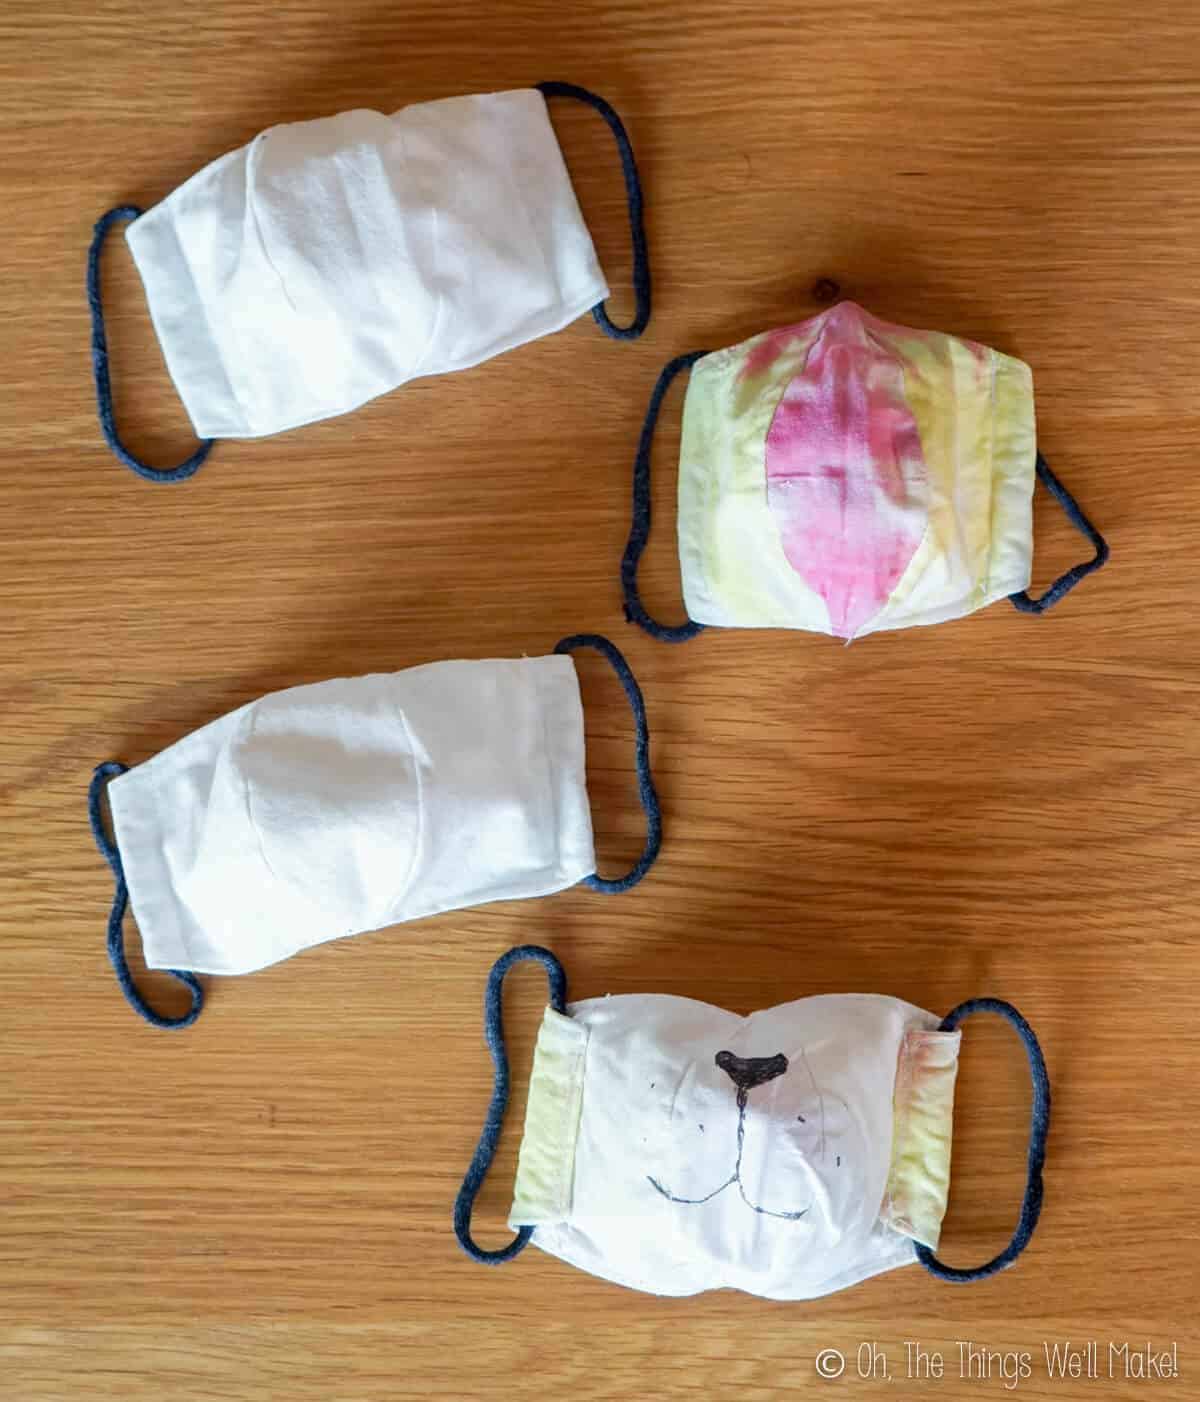
Keeping that in mind, If you want to make a fun animal face mask, this one may be the perfect design for it. (You can see I drew an animal face on the inside of mine with fabric markers.)
You can find a video showing how to make this mask here.
Two-sided reversible mask
Another design I tried also opens out in the center to allow for breathing room.
In this design, I liked the simplicity of the pattern, and also liked that you could make a reversible mask with one cloth on one side and another design on the other side.
You can find a video showing how to make this mask here.
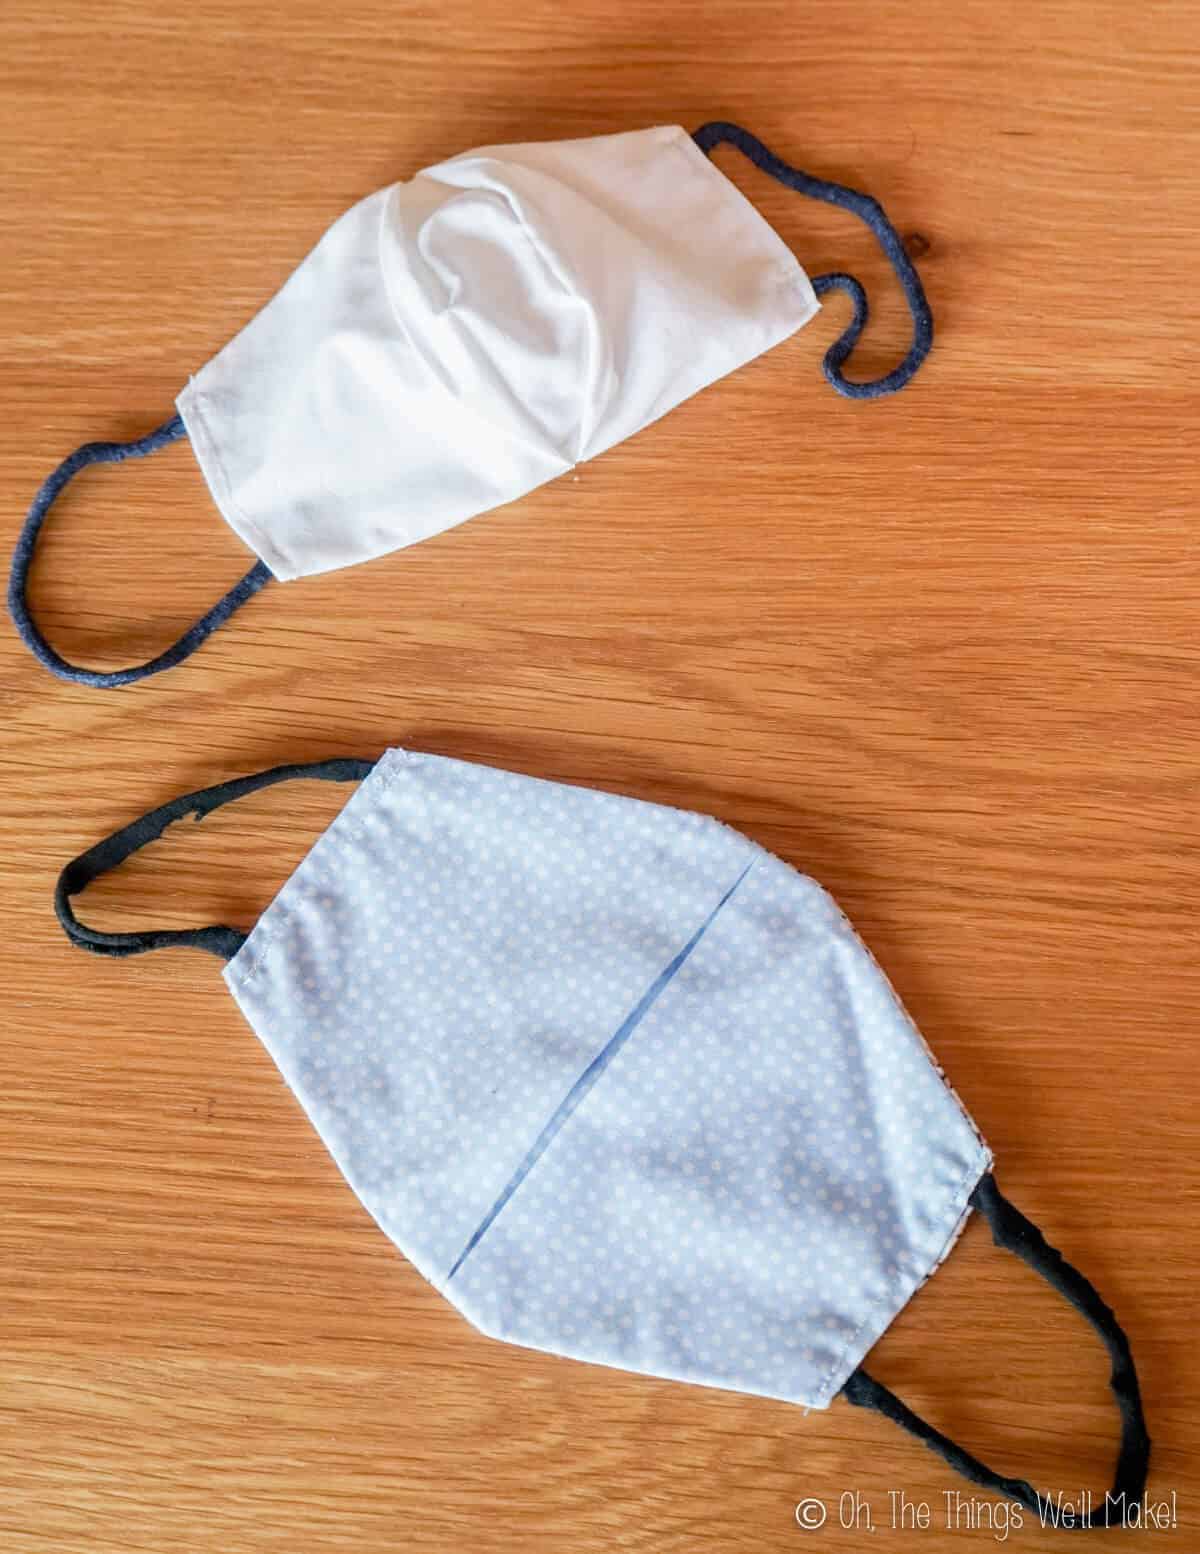
What I didn’t like was the way it looked on. It’s not ugly, it just looks a bit strange on. I didn’t really like the general shape of it and didn’t find it as comfortable as the next mask.


If I had liked this mask better, I would have modified the pattern slightly so that the mask didn’t go so far up by my eyes.
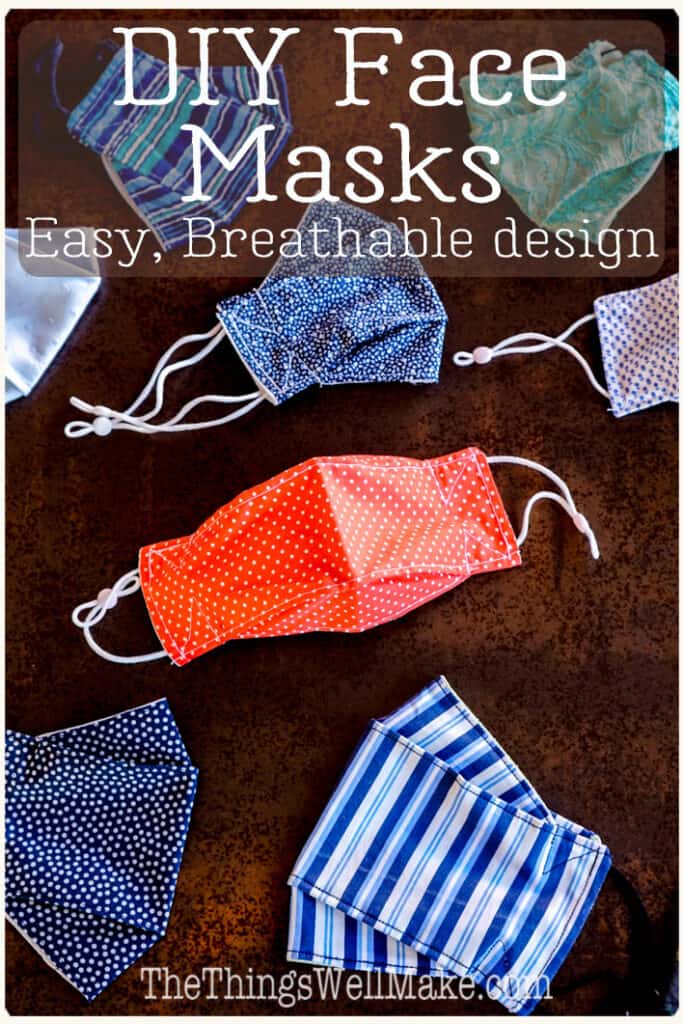
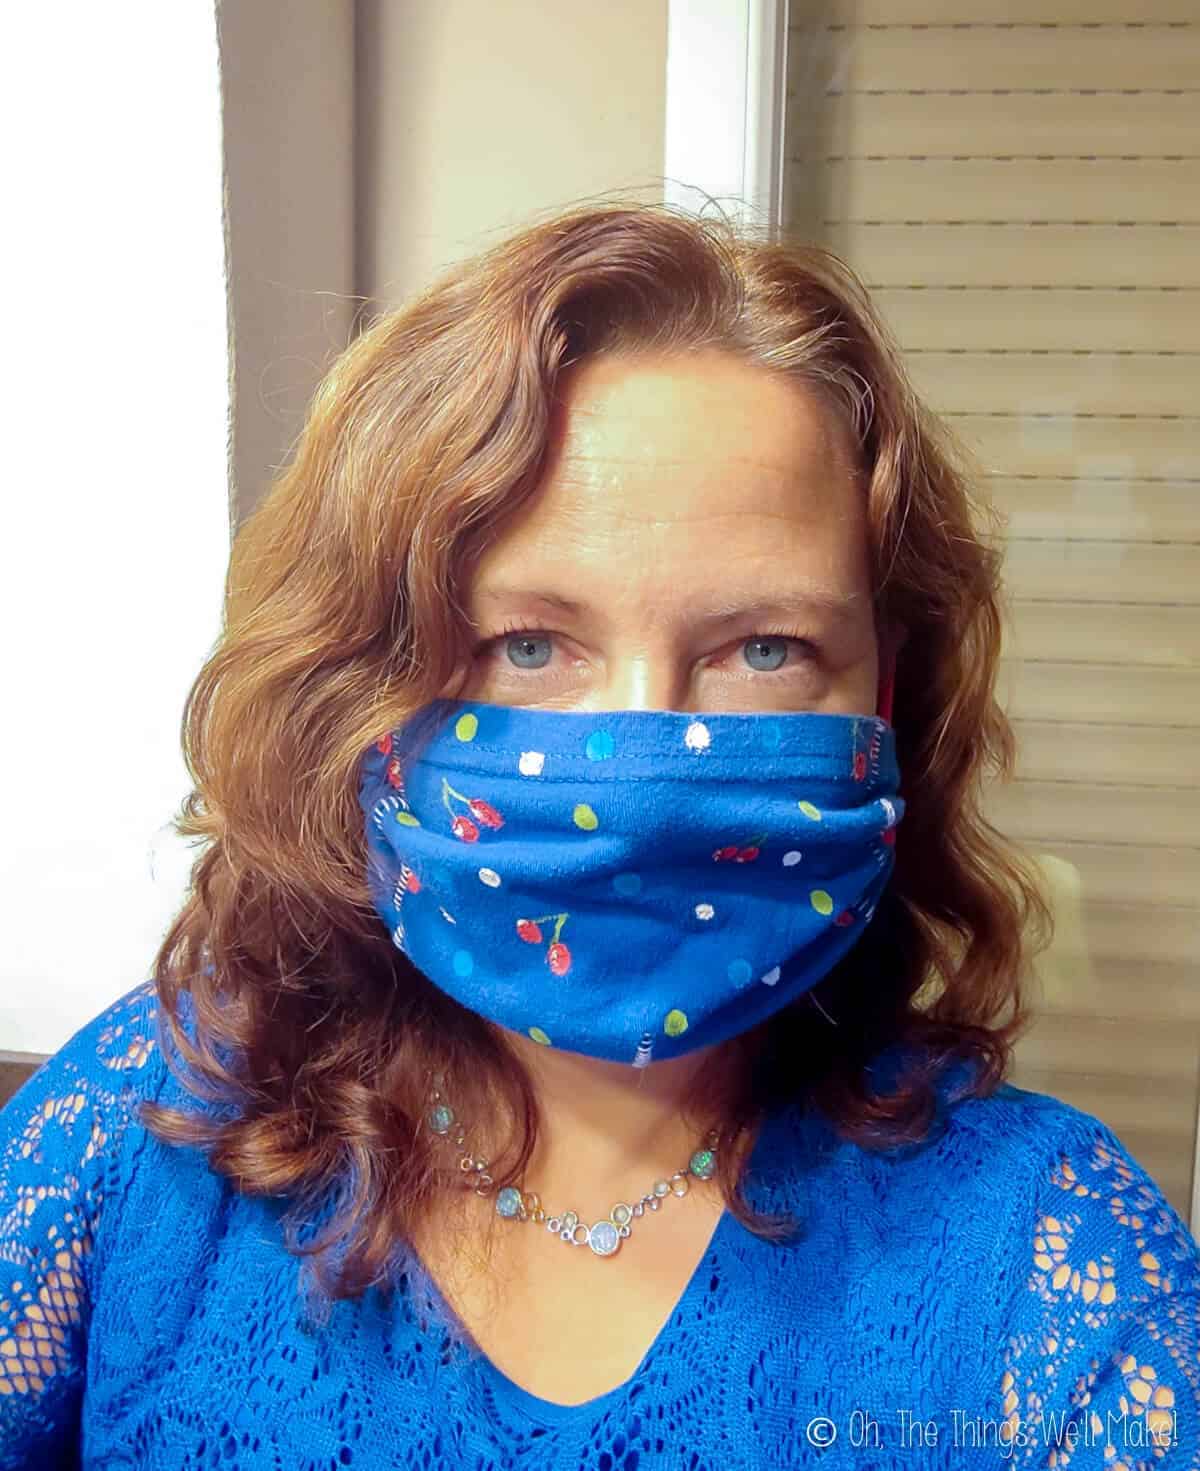
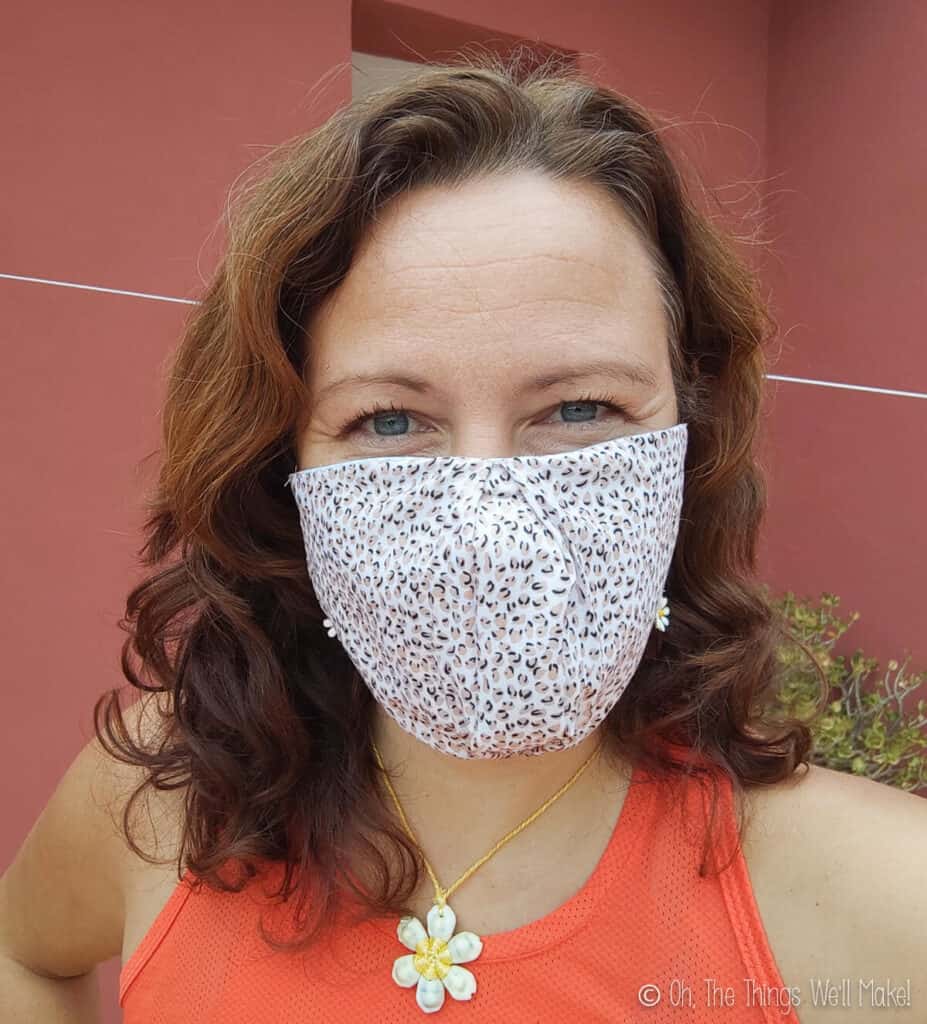
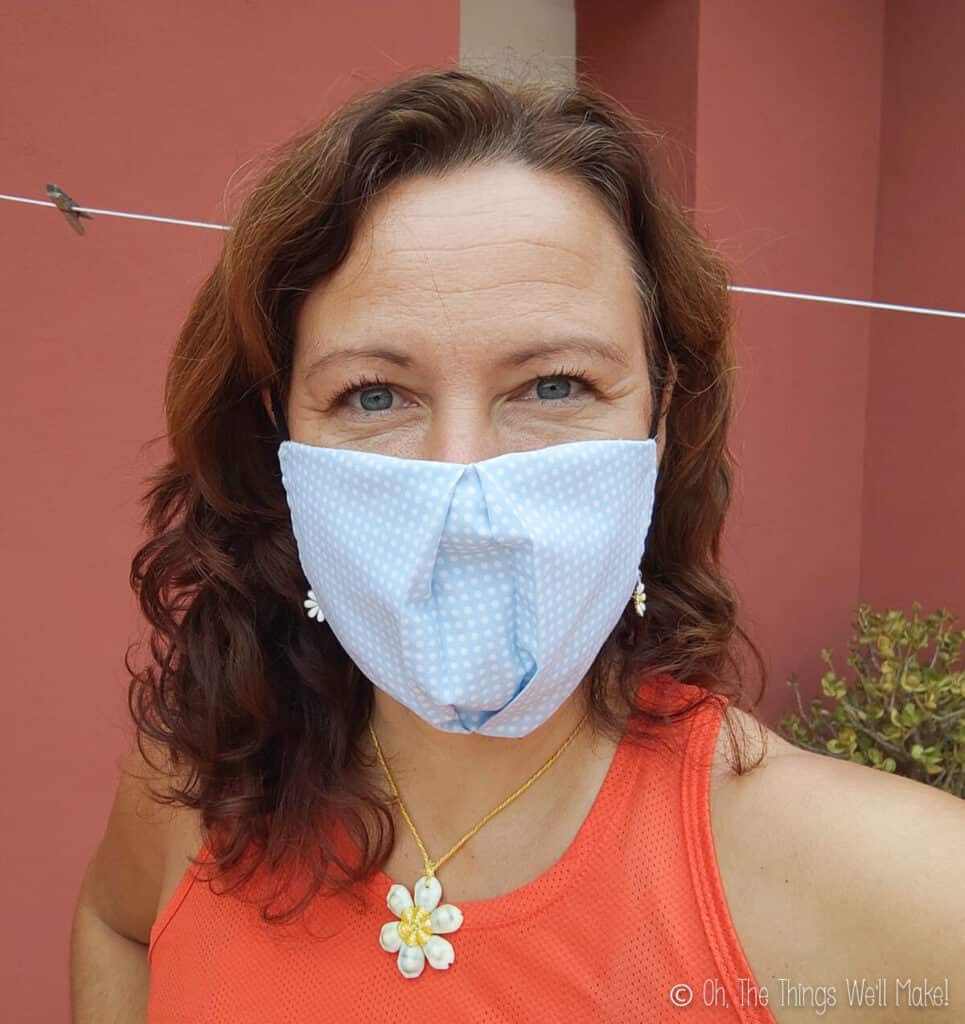
Simple 3-d face mask
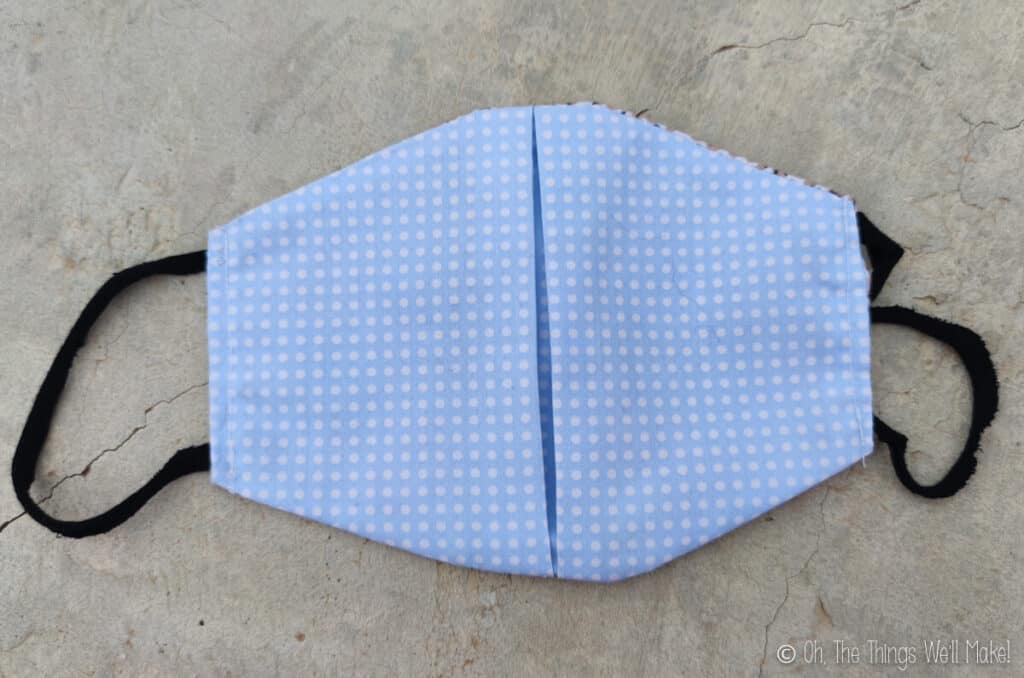
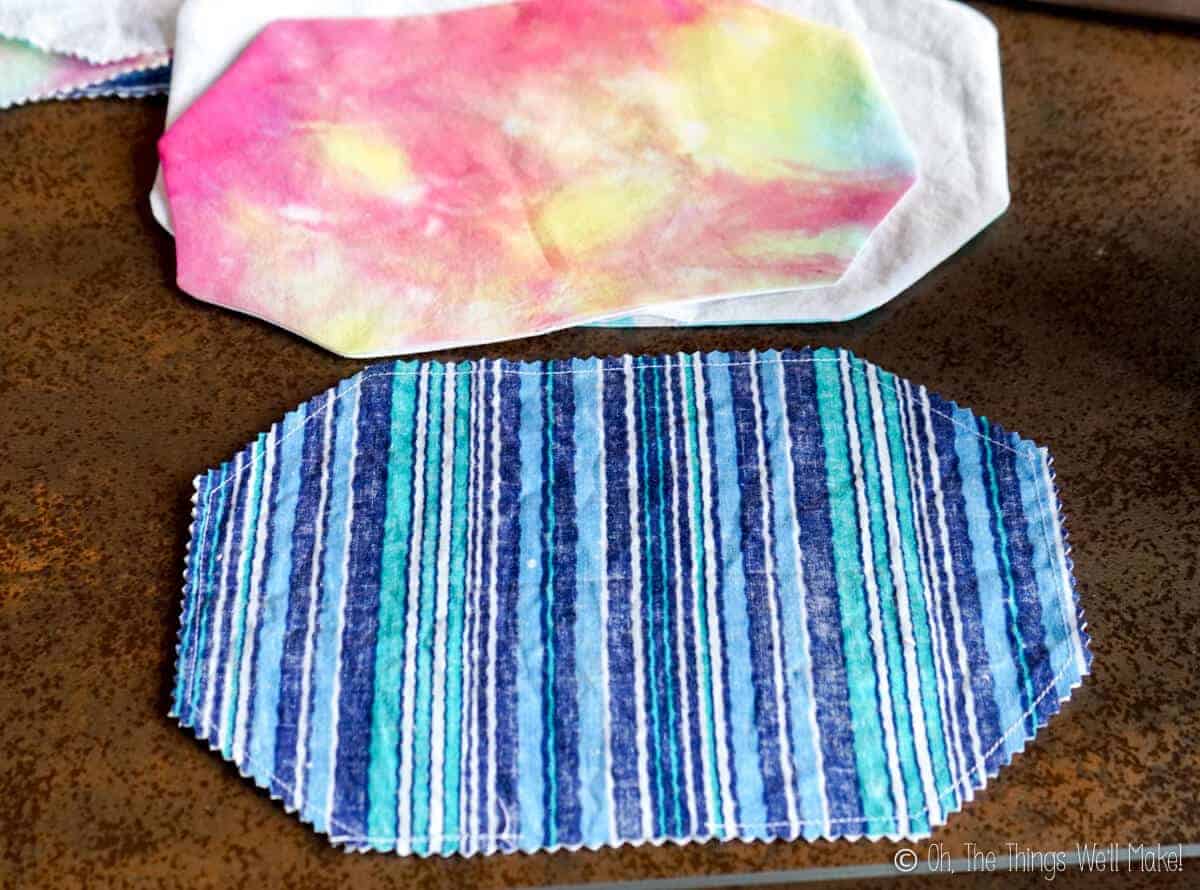
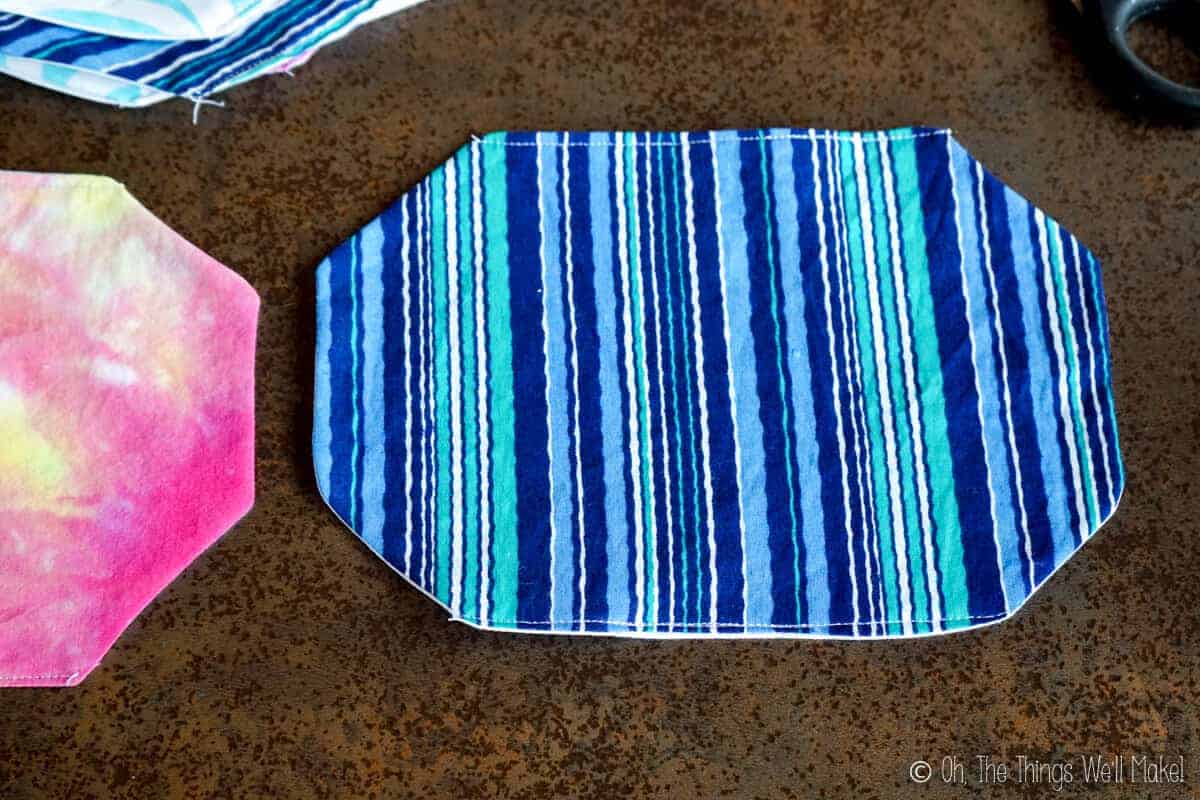
My son’s favorite mask (and mine) ended up being a simple mask made from 2 rectangles of cloth: one outer fabric, and one lining fabric. You cut the corners off the rectangles to make a simple oblong octagon pattern.
The sewing process is also very simple, once you get the hang of it.
The benefits of this mask is that it opens out in front, so it doesn’t really touch your mouth and chin much. The extra room not only reduces the irritation from the fabric rubbing against the skin, but also allows for more breathing room.
While it looks complicated at first, these masks ended up being the quickest to make once I got the hang of it. I also liked the fact that the shape is made from one piece of fabric. (It does use two pieces if you count the lining.)
I have seen various versions of this mask pattern. Most ended up being way too big for me, and definitely too large for my son. I adapted the pattern for us, making a smaller version for both my son and I.
Materials
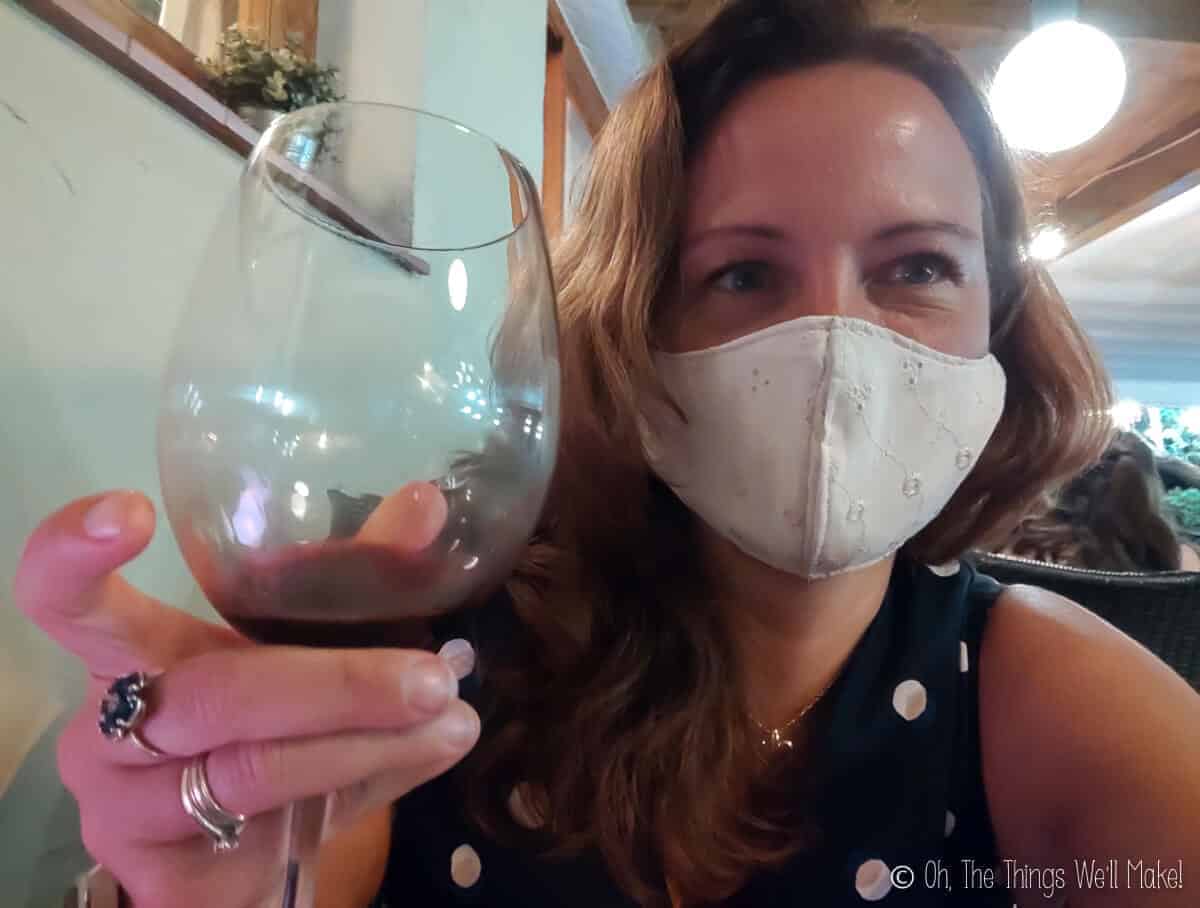
To make this mask, you’ll need 2 rectangles of fabric, one for the outside and one for the lining. For the lining fabric, I used an old 100% organic cotton sheet. My son has atopic dermatitis and doesn’t tolerate polyester well, so that has worked well for him.
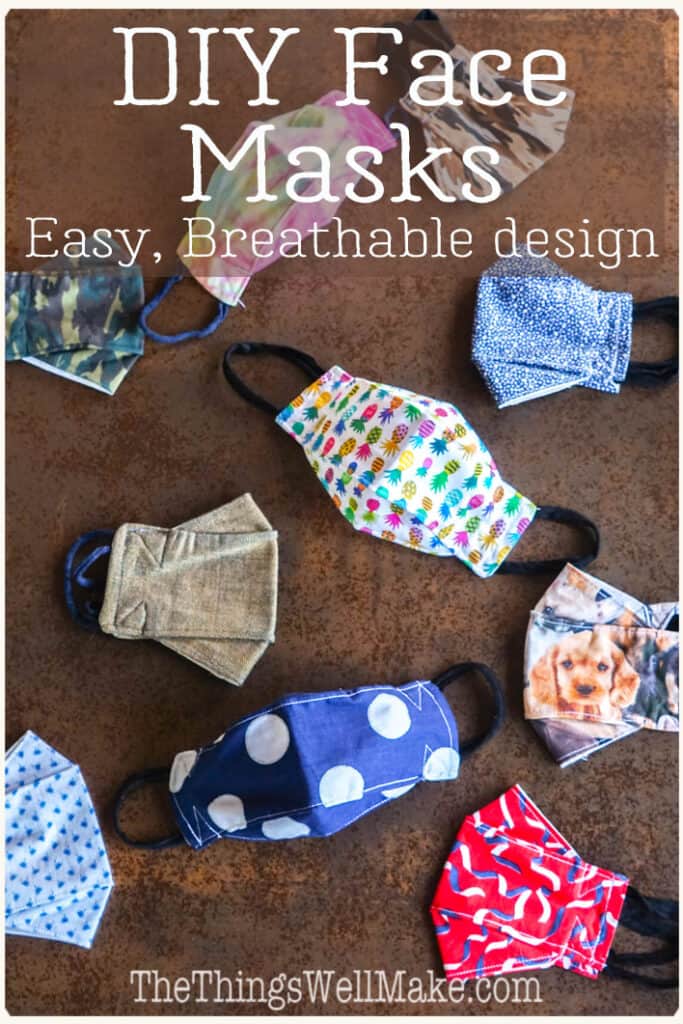
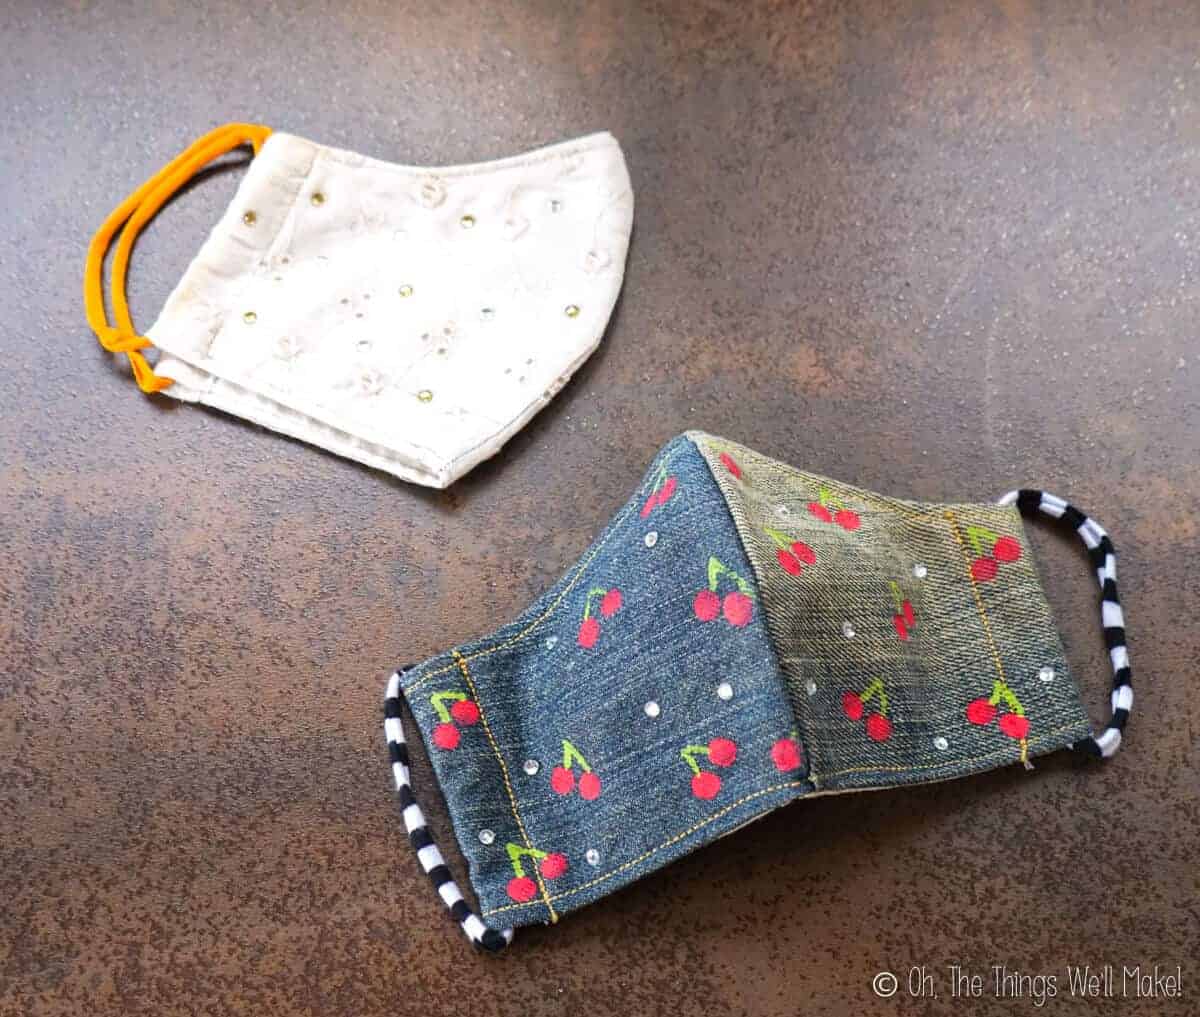
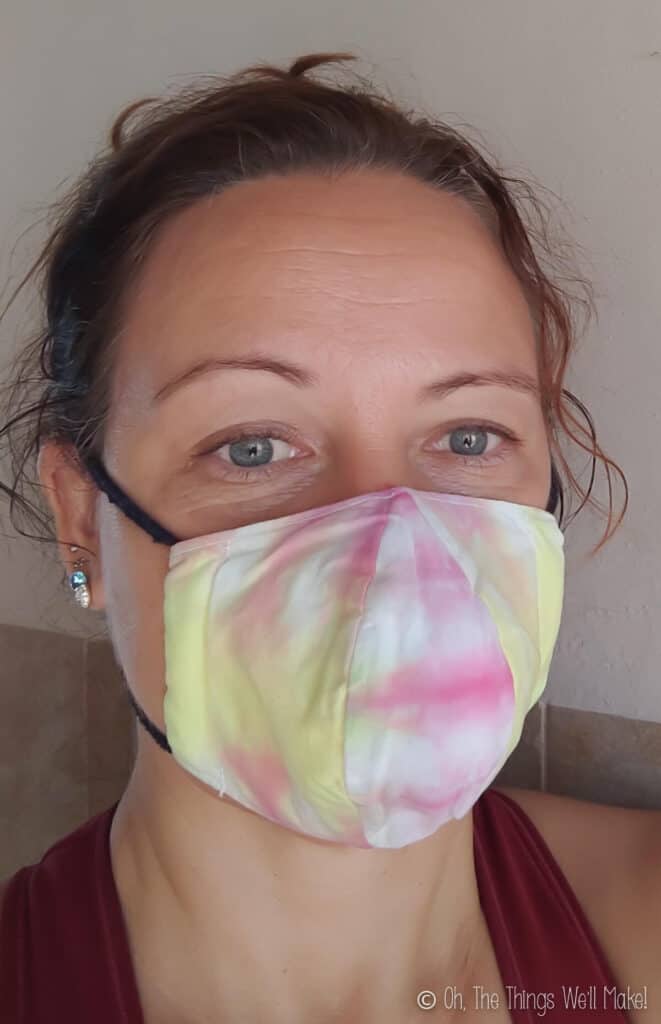
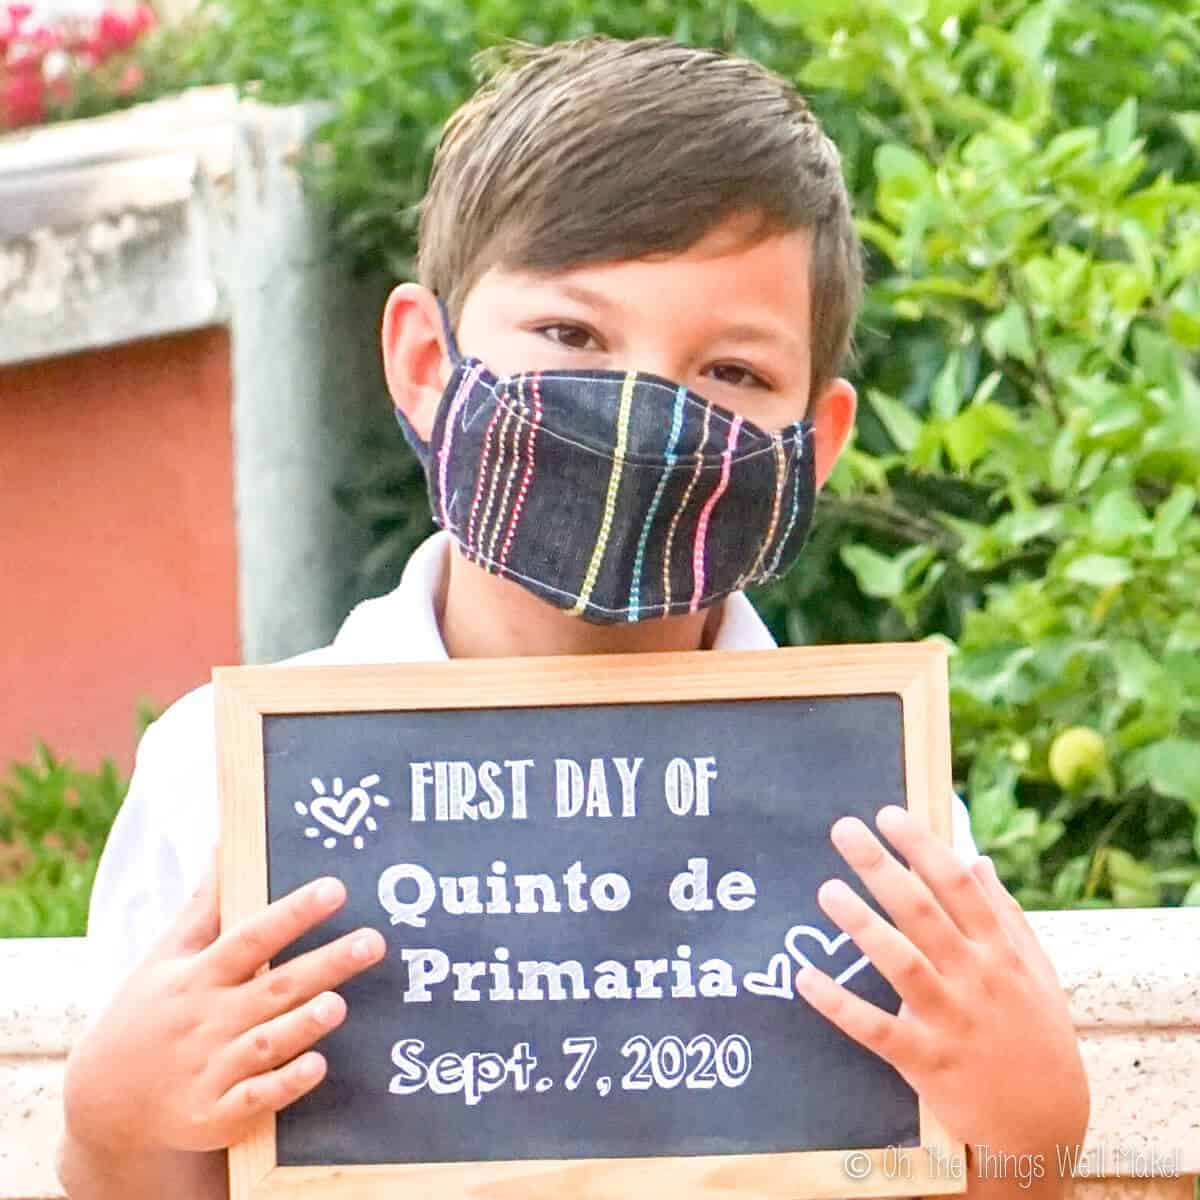
For the outer fabric, I used everything from fun printed fabrics, to denim from old jeans, to tie dyed fabric made from dyeing pieces of the same cotton sheet that I used for the lining.
For the ear loops, you’ll want some stretchy elastic. I find that the thinner, softer, and stretchier the elastic, the better. You can also optionally buy some silicone cord stops to make the straps adjustable.
For the pattern, you’ll want a regular piece of paper, a ruler, pen, and some scissors.
You’ll also, of course, need some thread for sewing the mask.
Procedure
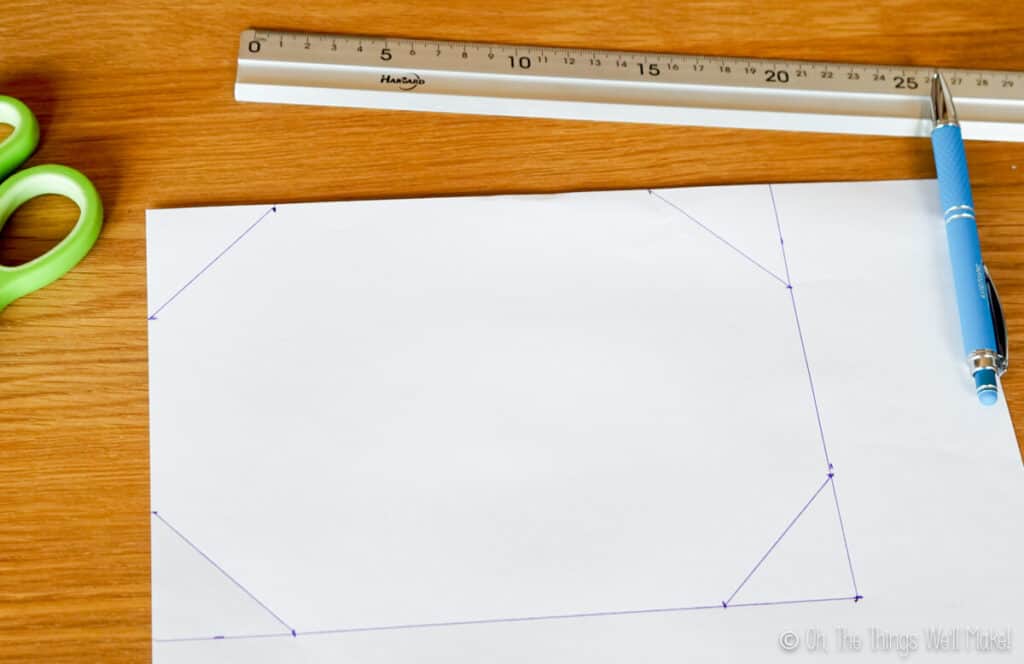
Make the pattern
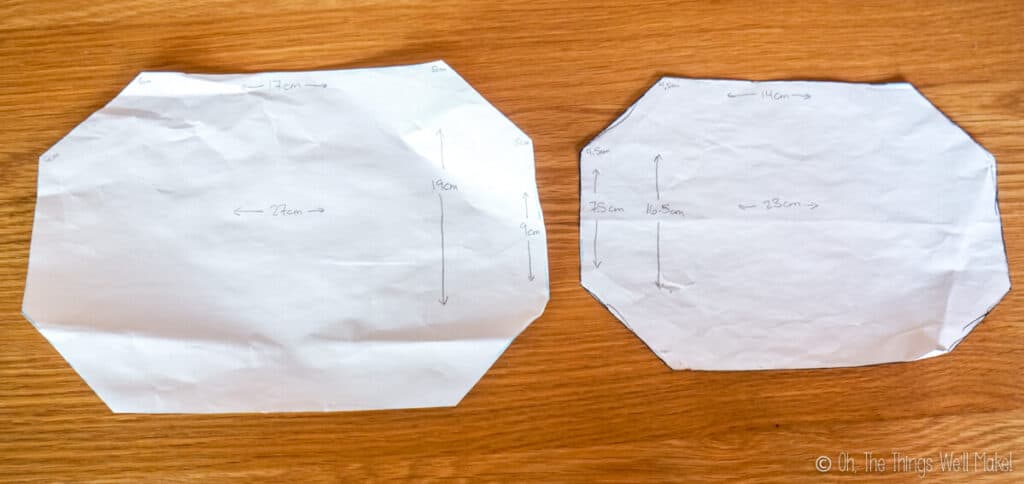
For a smaller sized mask, measure out a rectangle that is 23cm x 16.5cm. For men or adults with a larger face, make the rectangle 27cm x 19cm. You can adjust the size of your mask by adjusting the size of the pattern. You may find that the perfect size for you is somewhere in between these sizes.
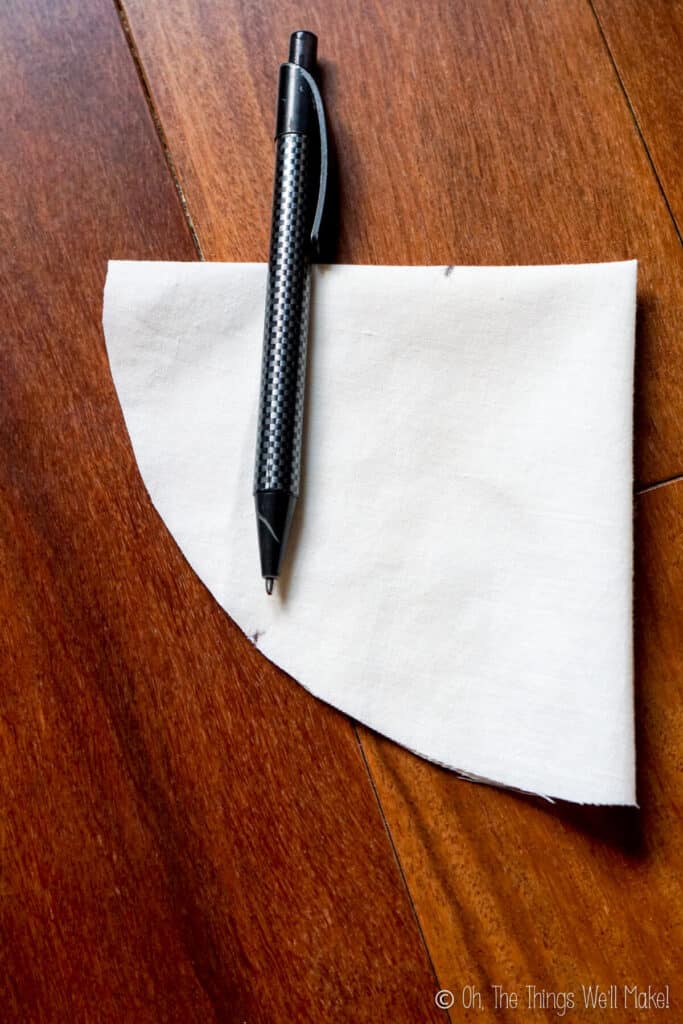
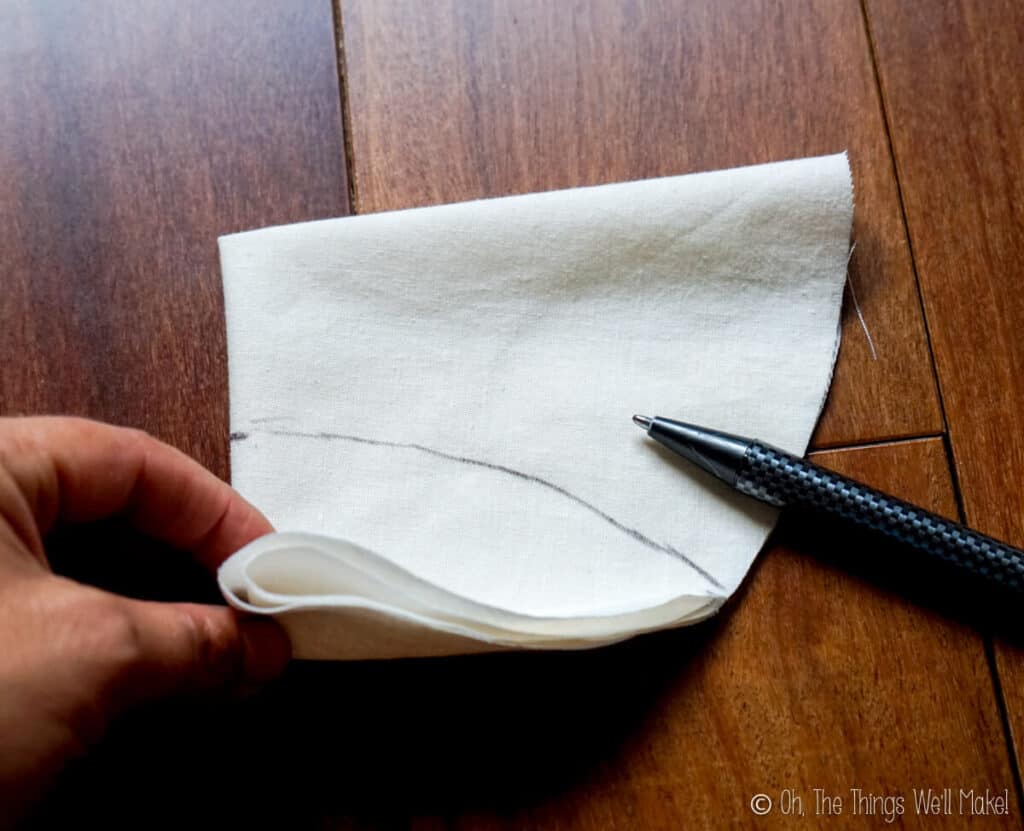
For the smaller sized mask, mark off 4.5cm from each of the corners. (For the larger size, mark off 5cm from each corner.) Draw a line diagonally across the corners from one mark to the other.
Cut out the pattern.

Cut out the fabric
Trace the pattern onto the lining pattern and onto the main fabric.
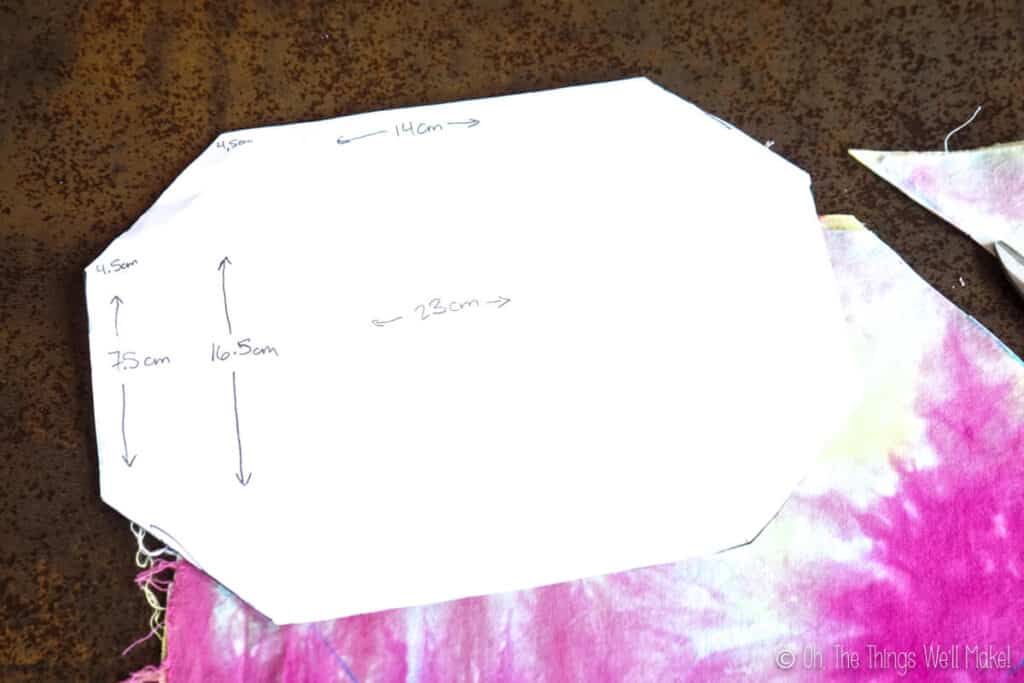
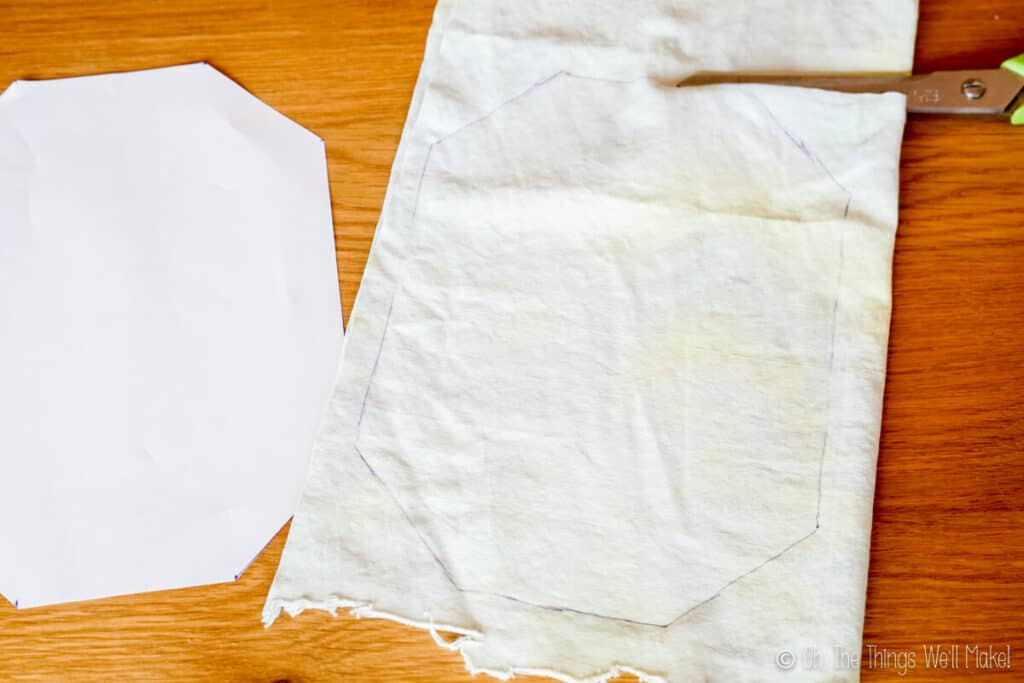
Cut the shape out from both pieces of fabric.
Tracing tip
I like to use an erasable pen for marking my fabric. The great thing about using an erasable pen is that the ink isn’t heat stable. So, the line will disappear once you iron the fabric!
Sew the layers together
Place the 2 layers of fabric together with the right sides of the fabric facing each other.
Sew around all of the edges, leaving a small opening on one of the long edges. The opening will be used to flip the fabric right side out.
I use around ¼ inch seam (maybe a scant one).
For cleaner looking edges once flipped, you can optionally cut around the edges of the seam with pinking shears near the seam. Be very careful not to cut into the seam!
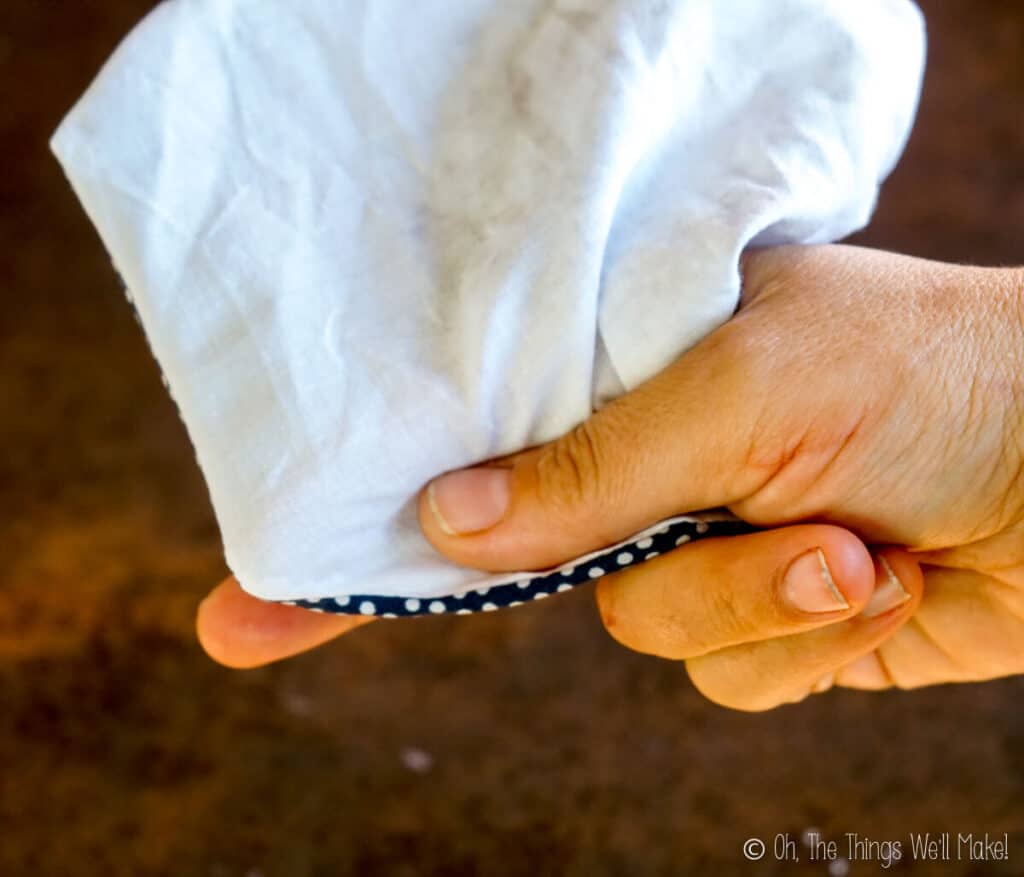
Flip the fabric right-side-out
Push some of the fabric through the opening left in the seam. Pull it out to flip the fabric right side out. The seam will now be hidden inside and the right sides of the fabrics will now be showing.
Use either your fingers or a pencil or stick to push out and define the corners and seams.
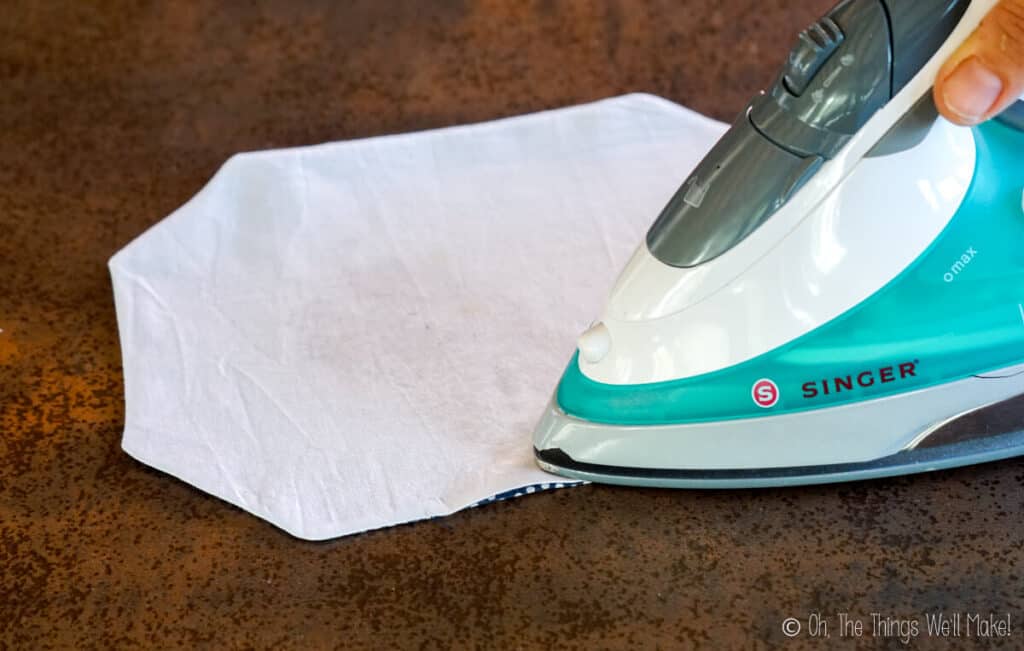
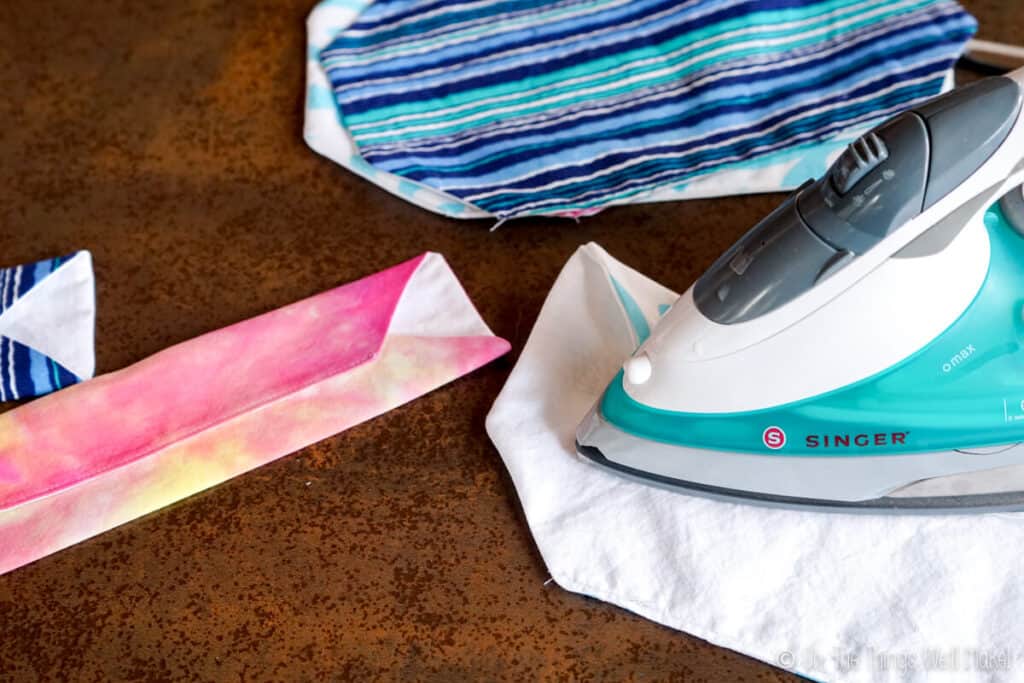
I recommend ironing it to better define the shape.
At the opening, fold the edges of the fabric under before ironing it down. This will help keep the fabric in place so that you can sew across the opening to close it.
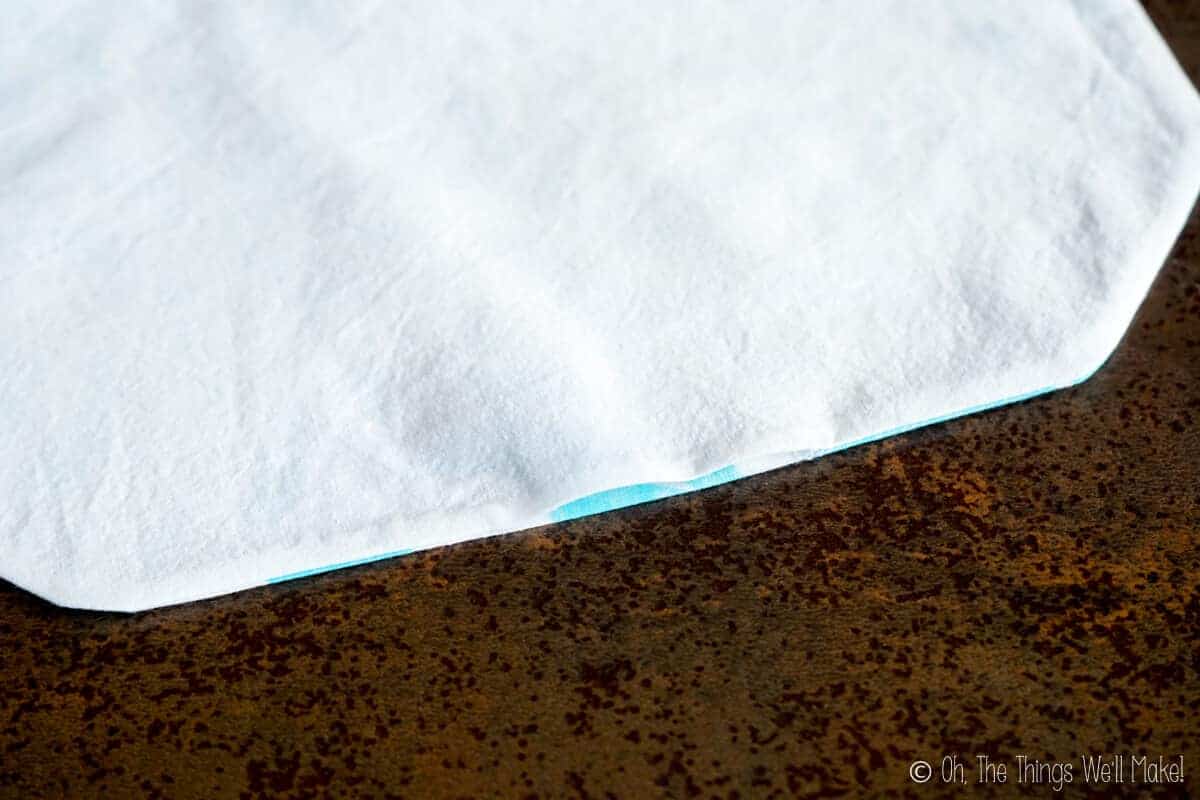
Sew across the top and bottom edges
Sew across the bottom and top edges, closing up the opening you used to flip the mask right side out.
Sew very close to the edge.
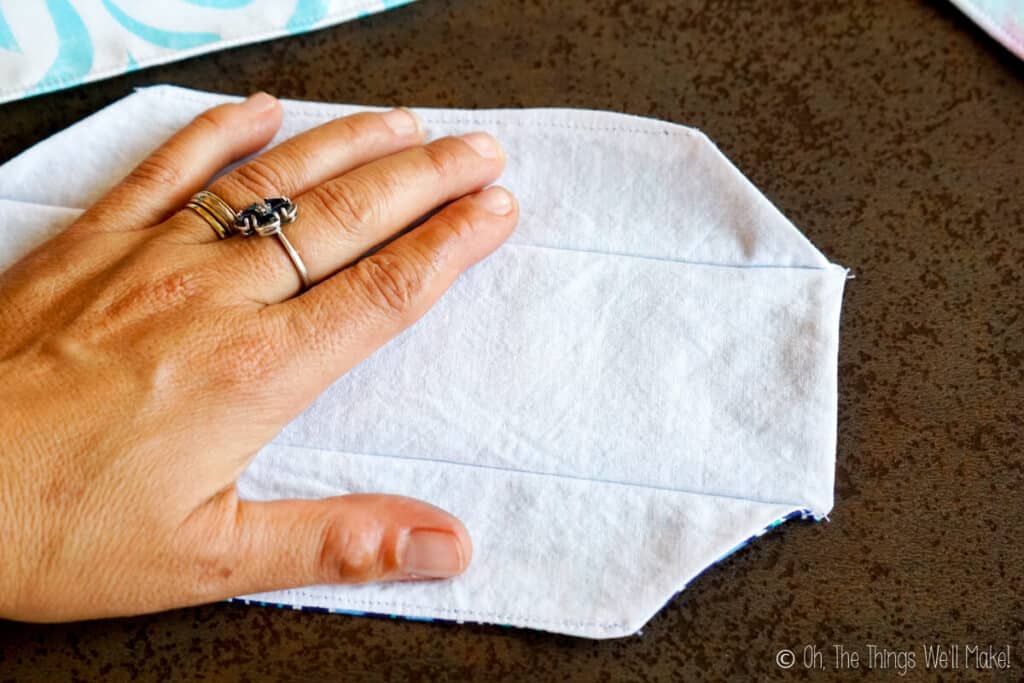
Sew down the folds
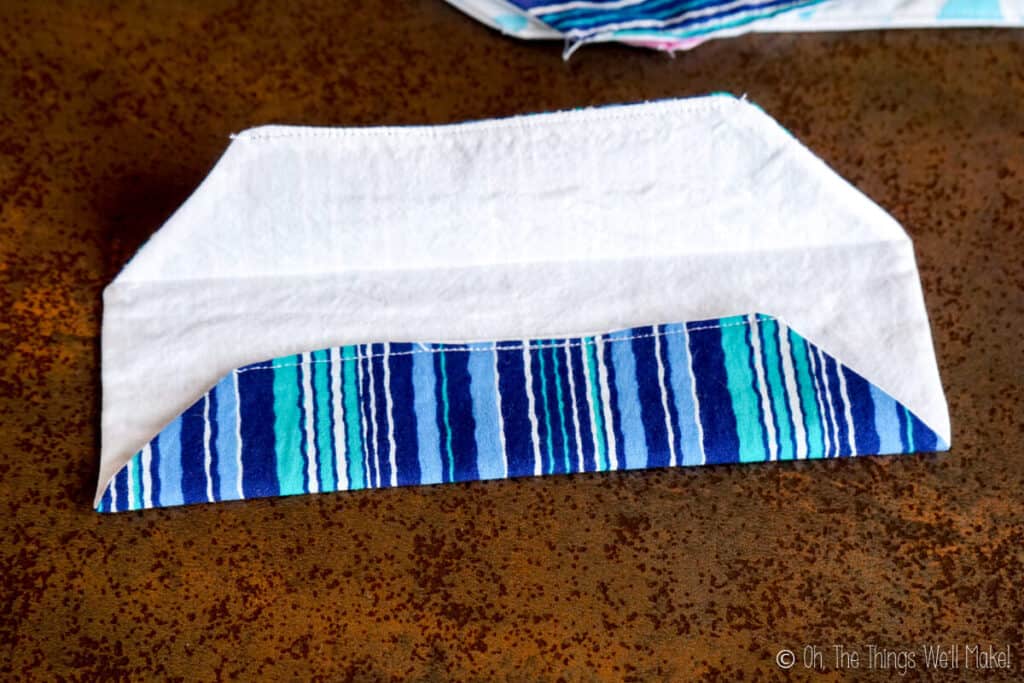
Starting with the lining fabric facing upward, fold down the top and bottom sections over the center section. Iron over the fold.
Then, sew across the masks along each fold, near the edge.
Adjusting the height
If you make the seam allowance bigger (sew further from the folded edge), your mask will end up being slightly smaller in height. You can experiment with where you make your seam to adjust the masks to better fit you.
Add the ear loops
We will now add the elastic ear loops. In the process, these last seams will actually form the shape of the mask.
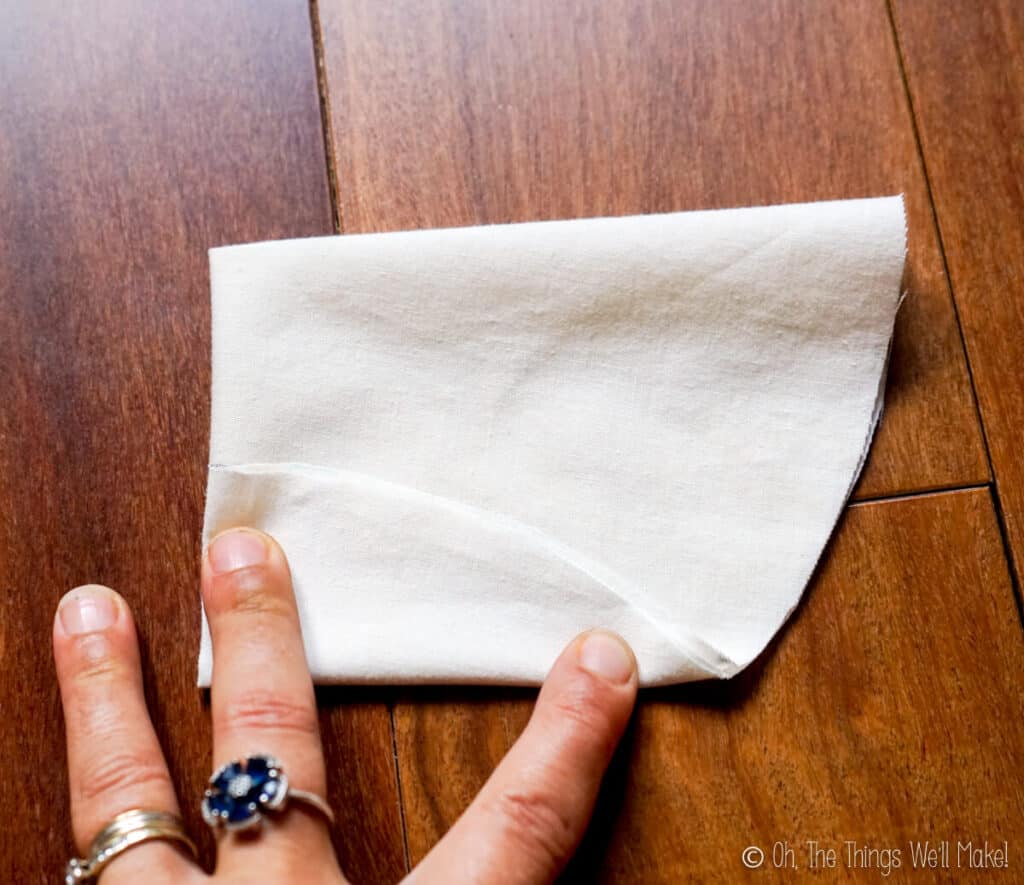
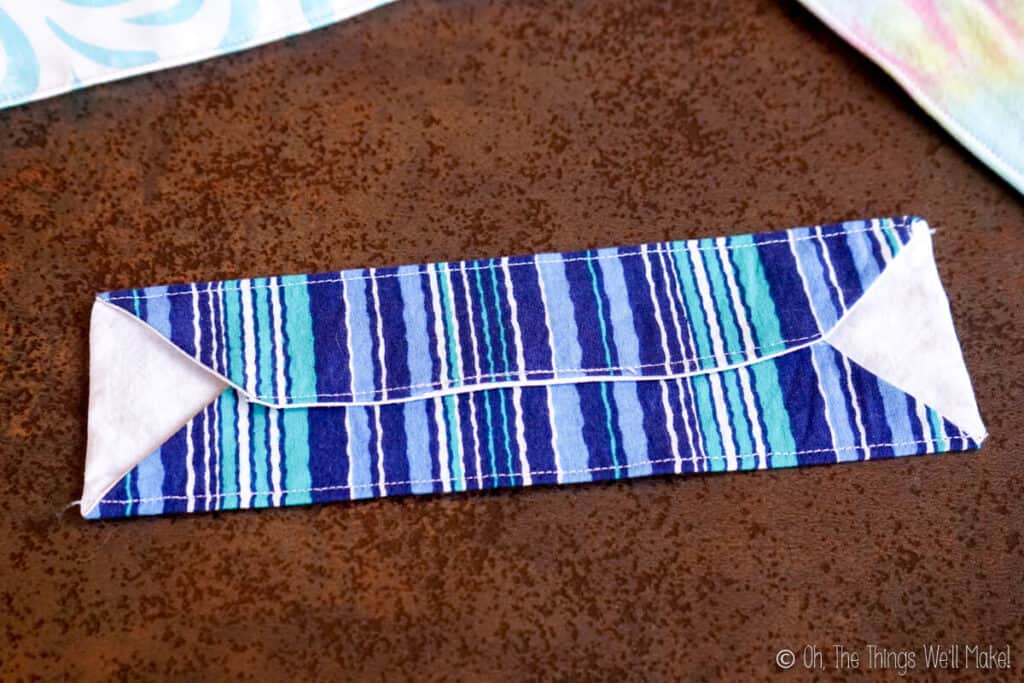
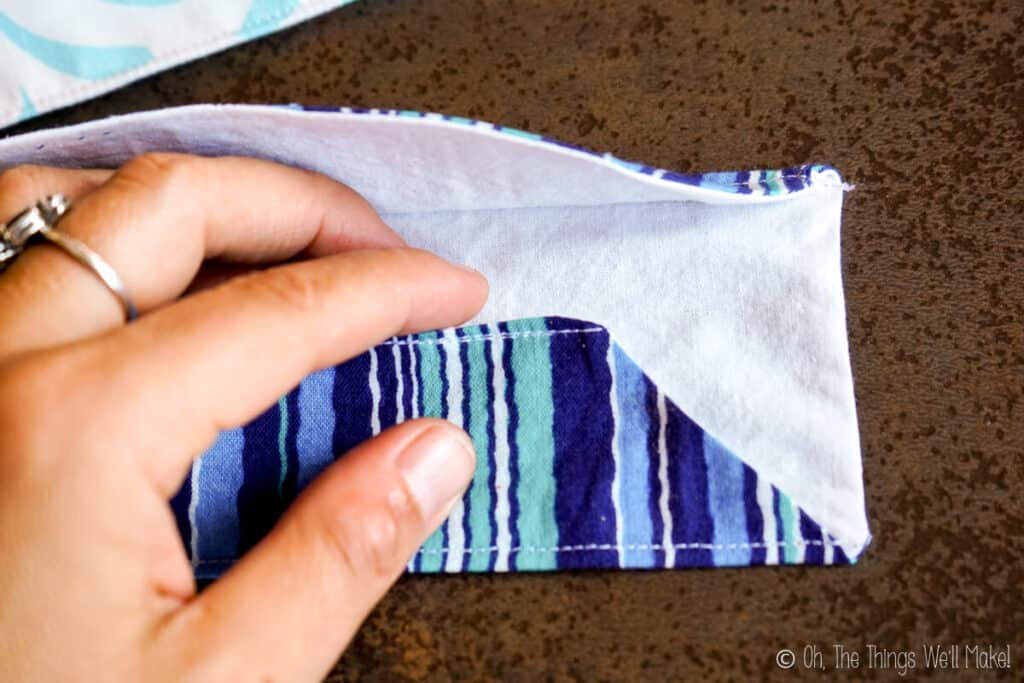
To do so, fold down each of the 4 corners.
To fold down each corner, fold the fabric down at the halfway point along the diagonal. Make sure the upper part of the diagonal edge lines up parallel to the side edge of the mask.
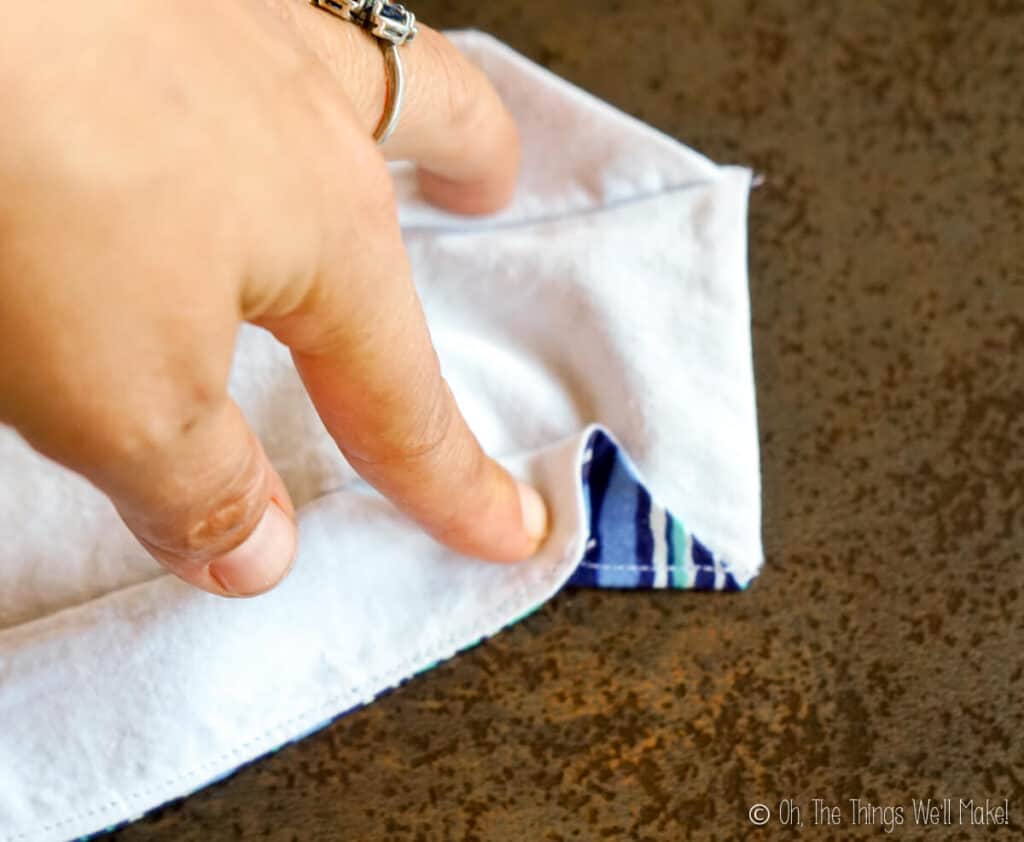
You should end up with an N-shape fold with the center section showing a right triangle shape of the outer fabric. Line up the point with the folded edge of the mask.
Tuck the elastic under this center section before sewing along the edges of the “N” and along the side edge.

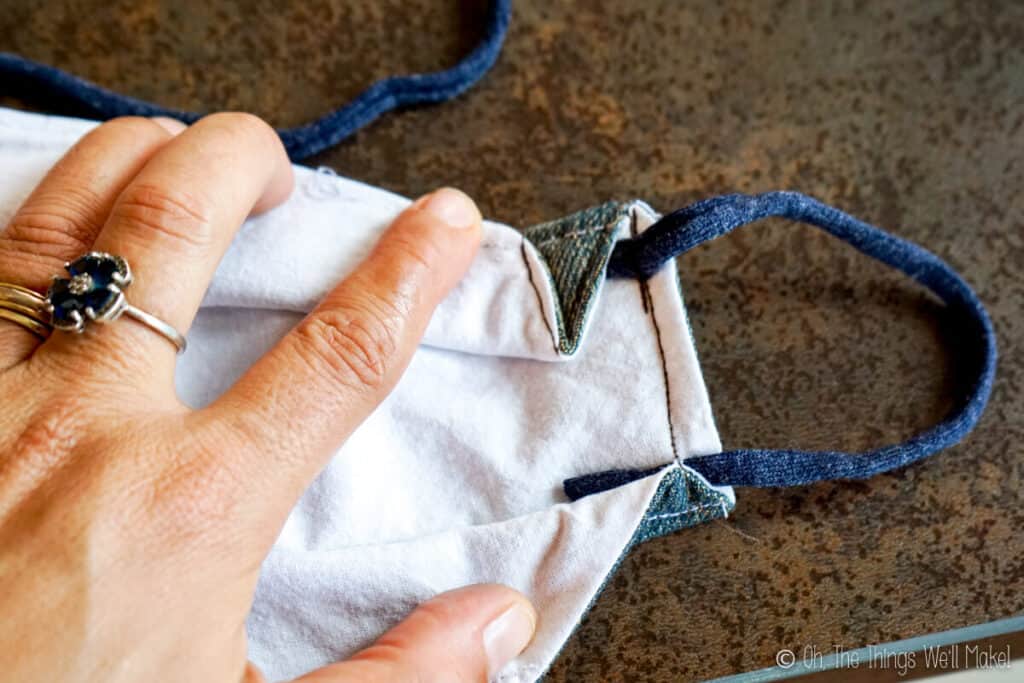
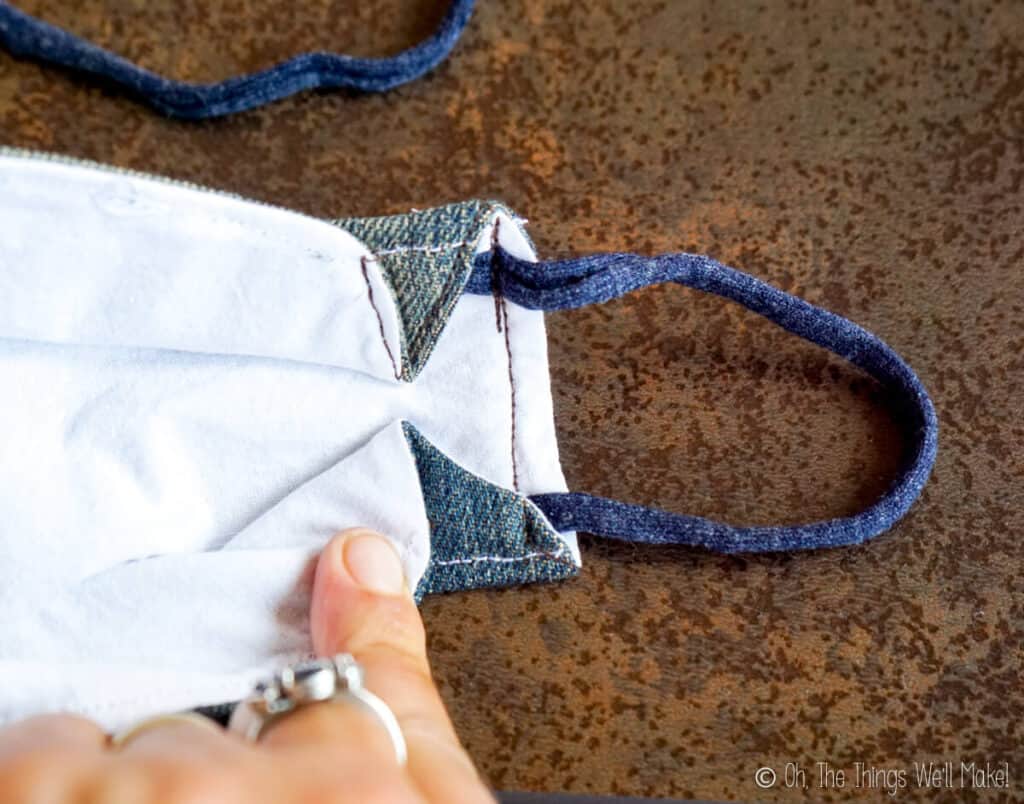
Repeat on the other side. The mask is now finished.
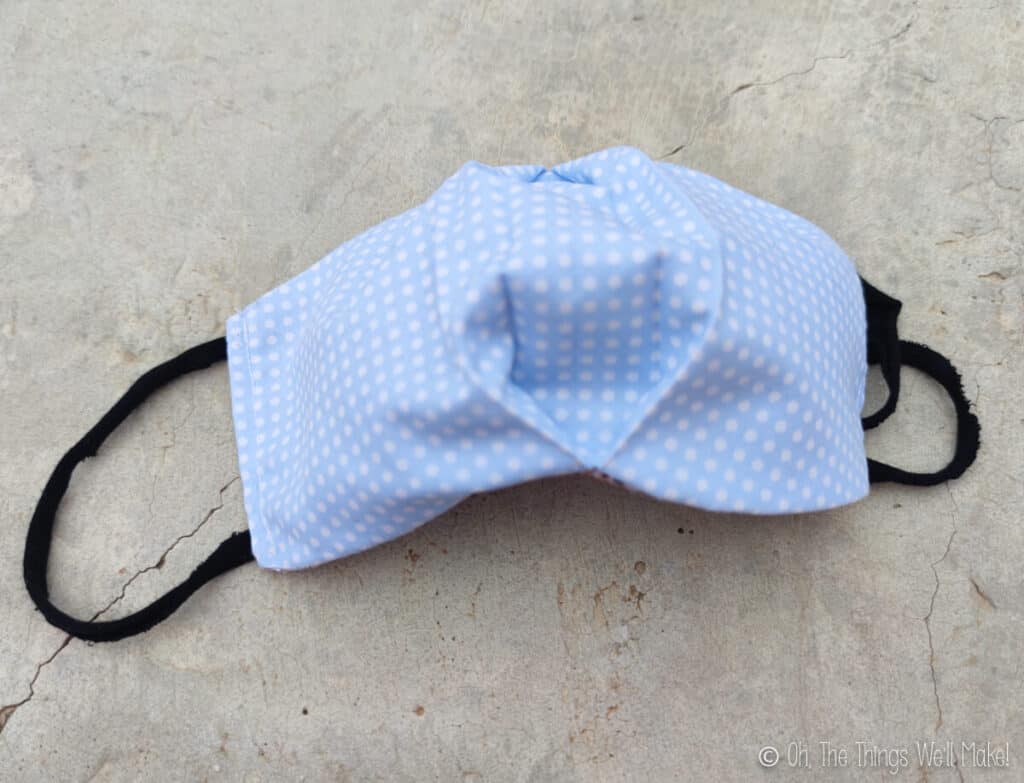
You can fold the mask and store it folded. When opened, it will open out into a 3d shape.
Adjusting the size of the face mask
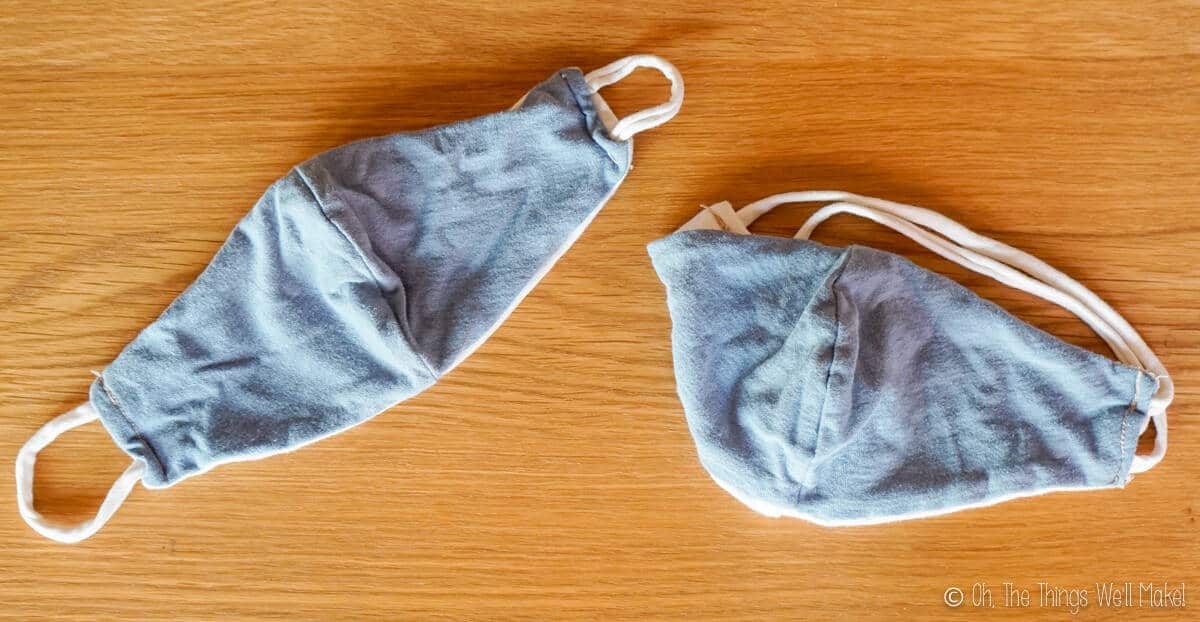
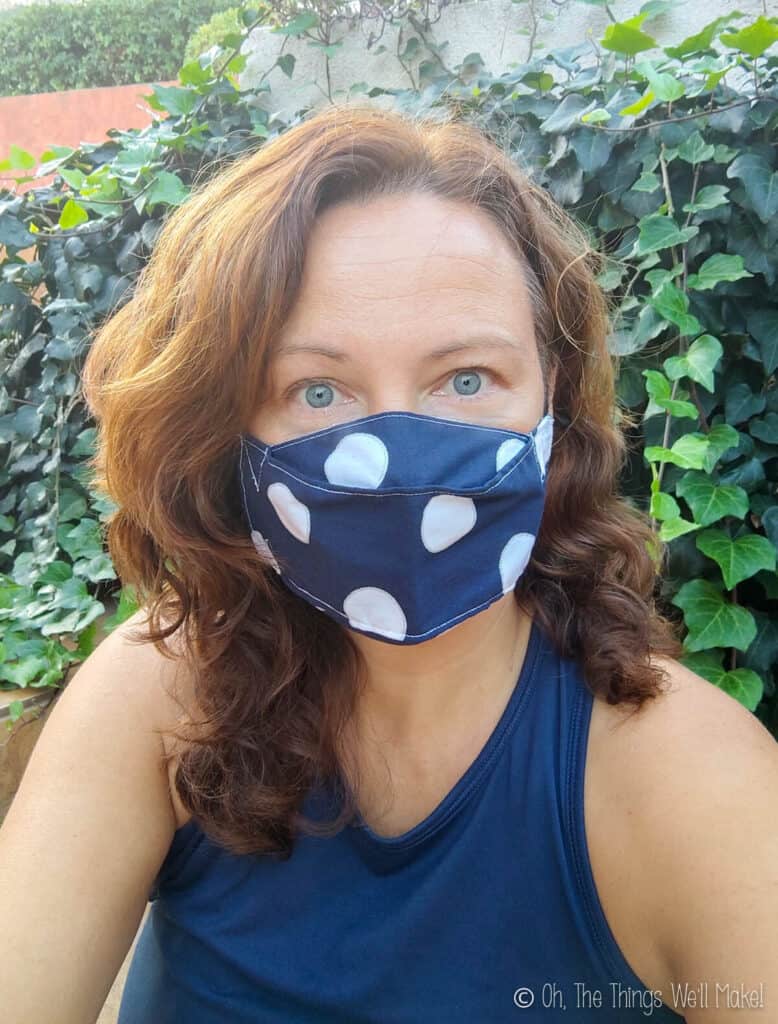
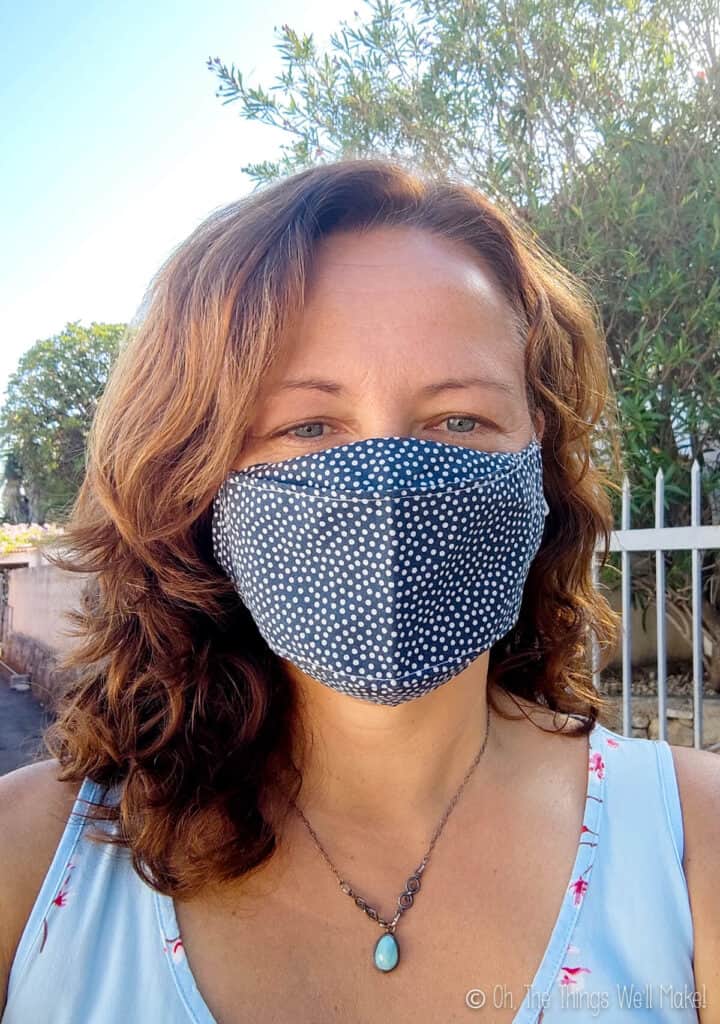
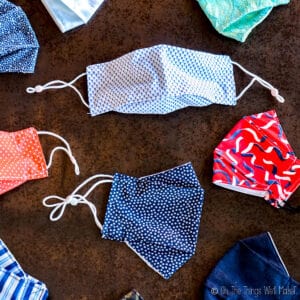
In the photos below, you can see how this model mask fits me. The mask I’m wearing in the left photo is the same size as the one I made for my son. It’s the small size I’m going to share with you below.
In the photo on the right, I’m wearing a slightly larger mask. I added around ¼ of an inch (or just under 1cm) all around the smaller pattern. I wear either size comfortably. If you have a larger face, I’d suggest making the small pattern slightly bigger.
Larger men will want to wear the larger size pattern. It’s too big for me to wear comfortably, though.
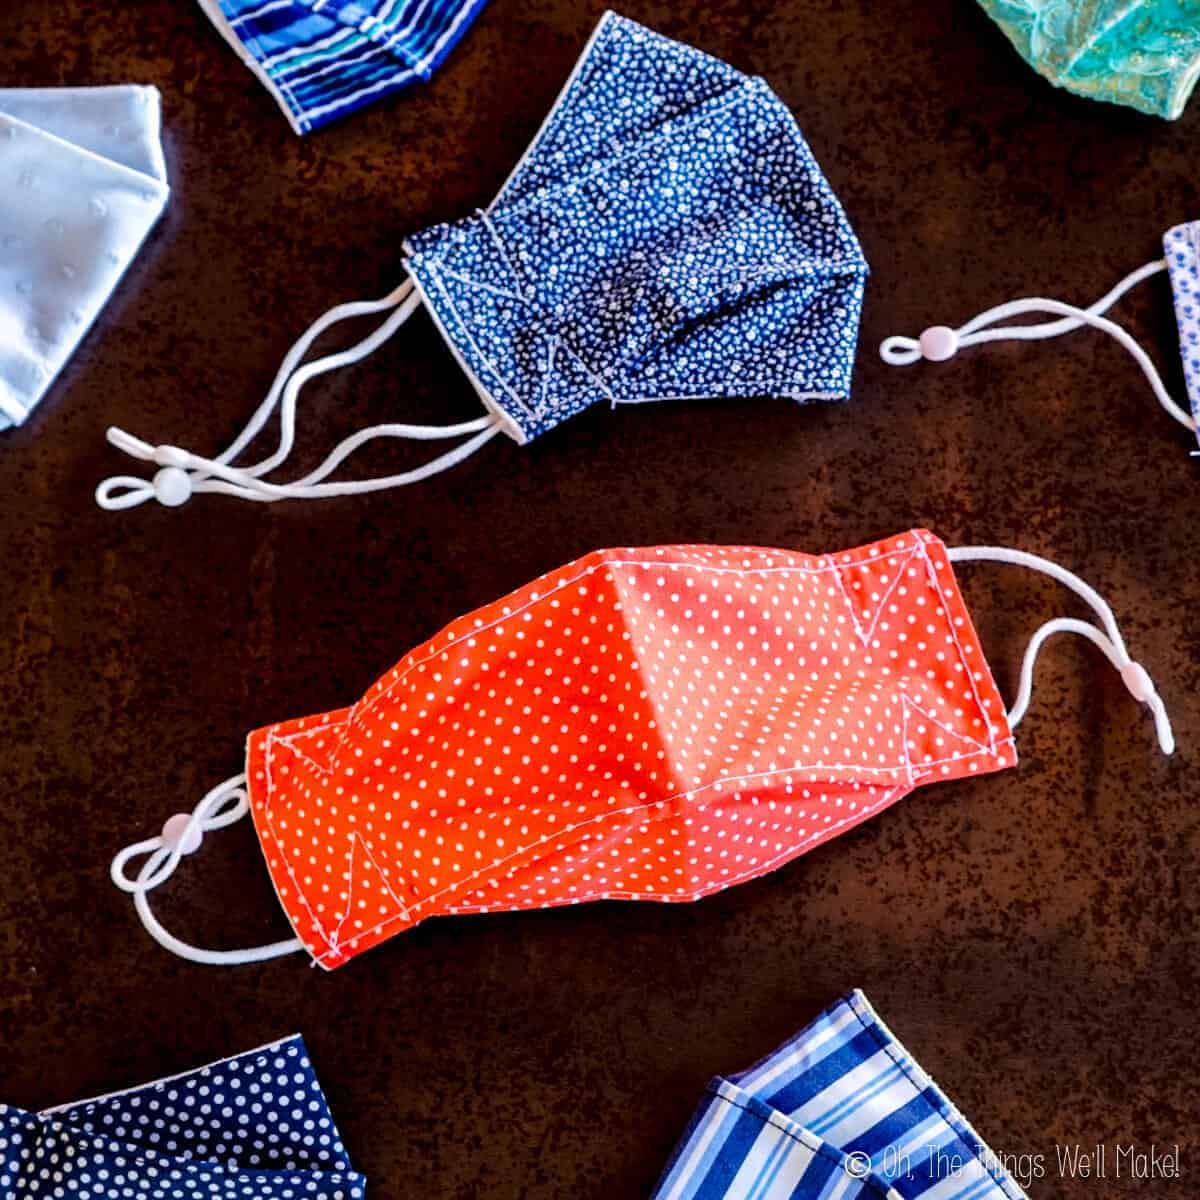
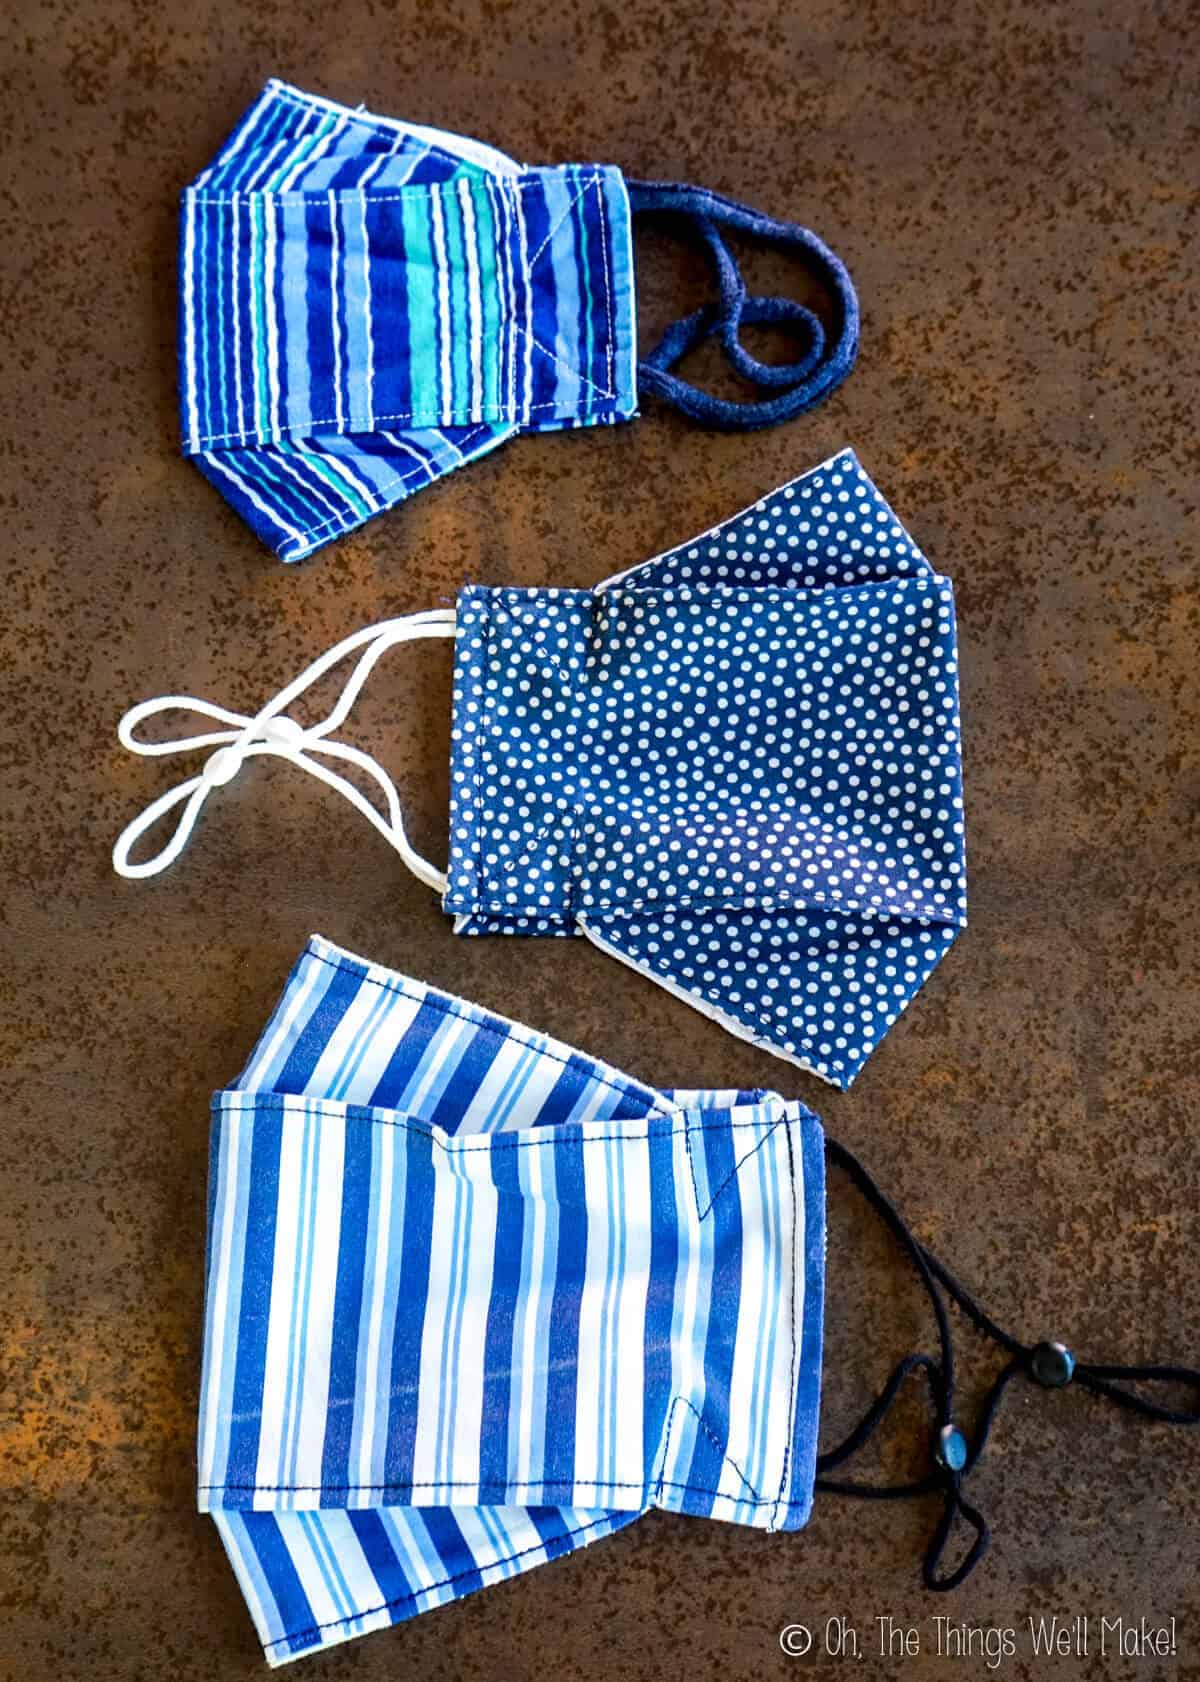
In the photo below, you can see the difference in size between the small sized mask (top), the large sized mask (bottom), and the mask I made by slightly enlarging the size of the small mask by around a ¼ inch all the way around (center).
Other adjustments in size can be made by adjusting where you make the folds and how close to the folds you make your seams.
Making comfortable ear loops
One of the places that masks can get uncomfortable is at the ear loops.
To make the ear loops as comfortable as possible, it’s best to use a thin, stretchy, and soft elastic.
At first, I used t-shirt yarn for the ear loops. While that can work well, not all t-shirt yarns are equally stretchy and soft. It can also be slightly too thick. To remedy that problem, I cut some strips of t-shirt yarn lengthwise to make them thinner. A few of those ended up breaking along the seam where I had sewn them in place.
Soft elastic cording
I now use a special soft elastic cording that they now sell for making masks. It is much softer and more elastic that the elastic normally sold for sewing.
Silicone cord locks
Another problem with the ear loops is that they can bother you if they are too tight. Some days I want to be able to loosen the mask more than other days.
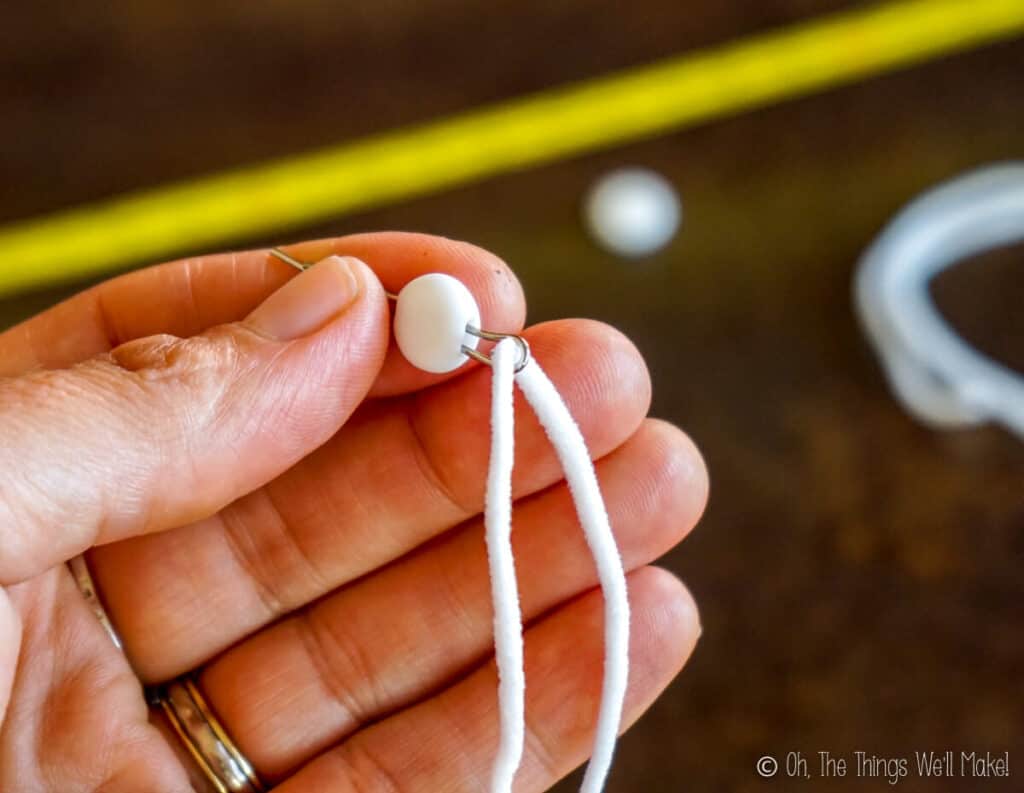
To help solve that problem, I’ve recently started using silicone cord locks to make the ear loops adjustable.
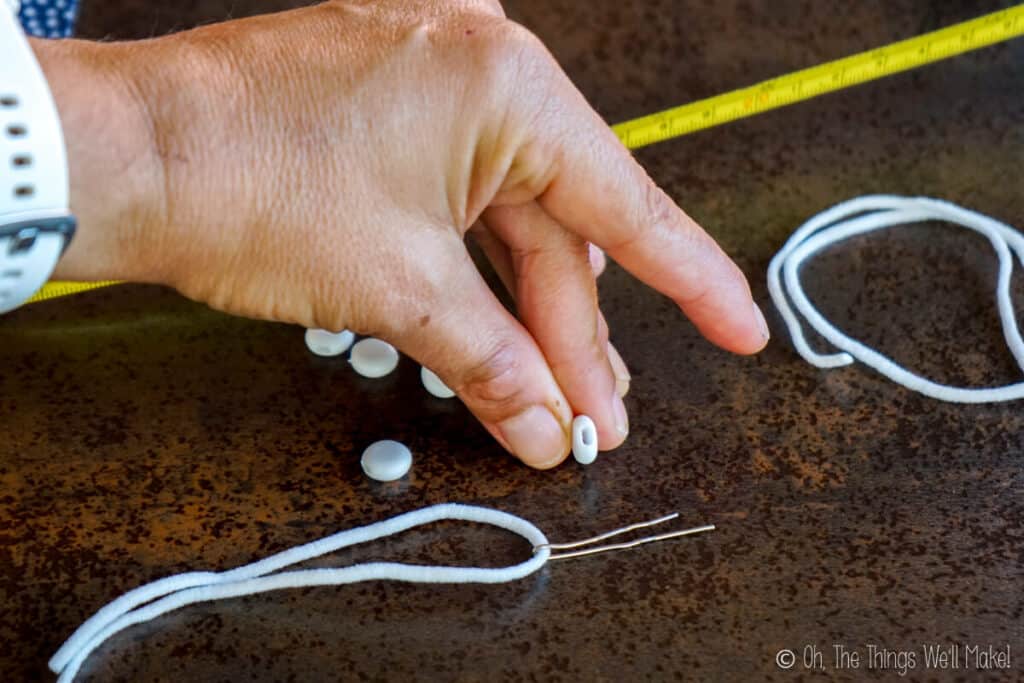
The cord locks are pretty easy to use. I straightened out a paper clip and made it into a hairpin shape. I then used that to thread the elastic through the lock.

I later saw that you can also buy cord locks with elastic pieces already threaded through them. I ended up ordering some to test them out because they used a thicker elastic (around 5mm).
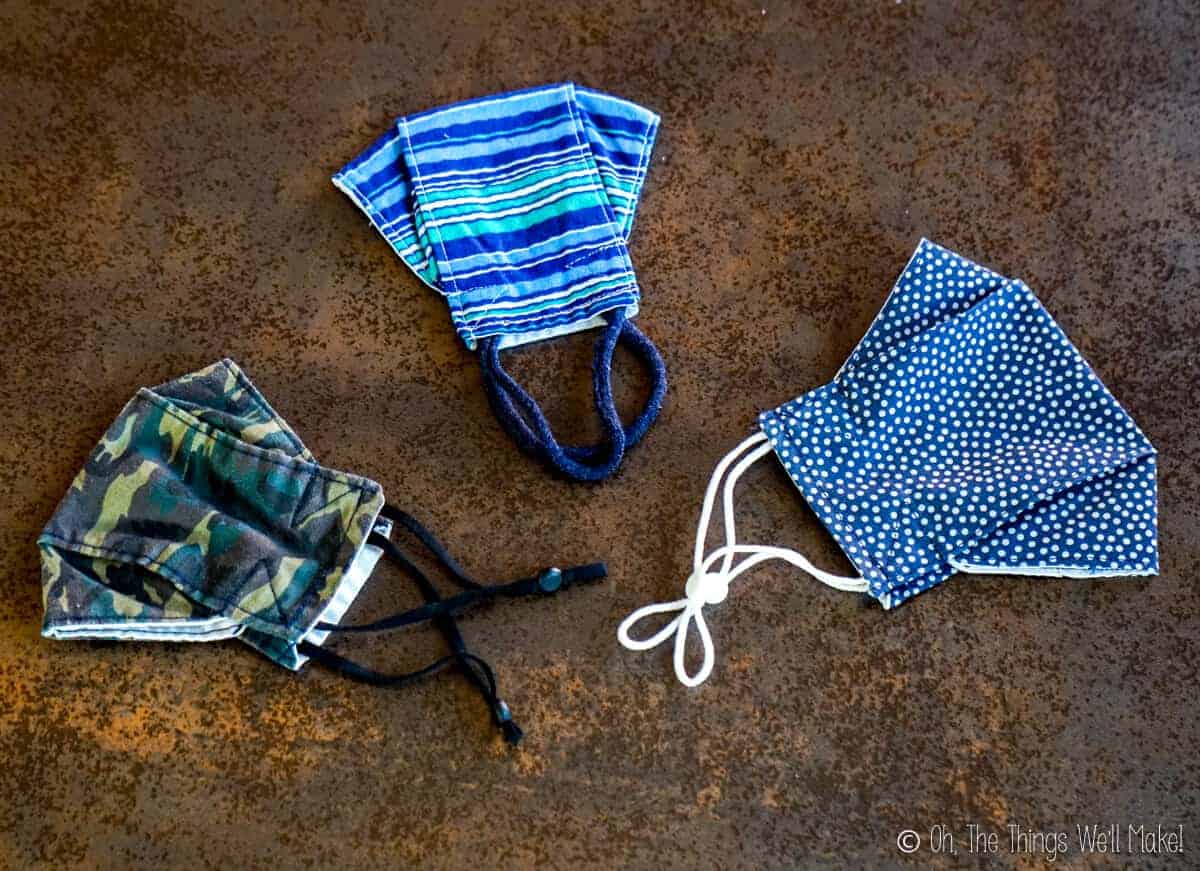
While I prefer the thinner (around 3mm) elastic cording, my son prefers the thicker elastic ones.
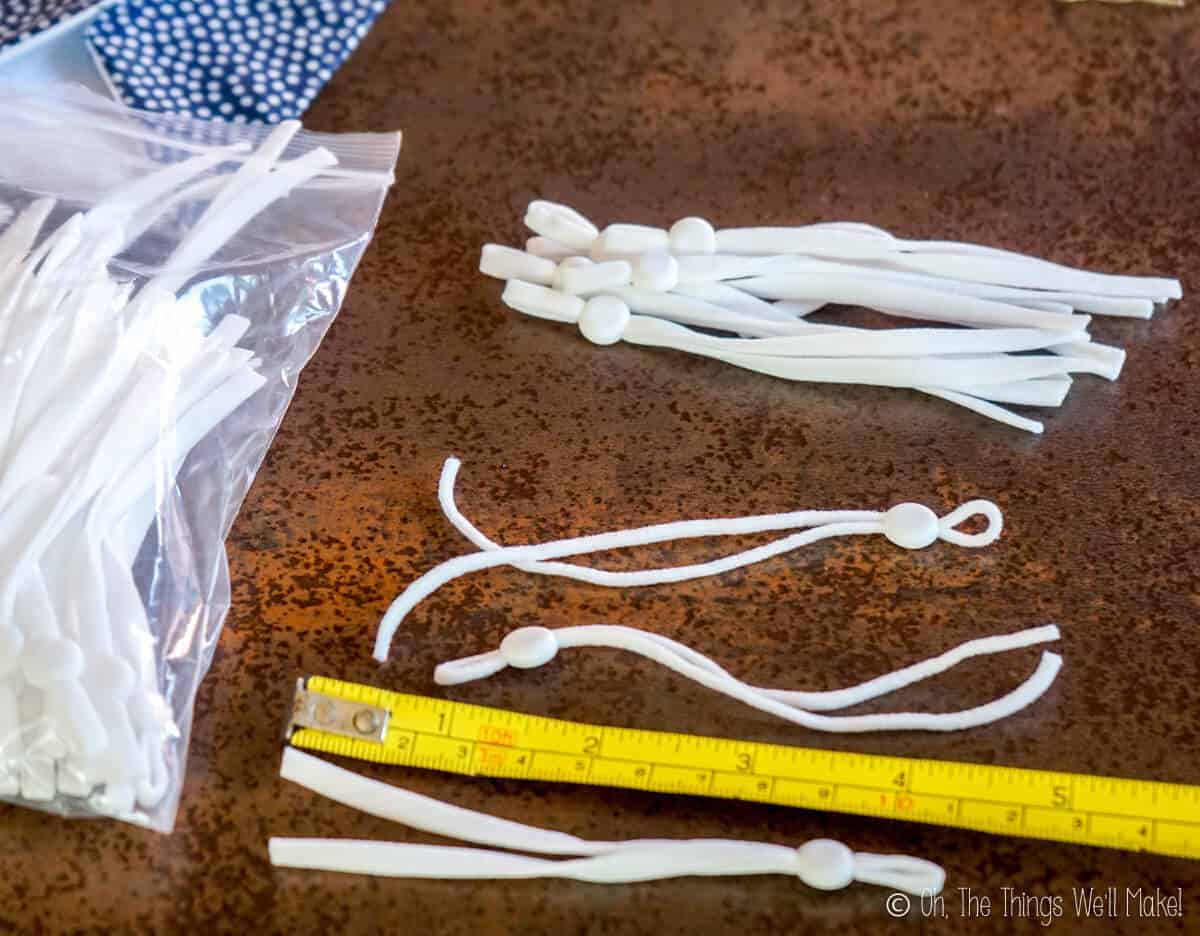
Cord length
The pre-prepared elastic straps were around 11cm long (just over 4.25 inches). That means that they were made with around 22cm of elastic.
I made mine slightly longer, using around 24cm (9 inches) of elastic cording for each one. I like to tuck around one centimeter of cording into the mask, and like to have plenty of extra cording for the ear loops. They’re easily adjusted, so having a little bit too much isn’t really a problem.
Video
Breathable 3d Face Mask
Equipment
- Sewing Machine
Materials
- 1 rectangle fabric (23cm x 16.5 cm for smaller mask or 27cm x 19cm for larger.)
- 1 rectangle lining fabric (23cm x 16.5 cm for smaller mask or 27cm x 19cm for larger.)
- 50 cm elastic cording or strechy t-shirt cording
- thread
- 2 silicone cord stops optional
Instructions
Make the pattern
- Measure out a rectangle that is 23cm x 16.5cm on a piece of paper. For men or adults with a larger face, make the rectangle 27cm x 19cm. (For a medium sized mask, adjust the measurements to something in between.) Cut it out.
- For the smaller sized mask, mark off 4.5cm from each of the corners. (For the larger size, mark off 5cm from each corner.) Draw a line diagonally across the corners from one mark to the other. Cut off the corners along the line drawn. You should now have a pattern that looks like an oblong octagon.
Cut out the fabric
- Trace the pattern onto both pieces of fabric (the lining and the outer fabric).
- Cut out both pieces of fabric using the tracing to guide you.
Sew the layers together
- Place the 2 layers of fabric together with the right sides of the fabric facing each other. Sew around all of the edges, leaving a small opening on either the top or bottom edge (one of the long edges). The opening will be used to flip the fabric right side out.
Flip the fabric right-side-out
- Using the opening left in the last step, pull some of the fabric through the opening to pull the fabric right side out. The seam will now be hidden inside and the right side of the fabric will now be showing.
- Use either your fingers or a pencil or stick to press out the seams and corners.
Sew across the top and bottom edges
- Sew across the bottom and top edges, close to the edge of the fabric. This will also close up the opening you used to flip the mask right side out.
Sew down the folds
- With the lining fabric up, fold down the top and bottom sections at the point where the corners are. You will now have the outer fabric showing. Press the fold with an iron to help hold it in place.
- Sew a seam along the fold near the edge. (If you sew further from the edge, your mask will end up being slightly shorter. You can adjust the mask, as needed, by keeping that in mind.)
Prepare the elastic for the ear loops
- Cut two pieces of cording to be used as earloops. I like to use silicone cord locks to make adjustable straps. If using cord stops, make each cord around 23cm (9in) long. If not using cord stops, the ear loops should be shorter (around 7 inches or 18cm, dependent upon the person who will be wearing it).
Form the mask
- To form the mask, fold back each of the 4 corners.
- Fold down one of the corners, forming a v-shape, with the edge parallel to the side. To fold down each corner, fold the fabric down at the halfway point along the diagonal. Make sure the upper part of the diagonal edge lines up parallel to the side edge of the mask. You should end up with an N-shape fold with the center section showing a right triangle shape of the outer fabric. Line up the point with the folded edge of the mask.
- Tuck the elastic under this center section before sewing along the edges of the "N" and along the side edge.
- Sew along each of the edges and down the side.
- Repeat on the bottom with the other end of the elastic tucked underneath.
- Repeat on the other side with the other piece of elastic.
- If using the cord stops, thread the cording on either side through the cord stop.
- The mask is now finished.
- You can fold the mask and store it folded. When opened, it will open out into a 3d shape.
Notes
Related Posts
Hand Sanitizer Spray

Natural Homemade Disinfectant Spray

DIY Fun and Cute Face Masks


Hi! Thank you for sharing!! I have a question: how do you wash and dry your masks? I’ve found that when using the washing machine and the dryer, my masks shrink a little bit. Perhaps is due to the pattern I use (round simple one) and with this 3D the shrinkage is less…
Hi Vanessa,
Yes, I use the washer and dryer, and, yes, they can somewhat get misshaped when doing so.
I’ve found that washing and drying the fabric first helps prevent shrinkage.
The masks can still get distorted when dried, but if you iron them out, they go back to the way they were. I have some that are pretty worn by now as my son had to wear them to school and I washed them after every use. Some are quite faded, but still holding up quite well. 😉
I’m so excited to find your tutorial along with the video. My daughter received the same face mask with this pattern and loved it. I can’t wait to try and make one for myself and hubby. 😊 thank you.
Hi Rona,
I’m so happy to have helped. These are still our favorites. I hope you are able to make them and comfortably wear them too!
Use light the metal mesh over curtain fabric. It keeps the cloth away from the mouth and nose. Hardly impairs breathing.