

DIY Body Shimmer Oil
Give your skin a luminous glow with an easy, DIY body shimmer oil that will also nourish your skin. Depending on the color chosen, you can also give your skin a sun-kissed look, perfect for summer.

If you’ve ever wanted to try one of those fun, shimmer oils that give skin a luminous glow, today’s project will be perfect for you.
This is a great project for beginners because it doesn’t include any water. Without water, there is no need to worry about adding a preservative.
Depending on the color you choose, your oil could add only a subtle glow or give you a sun-kissed bronze look.
Ingredients
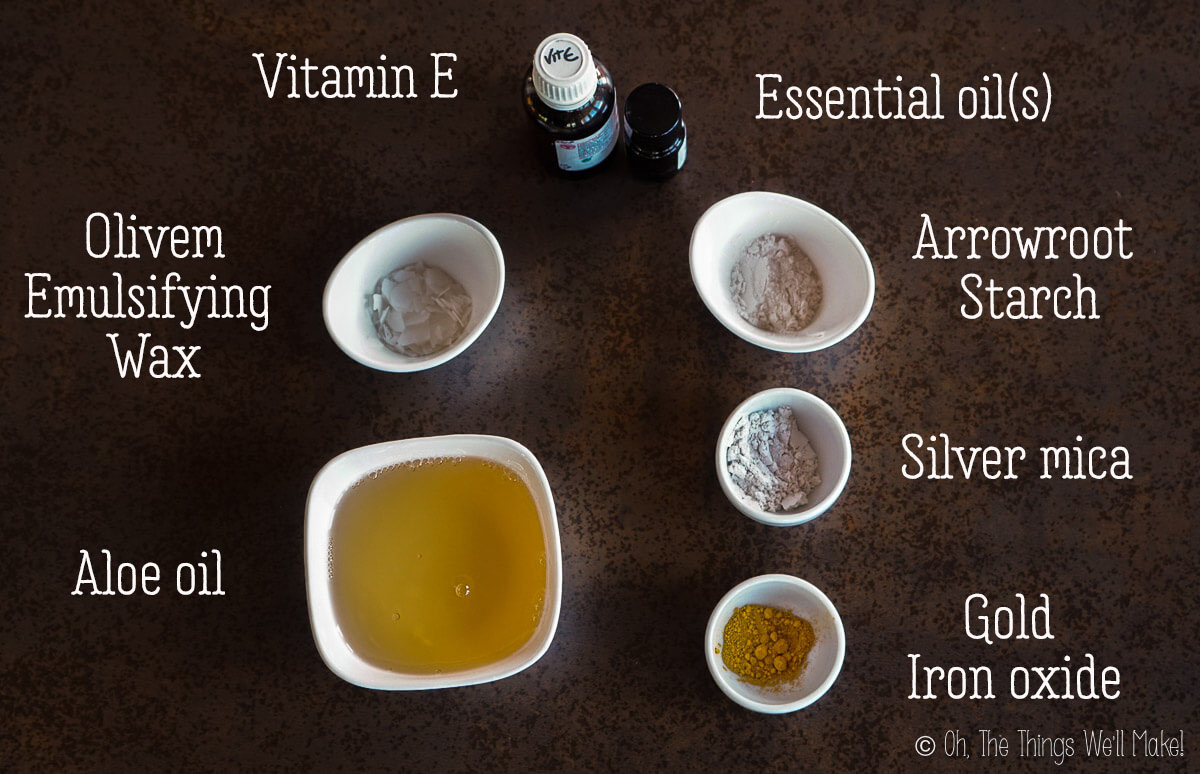
This recipe is really simple and uses two main ingredients, oil and mica powders. Mica powders are what give the shimmer oil its color and shimmer.
The oil
For the oil, I chose to use homemade aloe oil made with refined coconut oil. I love the scent that the aloe gives the oil and coconut oil is a very stable oil that holds up well in the summer. You could just use plain coconut oil instead.
If you plan on using this oil in the winter or in a cooler environment, choose a different carrier oil or use fractionated coconut oil instead. Coconut oil solidifies below 76ºF (24ºC). While you could use this as a solid oil, that application process would be different.
The emulsifying wax
To keep the mica powder suspended in the oil so that it doesn’t sink to the bottom of the container, you can thicken the oil slightly with emulsifying wax. (Another wax like beeswax may also work, but I haven’t tried it.) The thicker oil is easier to apply and keeps the micas from separating out.
For the emulsifying wax, I chose to use Olivem 1000, a natural, olive-based emulsifier. This should work just as well with other emulsifying waxes, so you can use what you have on hand. (Some waxes may make a thicker product than others when used at the same concentration.) For more information about a variety of emulsifying waxes, read my beginner’s guide to emulsifiers.
The starch
To take away some of the “greasy” feeling of the oil, I also chose to add a bit of arrowroot powder. If you don’t want to use arrowroot powder, you could use a different starch like cornstarch or just leave it out.
The essential oils
To add a bit of fragrance, add an essential oil (or two). I used a mixture of coconut CO2 extract and elderflower absolute oil.
Because this product is ideal for summer use, you’ll want to be especially careful about using essential oils that cause photosensitivity. Certain oils, especially cold-pressed citrus oils, will cause your skin to be more sensitive to the sun when applied.
The following cold-pressed oils can cause photosensitivity, meaning that they can make the skin more sensitive to sunlight or ultraviolet (UV) radiation. This increased sensitivity can lead to a greater risk of sunburn, skin irritation, or discoloration when the skin is exposed to sunlight or UV rays after applying or using the essential oil.: (Use distilled instead to avoid issues.)
- Bergamot
- Lemon
- Lime
- Bitter orange
- Grapefruit (Distilled may also cause photosensitivity.)
Apart from the citrus oils, some other oils, like petitgrain, marigold, lemongrass, and verbena, among others, may also cause photosensitivity.
The antioxidant
Last, I added a tiny bit of vitamin E to help extend the shelf life of the shimmer oil. Vitamin E is an antioxidant that can help keep oils from going rancid as quickly when used at the right concentration. (0.5% of the recipe, by weight, is ideal.) It’s also nourishing for your skin!
The pigments
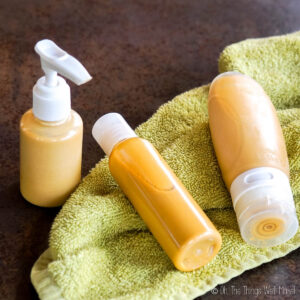
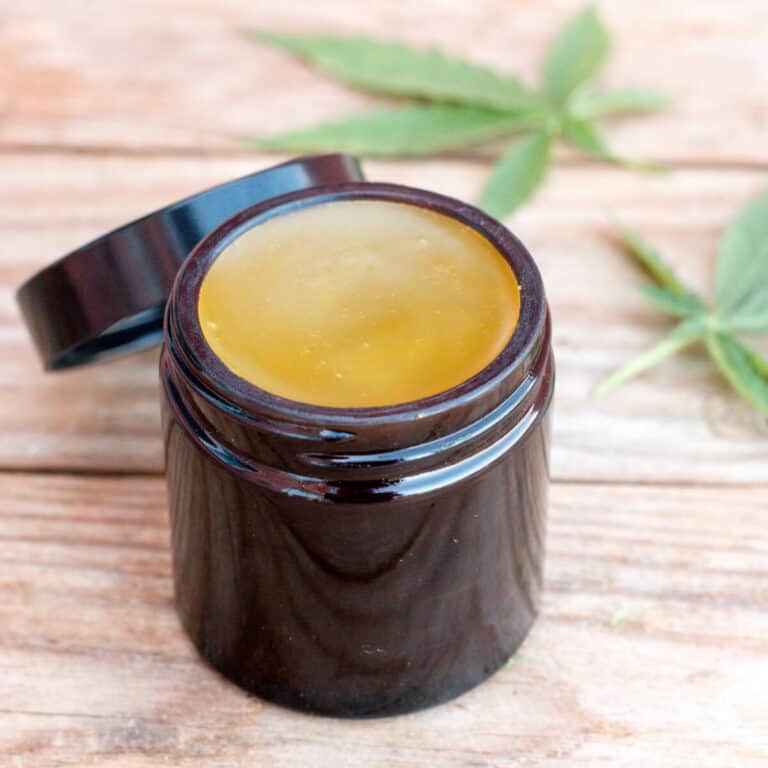
I used a mixture of pearl white mica and yellow iron oxide to get the golden color seen in the pictures of the finished shimmer oil. I could have used all mica powders, but white mica was the only one I had on hand. The mica is what gives the oil its shimmery glow.
The golden iron oxide adds color, but no luminescence.
What is mica powder?
Mica (like iron oxide) is a mineral that can be found naturally in the environment. Most cosmetic micas aren’t mined, though, and are synthetically produced to be “nature-identical”. One major advantage of synthetically producing the mica powder is that it can be produced without toxic impurities like heavy metals that are often found in natural mica powder. Natural mica is often contaminated with lead and/ or mercury.
Micas are often colored with pigments that can be more or less natural, depending on the pigments used. Some of the more natural-looking colors like browns and golds are pigmented with iron oxides, a relatively natural pigment. (Again, also found naturally in the environment, but normally synthetically produced for cosmetics.)
Make sure to use cosmetic-grade mica powders as some are meant for use in paints and resins.
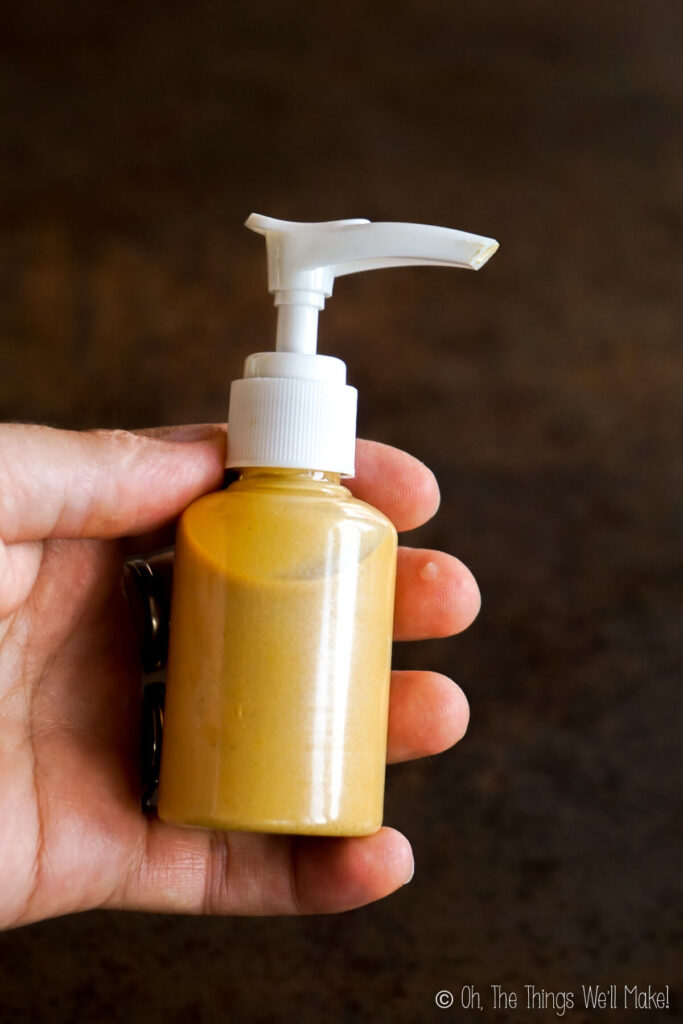
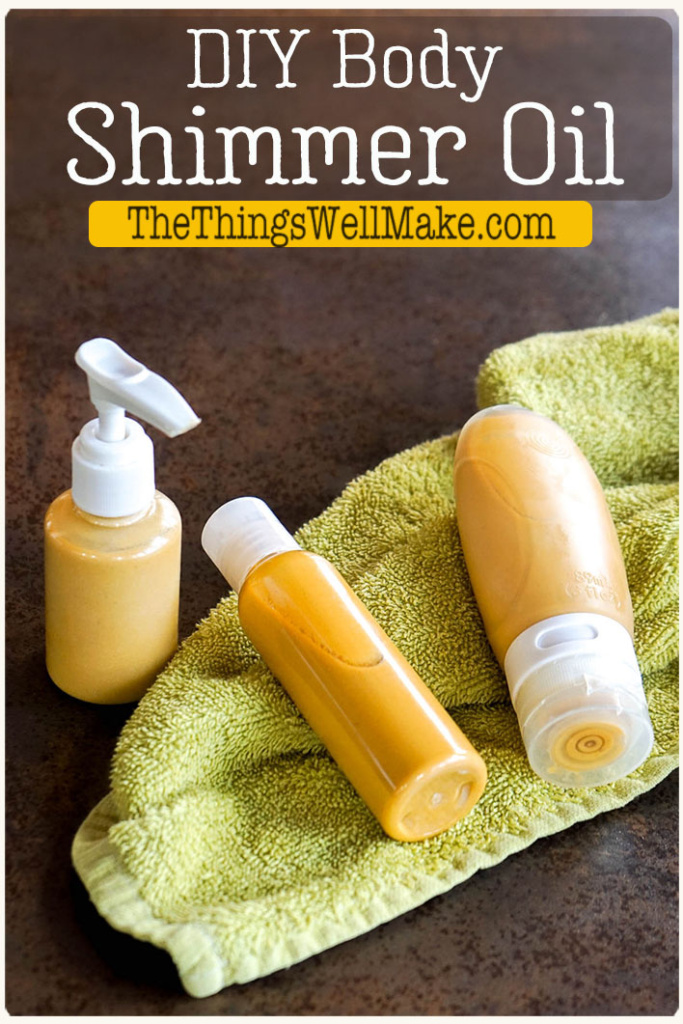
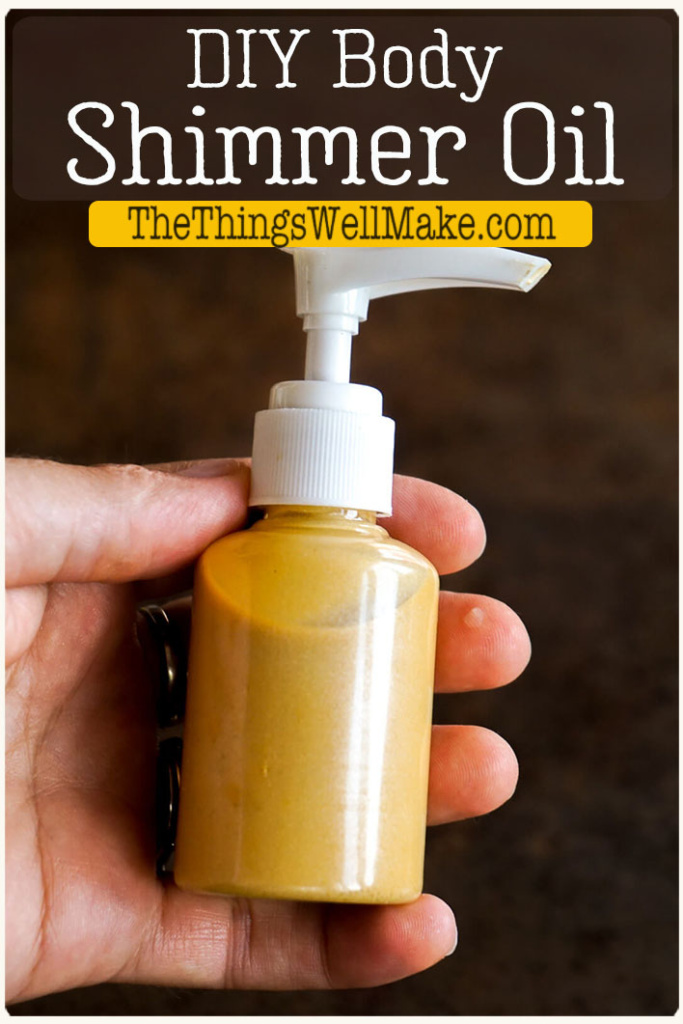
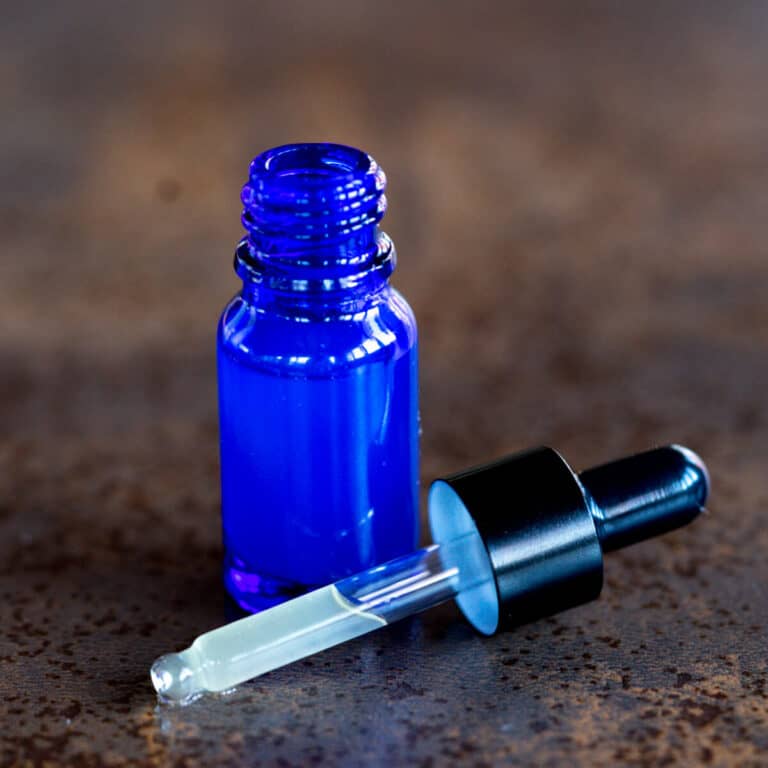
In a pump bottle 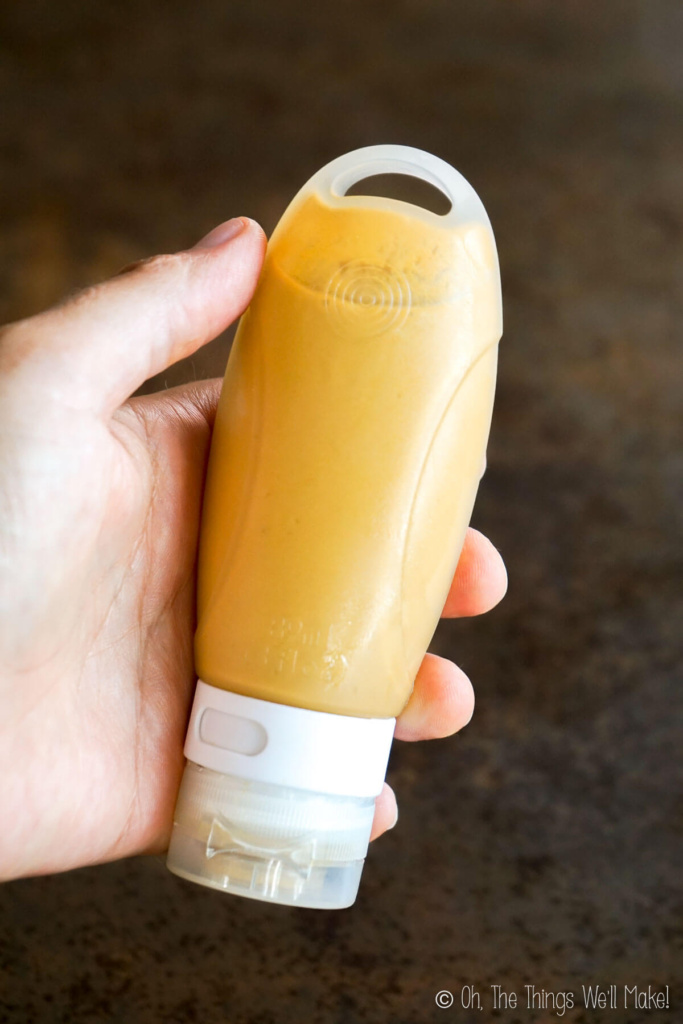
In a silicone travel tube
Procedure
This is a quick and easy project, and it is a great way to get comfortable using emulsifiers. You’ll only need to melt the emulsifying wax and mix it with the oil and won’t need to worry about emulsifying it with anything.
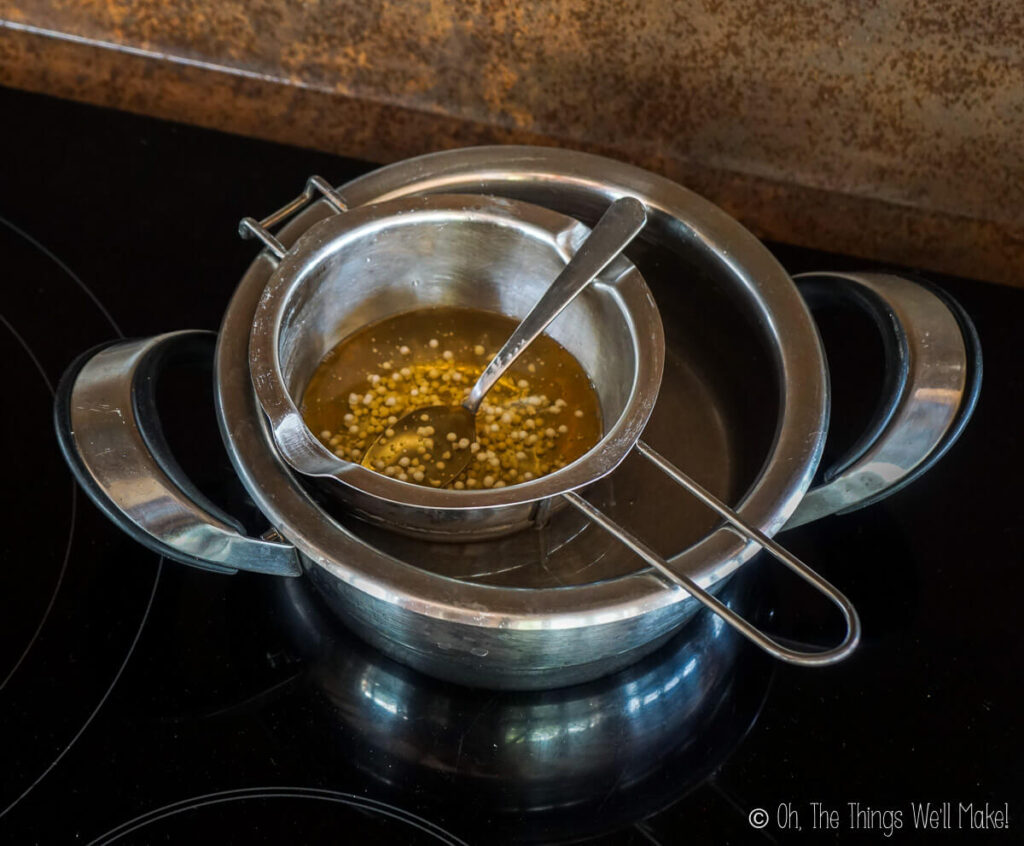
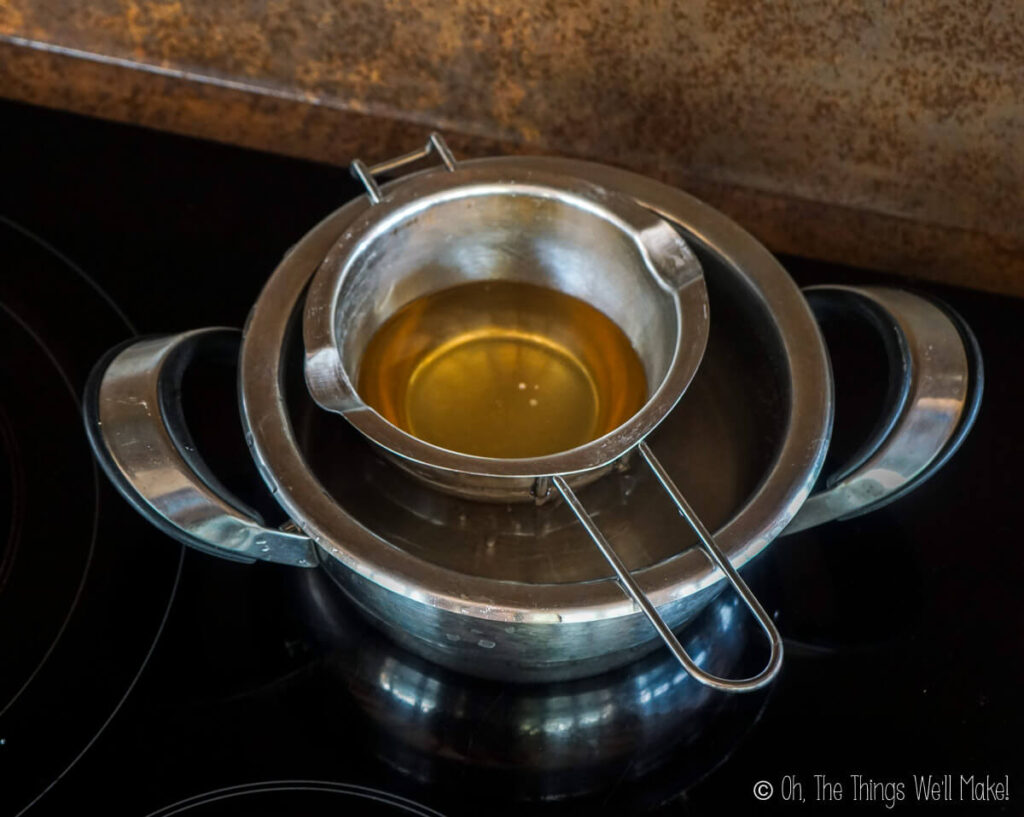
To make it, weigh out the oil and emulsifier and heat them in a double boiler. (I like using a double boiler insert for these sorts of projects.)
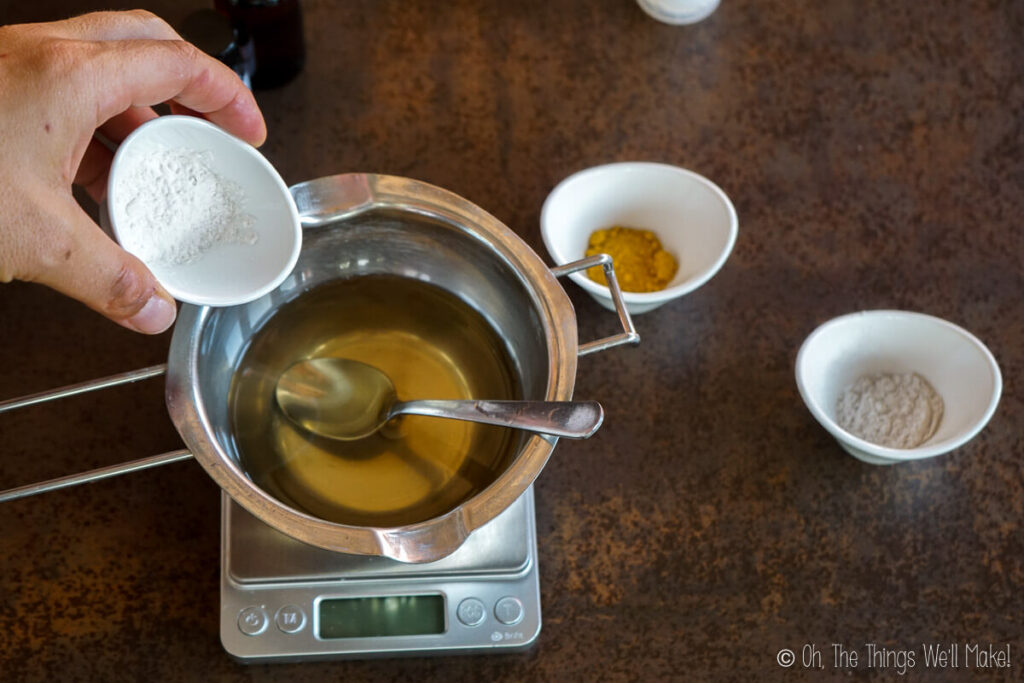
Once the emulsifying wax has melted, remove the oil and wax from the heat source and add the starch and pigments. Mix until it’s all well combined. (A milk frother or small electric beater could help disperse the pigments well in the oil.)
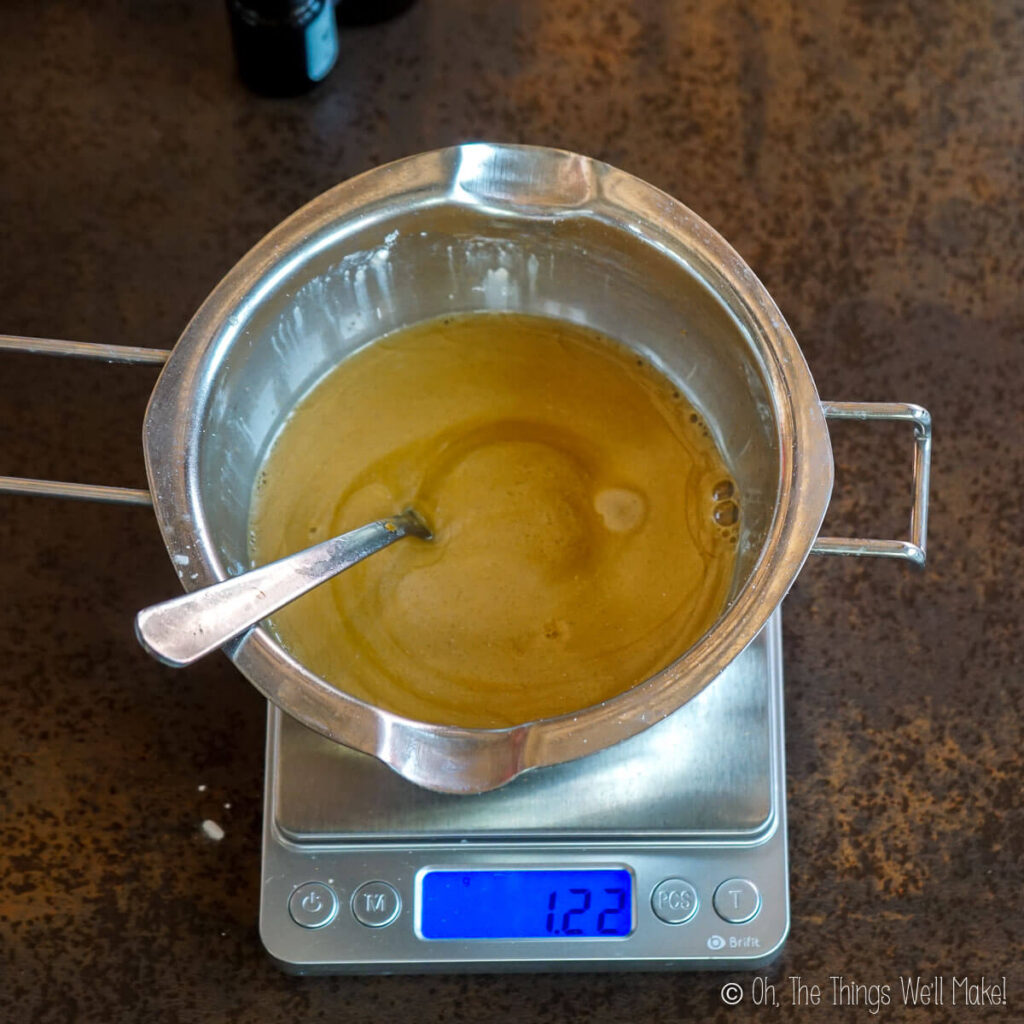
Once the mixture has cooled, you can add the essential oils and vitamin E and mix thoroughly again.
Pour the mixture into bottles. For easy dispensing, I like using small pump bottles or silicone travel tubes. It can be used immediately but may thicken slightly over the next 24 hours.
Customizing the recipe
This recipe is very forgiving and can be easily adapted to suit your taste and available materials.
I chose to use my homemade aloe oil (coconut oil infused with aloe) because I had a lot of it just waiting for a fun use. While I think coconut oil is a great choice for this project because of its long shelf life, even in the warmth of summer, you can choose to use another carrier oil instead.
Keep in mind that coconut oil will solidify in cool temperatures unless you are using fractionated coconut oil.
Adjust the thickness
For the emulsifier, you can also use whatever emulsifying wax of easy access. Keep in mind that some may make a thicker mixture than others at the same dosage. You can adjust the thickness of the oil by adjusting the ratio of oil to emulsifying wax. For a thicker oil, use more of the emulsifier. (For a thinner one, use less.)
You could also omit the emulsifying wax, but a thin oil will not keep the pigments suspended within it. If using only oil and pigments, the colorings will fall to the bottom of the bottle. You’d have to shake the pigments and oils before each use.
Adjust the color
To obtain different colors, play with the pigments chosen and the amount used. I only wanted a subtle glow, so I ended up using around 2 grams of mica and added another half gram of gold iron oxide to give the oil a golden tone.
For a bronzing oil, choose copper and bronze-colored pigments. To tint your skin tone, you’ll probably need to increase the amount of pigment used.

Vídeo
Body shimmer Spray
Materials
- 89 g oil (Coconut oil is a great choice!)
- 3 g emulsifying wax (I used Olivem 1000)
- 3 g arrowroot starch
- 2 g pearl white mica
- .5 g gold iron oxide
- 2 g essential oil
- .5 g Vitamin E
Instructions
- Mix together the oil and emulsifying wax.
- Heat over a double boiler until the emulsifying wax has melted.
- Remove the oil from the heat source and add the starch and pigments. Mix thoroughly until well combined.
- Once cooled, add the essential oil and vitamin E and stir again.
- Add to a pump bottle, silicone travel tube, or another bottle for easy dispensing.


to do the bronze color oil, what iron oxide do we use and do we still use the pearl white mica?
Hi Wanda,
Great question! For a bronze-colored oil, you can use a mix of red iron oxide and a touch of brown or black iron oxide to deepen the tone. You can still add a bit of pearl white mica if you want a softer, more reflective shimmer—it helps give that metallic glow rather than a flat color.
If you prefer a warmer, more golden bronze, you can also mix in a tiny bit of yellow or copper mica until you get the look you like.
Where can i find a good Coconut CO2 Extract?
Hi Heather,
Coconut CO₂ extract can sometimes be tricky to find because it isn’t as widely sold as other extracts. You can often find it from cosmetic ingredient suppliers like Lotioncrafter, MakingCosmetics, or other DIY skincare suppliers online.
If you can’t find it, don’t worry. It’s completely optional in this recipe. You can simply use plain coconut oil or add a fragrance or essential oil that you enjoy.
Hi. To what temp did you heat the oils and eWax and for how long? Did you only heat until the wax melted? Thank you for the clarification. I loved this post!
Hi Maria,
Thank you! I only heated the mixture until the emulsifying wax melted. You don’t need to bring it to a specific temperature for this recipe. Once the wax is fully melted and blended with the oil, you can remove it from the heat and continue with the rest of the ingredients.
Hello, I love your recipe for the Shimmer Body oil and I was wondering could you substitute the Olivem 1000 wax emulsifier for CARNAUBA WAX? Thank you so much.
Hi Deb,
Carnauba wax will behave quite differently from Olivem 1000. Olivem is an emulsifying wax that helps thicken the oil while keeping the texture more fluid and spreadable. Carnauba wax is a much harder wax and will likely make the mixture quite solid rather than a pumpable oil.
If you want to experiment with it, you’d probably need to use a very small amount and adjust the oil accordingly, but I haven’t tested that substitution myself. Beeswax would usually be a closer swap if you’re looking for something that simply thickens the oil.
I added more wax but still separating. :(Do you think adding glycerin would help?
Hi Maria,
I’m so sorry about that. That has to be frustrating. I never had issues with mine separating. I doubt glycerin would help as it’s quite liquidy. I’d probably melt in a co-emulsifier as I suspect it’s because your particular emulsifying wax isn’t thickening up in the amounts you are using. (You could consider using cetyl alcohol or cetearyl alcohol.)
what is the gold iron oxide?
Suppliers generally sell different colors of iron oxide. The most common colors are black, brown, gold, and red. The micas come in a greater variety of colors, including blues and greens, etc.
Mine separated. Did yours?;(
No, mine stayed pretty well mixed. It could depend on the emulsifier. You may need to add more emulsifier if the one you’re using isn’t working to add enough viscosity to keep the particles suspended.
The problem with mine is that I used coconut oil and it solidified in the cooler months, so I wasn’t able to use it easily from the pump bottles since summer. I have scraped some off and have also used a bit in my hair to add a bit of golden shine.
What other carrier oil would you recommend? How much does this make?:)
You can use any oil… Oils like jojoba keep very well because it has a long shelf life, but you could also use something inexpensive like sunflower oil. (It has a shorter shelf life, though.)
It makes around 100g–close to 100ml— somewhere between 3-3.5 fluid ounces.
Thank you for this recipe . Is there a video ?
Yes! I’m not sure why it disappeared here and I’ll try to fix it, but you can see it on youtube meanwhile: https://www.youtube.com/watch?v=kLJsbcvaqtw&t=7s