 Español
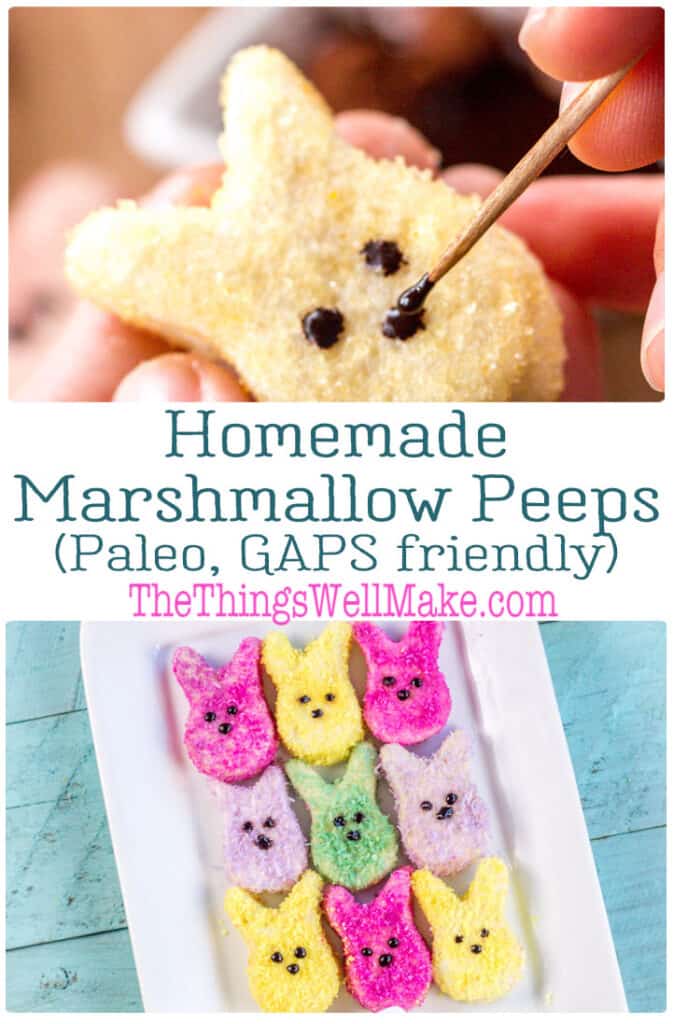
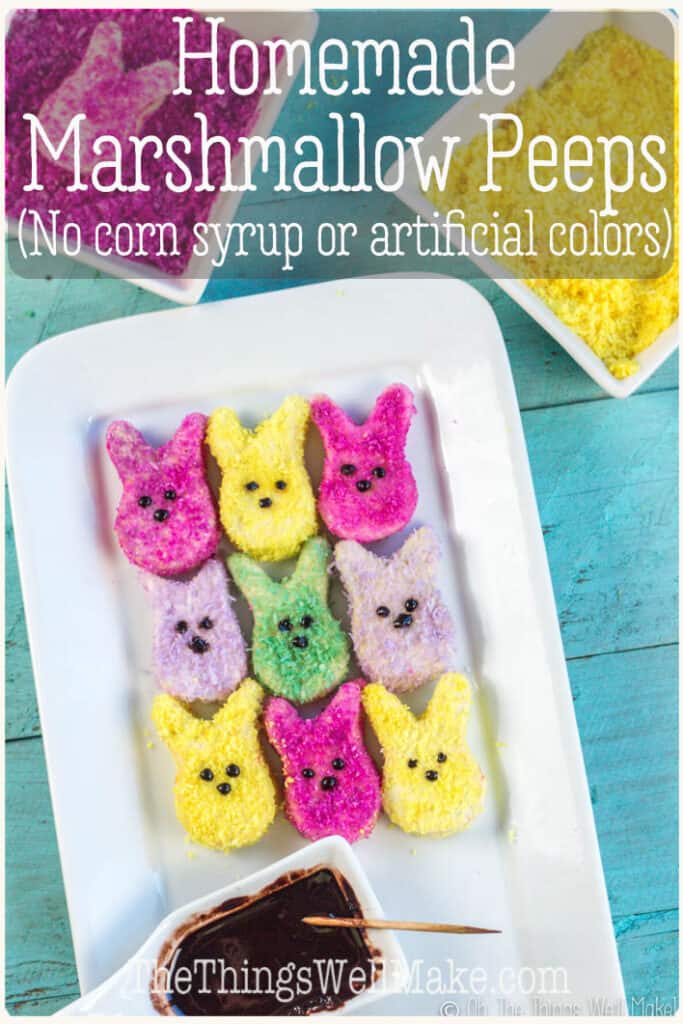
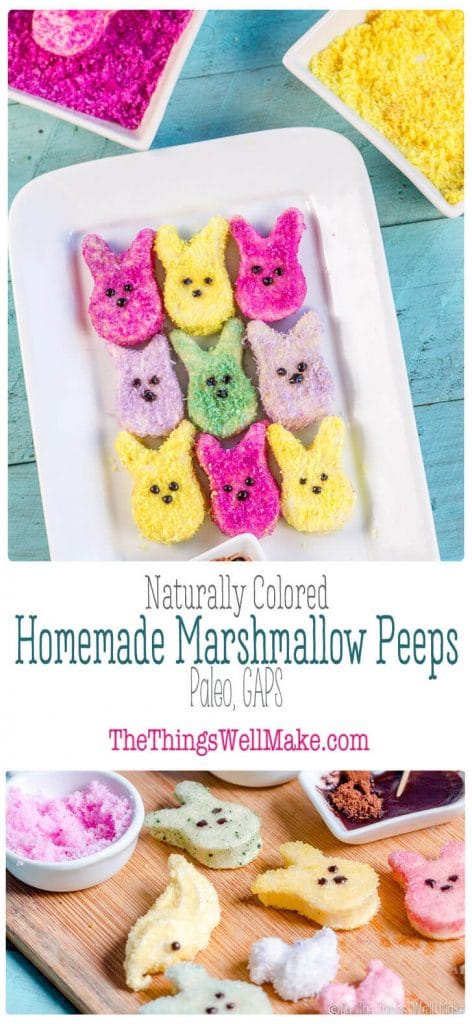
Avoid corn syrup and artificial colors when you make these healthier homemade marshmallow Peeps® inspired Easter treats. It’s a fun activity that isn’t as difficult as you might think.
Making marshmallows isn’t new to me. I’ve been making homemade marshmallows for years. I do it partly because I enjoy it and partly because I can control the ingredients when I make them myself.
It’s not just that, though. Marshmallows here in Spain are weird. It’s difficult to find the white ones here, and the colorful marshmallows they sell taste overly sweet. In fact, if you try to roast them over a fire, they just burn.
On the other hand, making a homemade version of the fun Easter treat, marshmallow Peeps®, was new to me. I had been wanting to try making them for several years now, but for some reason, I kept putting it off until now.
Homemade marshmallows without corn syrup
I’ve always made marshmallows without corn syrup. At first, it wasn’t because I had any particular issue with corn syrup. I made them without corn syrup because it’s not something that is readily available here in Spain.
Over the years, I tried several different recipes. Most used Lyle’s Golden syrup instead of the corn syrup. Lyle’s is a common British sugar syrup that I can easily find here in Spain.
GAPS and Paleo-friendly
While it’s easy enough to make these with something like Lyle’s, that’s not common in all parts of the world either. Plus, I like to keep things as healthy as possible and often follow a paleo-type lifestyle. Sugar syrup isn’t something that’s allowed by people on GAPS or following a paleo diet.
Those who follow GAPS or Paleo diets will be happy to know that it’s simple to make marshmallows using honey instead.
Are these healthy?
Let’s get real…
While honey and natural colorings make for an arguably healthier marshmallow, this still isn’t a healthy recipe by any means. It is still high in sugar. These are meant to be an occasional treat in a healthy, varied diet.
Ingredients
Marshmallow peeps are basically marshmallows that are covered in a colorful coating of some kind.
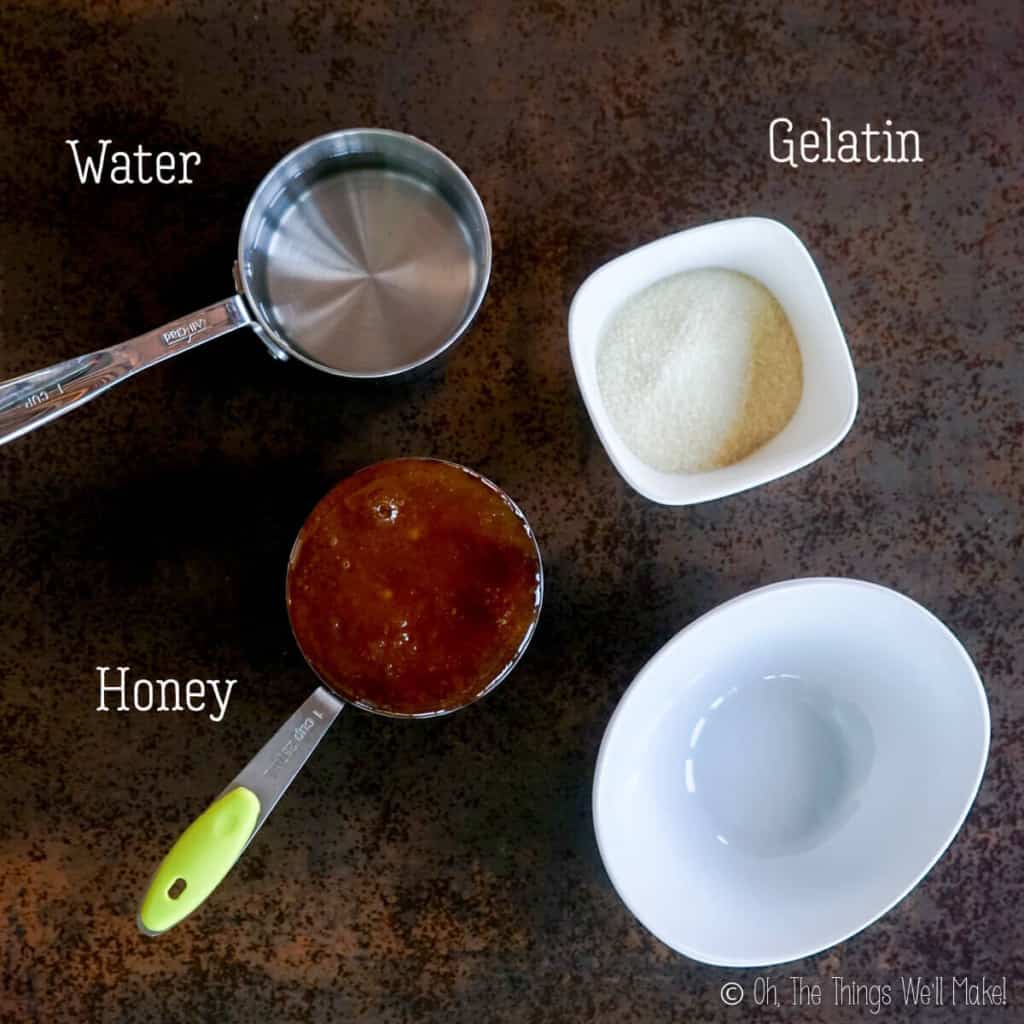
The marshmallows themselves are actually quite simple to make. The main 2 components of homemade marshmallows are gelatin and sugar. When dissolved and mixed together, heated to a certain point, and then whipped long enough, a soft fluffy marshmallow is made. It’s really quite amazing to see, and kids tend to LOVE making these.
This can be accomplished with sugar, sugar syrup, or with honey as I’ll show you today.
While not entirely necessary, adding some salt and vanilla (I used my homemade vanilla extract) gives the marshmallows a pleasant flavor.
You can use a variety of coatings for your peeps. The first time I made them, I tried coating them in naturally-colored sugar crystals that I made with colorings obtained from foods. I later found that using shredded dried coconut flakes made for a more vibrant coating that also kept for longer. I call these naturally-colored coconut flakes paleo sprinkles.
Making the marshmallows
The first step to making Peeps® inspired treats is to make the actual marshmallow base.
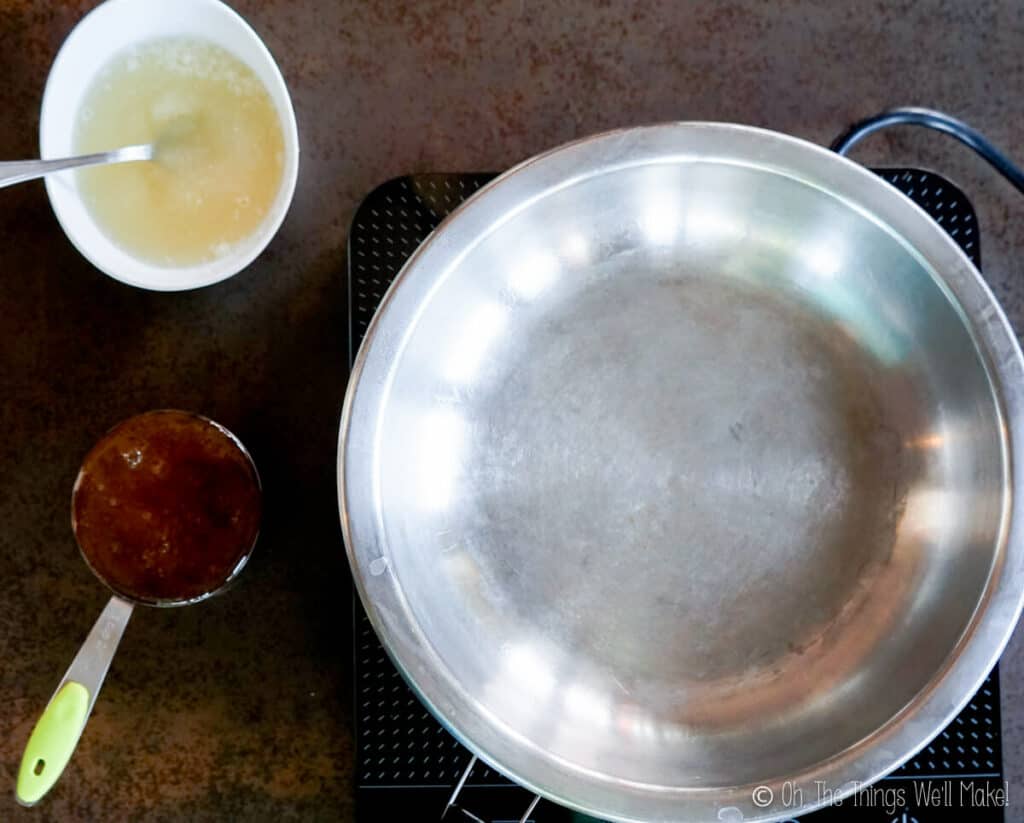
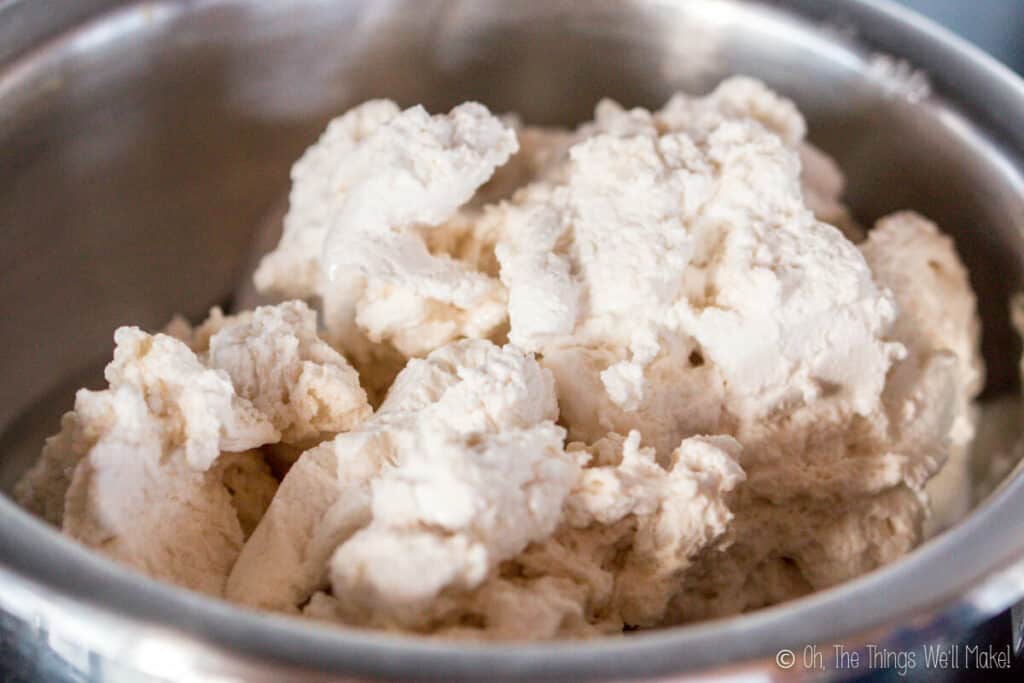
Get the gelatin to bloom
Begin by softening the gelatin in some water. Getting the gelatin to swell is called getting it to “bloom.” I usually use 3 tablespoons of gelatin in a half cup of water for one batch. (Using less gelatin is possible, and it results in slightly softer marshmallows.)
By hydrating the gelatin, it more easily is incorporated and dissolved into the rest of the ingredients later on.

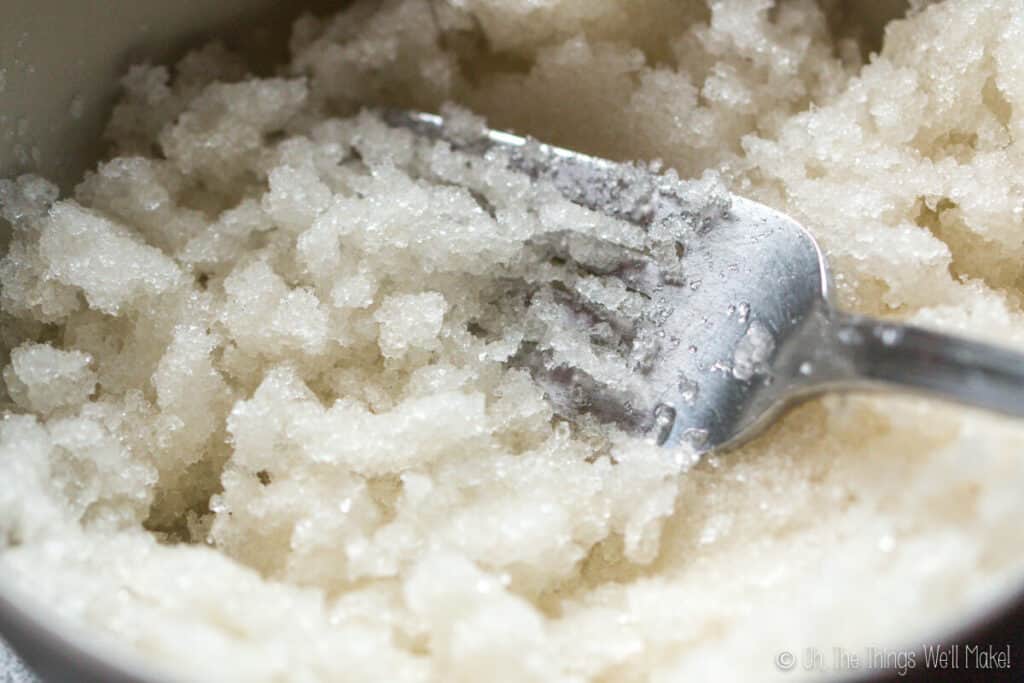
You can see in the photos above how the gelatin in the white bowl swells as it hydrates.
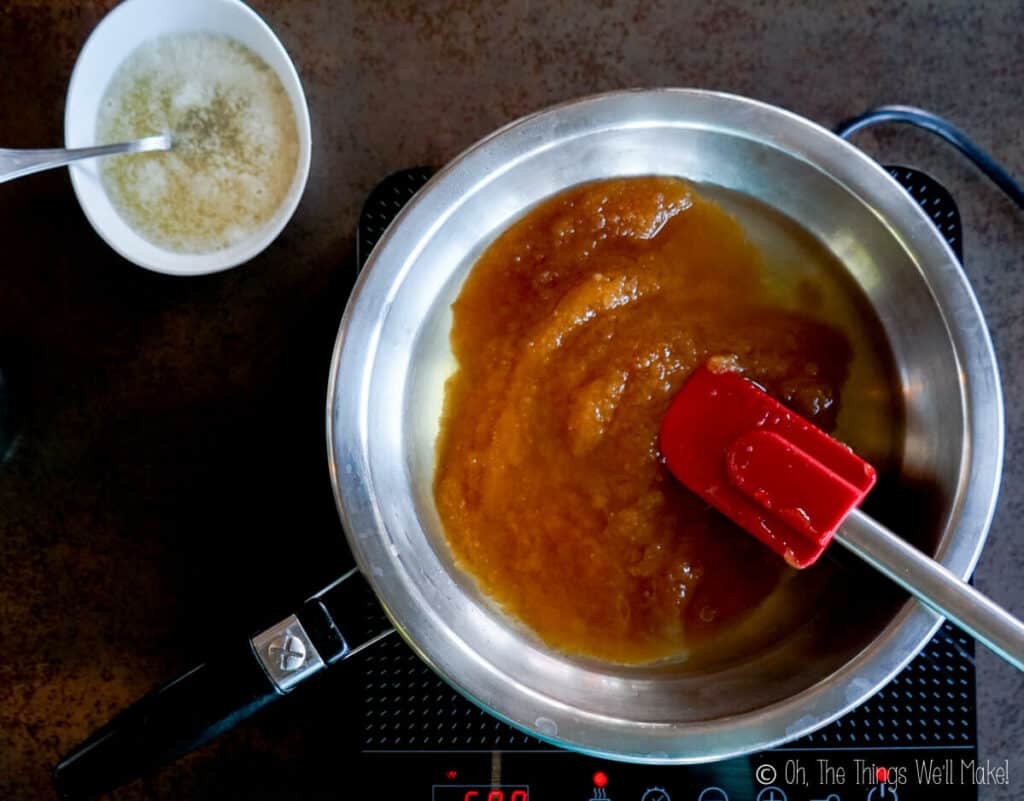
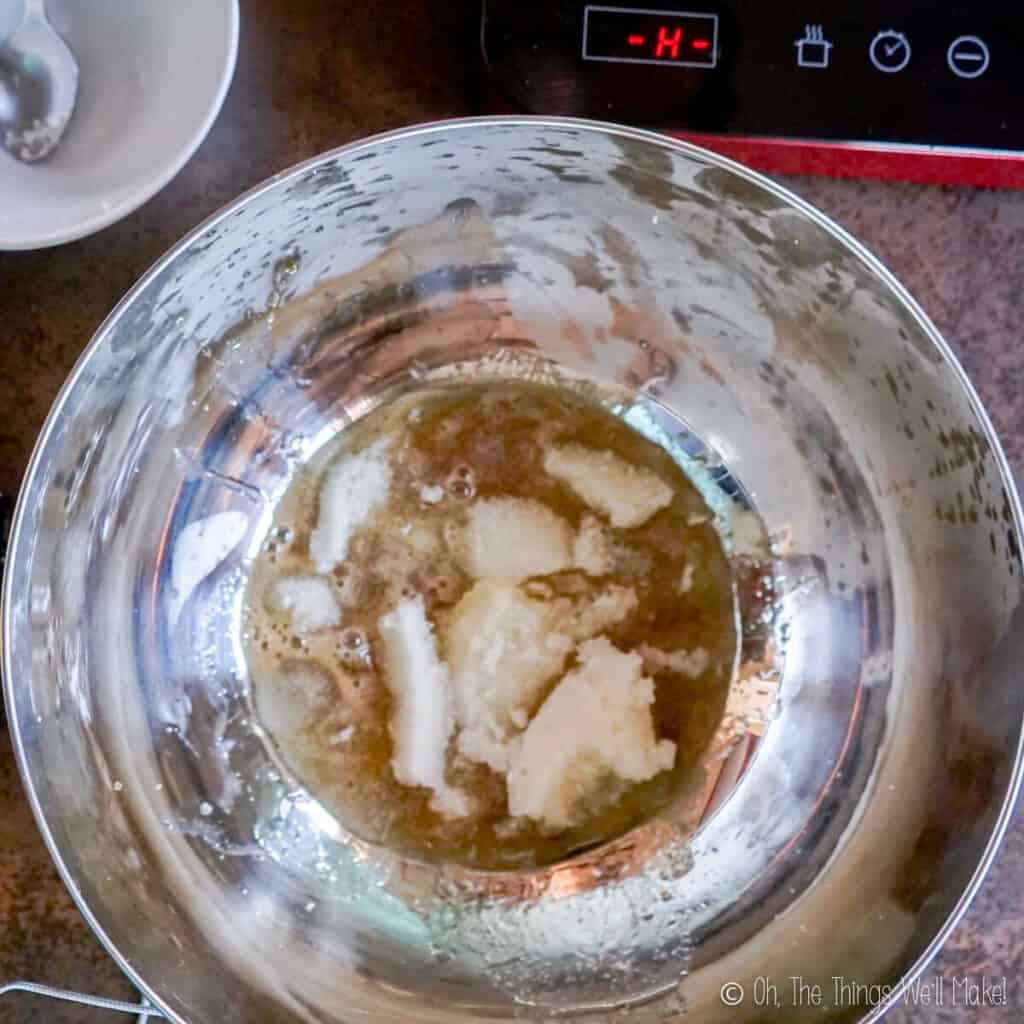
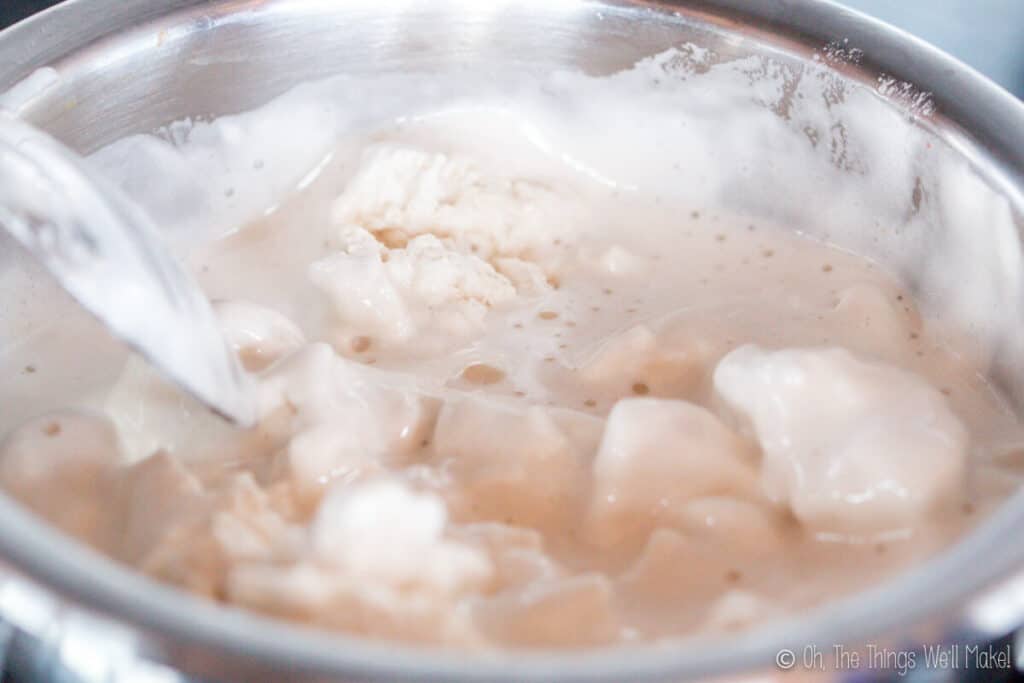
Heat the honey mixture
While the gelatin is softening, you can begin to heat the honey with some water. I use one cup of honey with a half a cup of water. If using a solid or thick honey, the honey will dissolve into the water as it heats up.
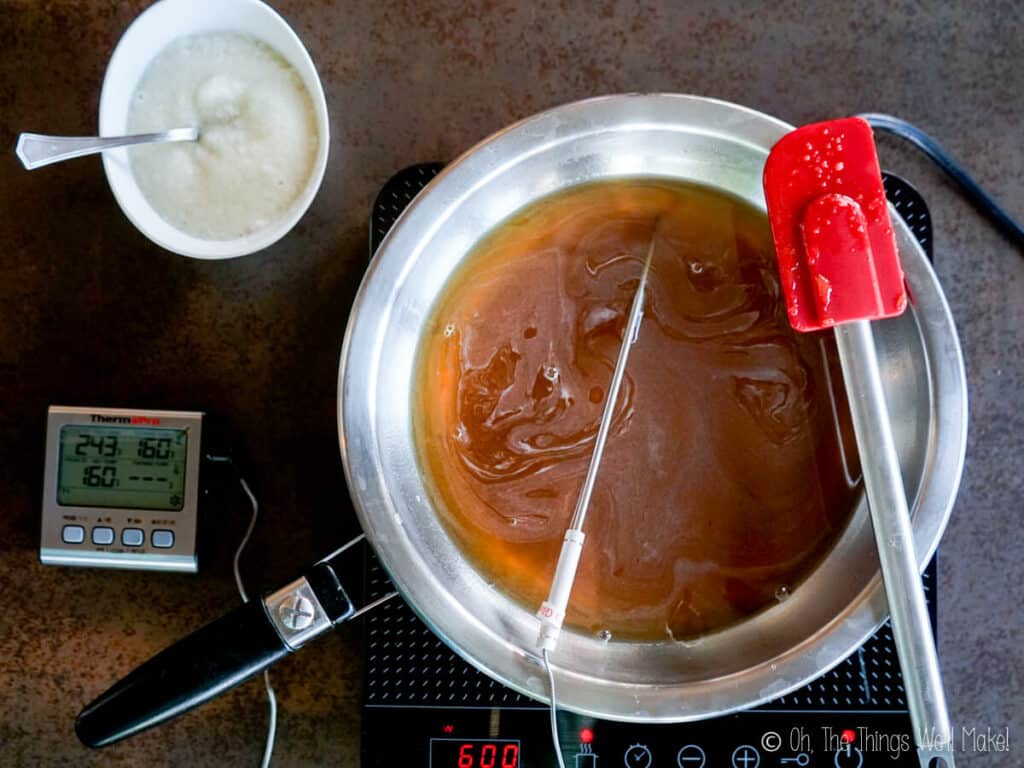
Heat the mixture to 240ºF/115ºC. While this temperature falls into the soft ball stage of candy making, I find that it’s very difficult to check by texture using honey. It’s easier to follow the temperature reading.
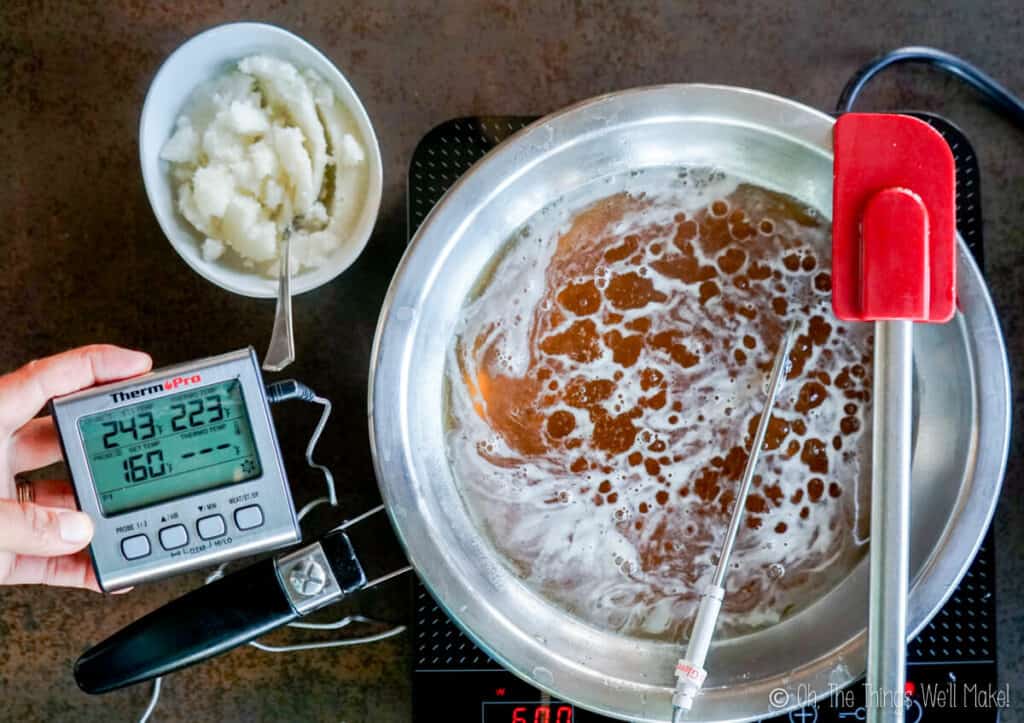
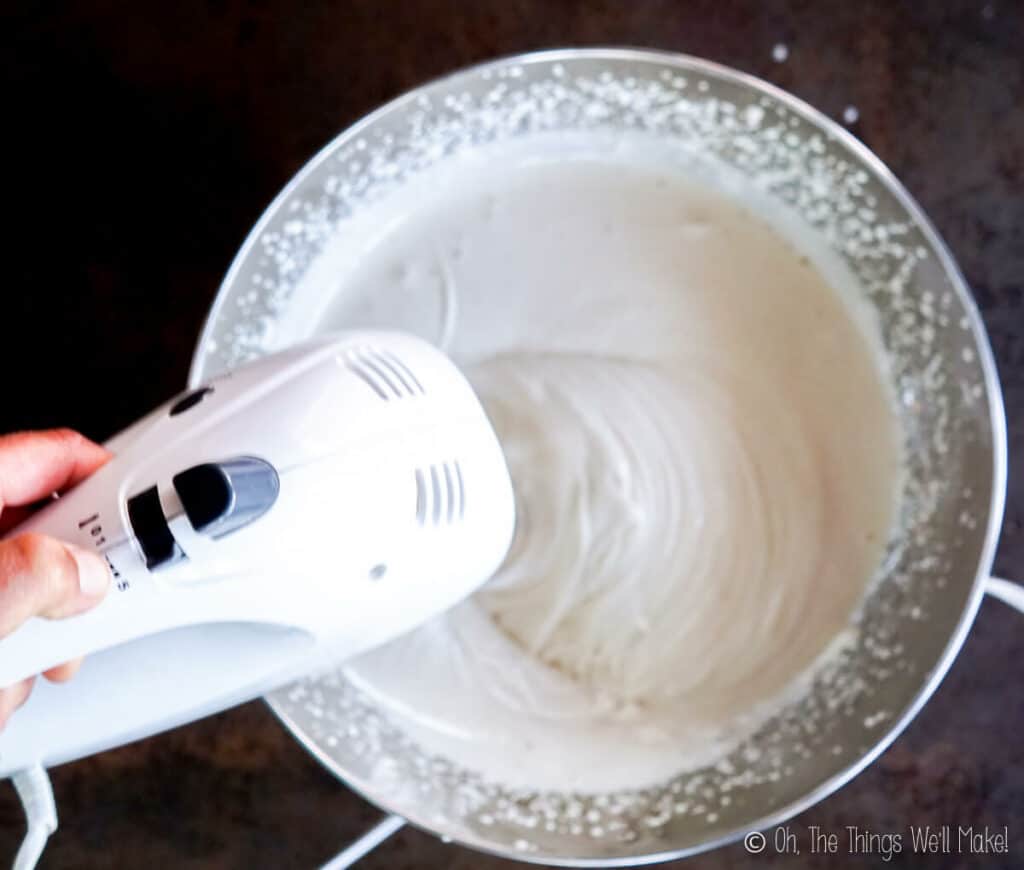
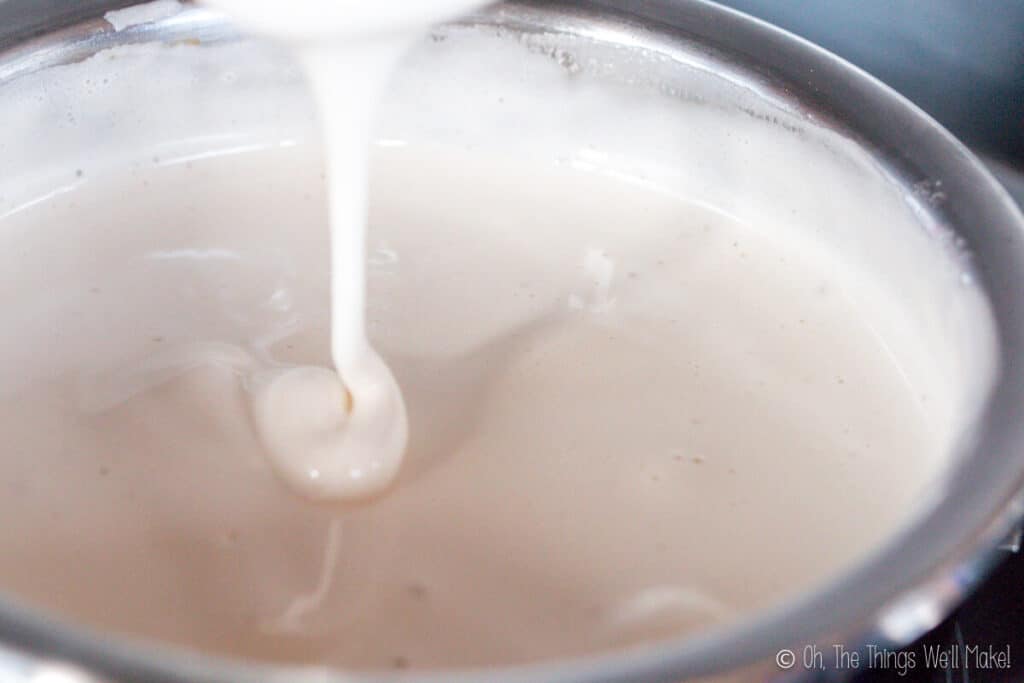
Whipping the honey-gelatin mixture
Once the honey mixture has reached the right temperature, it’s time to mix it with the gelatin. The heat from the honey mixture should help easily dissolve the hydrated gelatin.
The important step to forming fluffy, white marshmallows is to whip the mixture with egg beaters. By whipping the mixture, air gets incorporated into it. Not only will the mixture increase in size as that happens, but it will also get lighter and lighter in color.
Mix the gelatin with the honey. 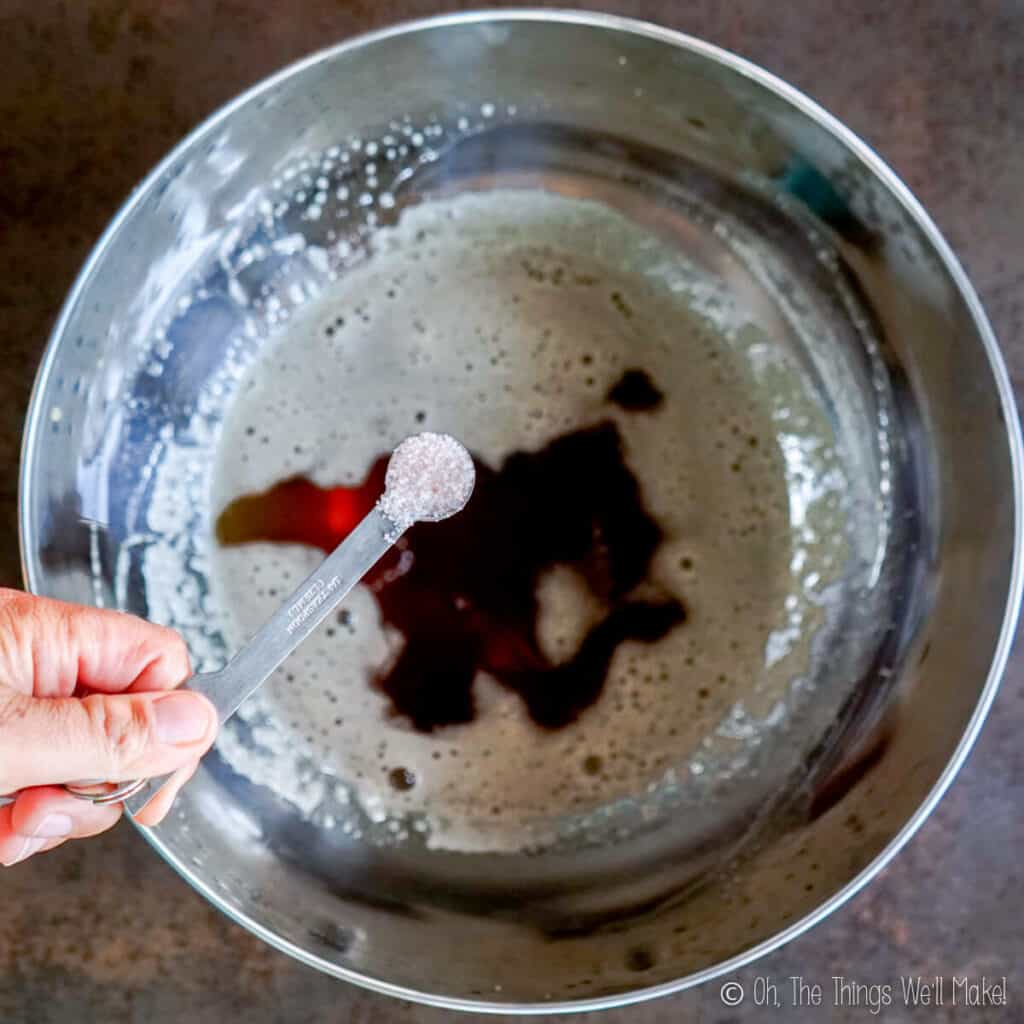
Add salt and vanilla extract. 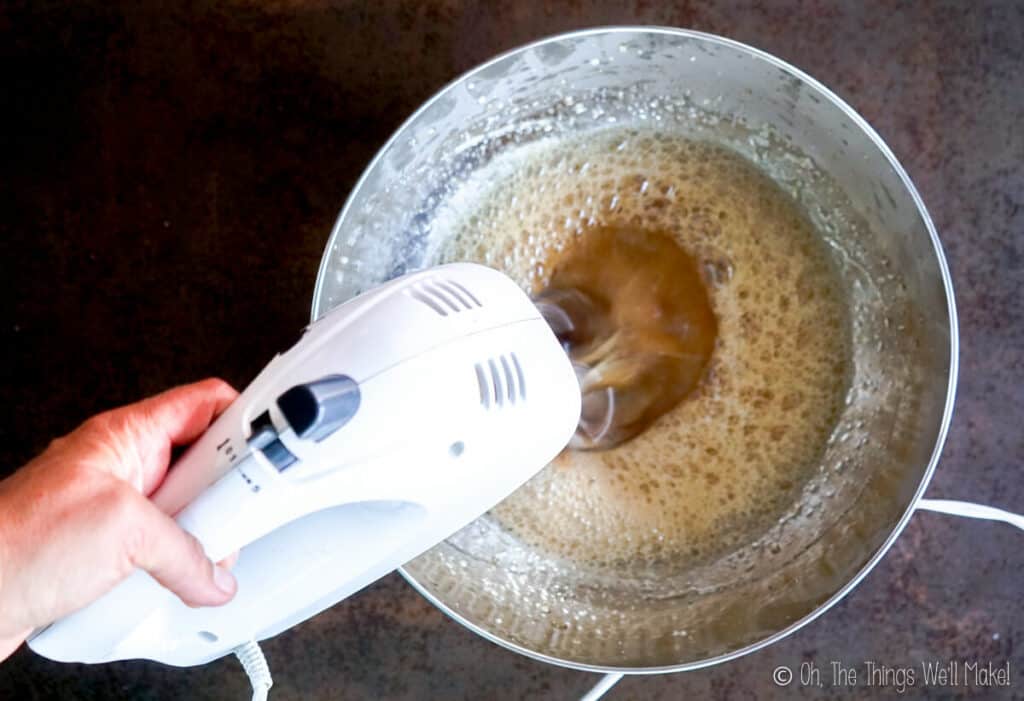
Whip all the ingredients together. 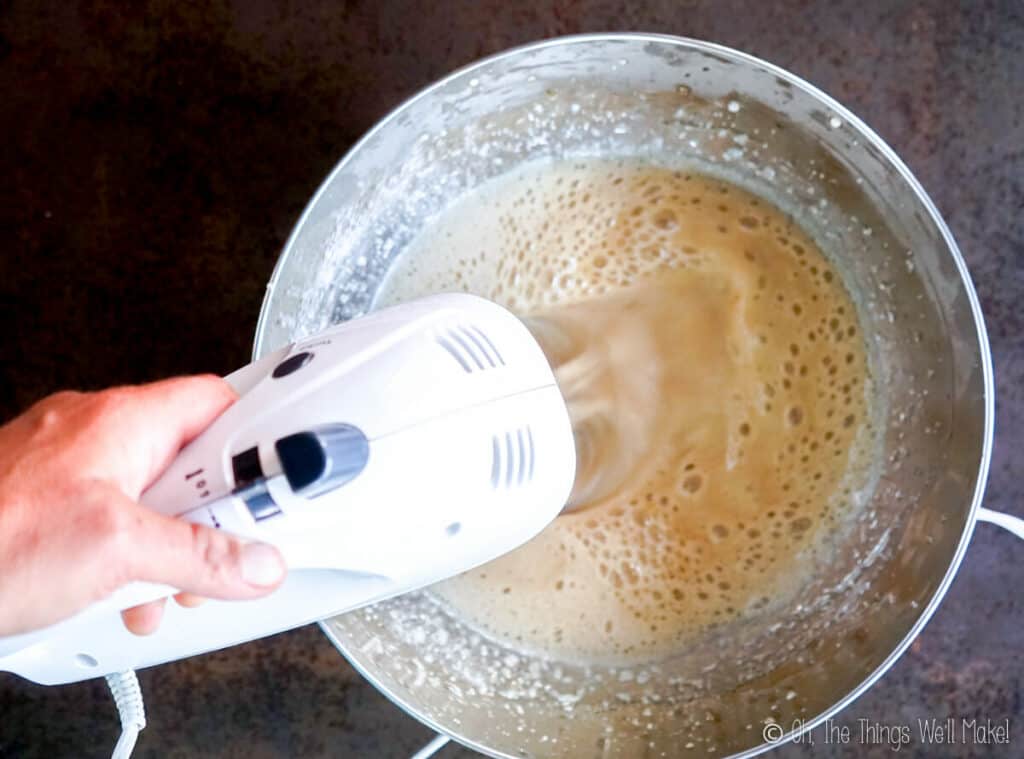
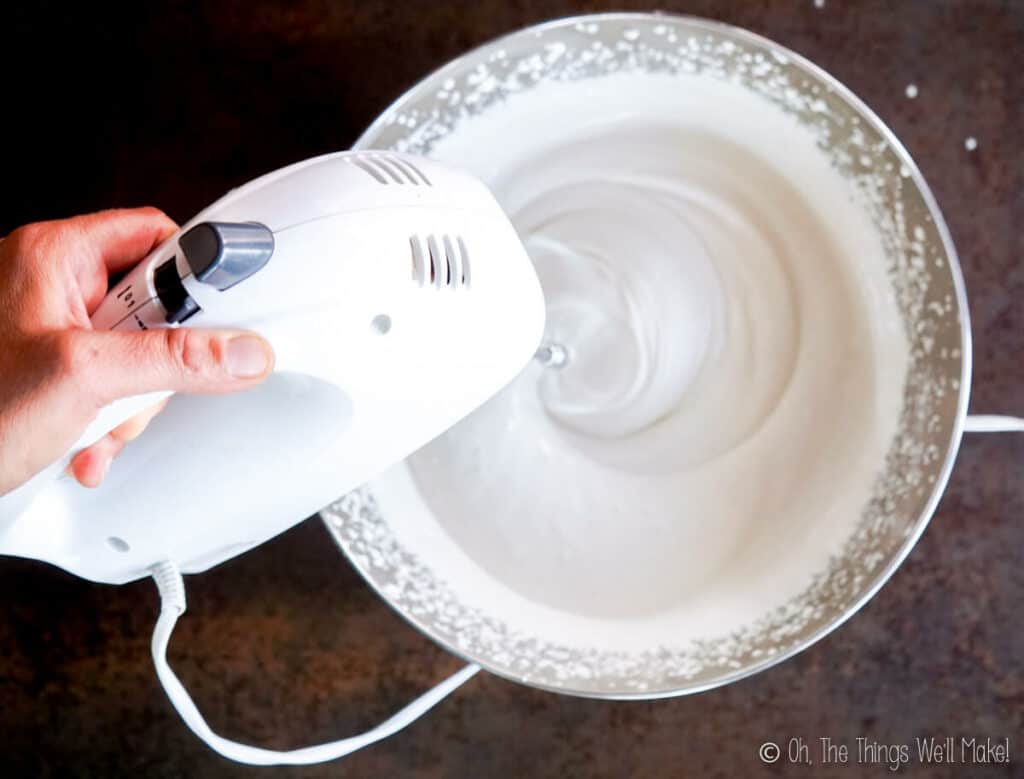
The mixture increases in volume and lightens in color. 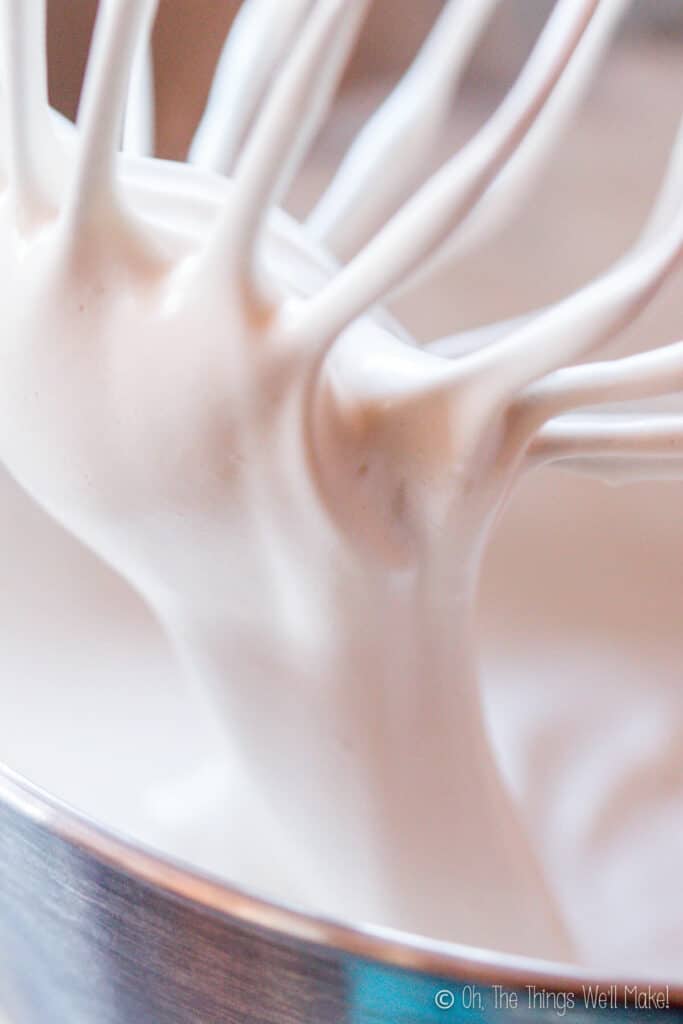
Even when using dark-colored honey, you should end up with relatively white-colored fluffy marshmallows!
Once you have made the mixture, it’s time to form it. There are several ways to imitate the fun shapes of real-deal Peeps®.
Piping Peeps®-like chicks
The Peeps® I remember eating as a kid are the 3D yellow chicks. Their unique shape, made by a special machine, is a bit tricky to make at home. Still, that doesn’t mean that people haven’t tried it. (If you know me well enough by now, you probably know that I’ll try to make just about anything at least once too. ?)
I saw a few tutorials showing how to pipe your own marshmallow baby chicks that were similar to the candies I remember. While I’m not very good at piping, the process looked simple enough, so I thought I’d give it a try.

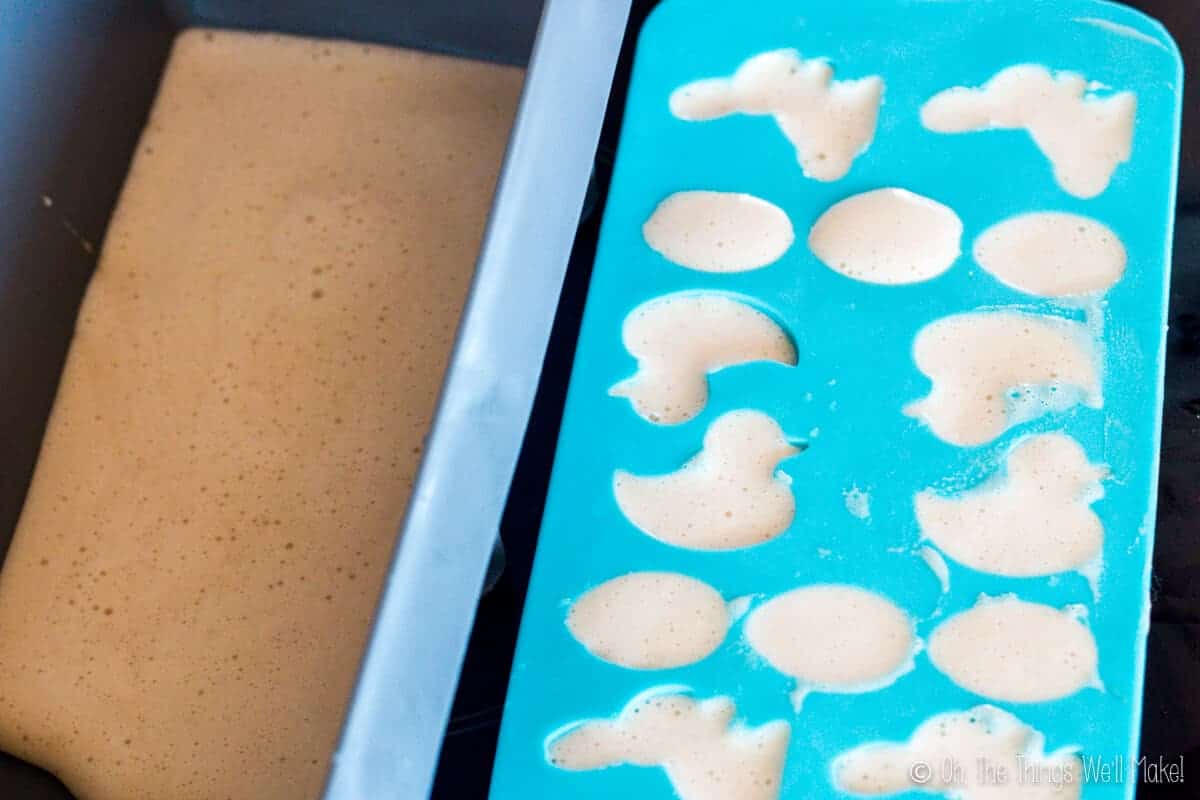
Trying to pipe homemade marshmallow peeps 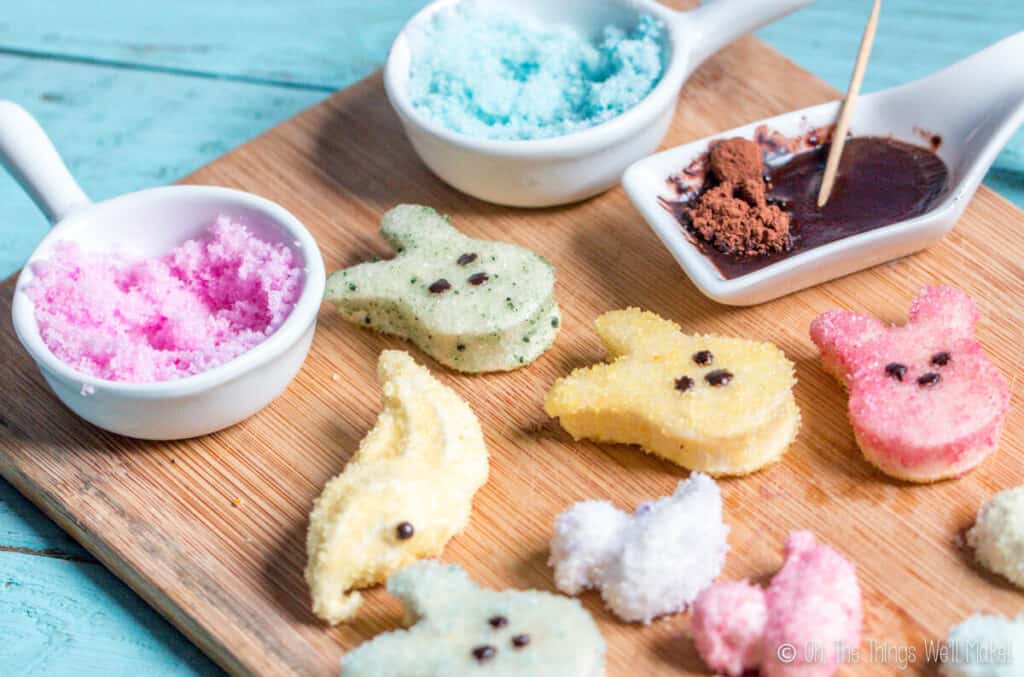
Piped chick next to “peeps” formed in a mold.
While it wasn’t a complete Pinterest fail moment, I found it difficult to pipe this marshmallow mixture. Getting the sticky marshmallow mixture into the piping bag was already tricky enough. Then, the marshmallow mixture began to set too quickly. You have to work quickly if you want to make a decent number of them with the recipe as written.
When the mixture was warm and less solid, it didn’t really keep its shape. When the mixture was cooling and getting more solid, it was almost impossible to pipe out the marshmallows.
I ran out of time and ended up with a piping bag full of set marshmallows!
If you are set on piping your marshmallows, try reducing the amount of gelatin in the recipe slightly. You can also add some whipped egg whites to your marshmallows to slow the hardening.
Using candy molds
Another common way of making marshmallow peeps is to use a silicone peep mold.
I didn’t have a peep mold, but I did happen to have another cute Easter mold at home. So, I decided to use that instead.
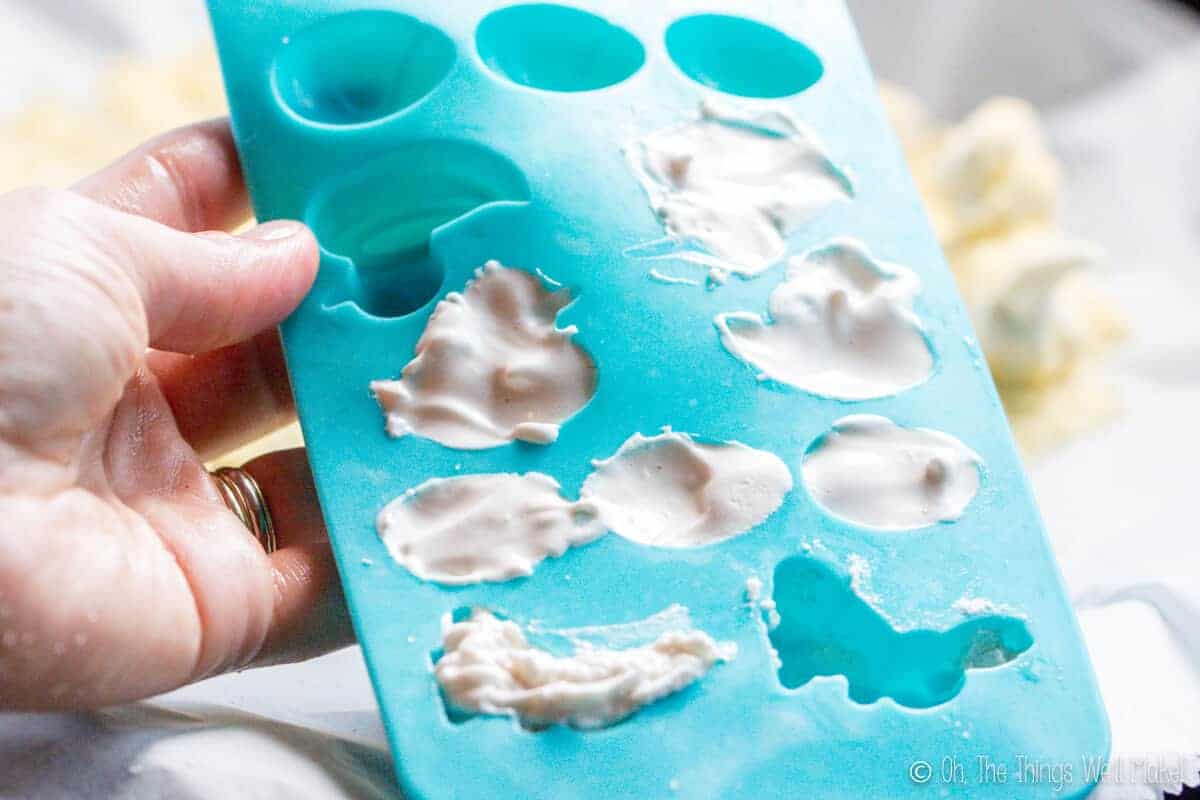
While I thought using a mold would be much easier than piping the peeps, my first attempt at using a mold wasn’t very successful. I should mention, though, that I used the leftover marshmallow mixture from my attempt at piping, and it was already starting to harden.
Pouring the marshmallow mixture into multiple, small molds can take some time. (And, it’s tricky to neatly fill the molds.)
Meanwhile, the marshmallows set as they cool. So, unless you are fast, or modify the recipe with less gelatin and/or the addition of egg whites, it is tricky to make very many before they set.
My second attempt was more successful. I used a freshly made marshmallow mixture and sucked it up it into a big, food-grade syringe. Using a syringe helped me fill the molds more quickly and accurately.
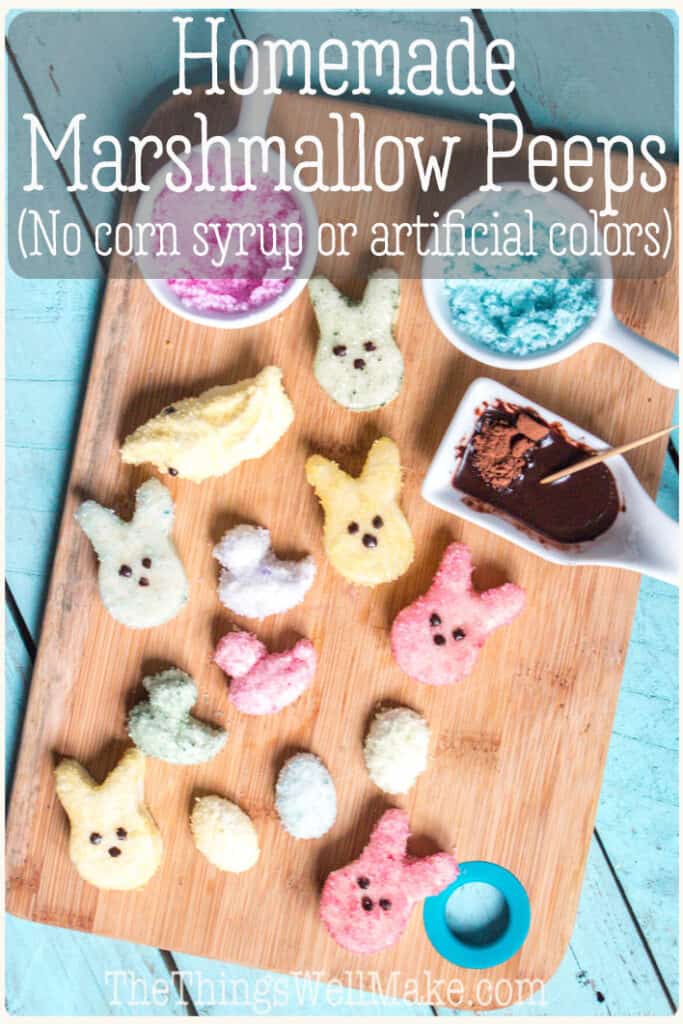
Cutting marshmallows with cookie cutters
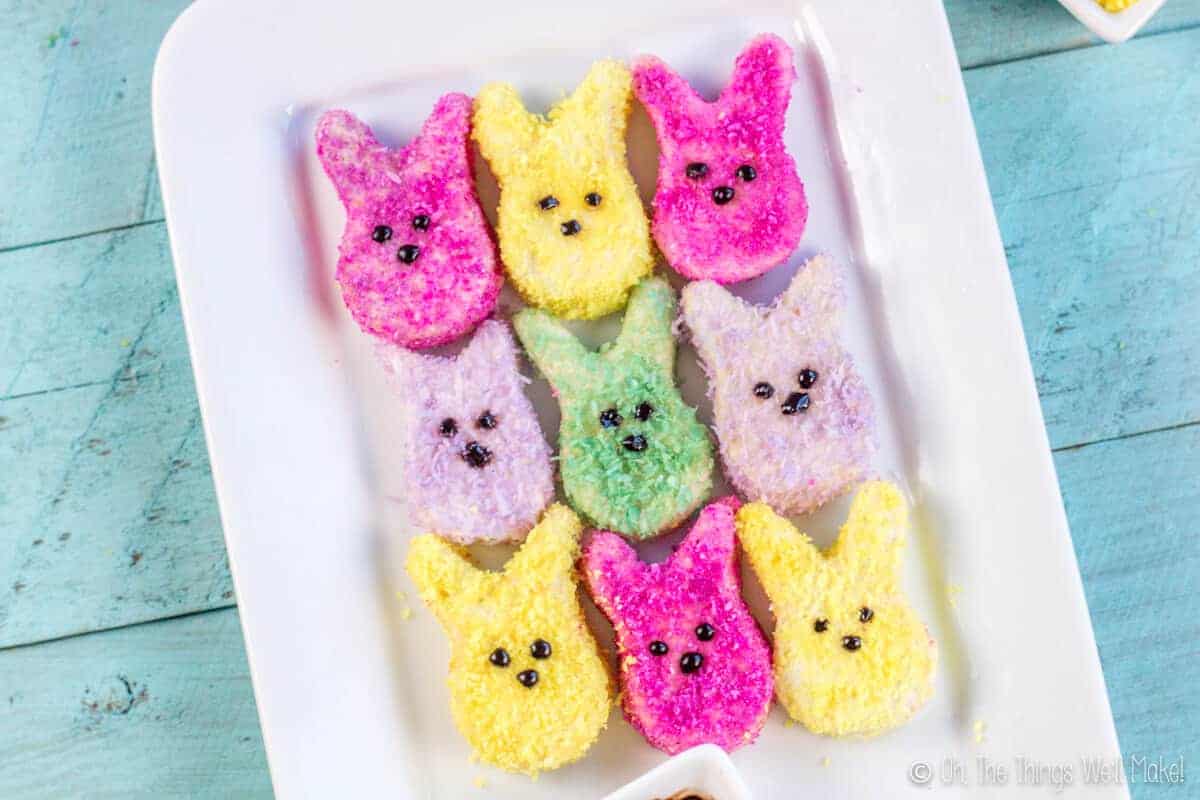
My favorite method, for overall ease, was using a cookie cutter to cut the Easter shapes. Rather than try to make a 3D chick shape, I opted for a flatter bunny.
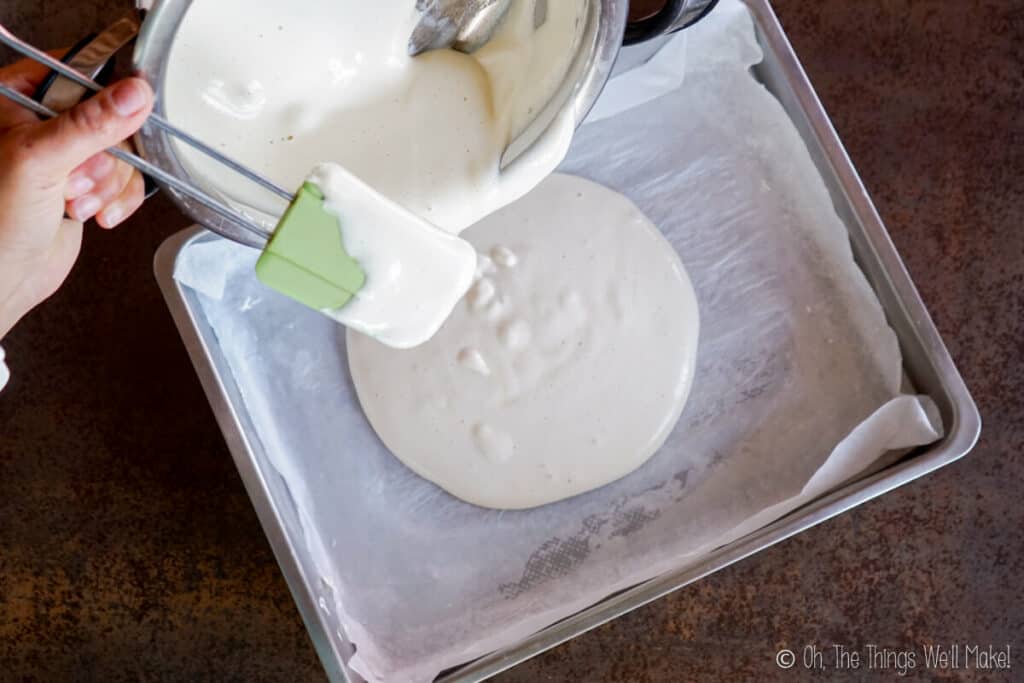
Pour a flat marshmallow
To begin cutting out your shapes, first make a large, thin marshmallow. To do so, either pour the marshmallow mixture into a greased silicone pan (like the loaf pan pictured above) or just pour it onto a baking sheet that has been lined with parchment or wax paper.
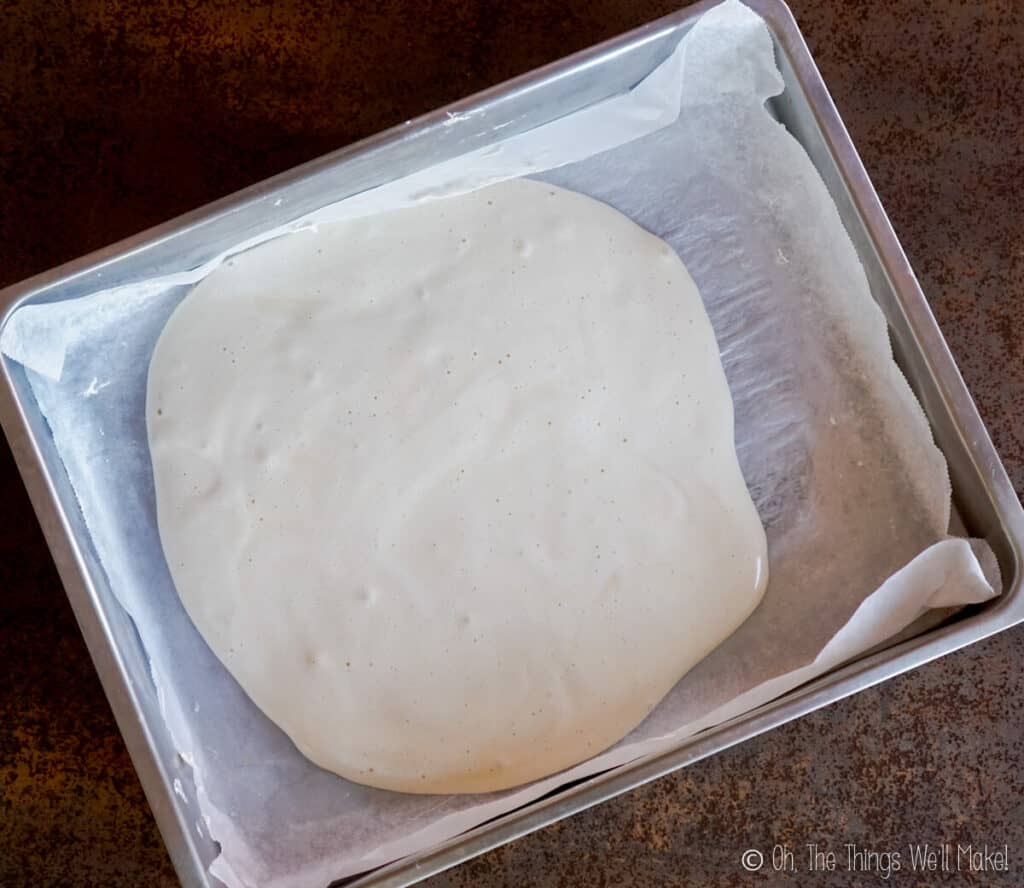
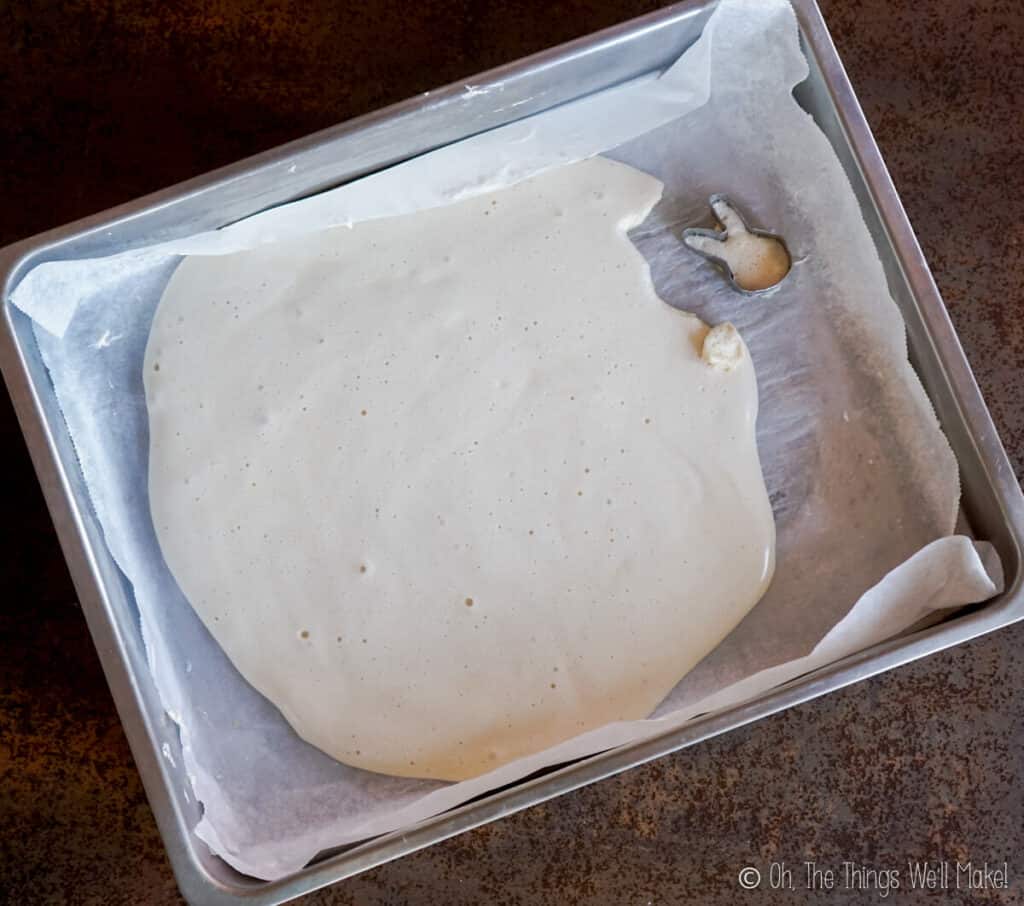

Once the mixture cools, it becomes hard enough to easily cut out with cookie cutters. While this sounds simple enough, I can give you some tips for making this method even more fool-proof.
Tips for getting the best shape
Firmer, thinner marshmallows are easier to cut than thick, sticky ones. Here are a few tips to making the cutting process easier if you’re having difficulties.
- Use a thinner layer of the marshmallow mixture. Trying to cut a thick layer of marshmallow is much trickier than cutting a thinner one. So, don’t try to add too much marshmallow mixture to pan molds. Keep the height around 1/2 of an inch if possible.
- Try adding slightly more gelatin. If you find the mixture too sticky to cut, either allow it to cool further or try using more gelatin next time.
- Heat the sugar (or honey) mixture to the right stage (240ºF). Make sure that you heated the honey long enough. Otherwise, the mixture may be too sticky and too soft to cut easily.
How to make homemade cookie cutters
Perhaps you don’t have Easter shaped cookie-cutters. I didn’t have them either, but I decided to make my own. I’ve made my own many times in the past. (Here on the blog, I already showed you how to make some simple ones for cutting out cute garden markers from polymer clay.)
While it may sound complicated, it’s actually quite easy to form your own cookie cutters.
Materials
While I’ve seen people go to the hardware store and buy sheets of copper or other metal to make their own cookie cutters, I find that it’s easiest to just buy cheap cookie cutters and repurpose them into the shapes that I want!
Forming the cutters
Armed with an old cookie cutter and a couple of pairs of pliers, I whipped out a bunny head cookie cutter in just a matter of minutes!
All you have to do is to figure out the shape you want, and then start using both round and flat pliers to slowly shape the cookie cutter as needed. It helps to draw out the shape ahead of time, but when working with simple shapes like this one, it isn’t absolutely necessary.
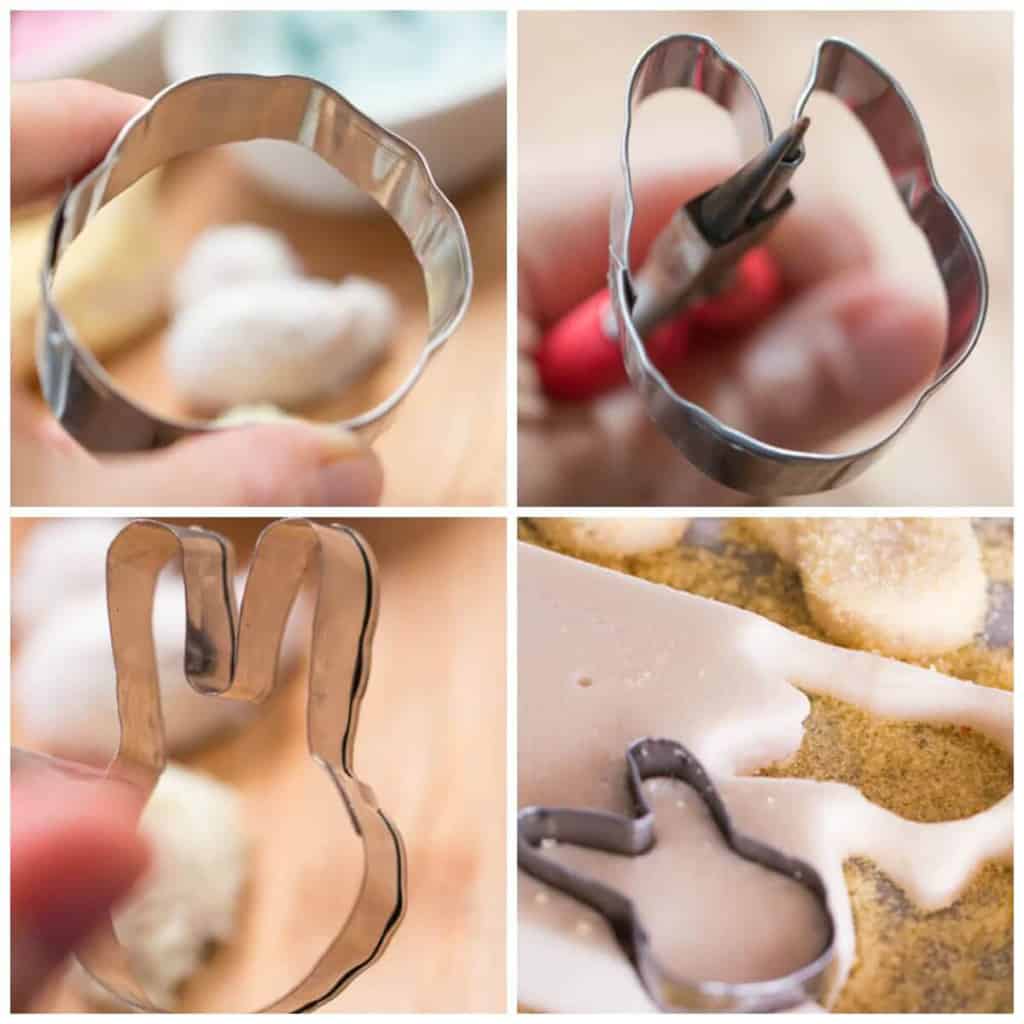
I was hoping to be able to use the original welding of the cookie cutter. I didn’t want to cut the cookie-cutter apart, so I had to conform to the amount of metal already used. If your old cookie-cutter comes apart, or you purposely cut it to make it easier to shape, you can temporarily glue it back together with super glue. (Or just manually hold it in place as you use it.)
Remelting the marshmallows
Luckily, this candy is pretty forgiving. While testing out the various methods for forming the shapes, the mixture solidified several times, making it impossible to continue. Also, when cutting out marshmallows, you end up with a lot of scraps that you may want to try to use later on.
The best way to resolve those problems is to re-melt the marshmallow mixture.
I decided to melt the solidified candy in a pan, thinking I would need to whip it again to get it back to a usable marshmallow state. Surprisingly, though, the mixture melted without losing its air bubbles. I was able to pour the mixture into the molds without needing to whip up the mixture again. The resulting marshmallows were indistinguishable from the original ones.
There are limits, of course. I tried to reheat the mixture a second time, but that attempt wasn’t as successful. While the melted marshmallows looked OK to use, the mixture ended up separating into a honey gelatin layer on the bottom and marshmallow layer on top.
So, this year, when remelting marshmallows, I whipped them for a few minutes before using them, just in case.
Coating the marshmallows
The first step to decorating your Easter marshmallows is to cover your candies with a colorful topping. Not only will the topping help keep them from sticking to each other, but it’s the best way to decorate them.
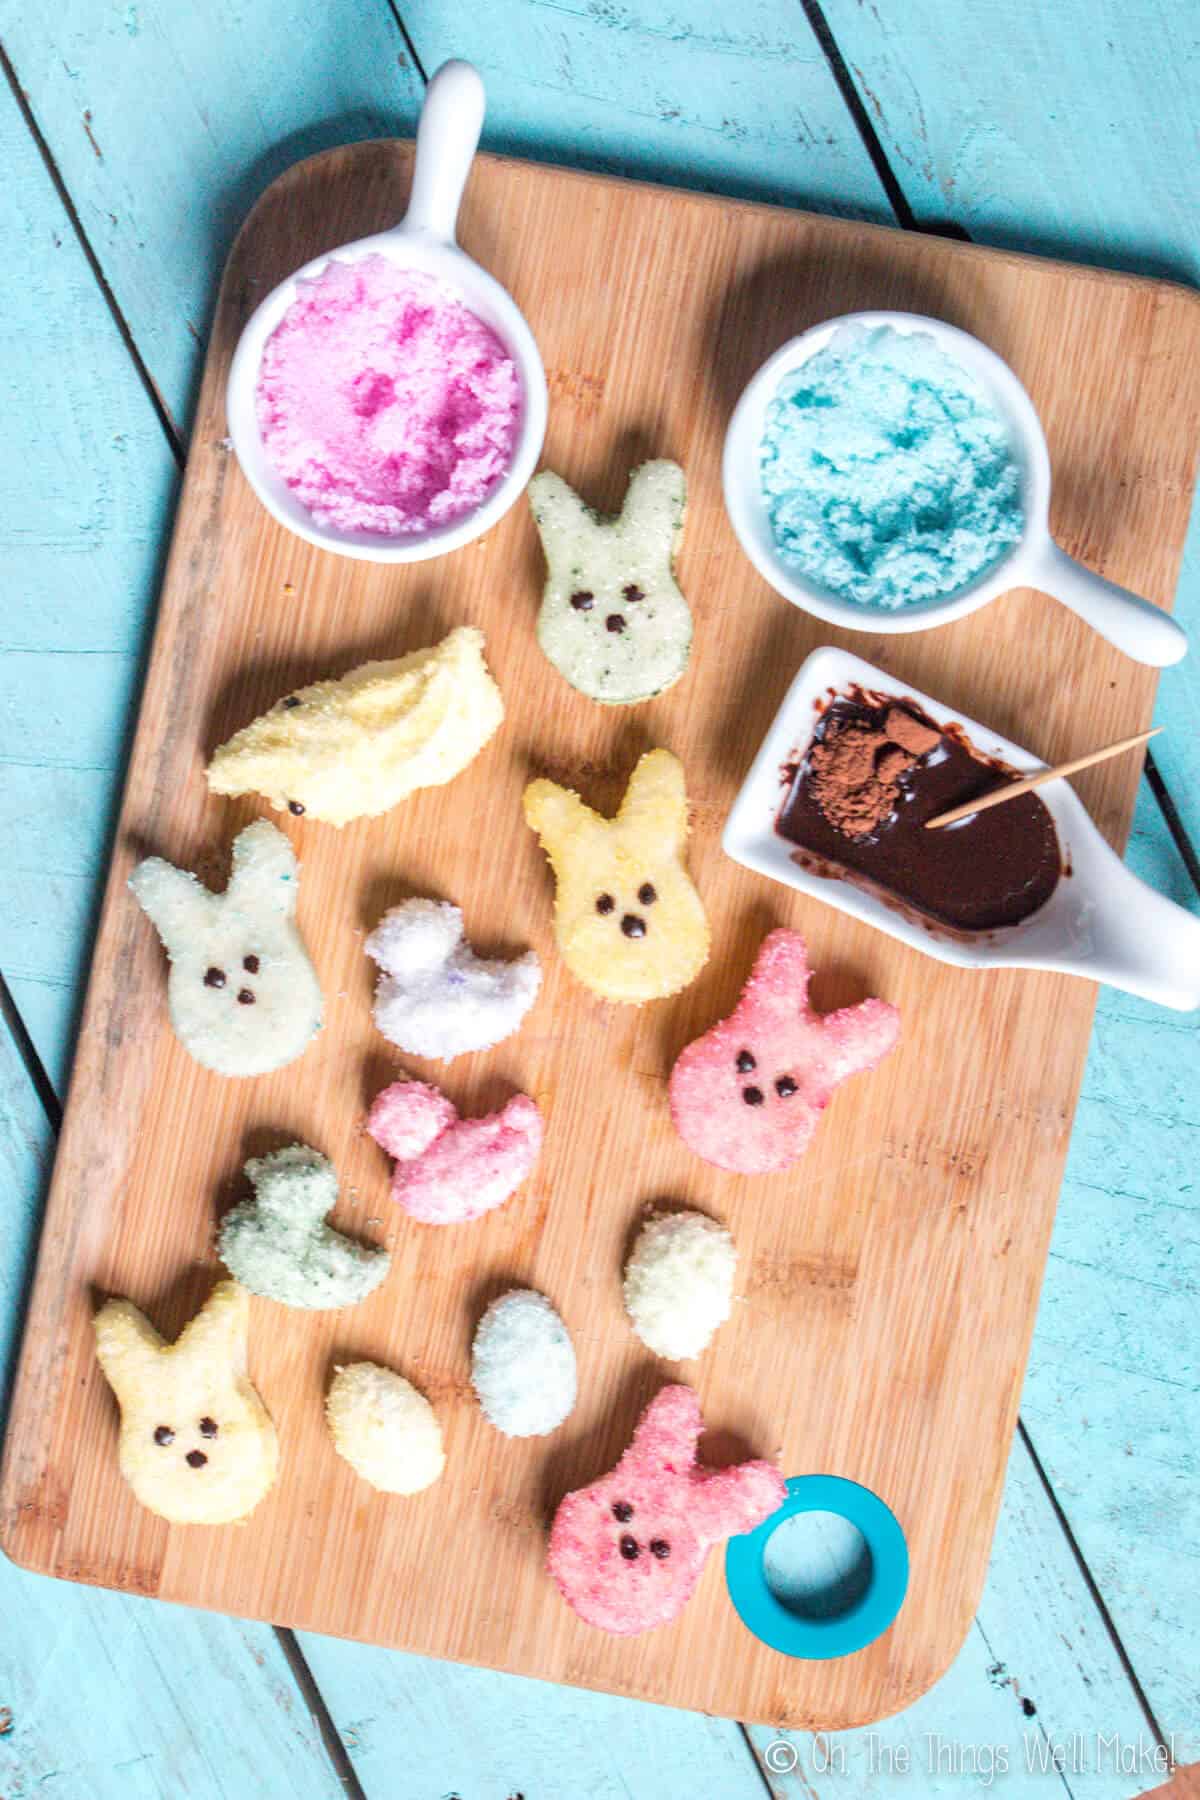
Traditional Peeps® are covered with colorful sugar sprinkles. So, when I began making my copycat version, I decided to make my own naturally-colored sugar sprinkles.
Using a colored sugar coating
There were a few problems with using colored sugar sprinkles for covering the peeps, though.
- I found them WAY too sweet.
- The color of the sugar crystals wasn’t very bright and vibrant.
- With the humidity, the sugar crystals melted away into an orange syrupy mess only a few hours after making them!
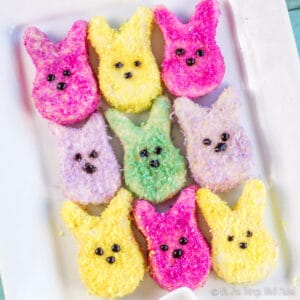
Using “Paleo” coconut sprinkles
To save the above batch, I rinsed off the sugar and dipped the candies into coconut sprinkles instead. While you could use store-bought food coloring to color the shredded coconut, I used food I had at home instead. The below sprinkles were colored with beetroot, turmeric, and red cabbage!
Making coconut sprinkles:
To make your own coconut sprinkles, add a few drops of a homemade food coloring to some unsweetened coconut flakes. (The homemade food coloring can either be extracted directly from fresh vegetables or can be made with dried powders and extracted with alcohol or glycerin.)
Once you add the food coloring, stir well, until the dried shredded coconut evenly absorbs it. Once the coloring is evenly dispersed, allow the sprinkles to dry. (Dry sprinkles adhere better to the marshmallow shapes.)
To quickly dry the sprinkles, spread them out in a thin layer on a baking sheet. Bake them in the oven on the lowest heat setting. (Use a fan if your oven has one.) Bake gently for long enough to dry them out. You can also use a food dehydrator. See the full process in my post about how to make paleo sprinkles.
If you’re following a GAPS or paleo diet, or are just choosing to avoid refined sugar, you’ll be happy to know that the coconut coating is not only healthier, but I think tastes better too. Plus, the coconut absorbs more color, meaning you end up with brighter colored peeps that keep much longer! (And, no syrupy mess!)
Tips to get the coating to stick
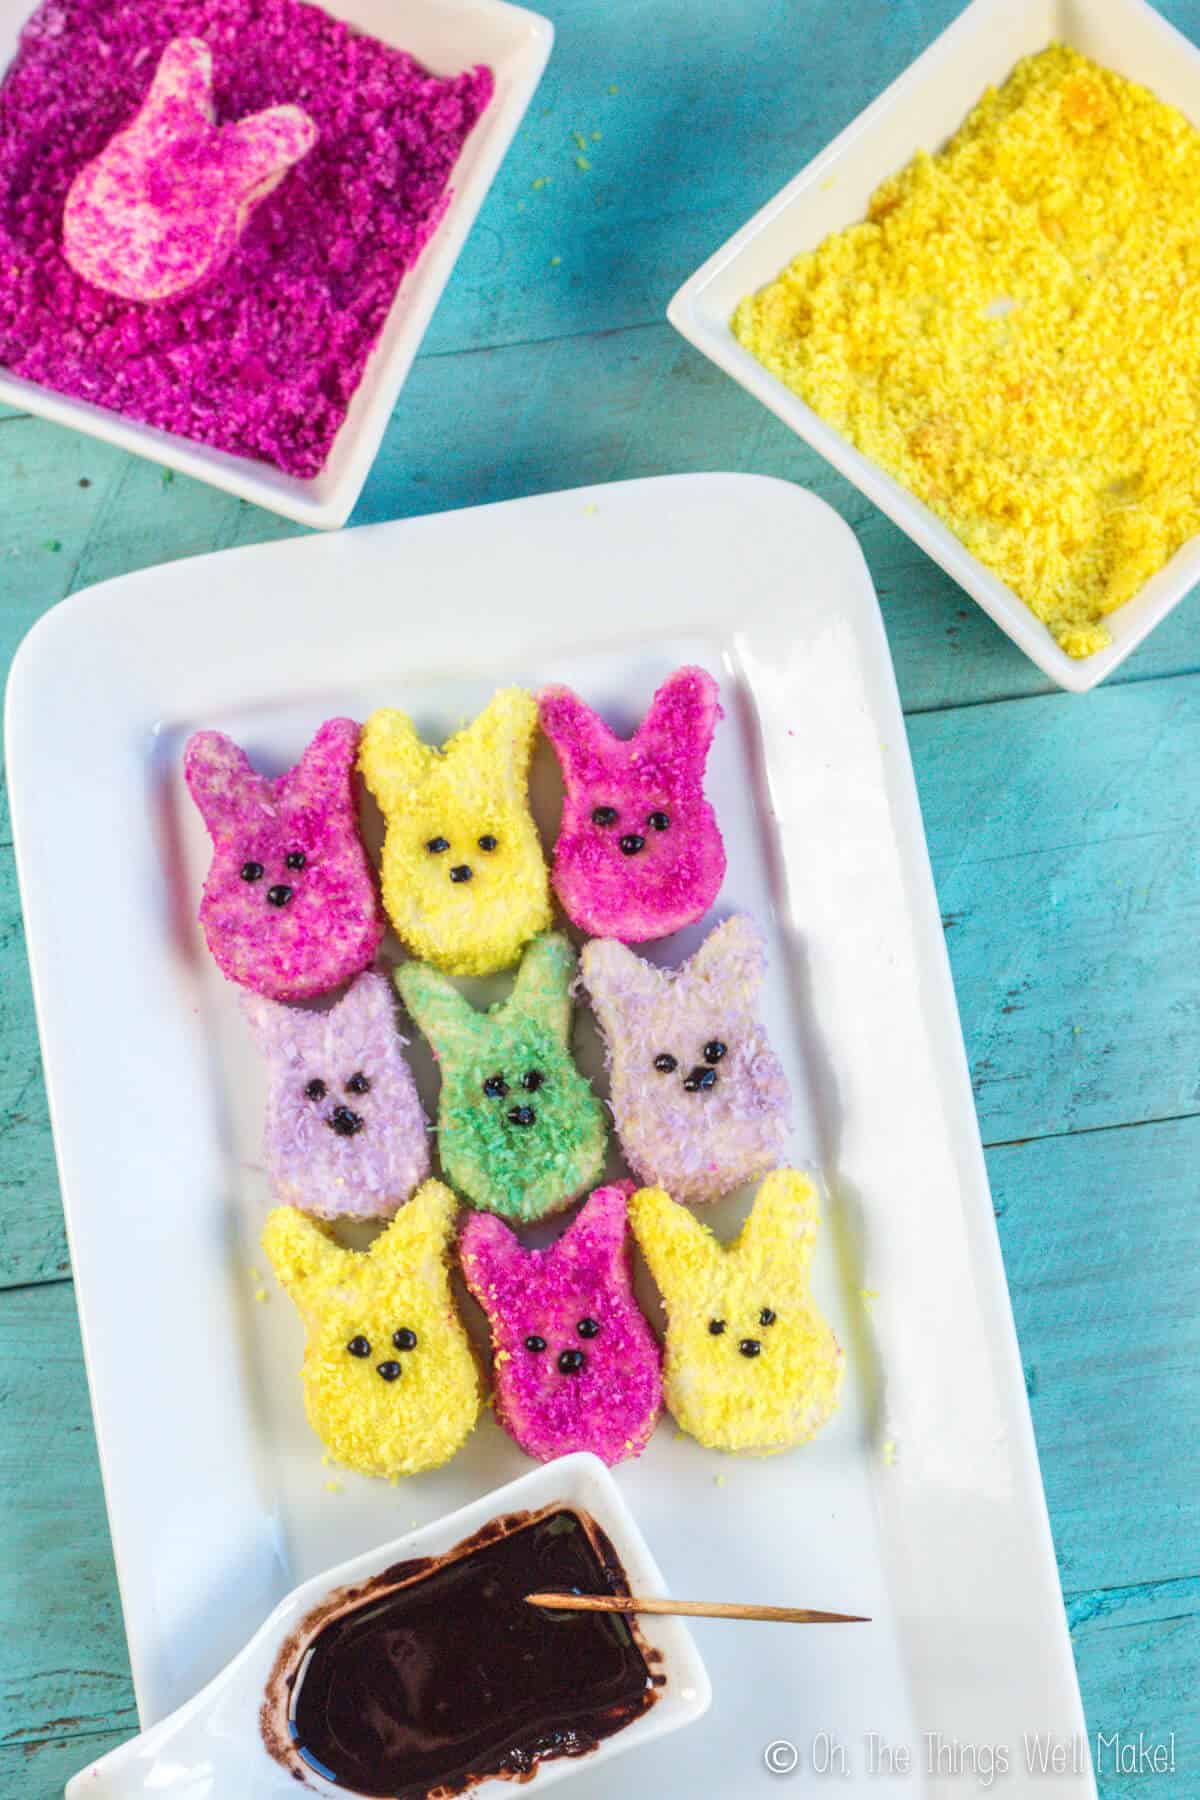
To more easily coat the candies, I ground the coconut into a finer powder. Not only did it more easily stick to them, but the finished candies looked look more authentic because the ground coconut more closely mimicked sugar crystals. (In the photo above, the pink and yellow sprinkles were ground in a coffee grinder.)
There are other ways to get the sprinkles to stick:
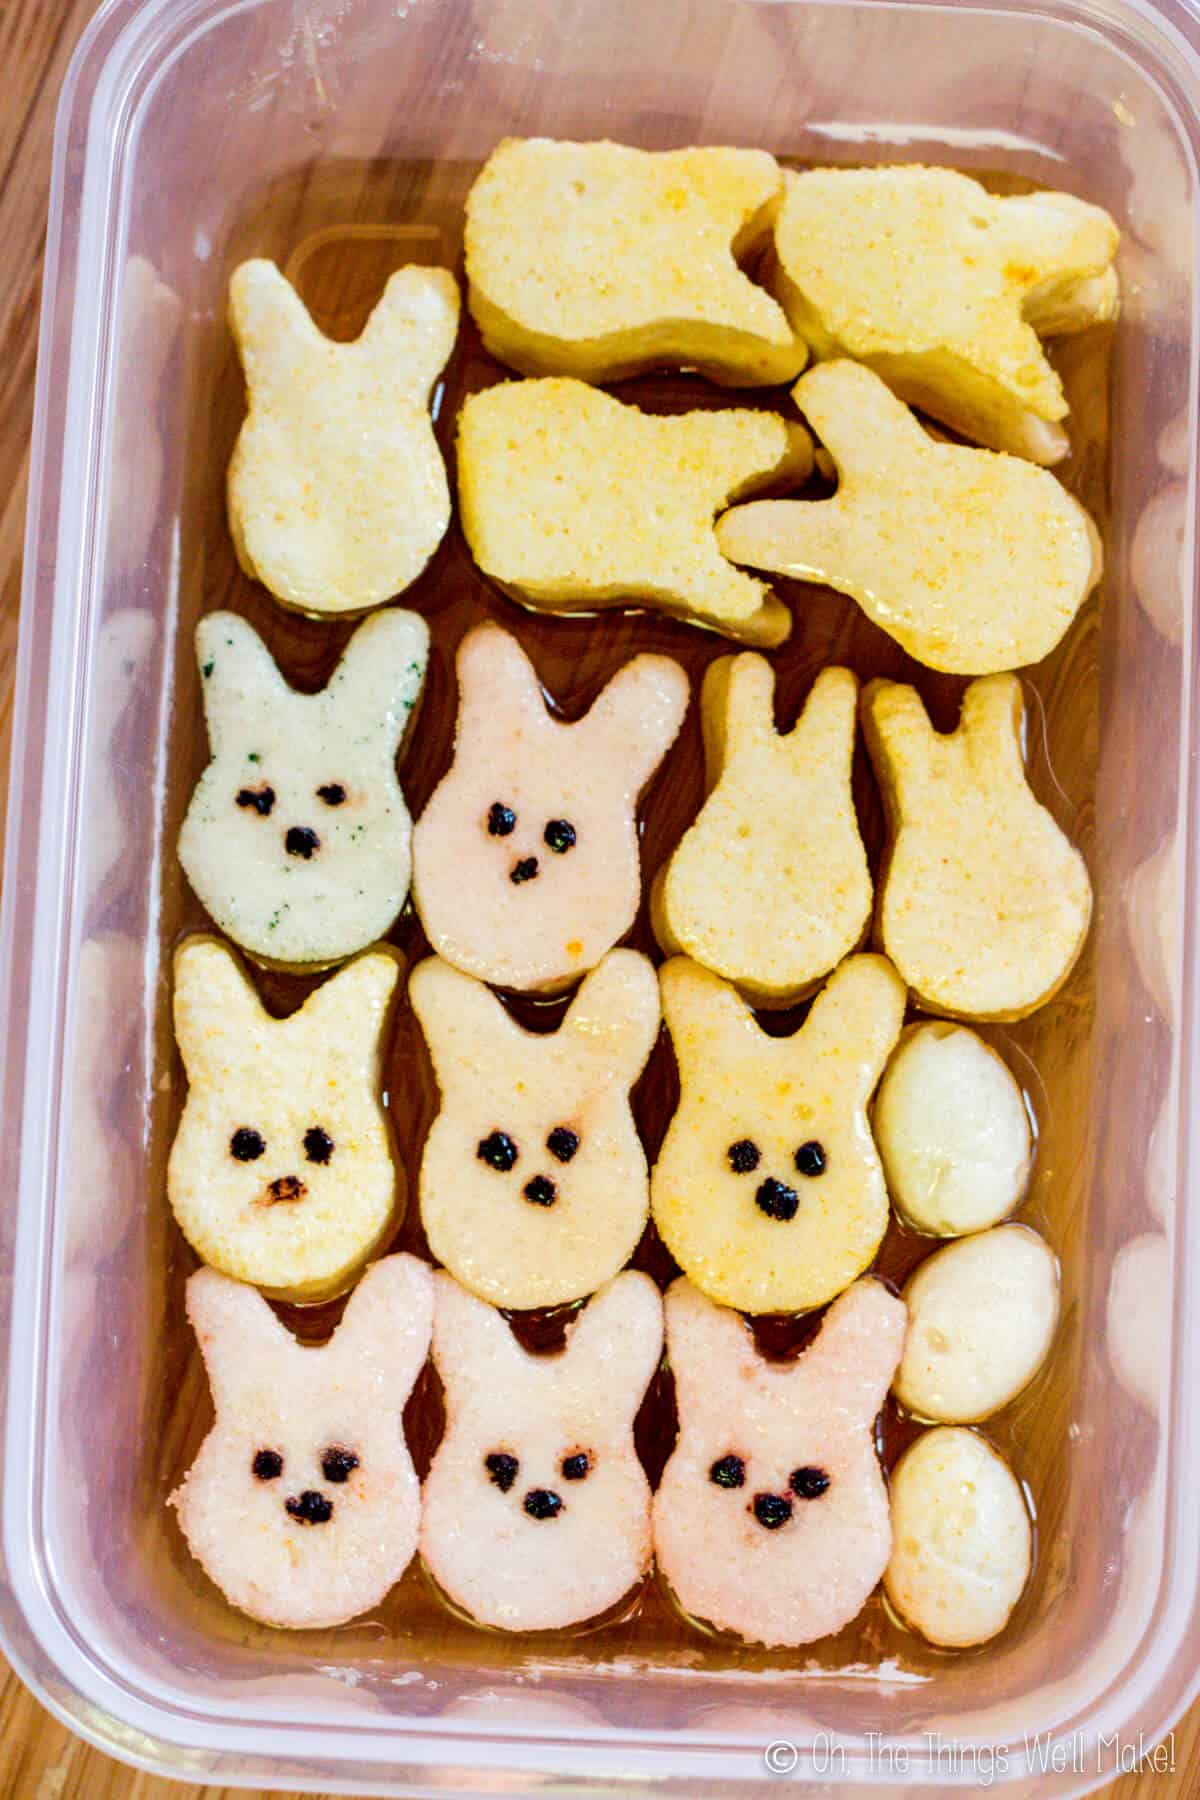
- If the candies have dried and solidified too much, dip them in a honey and water mixture to help get the sprinkles to stick to them more easily.
- Make sure the sprinkles are completely dry before trying to coat the marshmallows.
- The finer the grind, the easier it is to coat the candies.
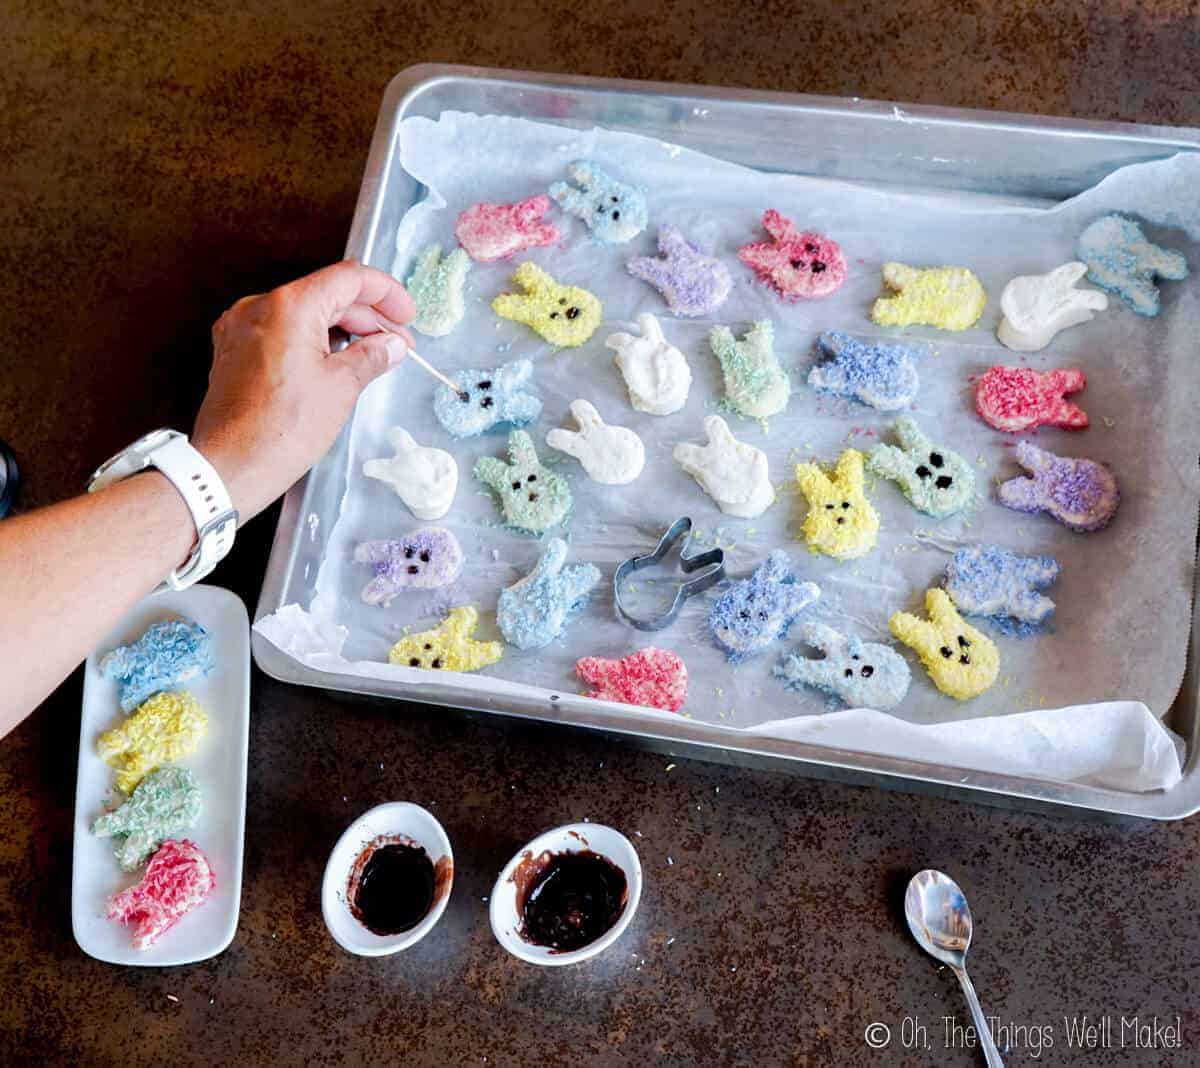
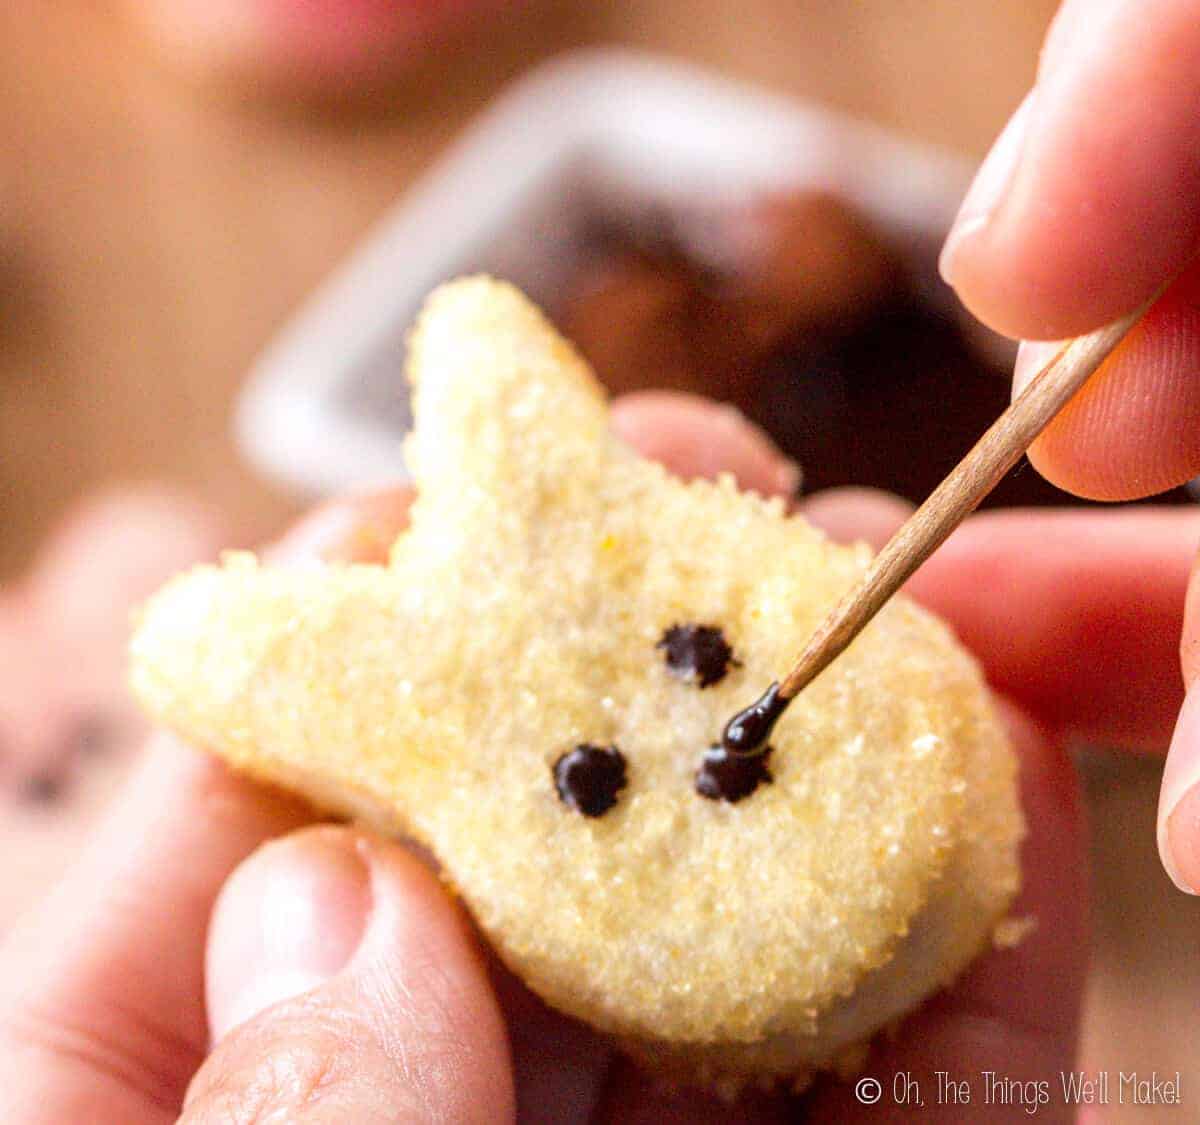
Adding the eyes and nose
To make the eyes and noses, I used a toothpick to add a few dots of a melted chocolate, adding 2 small dots for the eyes and one for the nose. While you can melt any chocolate and use that, I found it easier to use a mixture of cocoa powder and melted coconut oil.
As long as the finished candies are stored in a cool location, the coconut oil/cocoa mixture will stay solid and the eyes and nose keep their shape without melting and bleeding into the coconut.
How long do they keep?
When using the coconut sprinkle topping, the finished candies stored amazingly well. I was actually able to keep them in the fridge for several weeks without noticing any change in their appearance or flavor!
If you don’t have room for them in the fridge, store them in a sealed container in a cool, dry place. They should still keep for a couple of weeks!
Video
Naturally Colored Homemade Marshmallow Peeps
Ingredients
For the Marshmallows
- 1 cup water
- 3 1/2 Tbsp. gelatin
- 1 cup honey
- 1 tsp. vanilla extract
- 1/4 tsp. salt
For the Colored Coating
- shredded coconut for covering them
- homemade food coloring
For the Eyes and Nose
- 1/4 tsp. coconut oil
- 1/4 tsp. cocoa powder
Instructions
Make the marshmallow mixture
- Mix together the gelatin and half of the water (1/2 cup) in a bowl. This will help soften it while you work on your honey syrup mixture.
- Mix together the honey and the rest of the water to a small pan. Heat the mixture, while stirring over medium, until the mixture reaches 240ºF/115ªC.
- Once you have reached the right temperature, remove the honey mixture from the stove. Add the softened gelatin mixture to it.
- Begin beating the two mixtures together with an egg beater.
- Continute to beat the mixture, increasing the speed as you go along. Keep beating until the mixture becomes white and frothy.
- Add in the salt and vanilla extract and whip a little bit more.
- Once it looks like marshmallow cream, you can pour the mixture into greased molds or pour it over a baking sheet lined with paper. (You can use either Easter themed molds or a square pan for later cutting shapes out with cookie cutters). You can also try piping out some marshmallows.
- The marshmallows will set as they cool. If using cookie cutters, cut shapes from the hardened marshmallows.
Coating the marshmallows
- Dip the marshmallows in colored coconut or colored sugar sprinkles to decorate them and keep them from sticking together. Marshmallows covered in sugar sprinkles may "weep." I prefer to use coconut sprinkles as they tend to be brighter in color, are healthier, and hold up much better.
Adding the eyes and nose
- To make the eyes and nose, mix the cocoa powder with some melted coconut oil. You don't need very much, and it's easier to manipulate it if you add in enough cocoa powder to make a somewhat thick liquid. Otherwise, it has a tendency of running. I used a toothpick to dot on the eyes and noses. As it cools, the chocolate will set. These should be stored in a cool dry place anyway.
- Serve immediately or store in a cool dry place.
Notes
This post was originally published on March 31, 2015. It was rewritten and republished in April of 2021, adding video and with some updated instructions. The recipe remains unaltered.
 Palak Paneer
Rosa
Hello,
this recipe looks good, I am wondering how long these last in the fridge?
Tracy Ariza, DDS
Hi Rosa,
I guess it depends on how many marshmallow lovers you have in your house. 😉 Just kidding.
But seriously, they keep very well. They can even keep for a couple of weeks out of the fridge if you keep them in a cool, dry place. In the fridge, I’d guess they can keep for up to a month or so, maybe even longer. (I kept some in my fridge for a friend one year- we kept putting off getting together- and they were still tasty several weeks later.)
Christine
These are so adorable! I would love to try making them if my baby would allow it. 🙂 So creative and cute. I pinned these to my Easter gluten free board.
Tracy Ariza
Aww, thanks so much, Christine! (And thanks for sharing them. I really appreciate it!) 🙂
Yes, they were a lot of fun to make.
I may try again this year. 😉